
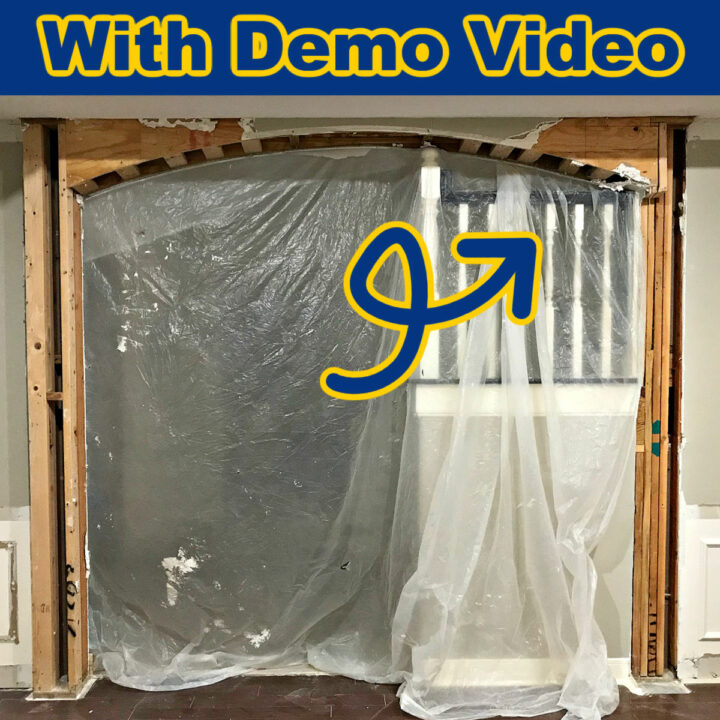
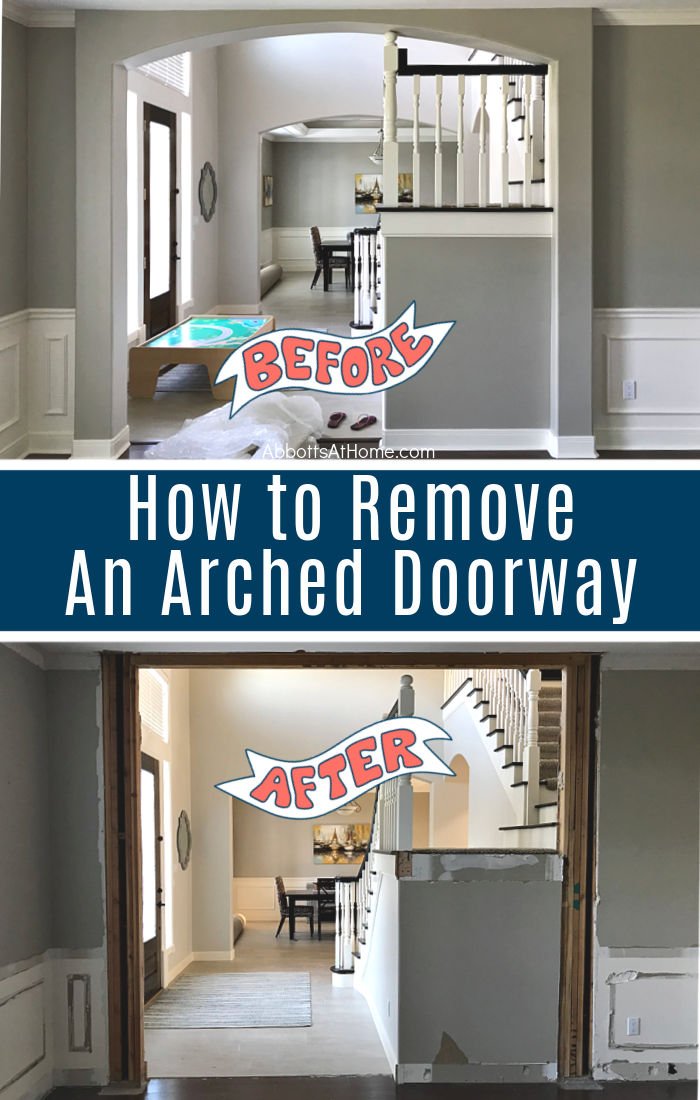
Here’s how to remove an arched doorway in a wall with tips for how to demo, framing, and how to square off rounded arches.
How to Remove an Arched Doorway in a Wall
Hi, guys! Here’s how to remove an arched doorway in a wall with tips for demo, framing, and drywall work.
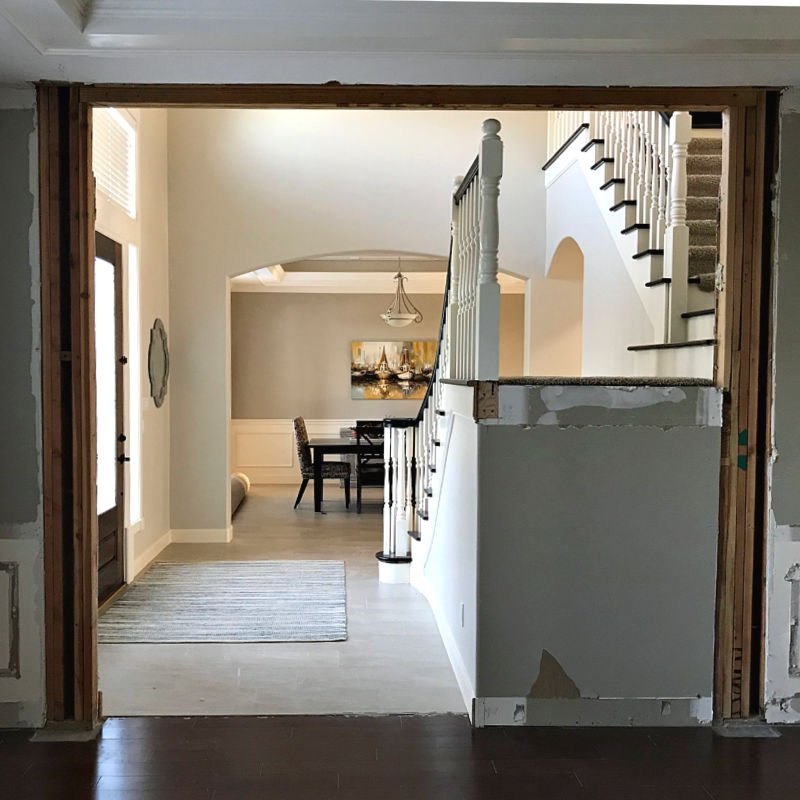
I have been planning on closing off this archway between our Foyer and Playroom for years. I’m so excited to say I finally got around to it and couldn’t be happier, guys!
You can use the tips and steps in this post to completely close off an archway on a wall or to square off an archway to give it an updated look.
I closed mine off for 3 reasons; I wanted to make the Foyer the grand entry I knew it could be, I wanted to hide my messy Playroom away from anyone at the front door, and because of all the NOISE.
This may sound strange, but our open-concept home is a bit too open. The first floor has 6 rooms open to each other. You can see a quick look at all 6 in the video below. And, the second floor has a big landing with just a half wall separating it from the first floor Living Room and Foyer.
So, we can always hear what everyone else is doing in the house. It can get pretty loud when we have house guests. You can see in the video that our office also has 2 large doors on 2 of the walls.
Eventually, I’d love to close off one of those too. But, that’s a story for another day. 🙂

OK, let’s have a look at how to remove an arched doorway in a wall.
Table of contents
Change An Arch Doorway To Square – Demo Time!
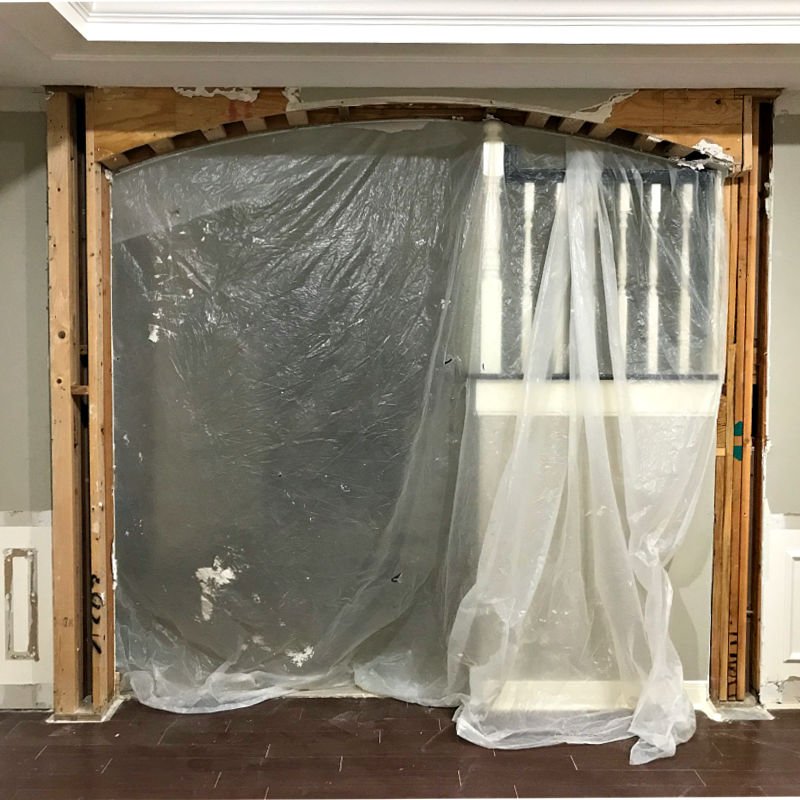
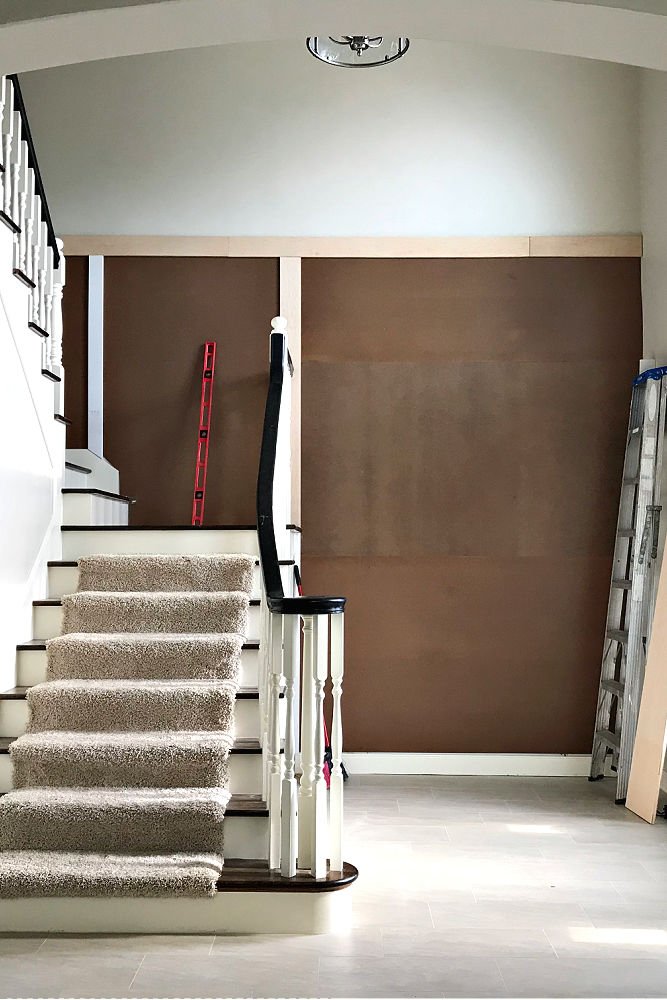
Demo time, guys! Whether you want to remove an arched doorway in a wall to close the opening or to just square off an archway, it starts with demo.
You should work carefully and slowly to make sure you are only removing what needs to go.

Try to avoid removing any 2×4 supports in the wall unless you are absolutely sure they are not supporting the house. I did not remove any 2×4’s because that wall does continue all the way up to my roof.
To make the arched opening that wide, there are multiple 2×4’s on each side supporting the weight of the header for that opening, and really the roof above it.
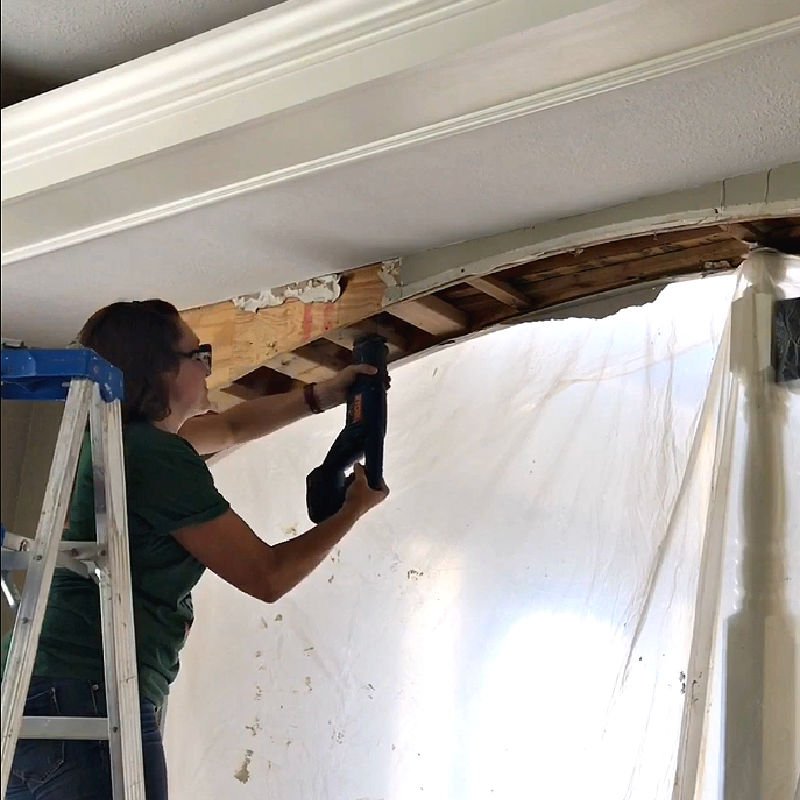
Video Showing Me Removing an Archway
Here’s a look at how to remove an arched doorway in a wall. You can see in this video how I use a box knife to carefully remove trim and drywall around the arch.
And, when I use my reciprocating saw, circular saw, hammer, and pry bar in the demo. Hopefully seeing it done can help clear up any confusion and give you the confidence to do it too.
How To Square Off Rounded Archways
Usually the arched shape of an archway is made with plywood (like on mine) or by cutting an arch in drywall with framing blocks behind each type.
If you want to square off rounded archways, carefully remove the drywall in the rounded corners to figure out the best way to remove an arched doorway in a wall.
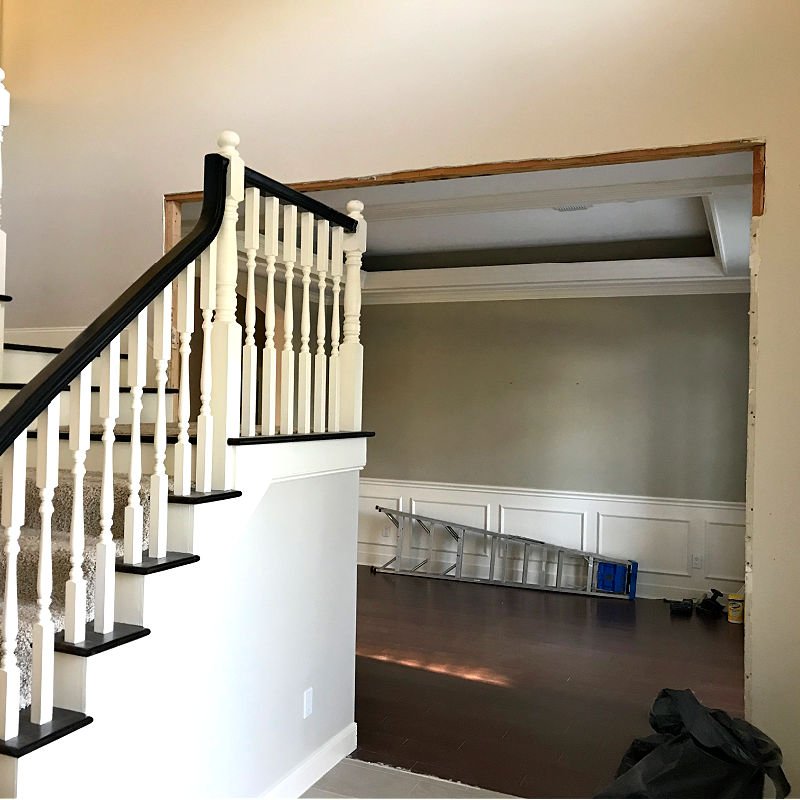
Once you figure out how to carefully cut out the rounded drywall and how to remove the arched plywood, you basically have a square opening.
Finish squaring off the drywall and removing any other bits of the arched doorway to prep the squared off opening for the next step.
Photos After Removing the Archway
Ways to Replace an Archway in a Home
If you want to keep your newly squared off opening, you have 3 main ways to finish it now.
You can install large doors, you can just drywall the opening, or you can install beautiful wooden trim around the opening to make it a cased opening.
If you’ll be adding wood trim, check out my tips for when to use caulk or wood filler on trim. I usually try to keep all of the trim in my home similar.
This just helps give the home a definite style and makes it feel like it was planned and custom. I think that helps with resale.
How to Close off an Arched Doorway in a Wall
If you watch the video for How to Remove an Arched Doorway in a Wall (above), you’ll see that I cut the drywall back on each side to get a clean, straight edge on the drywall.
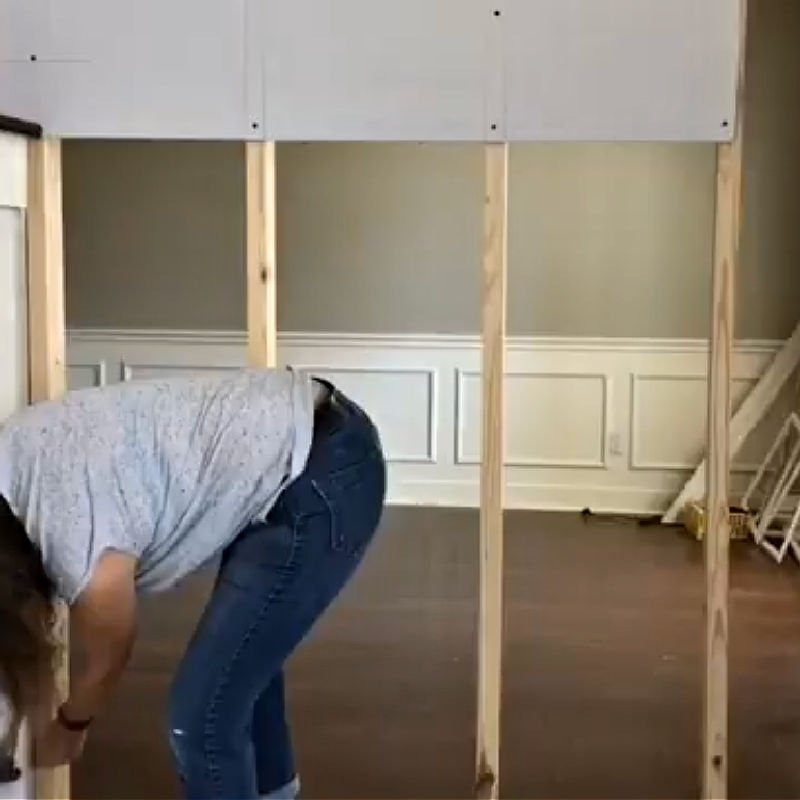
I needed that straight edge to make it easier to hang the new drywall next to it. You can find my 15 beginner tips to cut and hang drywall in a previous post. I framed in my opening with 2×4’s spaced 16″ on center, like the rest of my home.
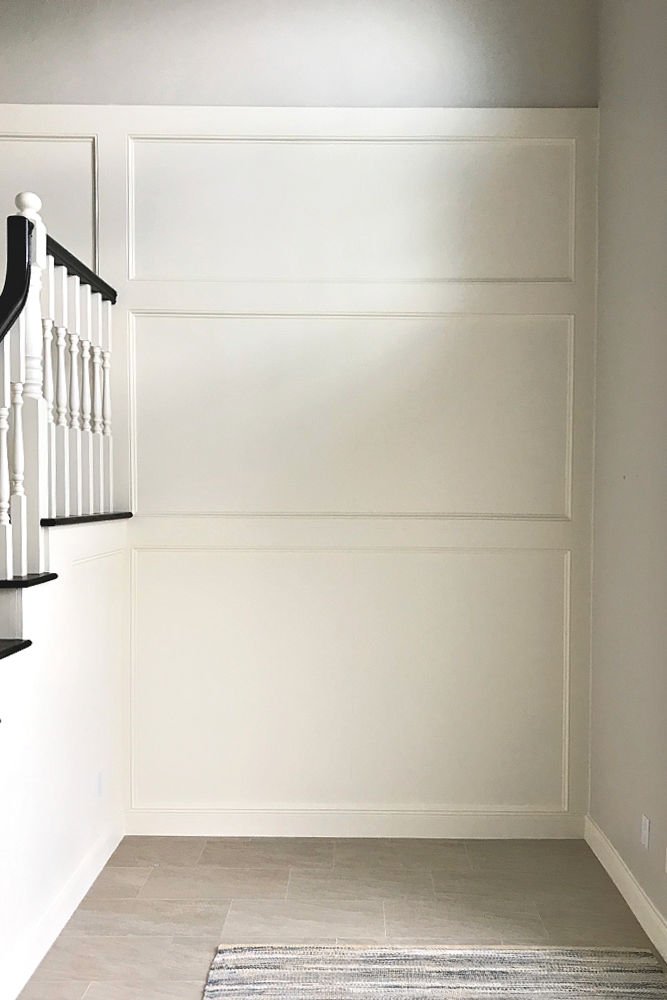
Once the framing was in, I could hang the drywall. Next, in the foyer, I used construction adhesive and brad nails to hang 1/4″ MDF over the drywall. I wanted this foyer to have a large, grand feel.
So, adding more trim and molding seemed like the logical choice in my home that already has a lot of wainscoting, crown, and molding.
Here’s a look at how I layered the drywall, MDF, and trim onto that wall in my foyer.


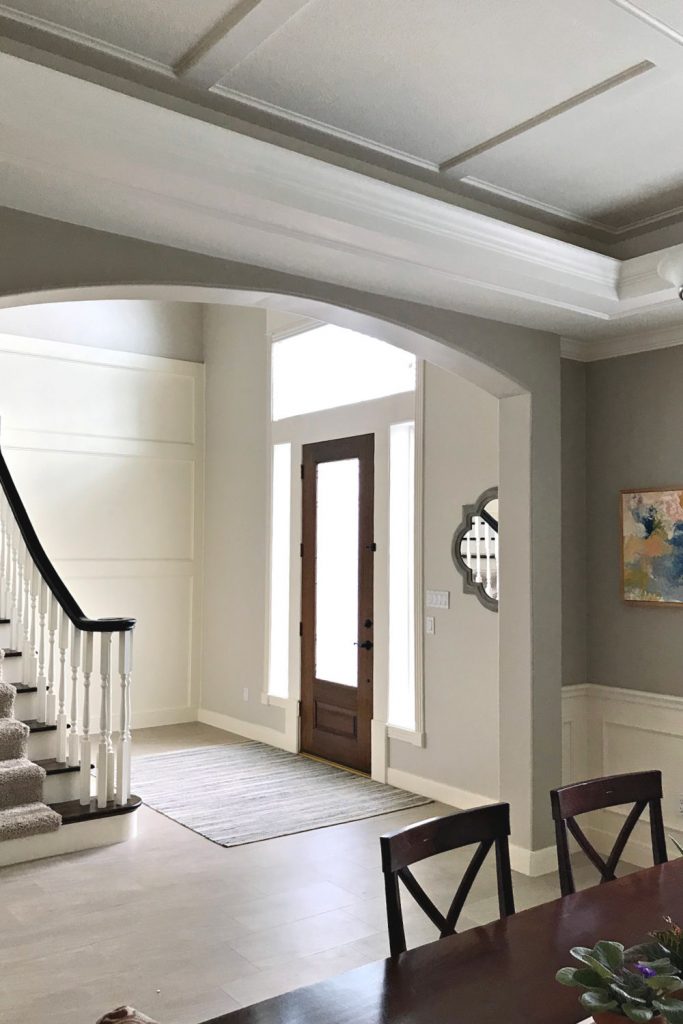
OK, now let’s look at what the foyer looks like after following those steps to remove the arched doorway in a wall and framing in the squared off arch.
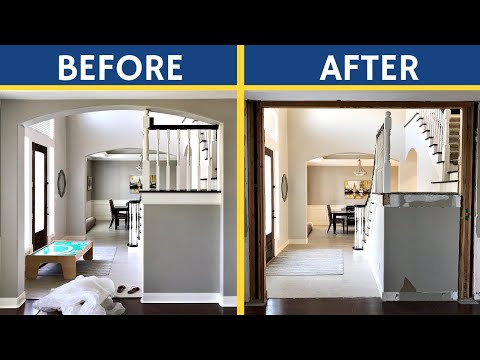
Before and After Rebuilding the Foyer Side
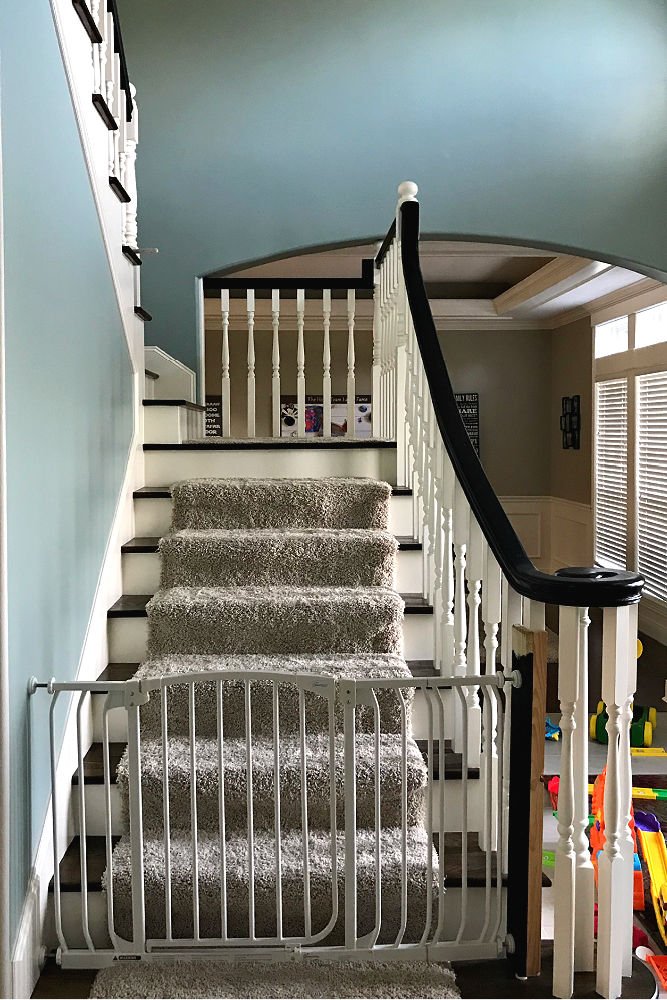
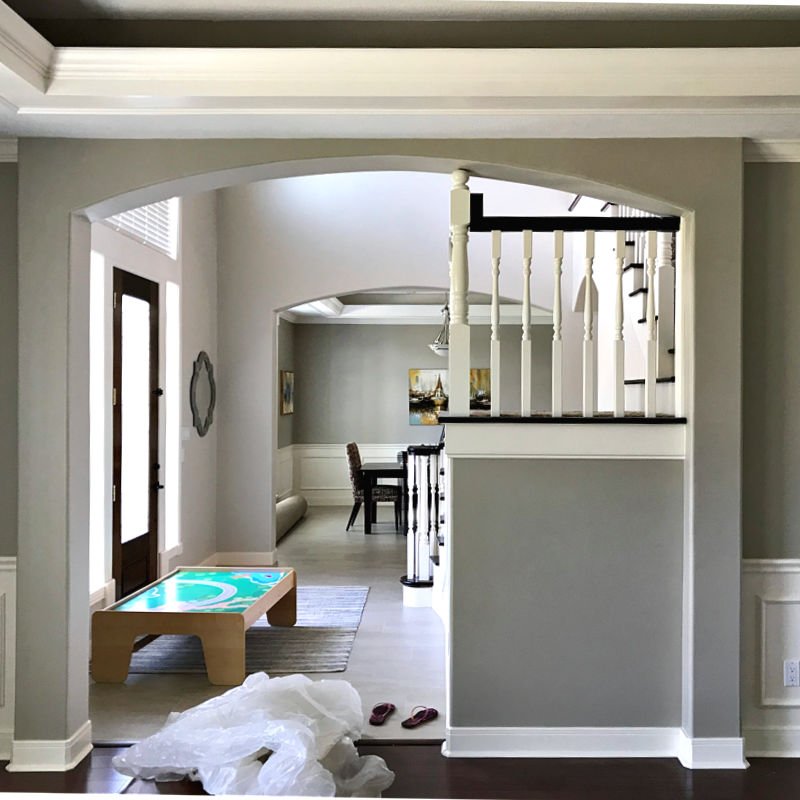
First, here’s some pics of my foyer a few years ago so you can see the full makeover on this foyer over time. 🙂


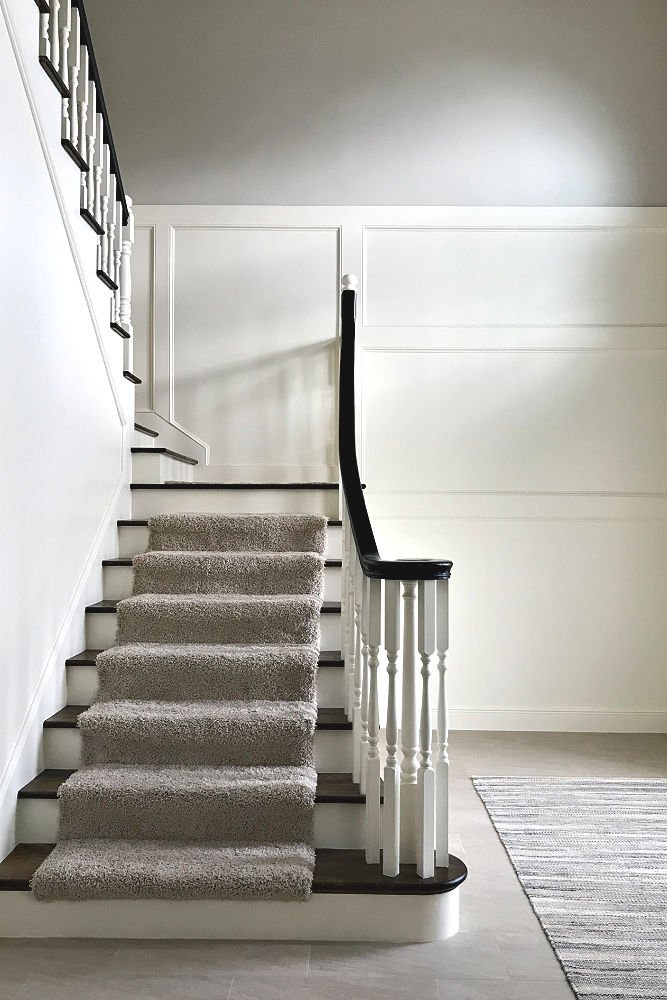
AND, here’s the newly finished White Foyer, Stairs, and the Wood Trim I installed in there. Now, I just need to decorate that Foyer to really finish it off and give the room that grand entry look I’ve wanted.

Before and After on the Playroom Side
And, here’s a quick look at the before and after photos on the playroom side of that wall.
Here’s a sneak peek at how this wall looks now. You can see the Before and After Family Room Makeover On A Budget pictures in another post.
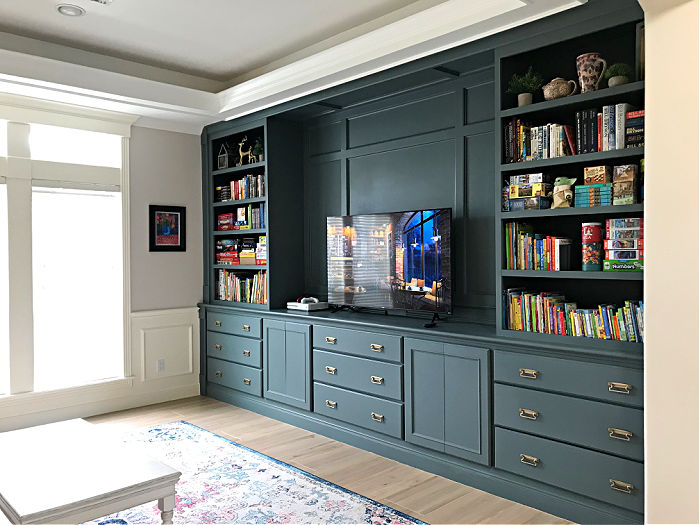
You can see my tutorials for how to paint built in bookshelves and cabinets, easy DIY wood drawer fronts, or my DIY Built In playlist on YouTube for more about this room.
Check out this post about how to get rid of cable and still watch TV to see how I save $125 per month by cutting the cord.
That’s it for how to remove an arched doorway in a wall. Good luck with your project, guys! Scroll down for printable info from this tutorial.
Looking for more of my Home Remodeling Videos? Check out this DIY Home Improvement playlist on YouTube.
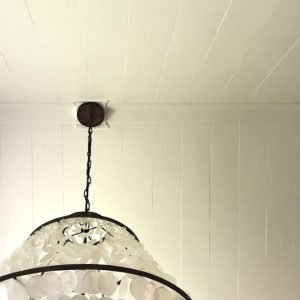
I love this DIY Plywood Plank Ceiling makeover. It’s cheap and not too hard.
Check out this low profile, Simple DIY Coffered Ceiling for another great home improvement idea.

This DIY Board and Batten Wainscoting from Lattice Boards is another beautiful wall trim idea.
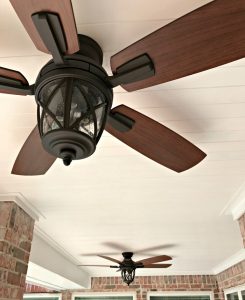
You might also like this DIY Pine Tongue and Groove Porch Ceiling Makeover.
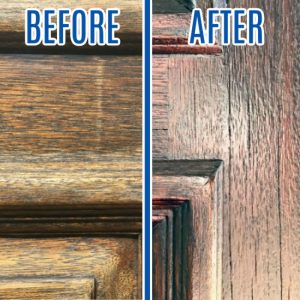
And, if it is time to Stain your Front Door, check out these steps for how I restain a front door without stripping it or removing it. 🙂
Feeling inspired? Now that you’ve read these tips for how to remove an arched doorway in a wall, you can do it too. Let me know if you have questions.
Don’t forget to sign up for the Abbotts At Home email newsletter to get DIY, Remodeling, and Crafty ideas in your inbox.

Stephanie Abbott has been remodeling homes, updating & building furniture, and working on DIY home maintenance and cleaning tips for over 20 years. Her remodeling has been featured in Better Homes and Gardens Magazine. And, her DIY YouTube channel has had more than 8 million views.
Most of the DIY tutorials and videos on this site focus on beginner to intermediate level DIY Projects that can be done in an affordable way without high-end, expensive tools. All of the cleaning tips on this website have been tested in her home.