
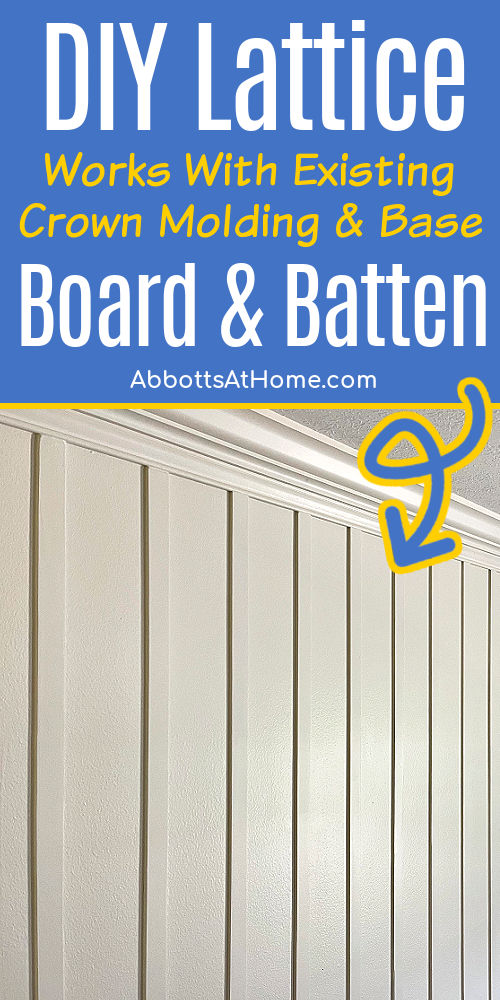
I LOVE this beautiful & EASY DIY Board and Batten with Lattice and Crown Molding. It turned this room from boring to SO GOOD.
DIY Board And Batten With Lattice
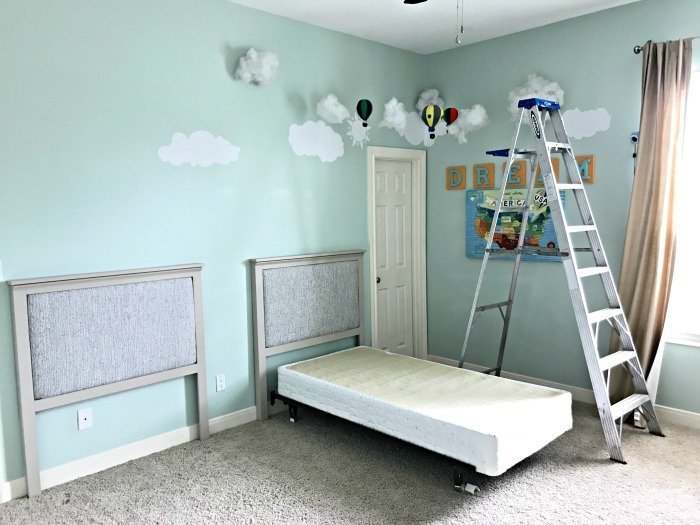
Hi, guys! I’m so excited to share this Lattice Board and Batten with you. It turned out so gorgeous. I absolutely need to find another room to install this in.
This DIY board and batten paneling isn’t very hard to install. These lattice boards can be installed pretty quickly too, when you use a spacer to line everything up!
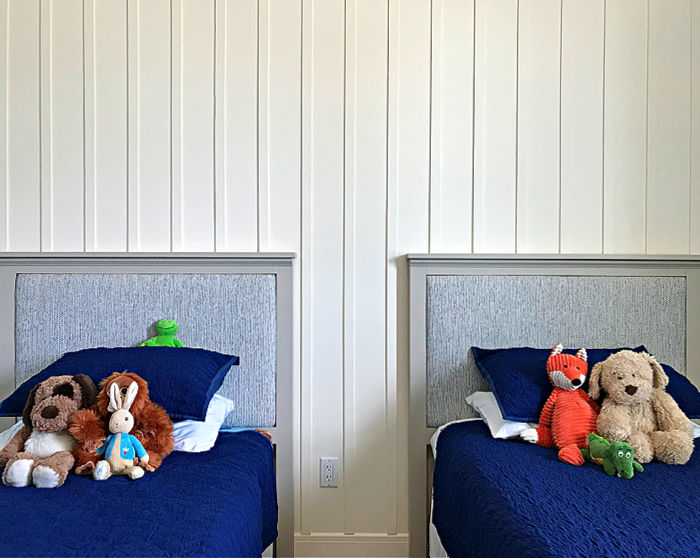
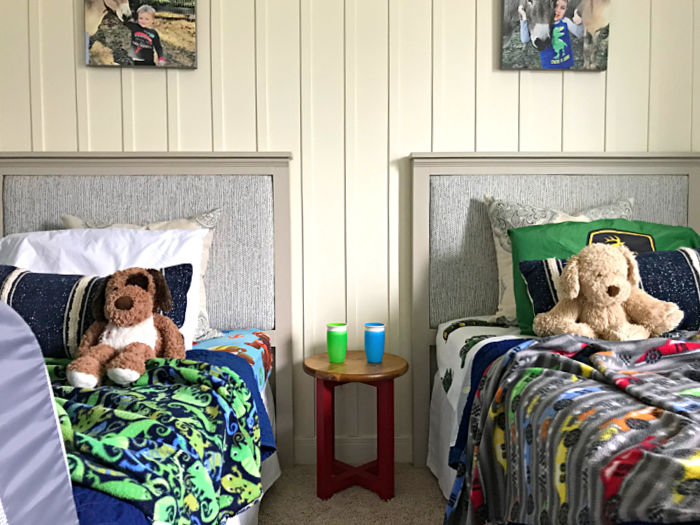
In this bedroom, I went with 5 1/4″ spacing between the battens. But you can increase or decrease the spacing, to get the look you like for your home.
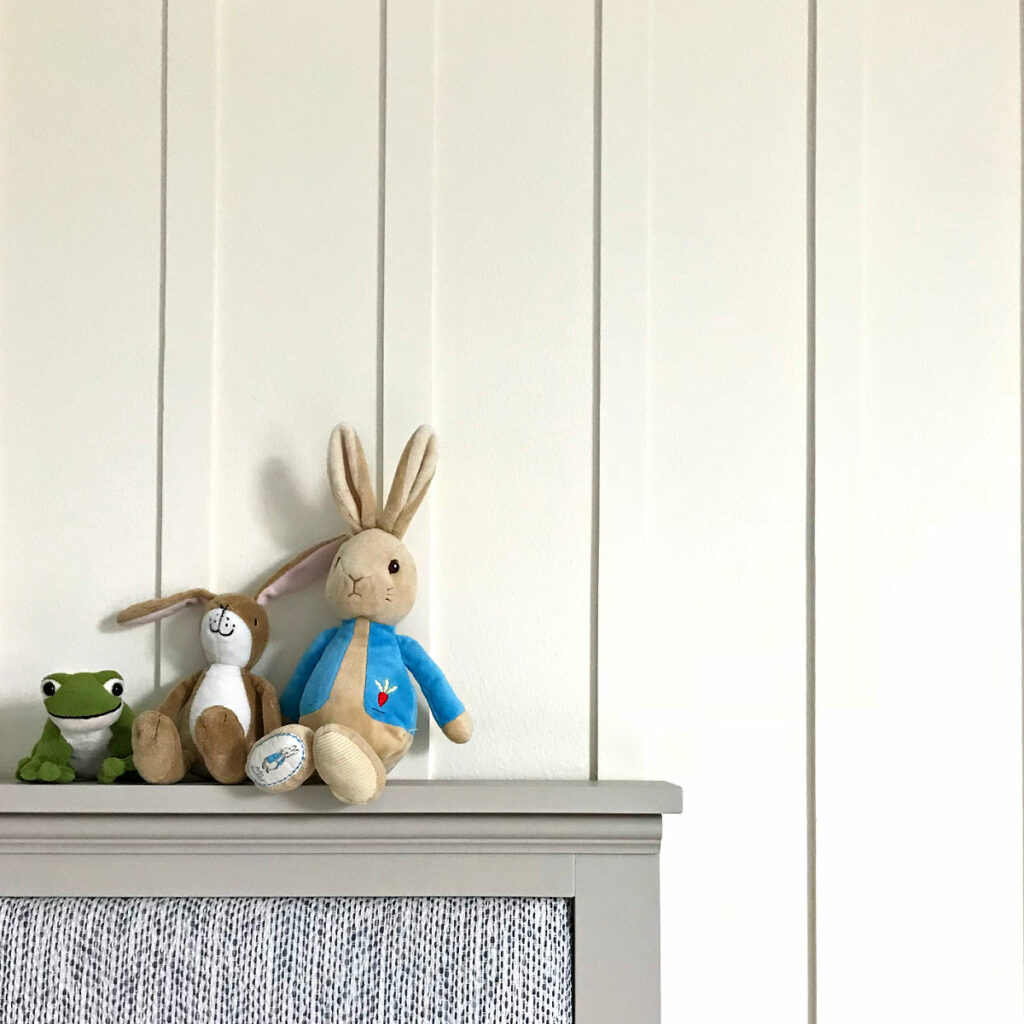
And, I went with floor to ceiling lattice board and batten. But, again, this is an easy trim feature wall to customize. Use chair rail or maybe a craftsman style rail to end this treatment 4′ or 6′ up a wall instead.
OK, let’s get to the install steps.
Table of contents
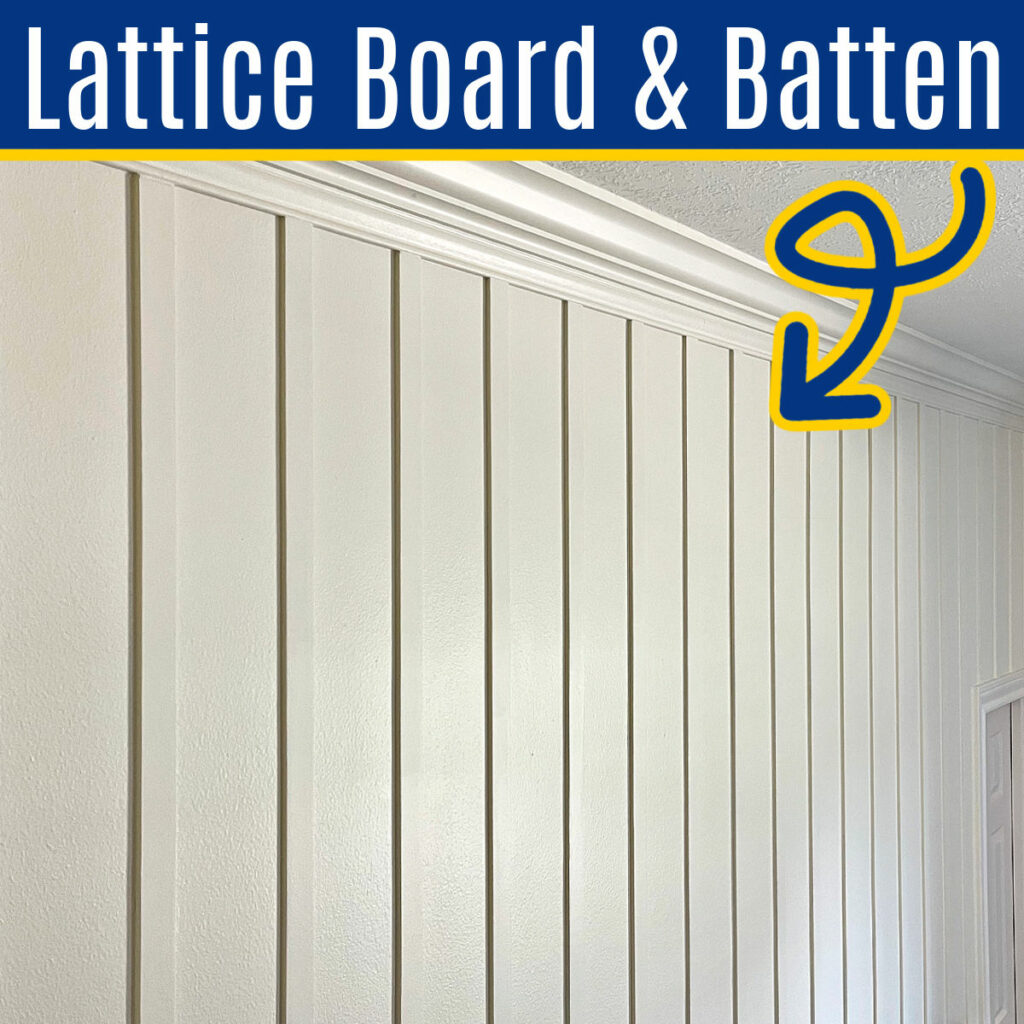
Crown Molding With Board And Batten
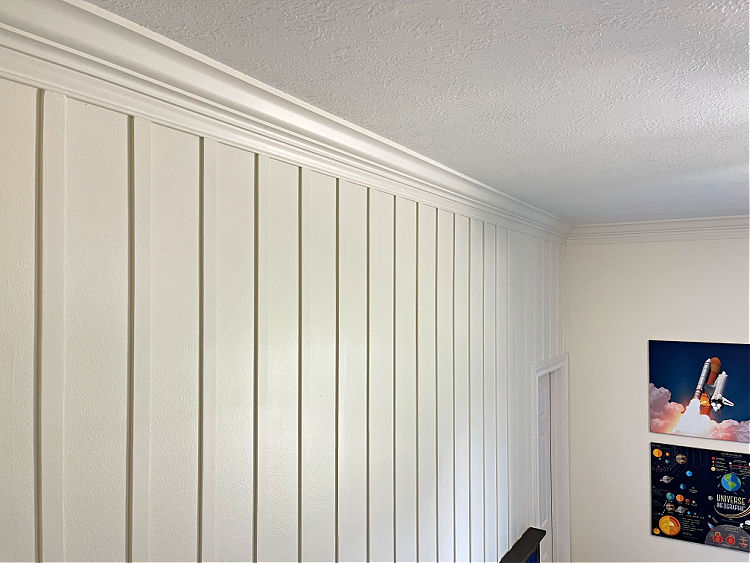
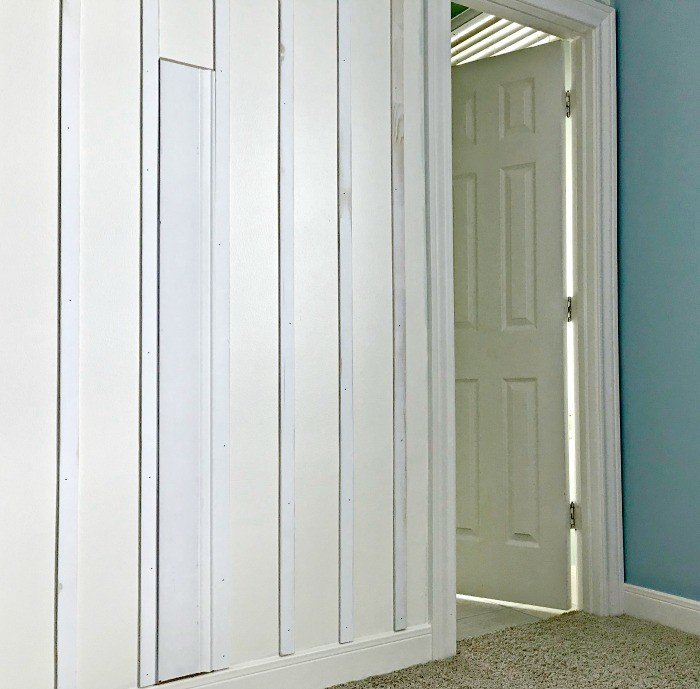
This lattice board is only about 1/4″ thick. So, this DIY board and batten with existing crown molding or baseboards will look great. That’s because the lattice DOES NOT stick out past the existing trim.
If you want to install crown molding with your DIY board and batten, you’ll need to install the crown molding before installing the lattice strips.
Check out this post on Two Piece Crown Molding or this post on Three Piece Crown Molding for tutorials on crown molding. I used the two piece crown in this room.
Can You Use Lattice For Board and Batten?
Lattice can be used for board and batten. In fact, you can find beautiful examples of lattice board in batten in many historical homes.
In fact, lattice is perfect for adding to existing crown molding and baseboard in a room. That’s because lattice boards are only about 1/4″ thick, so they won’t stick out further than your existing trim.
Shallow lattice trim molding adds subtle, classic detail to any board and batten design. Lattice board and batten can be used as wainscoting or full wall panels.
DIY Lattice Strips Board And Batten
I fell in love with this lattice board and batten look after seeing it at Disney’s Wilderness Lodge. It’s a beautiful, classic design that works with so many styles. And, it’s not very hard to install. 🙂
Materials Needed
- Optional: Construction Adhesive (I used this one)
- DAP White Alex Plus Paintable Latex Caulk – or similar
- DAP DryDex Spackling – or similar
- Primed Pine Lattice Molding
- 5 1/4″ wide x 5′ long board (any kind) to use as a spacer
Tools Needed
- Miter Saw
- Brad Nailer & Brad Nails (1″ or 1 1/4″)
- Caulking Gun
- Spirit Level
- Power Sander and 150-grit sandpaper
Step One – Plan Your Layout
Measure your wall with a measuring tape, then mark the center with a pencil or write it down on paper. Now, it’s time to test the layout of the lattice boards to avoid any problems.
I centered a piece of lattice on the floor at that pencil mark. Then, I used my spacer to layout the rest of the lattice trim on the floor to see where they’d end up on the wall.
I used a 5′ long – 5 1/4 wide piece of baseboard I already had as the spacer. You could also use a long piece of 1″ x 6″ lumber, if you already have that instead. It’s a little bit wider. But not much.
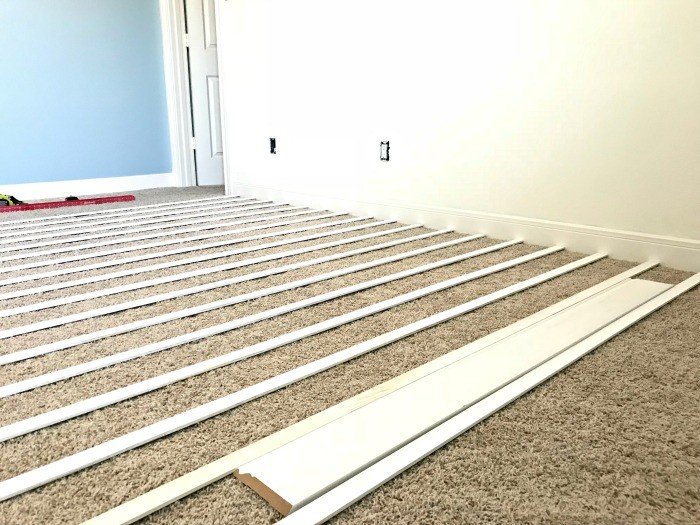
I really wanted to see if I was going to hit light switches, electrical outlets or door frames with a batten. If you have to cut around 1 or 2 outlets, that’s a lot easier than notching a batten lengthwise for a door frame.
After testing your layout along the whole wall, if you hit a spot with a difficult cut or weird lay, test another layout.
Start the 2nd layout test by centering your spacer on the pencil mark, then layout the battens again. Keep tweaking the starting point until you decide on the best layout for the wall.
DIY Note: Repeat step one for each wall you want to install this DIY board and batten lattice paneling on.
Step Two – Sand And Prep Your Lattice Boards
Now that you’ve settled on a layout, it’s time to sand the lattice boards smooth. Use 150-grit sandpaper to make the front side of those lattice boards smooth enough to be on a wall.
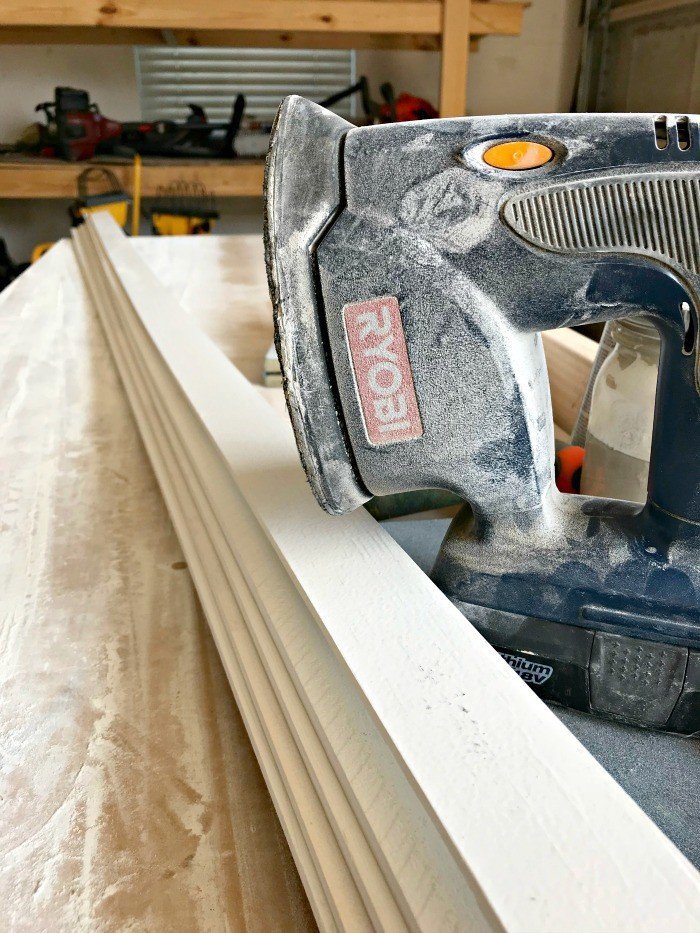
Sometimes those lattice boards can have some really rough spots, even on the smooth side. Sand the lattice boards in your garage, you don’t want that mess in your house.
Once the boards are sanded smooth on the front, wipe away all of the dust with a clean rag or tack cloth.
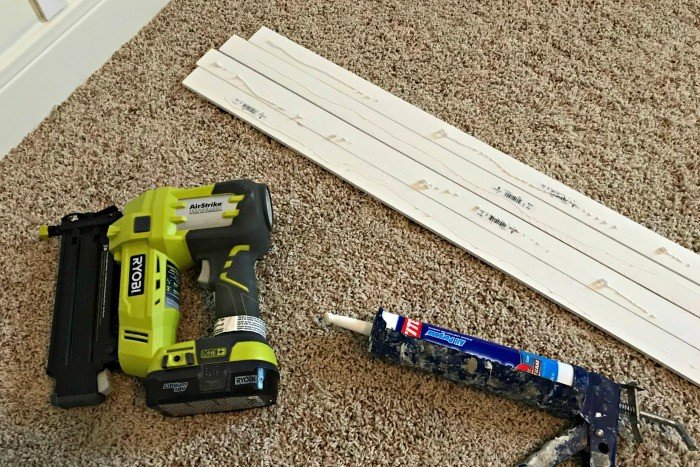
Step Three – Cut And Attach The First Lattice Trim To The Wall
Next, it’s time to cut the lattice to length before installing. You’ll need to measure and cut for each lattice batten as you go, to account for slight variations in the length along the wall.
I used my Miter Saw to cut my lattice trim. Then I used a thin bead of adhesive and 1″ brad nails to attach the lattice to my wall. The adhesive is really what permanently holds the lattice to the wall.
Use a long spirit level to make sure that first lattice board on the wall is perfectly straight. After the first board, you can just use your spacer to line everything up straight.
If you only used brad nails, you’d be able to easily pull the lattice off the wall, since it won’t be attached to any studs behind the drywall. BUT, I have seen people do that. So, using adhesive is up to you.
Use brad nails every 12″, or so, to make sure you get the smallest gap possible between the drywall and the lattice trim batten.
Step Four – Finish Installing The DIY Lattice Board And Batten
Move the spacers from one lattice board to the next as you work. You may need a partner, if you are using 2 spacers and working with long battens like mine.
You can put your first brad nail in a batten near the bottom with just one spacer working as a guide, but before you put another nail in the board, you’ll have to check the spacing at the top of the batten.
So, working with a partner might be easier and faster for this DIY Board and Batten.
Step Five – Use Spackle Or Wood Filler, Caulk, And Paint
Once all of the lattice battens are glued and nailed into place, use spackle or wood filler on the brad nail holes. Both are great, but spackle is a bit easier to sand.
After filling the holes and sanding, remove all of the dust with a rag or tack cloth before caulking. Caulk both sides of each lattice trim board where the board meets the wall.
Be sure to wipe away all excess caulk with a damp cloth before it starts to dry.
If you’re new to DIY wood trim projects check out this post for tips on how to use caulk or wood filler. There’s even a short how-to video on that post.
Once the caulk is dry, paint the entire wall with 2 or 3 coats of your favorite latex or acrylic wall paint. Then you’re ready to show off your hard work!
That’s it for this DIY Board and Batten tutorial.
More DIY Trim & Molding Projects
- Beautiful Before and After 2 Story Foyer Remodel with Trim Molding
- Make This Easy DIY Wood Picture Frame With Trim Molding
- 10 Best Ways To Make Cabinets Look Like Built In Furniture
- Easy DIY Coffered Ceiling – Simple, Low Profile Design – Steps & Video
- DIY Tongue and Groove Porch Ceiling: Cheap, Beautiful and Easy
- DIY Plywood Plank Ceiling – Faux Shiplap Install
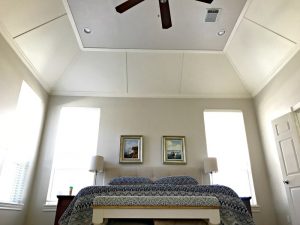
And, check out the Beautiful DIY Vaulted Ceiling Makeover I just finished on our Master Bedroom.
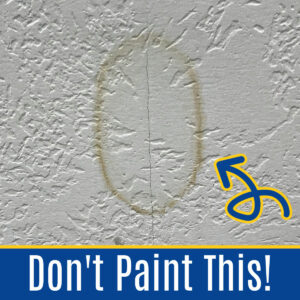
You might also like this post on how to Remove Water Stain from Ceiling Without Paint – 1 Easy Step.
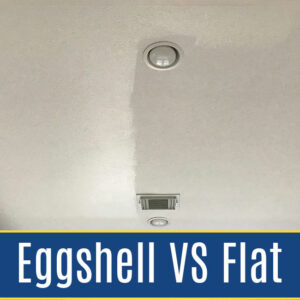
Or this post about the Best Ceiling Paint Finish: Flat vs Eggshell Sheen Results.
Feeling inspired? Get out there and install your own DIY Board and Batten Wainscoting with Lattice!
Don’t forget to sign up for the Abbotts At Home email newsletter to get DIY, Remodeling, and Crafty ideas in your inbox.

Stephanie Abbott has been remodeling homes, updating & building furniture, and working on DIY home maintenance and cleaning tips for over 20 years. Her remodeling has been featured in Better Homes and Gardens Magazine. And, her DIY YouTube channel has had more than 8 million views.
Most of the DIY tutorials and videos on this site focus on beginner to intermediate level DIY Projects that can be done in an affordable way without high-end, expensive tools. All of the cleaning tips on this website have been tested in her home.