
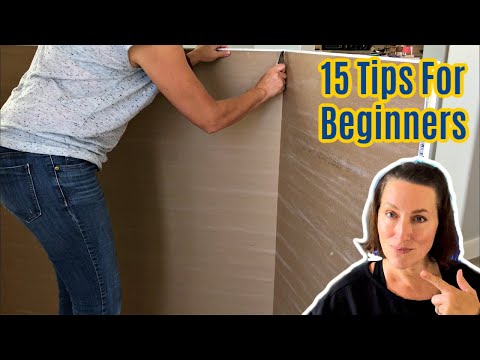
Here’s 15 beginner tips for how to cut drywall and hang drywall, by yourself. Installing drywall is EASY with these rules & the right tools!
How to Cut And Hang Drywall, For Beginners
Now, I’ve been hanging drywall for about 20 years. And, I’m sure I’ve saved myself thousands of dollars at this point. Cutting and installing drywall is actually the fastest and easiest part.
Taping and mudding the seams to get perfectly smooth walls is the part that takes the most time and effort. This post will cover the most common questions I get or have had in the past.
And, I have a short video showing most of the steps you’ll need to for hanging drywall in your home. Instead of babbling on, let’s get to those drywall tips for beginners. 🙂
Table of contents
How Do You Cut A Piece of Drywall
Let’s start with 7 drywall cutting tips. Here are the basic steps to cut straight lines in drywall.
- Carefully measure and cut drywall.
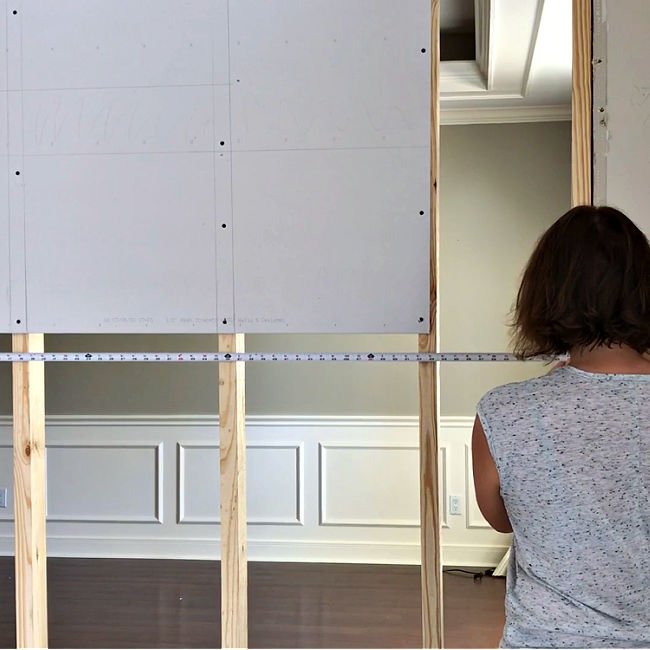
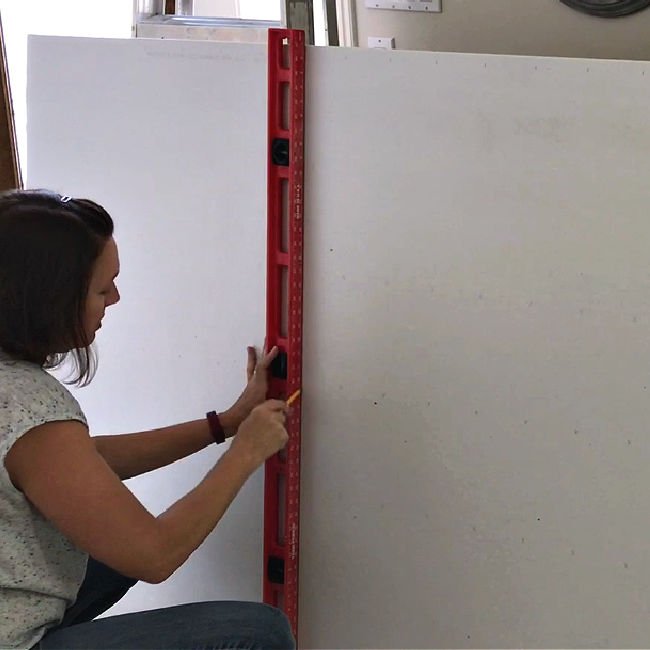
- Use a level or a Drywall T Square or 4′ Level to mark and cut straight lines.
- Only use a pencil to mark drywall. Pen and marker ink will bleed through most paint and primers.
- Always use a sharp blade in your utility knife when cutting drywall.
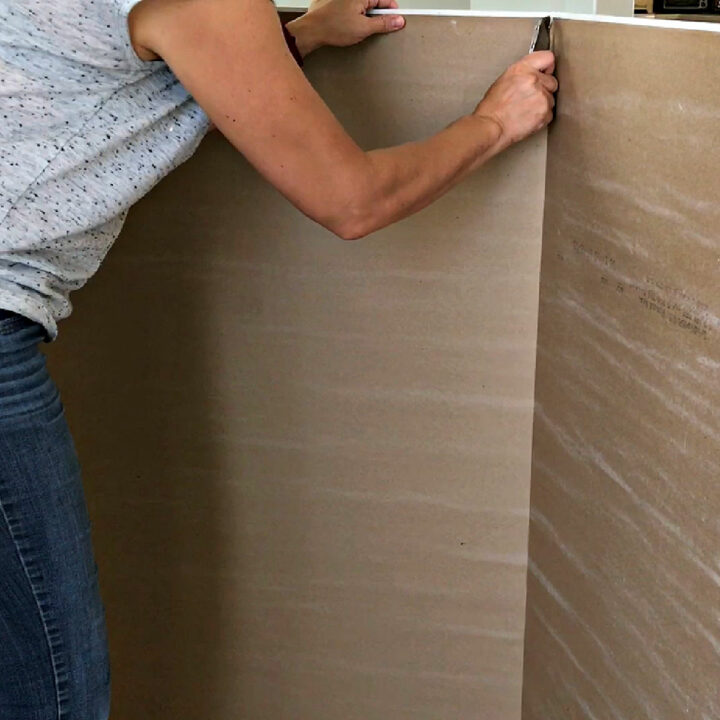
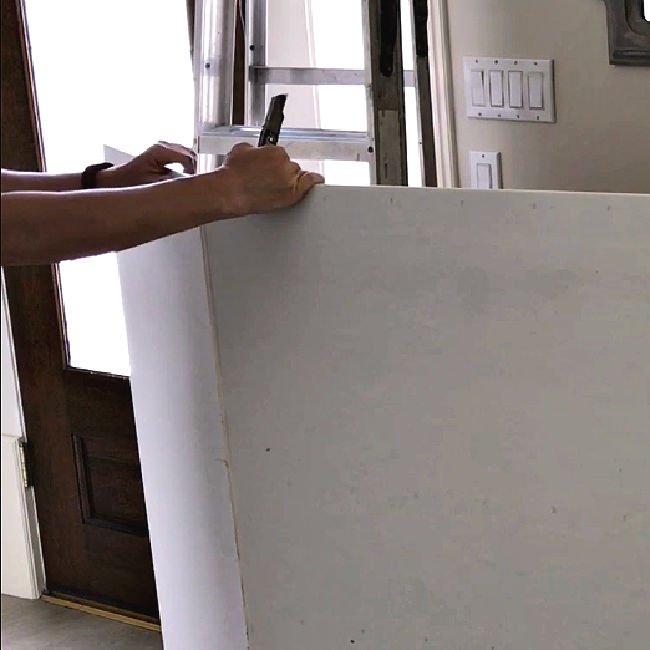
- Cut the face of the drywall first. That’s one of the most important things to remember for how to cut drywall. Make sure to cut through the paper or deeper to break the board with clean, straight lines.
- After cutting apply pressure to either side of the cut or the back of the cut to snap the drywall.
- Then cut the paper on the back to separate the 2 pieces of drywall.
How To Cut Drywall On A Stud
Drywall needs to end and begin at the center of a stud. That means that the left side and right side of your drywall should be fully supported, top to bottom, along the center of a stud.
With modern construction standards, the studs should be spaced 16″ or 24″ apart so that each sheet of drywall will naturally land on a stud, without needing any cuts.
How To Put Up Drywall Alone – Video
If any of the tips for cutting and hanging drywall are confusing, I highly recommend watching this short video. Hopefully seeing these drywall cutting tips in action can help clear up any confusion.
Now that you know how to cut drywall, let’s talk about how to hang drywall by yourself.
Can You Hang Drywall By Yourself
If you can lift the drywall alone, you can generally hang drywall by yourself with a few tips.
Tip 1
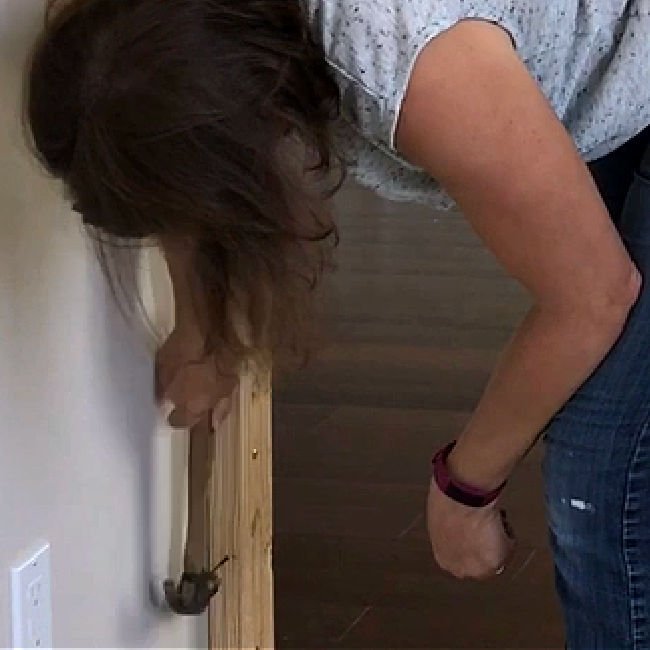
The first tip is to use framing nails to hold drywall in place. Just partially nail in 2 framing nails a hair below where the drywall bottom should be, one at each end.
That will help you hold the weight of the drywall and line it up while you screw in the first few screws.
Tip 2
The second tip is to use a drywall jack. You can rent a drywall jack at most tool rental stores. The drywall jack can hold a sheet of drywall on walls or ceilings for you.
Drywall jacks are essential when hanging drywall on ceilings. Even if you’re hanging drywall on a ceiling with someone else, a drywall jack will save your arms and shoulders. Which will help you work longer and faster.
Tip 3
The third tip is to build and use a dead man’s brace to hang drywall on a ceiling. These only work on ceilings. A dead man’s brace is built with 2×4’s to the height of your ceiling.
A Dead Man’s Brace generally T-shaped or a T with 2 45-degree supports to strengthen the top of the T. But, these are harder to work with by yourself than a drywall jack.
Just imagine lifting a sheet of drywall above your head and holding it while you try to position a dead man’s brace in place. Some people use a tall ladder and a dead man’s brace to help move the drywall in place.
But, honestly, it is harder and a bit dangerous. I only recommend using a dead man’s brace when you have 2 people lifting the drywall into place and only need a dead man’s brace, or two, to safely hold the drywall while you are screwing it into the framing.
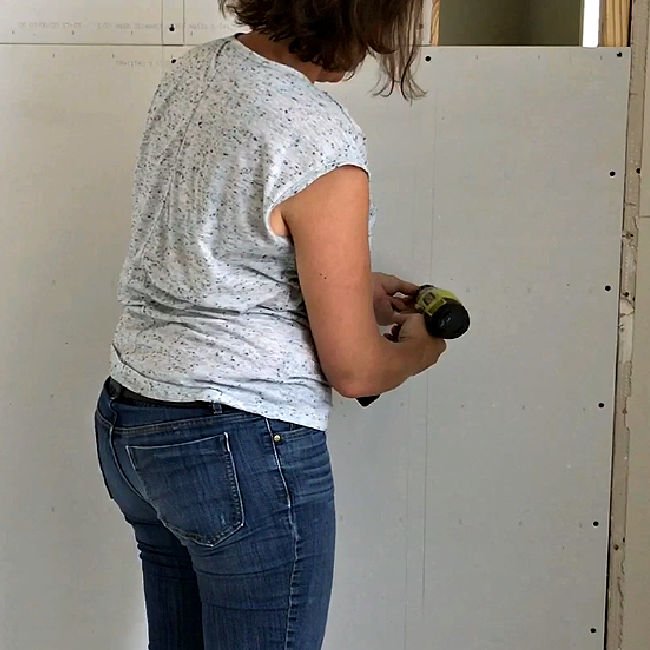
Hanging Drywall For Beginners
For this DIY drywall project in my house, I’m only hanging drywall in a small area. But, I have the steps below for how to hang drywall across a whole wall, or multiple walls, by yourself.
Again, you can see me doing most of these steps in the how to cut drywall and hang drywall video above.
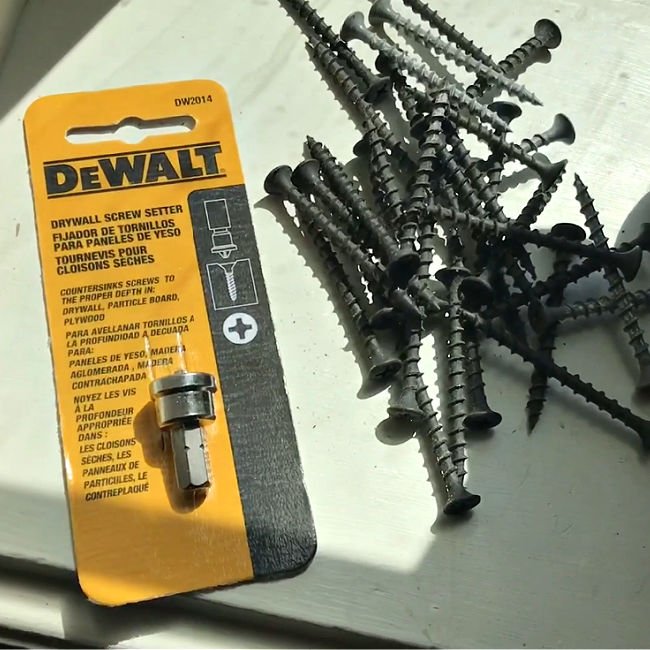
- Use a Drywall Screw Setter Bit to easily set drywall screws at the perfect depth.
- You can use partially set framing nails, or similar, to hold drywall up while you screw it in place.
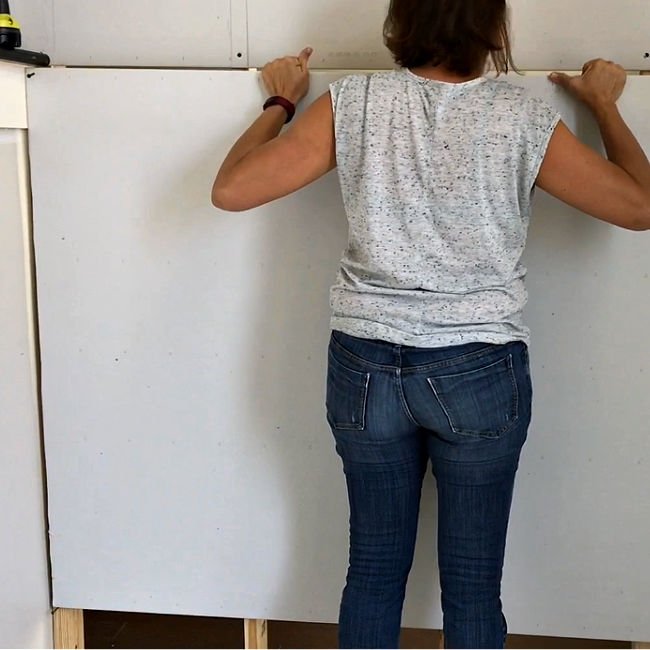
- Start by hanging drywall horizontally from the ceiling. Hanging drywall horizontally has been shown to reduce material usage and the amount of seams to tape and patch.
- Hang the drywall all the way across the wall before moving to the next row beneath it.
- Stagger the joint on that row for less obvious joints.
- Starting at the ceiling and working down a wall keeps most of the seams within easy reach for patching. It will also, in most rooms, keep the seam below eye-level so that any imperfections are less obvious.
- When you hang drywall you need 7 screws on the left and right sides, spaced 8″ apart. And, 4 screws along each stud in the center, spaced 16″ apart.
- Use your 4′ level to mark the studs with pencil to make it easy to place the screws.
- Keep all screws along the edges 3/8″ away from the edge to avoid damaging the drywall.
- You always need studs at each end of your drywall, the drywall should be supported by at least 1/2 (3/4″) of the length of a stud on each end. You can screw a new stud into place when you don’t have a support.
Does Drywall Have to End on a Stud
Yes, drywall does have to end on a stud. You need to have the left and right sides of drywall halfway over a stud.
A stud is 1 1/2″ thick, so the drywall should cover 3/4″ of that so that the next piece of drywall also has 3/4″ to attach to.
Also, if you are cutting out corners to fit a space, you really need any corners of drywall ending on a stud too.
That’ll give that cut out the strength and support it needs to avoid extra damage if that spot is ever bumped hard enough at that spot.
That’s it, guys. Generally your next steps would be to tape the seams and mudding. I will actually be covering my drywall with some DIY Paneling and Wainscoting.

More DIY Projects For You
You can see what this finished wall looks like now in this How to Remove an Arched Doorway in a Wall post. Grab the printable version of the steps for how to cut drywall and hang drywall below.
UPDATE: Check out how different this Foyer looks now in the Before and After 2 Story Foyer Makeover post!
You might also like this DIY for How to Whiten Tile Grout. It’s a Game Changer!

If you have or are thinking about installing marble tile in your shower, check out the easy DIY steps I’m using to clean marble tile in a shower that won’t damage it.

And, if it is time to Stain your Front Door, check out these steps for how I restain a front door without stripping it or removing it. 🙂
Here’s my tips for when to Use Caulk vs Wood Filler on Wood Trim.
And, How to Fill the Gap Between Cabinet and Floor with Caulk.
Feeling inspired? Now that you’ve read these tips for how to cut drywall and hang drywall, you can do it too. Let me know if you have questions.
Don’t forget to sign up for the Abbotts At Home email newsletter to get DIY, Remodeling, and Crafty ideas in your inbox.

Stephanie Abbott has been remodeling homes, updating & building furniture, and working on DIY home maintenance and cleaning tips for over 20 years. Her remodeling has been featured in Better Homes and Gardens Magazine. And, her DIY YouTube channel has had more than 8 million views.
Most of the DIY tutorials and videos on this site focus on beginner to intermediate level DIY Projects that can be done in an affordable way without high-end, expensive tools. All of the cleaning tips on this website have been tested in her home.