
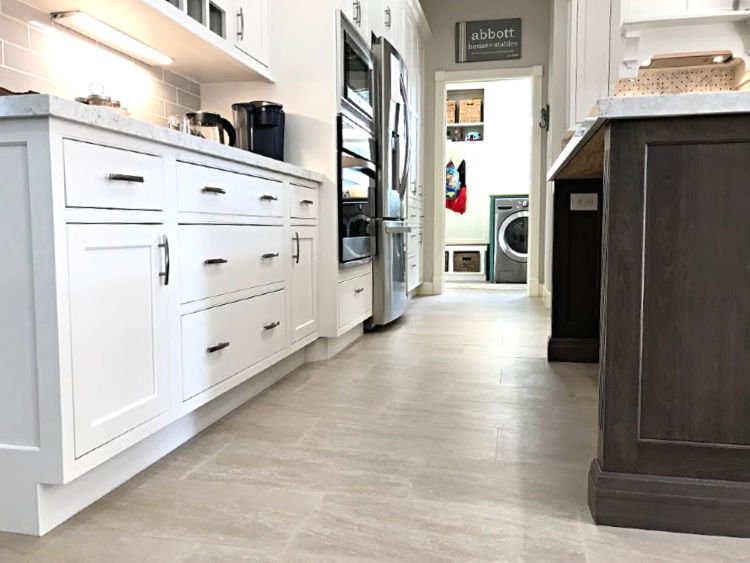
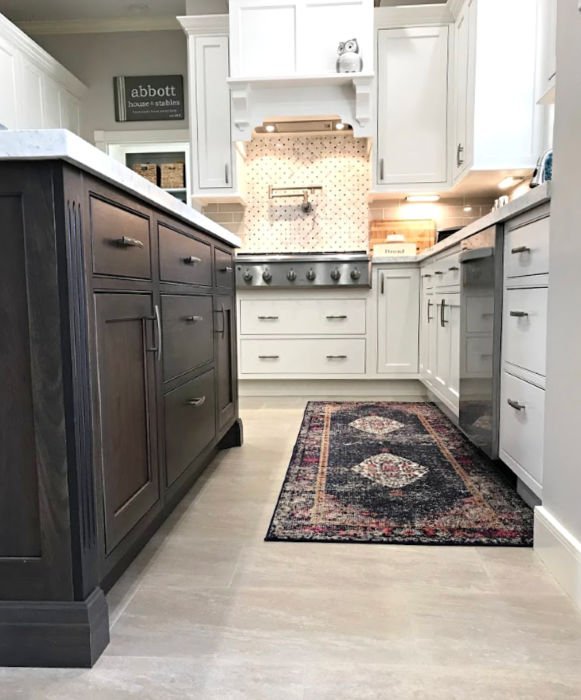
I LOVE this EASY DIY for how to whiten grout. You can make your grout LOOK NEW again and seal it from stains with this grout whitener!
How to Whiten Grout
I’m so glad I found this easy DIY for grout, guys! Painting Grout Lines with Grout Renew gets rid of grout stains that won’t scrub clean anymore.
And, the built in grout sealer helps keep the grout white and easier to clean longer.
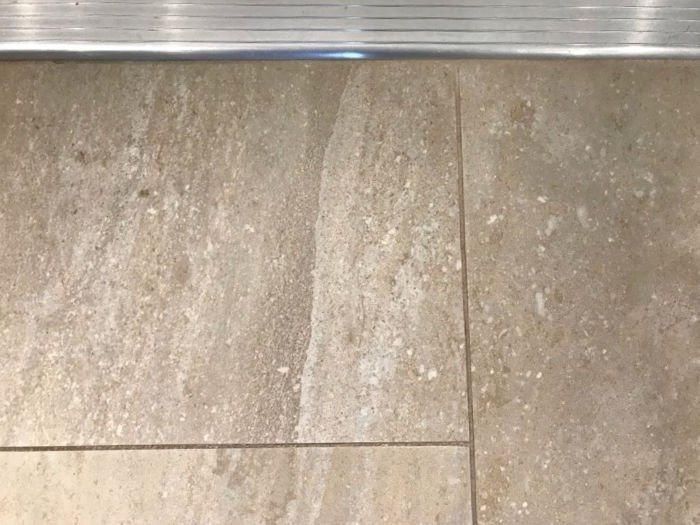
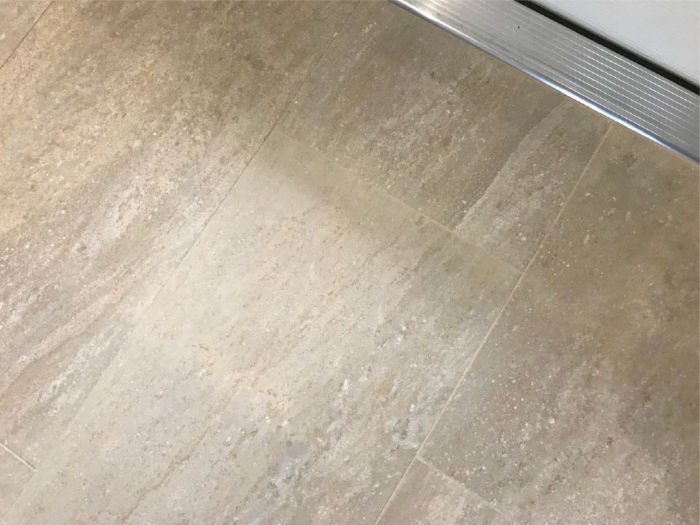
A few years ago, I spent a week trying to scrub the grout clean in my guest bathroom. I tried probably 10 different products and Pinterest tricks.
But nothing really worked until I found Polyblend Grout Renew. This product is A-Mazing.
Grout Renew can get your grout back to white or even change your grout color to a new color. Amazon has about 30 different shades available. And Home Depot usually has 10ish.
I have to say, I am absolutely not sponsored by any product for this post. I really just like Grout Renew. And, I tried a similar product from Lowes that I actually thought was harder to use. Grout Renew is my go to.
Now on to the steps for How to Whiten Grout!
Table of contents
What You’ll Need
- Broom or Vacuum
- Steam Mop or Other Tile Cleaner
- Grout Haze Remover and Nitrile Gloves
- Polyblend Grout Renew, almost 30 colors available
- Clean Dry Rags, Old Toothbrushes or similar, Disposable cups
How To Make Grout White Again
BEFORE STARTING, be sure to read all instructions and warnings on the products. There may be something about your type of tile that requires extra steps. So, make sure you don’t miss anything.
Step One
Start with a clean floor. My normal weekly routine is to Steam Mop after sweeping the floor with a broom. Steam Mops are a good way to sanitize a floor without harsh chemicals.
Step Two
Then apply the recommended Grout Haze Remover to all grout lines. Check the Polyblend Grout Renew Bottle for recommendations for which grout haze remover to use.
Since I do not have Cement Tile, I used the Non-Cement Grout Haze remover. I poured some of it in an old container to make it easy to dip my brush in. Do not pour it in a container you will eat out of again.
Grout Haze Remover is a strong chemical. You have to wear Nitrile gloves when applying it. Nitrile gloves can usually be found in the paint section of your hardware store. Or, you can find Nitrile gloves on Amazon.
Wipe away the grout haze remover with clean dry rags, as you work. You can see how I apply and wipe off the grout haze remover in the how to whiten grout video below.
Step Three
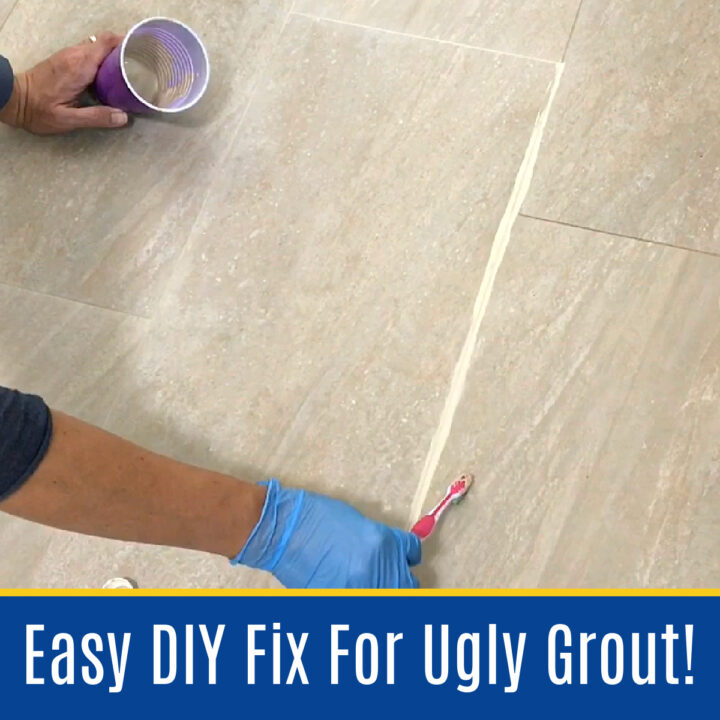
After giving the grout haze remover time to dry, you can start applying Grout Renew. I like to use an old toothbrush to apply Grout Renew.
I think it’s easier to pour some grout renew into a plastic cup or small container so that I can dip the brush in.
Then I lightly scrub the Polyblend grout renew into the grout lines with the brush. This will help push the grout renew into the pours of the grout. That will help seal out future stains a bit longer too.
Make sure you don’t get too much grout renew on the tile, that’ll make it easier to wipe off. Work in small sections, you need to wipe the grout renew off the tile before it dries.
Have a bunch of clean, dry rags on hand to wipe the grout renew off the tile. Again, you can see how I do this in the ‘how to whiten your grout’ video link above, if it’s confusing.
When you wipe the tile, 90% of the grout renew will stay on the grout.
So, you don’t really have to worry about accidentally wiping it away. BUT, you can always do a second coat of grout renew in spots that need it. No need to wait for the first coat to dry, just apply it right then.
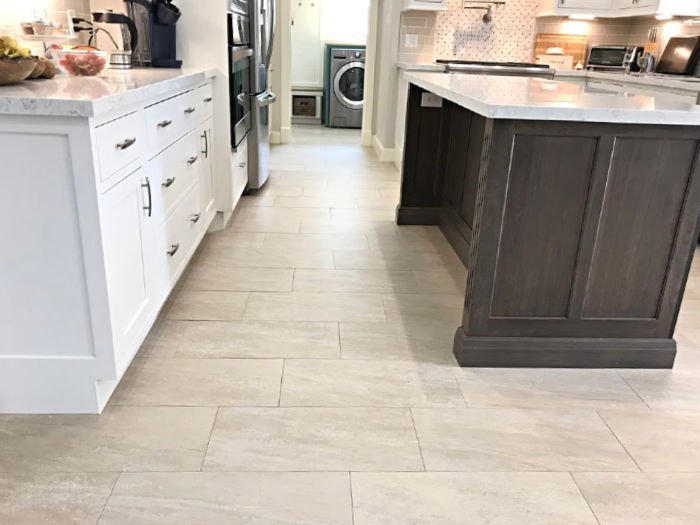
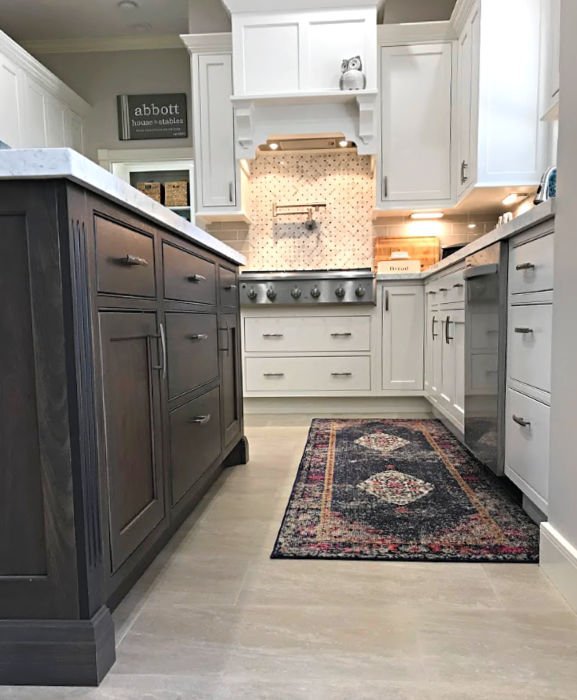
After you finished applying the grout renew to the whole floor, try to keep it dry for a few days so that the grout renew can completely cure. That’s it. Your done. Enjoy that new, whiter grout look!
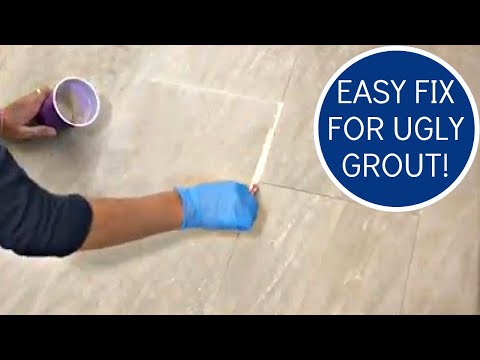
How To Make Grout Look New – Video
If any of the steps above are confusing, watch this short video to see how I did it.
How Long Does Grout Paint Last
I’m thinking I’ll have to do this in my high traffic kitchen every 2 to 3 years, or so. Some bathrooms might need it every 2 to 3 years too.
But rooms with low traffic and spills will last for much longer. Yay! I love how long this product lasts and how amazing it looks.
My grout seems to stay cleaner, longer after using grout renew too. I think it seals the grout better than it was sealed as fresh new grout. It wipes clean easier too.
How to Clean Grout After Using Grout Paint
Grout Renew has a built in grout sealer that helps prevent hard to remove stains. That built in sealer sort of closes up the pores in the grout. Which makes it easier to clean up spills and dirt on the grout.
I clean my floor tile and grout by using a Bissell Steam Mop once a week. I spot clean dirt and spills with just Dawn dish soap mixed with warm water and a rag.
Those 2 simple steps will get up almost anything that spills and keep your grout looking great!
I even use Dawn dish soap as a step to clean my marble shower tile and to clean a shower glass door. It’s a great mild solvent-free cleaner that is safe on most surfaces.
Just be sure to not use a citrus scented dish soap on something like marble. Some of those can contain citric acid that can etch marble.
If you prefer to use a stronger cleaner on your grout, the company that makes Polyblend Grout Renew recommends using TileLab Grout & Tile Cleaner or AquaShield Cleaner and Resealer. Other non-solvent cleaners can also be used.
Just remember, you should not scrub the grout with a stiff bristle brush.
More Home DIY Projects You Should See
Check out my post on How to Clean Grout after Using Grout Paint to see how to keep your grout clean longer and which popular grout cleaning hacks are actually bad for grout!
You can find more info about grout renew in this Does Grout Renew Work post.
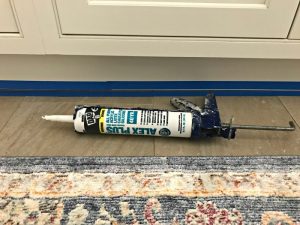
Thanks for checking out my DIY for How to Whiten Your Grout. If you’re looking for another DIY Kitchen Update? If you have crumbly grout along your counters, here’s How to Caulk A Kitchen Counter. 🙂
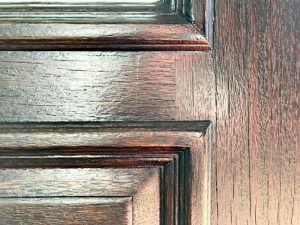
Here’s How to Restain a Front Door without removing it or stripping.
Learn how to fill that Gap Between the Cabinets and Floor here.
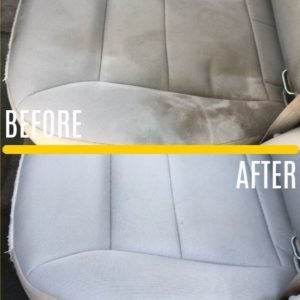
Here’s How to Clean Car Seats At Home, the easy way. This is a-mazing!
See how easy it is to Clean Marble Tile in a Shower here.

If you’re into woodworking, check out my Easy DIY Drawer Boxes too.
Feeling inspired? Now that you’ve seen my tutorial for How to Make Grout Look New, you can do it too.
Let me know if you have questions. Don’t forget to sign up for the Abbotts At Home email newsletter to get DIY, Remodeling, and Crafty ideas in your inbox.

Stephanie Abbott has been remodeling homes, updating & building furniture, and working on DIY home maintenance and cleaning tips for over 20 years. Her remodeling has been featured in Better Homes and Gardens Magazine. And, her DIY YouTube channel has had more than 8 million views.
Most of the DIY tutorials and videos on this site focus on beginner to intermediate level DIY Projects that can be done in an affordable way without high-end, expensive tools. All of the cleaning tips on this website have been tested in her home.