
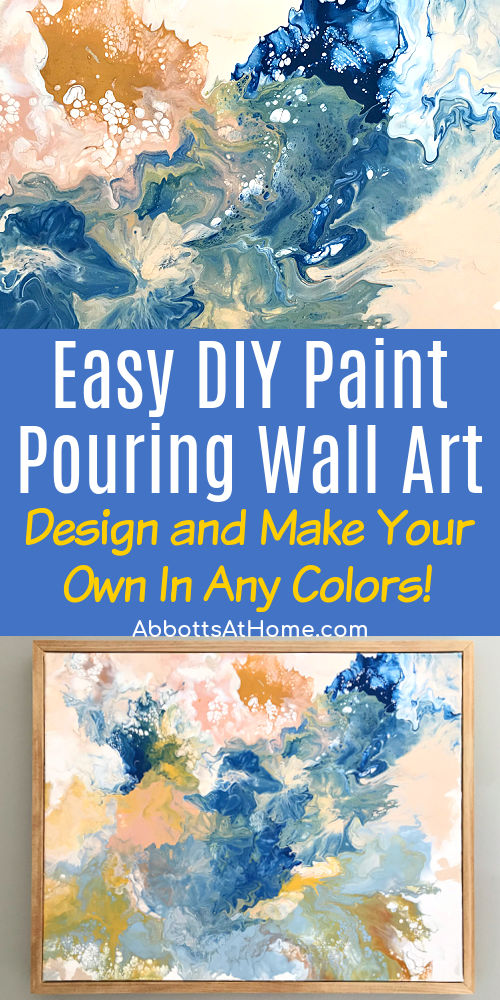
Make your own stunning canvas art for less than $20 with this pretty DIY Acrylic Paint Pouring Wall Art Idea. I love this DIY, guys!
DIY Acrylic Paint Pouring Wall Art
Hi again! I’ve recently had some fun making new wall art for my Dining Room and the Master Bathroom I just remodeled.
Today I’m sharing the DIY Acrylic Paint Pouring Wall Art Idea & Tutorial behind the pair of canvases I made for my Dining Room. I absolutely love how these turned out!
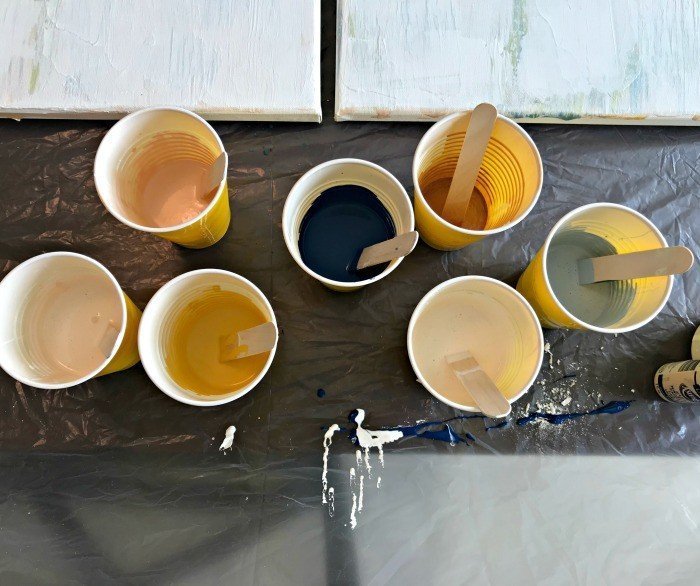
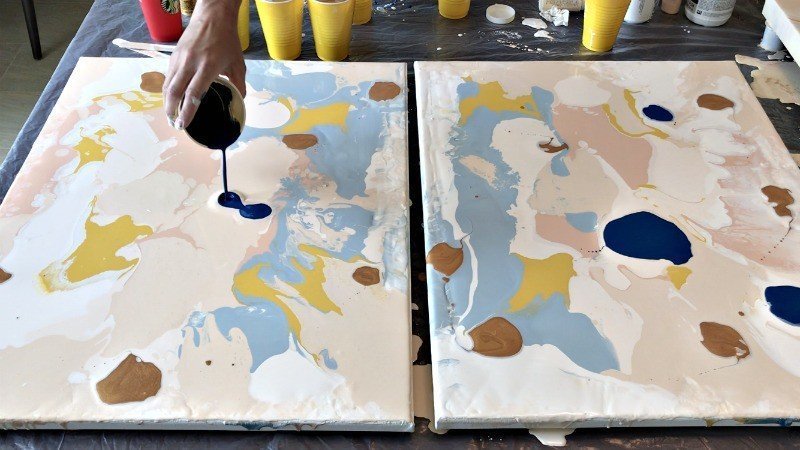
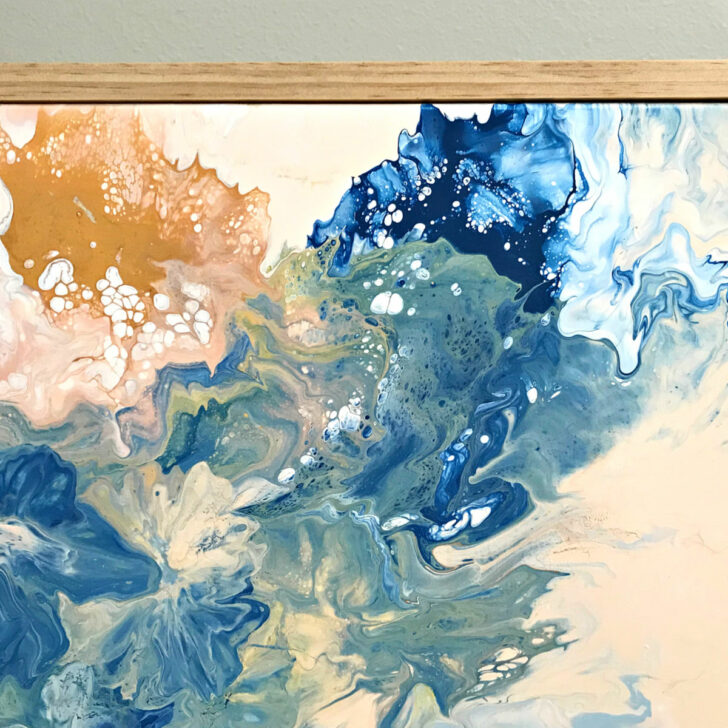
For this pour, I used peach, pale peaches, pale pinks, greyish blue, blue, and golds. I custom mixed these colors to go together.
I recommend always mixing all your paints and holding the craft sticks you mix together, in the light.
That’ll help you pick the right shades to make sure the colors work. They can look a bit different inside those colored plastic cups I use for the pour.
You can find the tutorial for the 1×2 wood frames in my last post.
Watch the DIY Dutch Pouring Wall Art Video
Materials Needed
- Acrylic Paints – I love this Big Variety Pack
- Art Canvas or 1/4″ Plywood
- Some Cups and Craft Sticks for Mixing
- Drop Cloth
- Water and/or Floetrol
- Blow Dryer – This might get paint on it. So, use a cheap one.
- Matte Mod Podge & Foam Brush
Acrylic Paint Pour Setup & Steps
Step One
Prep for this DIY Acrylic Paint Pouring Wall Art by applying a base coat of paint. White acrylic will work fine on a canvas. Wood needs a coat of a good latex primer to protect it from water. Let that base coat dry.
Step Two
Pick 4 to 8 paints to use in your pour. Use more of the colors that you want to see most and less of the accent colors.
Mix each color in a cup with enough water to make it flow off the craft stick when you pick it up out of the cup.
I eyeballed it, but I’m guessing I used 3 parts paint, 1 part water, and 1 part floetrol for this pour.
For my last pour, I only used water and I don’t really see a difference in result. So, either would work.
It’s hard to tell exactly how much paint you need. But too much mixed up is always better than not enough. You want to have enough paint that it can be moved across the canvas with a blow dryer.
Step Three
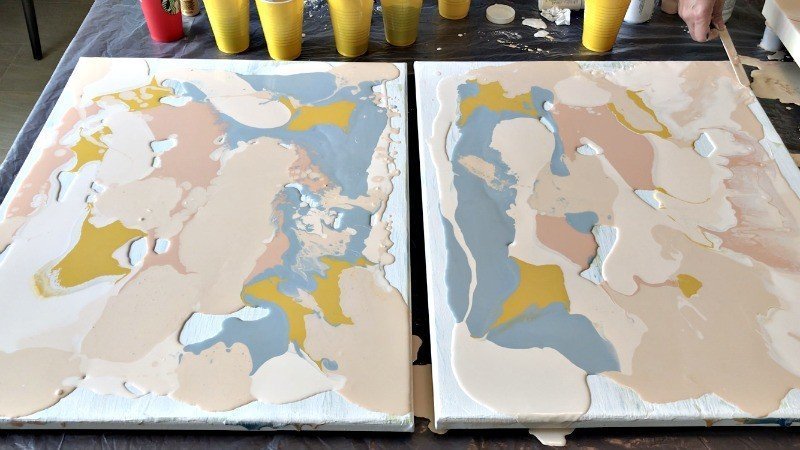
Prop your canvas up off the table top, and make sure it’s flat.
Now, on to the fun part of this DIY Acrylic Paint Pouring Wall Art Idea. Pour the main colors, that you mixed the most of, in random circles, lines, drips, etc. across the canvas.
Follow that up with the accent colors, that you mixed less of, adding some wherever you feel like it should go.
Use craft sticks when necessary, to spread the paint into any spots still missing paint. Work fast so that the paint doesn’t start to dry.
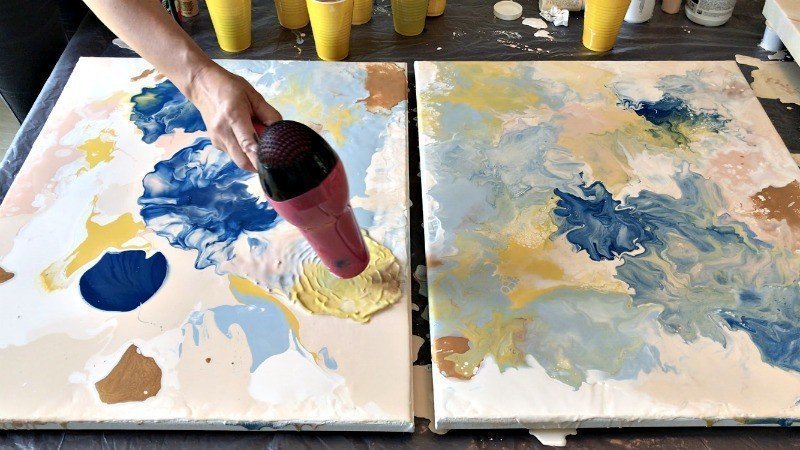
Step Four
Once the surface is full of wet paint, you’re ready for the blow dryer. Turn it on high and blow across the surface from any direction to find a look you love.
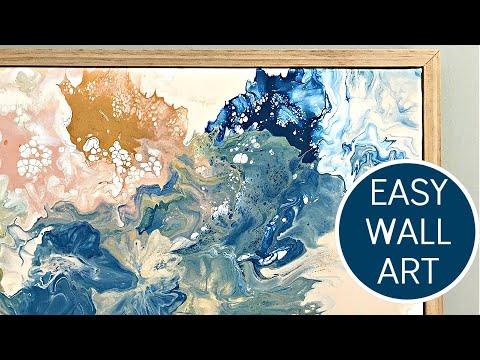
You can see how I did it in the video. 🙂
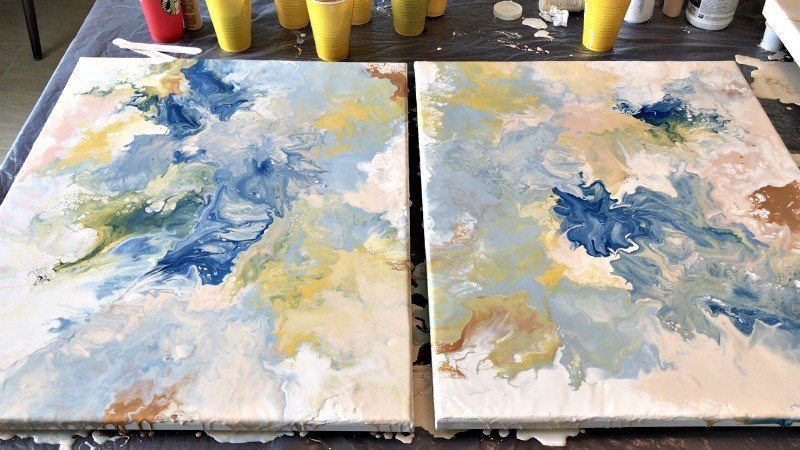
Step Five
Let your new masterpiece dry for 36 to 48 hours. When it’s completely dry, set the paint with a matte mod podge. And, you’re done!
I have to say that canvas is flexible and paint pours leave a thick layer of paint on the canvas.
That flexible canvas and thick paint can sometimes make hairline cracks in the paint.

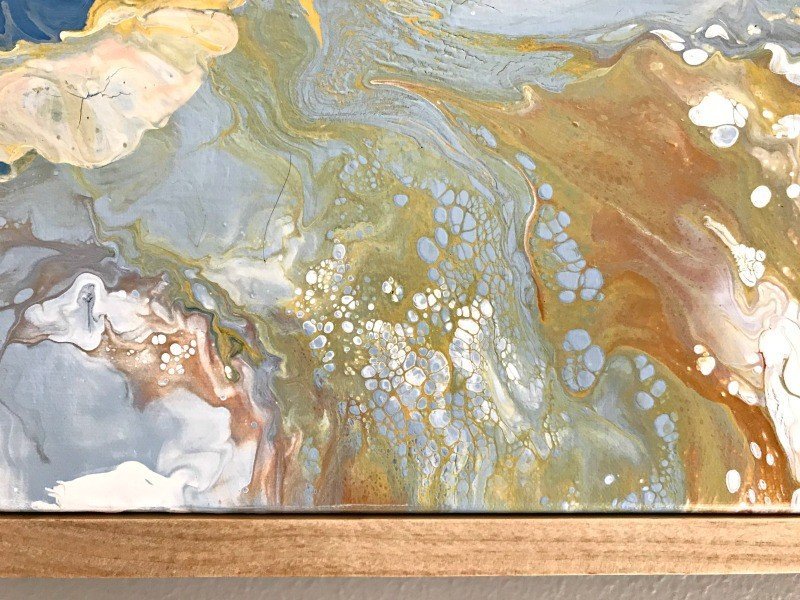
Even with a few cracks the art still looks beautiful, but I think using 1/4″ plywood works best for avoiding any cracks.
The mod podge helps hold everything in place on canvases, long term.
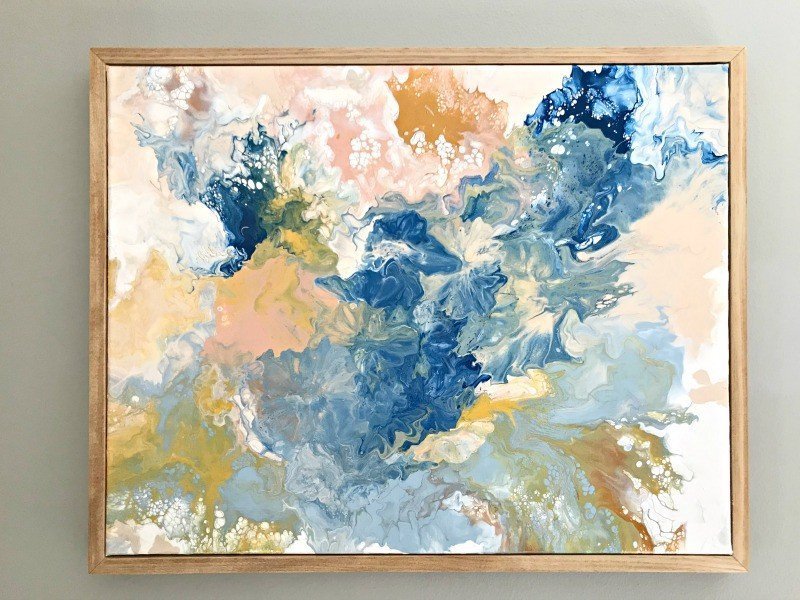
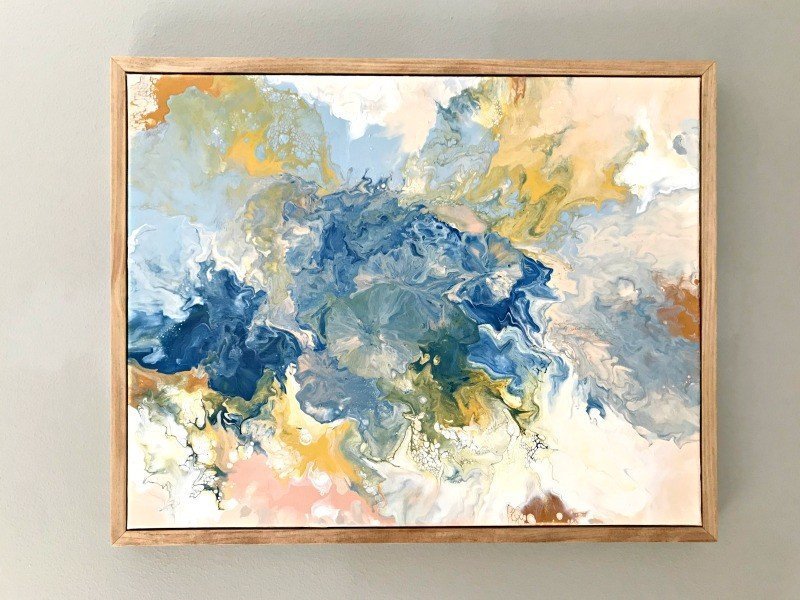
Check out my DIY Simple Wood Frame to see how I framed these canvases.
That’s it for this DIY Acrylic Paint Pouring Wall Art Idea & Tutorial. Good Luck on your pour. 🙂
DIY Acrylic Paint Pouring Wall Art

Make your own stunning art for less than $20 with this pretty DIY Acrylic Paint Pouring Wall Art Idea & Tutorial. I love this DIY, guys!
Materials
- Acrylic Paints - I love this big pack
- Art Canvas
- OR 1/4" Plywood to Pour Paint On
- Cups and Craft Sticks for Mixing
- Dropcloth
- Water and/or Floetrol
- Blow Dryer
- Foam Brush
- Matte Mod Podge
Instructions
Step One
- Prep for this DIY Paint Pouring Wall Art Idea by applying a base coat of paint. White acrylic will work fine on a canvas. Wood needs a coat of a good latex primer to protect it from water. Let that base coat dry.
Step Two
- Pick 4 to 8 paints to use in your pour. Use more of the colors that you want to see most and less of the accent colors. Mix each color in a cup with enough water to make it flow off the craft stick when you pick it up out of the cup.
- I eyeballed it, but I'm guessing I used 3 parts paint, 1 part water, and 1 part floetrol for this pour. For my last pour, I only used water and I don't really see a difference in result. So, either would work.
- It's hard to tell exactly how much paint you need. But too much mixed up is always better than not enough. You want to have enough paint that it can be moved across the canvas with a blow dryer.
Step Three
- Prop your canvas up off the table top, and make sure it's flat. Now, on to the fun part of this DIY Paint Pouring Wall Art Idea. Pour the main colors, that you mixed the most of, in random circles, lines, drips, etc. across the canvas. Follow that up with the accent colors, that you mixed less of, adding some wherever you feel like it should go.
- Use craft sticks when necessary, to spread the paint into any spots still missing paint. Work fast so that the paint doesn't start to dry.
Step Four
- Once the surface is full of wet paint, you're ready for the blow dryer. Turn it on high and blow across the surface from any direction to find a look you love. You can see how I did it in the video. 🙂
Step Five
- Let your new masterpiece dry for 36 to 48 hours. When it's completely dry, set the paint with a matte mod podge. And, you're done! I have to say that canvas is flexible and paint pours leave a thick layer of paint on the canvas. That flexible canvas and thick paint can sometimes make hairline cracks in the paint.
- Even with a few cracks the art still looks beautiful, but I think using 1/4" plywood works best for avoiding any cracks. The mod podge helps hold everything in place on canvases, long term.
Notes
I used peach, pale peaches, pale pinks, greyish blue, blue, and golds in this pour. I custom mixed these colors to go together.
I recommend always mixing all your paints and holding the craft sticks you mix them with together, in the light, to make sure the colors work.
They can look a bit different inside those colored plastic cups I use for the pour.
Looking for another pour tutorial – that was a near huge fail?? Check out my Canvas Upcycle video, then go here to see the full DIY Old Canvas Pour tutorial and all of the pictures from that pour. See more Quick 2 Hour DIY Projects here.
More DIY Projects You Should See
Looking for more easy DIY home decor? Check out this Easy DIY Resin Tray Tutorial and Video.
Or, this Paint Pour Tutorial & Video I used for pretty drawer bottoms.

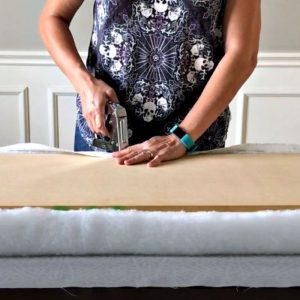
Check out this post to see my easy steps for How to Make a No Sew Bench Seat tutorial
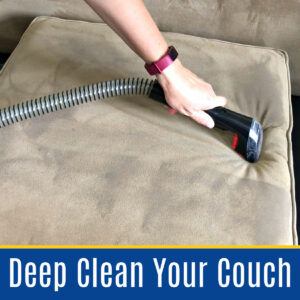
I love this easy DIY for how to clean a couch at home.
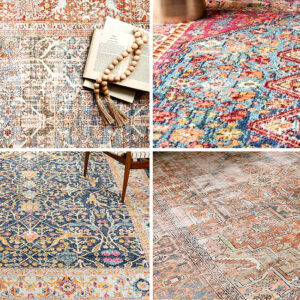
And, here’s my favorite picks for the best area rugs on a BUDGET. They’re beautiful, big, and budget-friendly.
Thanks for checking out my DIY Acrylic Paint Pouring Wall Art Idea & Tutorial. Please let me know if you have questions.
Don’t forget to sign up for the Abbotts At Home email newsletter to get DIY, Remodeling, and Crafty ideas in your inbox.

Stephanie Abbott has been remodeling homes, updating & building furniture, and working on DIY home maintenance and cleaning tips for over 20 years. Her remodeling has been featured in Better Homes and Gardens Magazine. And, her DIY YouTube channel has had more than 8 million views.
Most of the DIY tutorials and videos on this site focus on beginner to intermediate level DIY Projects that can be done in an affordable way without high-end, expensive tools. All of the cleaning tips on this website have been tested in her home.