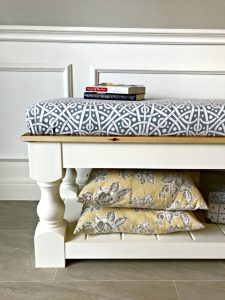
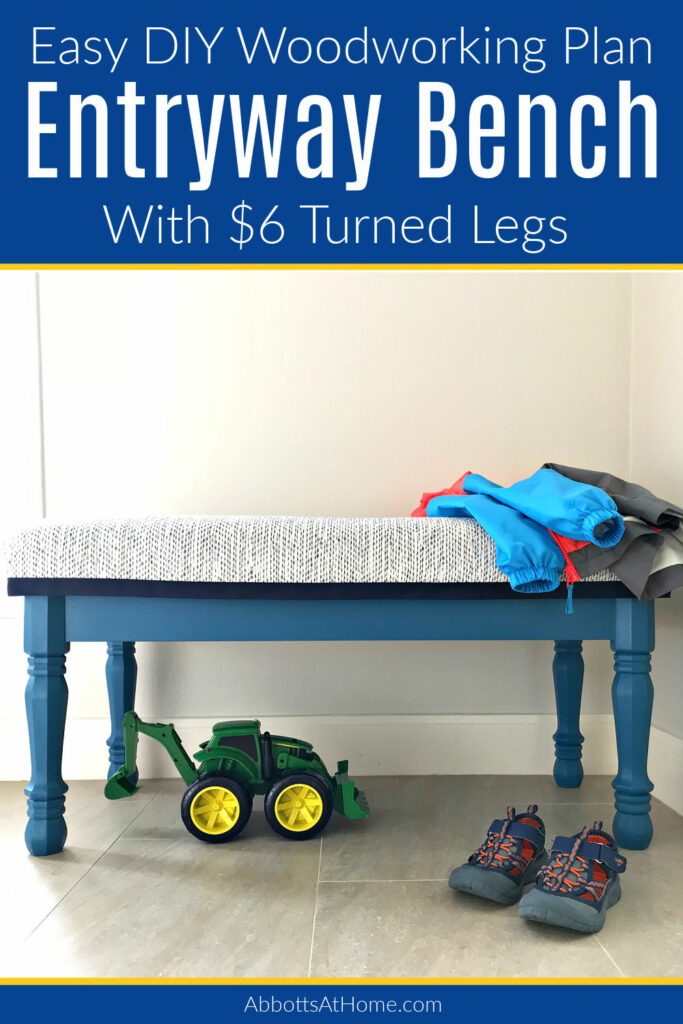
I LOVE this easy DIY Upholstered Entryway Bench Build Plan made with cheap turned legs. It’s a beautiful bench you can paint or stain.
Easy DIY Upholstered Entryway Bench Build Plan
Hi guys! Today I have a beautiful small bench build that’s perfect for anyone that is new to woodworking OR anyone that just wants a quick and easy build plan.
This bench is such an easy build for anyone new to woodworking. It’s simply store bought turned legs connected together with 4 1″x3″ boards (rails) to make the frame. Then the top is a plywood build. It almost couldn’t be any easier than that.
For this Easy DIY Upholstered Entryway Bench Build Plan, I picked up some pretty $6 table legs from Lowe’s. $6 for turned legs, guys! I can’t pass a deal like that up.
You can use any style of leg you like, just remember to make the height of the bench somewhere between 16 and 19″ high. That height makes the bench a comfortable seat height for most people.
I added a No Sew Bench Seat to this build. But this bench would look great with a simple wood top too. In fact, I almost went with 2″ thick stained cedar, but the hubby wanted a soft bench for our entryway. It was easy enough to upholster this seat. And, I loved this leftover fabric from my DIY Upholstered Twin Headboards, anyway. 🙂
I build benches a lot around here. My DIY L-Shaped Outdoor Bench and my DIY Modern Farmhouse Bench are my 2 most popular posts.
I also have a great DIY Outdoor Sofa from 2×4’s that I love. And this sweet DIY Upholstered Ottoman that is perfect in front of wing chairs and couches.!
Let’s get this DIY Upholstered Entryway Bench Build Plan started!
Tools Needed
- Saw, I used a Miter Saw for the straightest possible cuts
- Power Drill
- Brad Nailer – 1 of my favorite, most used tools for building and home remodeling
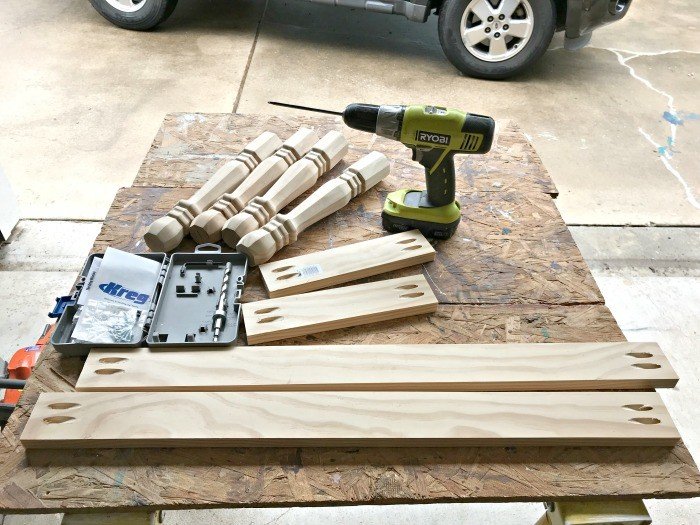
- Kreg Jig, I use the Kreg Jig R3, and screws
- Kreg Right Angle Clamp
- Wood Glue
- Sandpaper
- Wood Filler
Materials Needed
- 2 – 11″ long 1″x3″ dimensional lumber, I used Select Pine
- 2 – 30″ long 1″x3″ dimensional lumber, I used Select Pine
- 15 3/4″ x 34 3/4″ x 3/4″ Cabinet Grade Plywood
- 4 Turned Wood Legs – I Used These from Lowe’s OR Amazon Has a Great Set of Turned Legs
Hello, DIY friends! You can find the FREE DIY Entryway Bench Build Plans here. These plans are for personal use only. They cannot be shared or sold without my permission. Please let me know if you have any questions and enjoy your build! 🙂
The printable plans include Full Steps and Measurements, 3D Drawings, and Materials List.
DIY Entryway Bench Woodworking Steps
The finished bench will be 34 3/4″ wide and 15 3/4″ deep. Depending on the legs you use and the type of top you decide to build, the height of the bench will be between 15″ and 19″ high.
Step 1
Cut 2 – 11″ long pieces of 1″x3″ and 2 – 30″ long pieces of 1″x3″. Then put 2 pocket holes on the ends of each of the 4 pieces.
Step 2
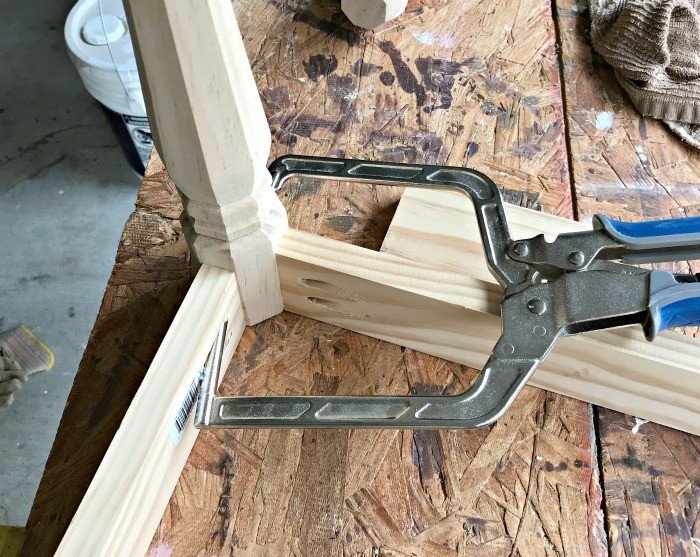
Wood glue, clamp, and screw one of the short rails (11″) to a leg. Then do the same for the leg on the other side of the rail. Make sure that the top of the rail is level with the top of the legs.

Step 3
Follow the same steps to connect the other short rail to the other 2 legs. Make sure you use wood glue and screws for a strong frame.
Step 4
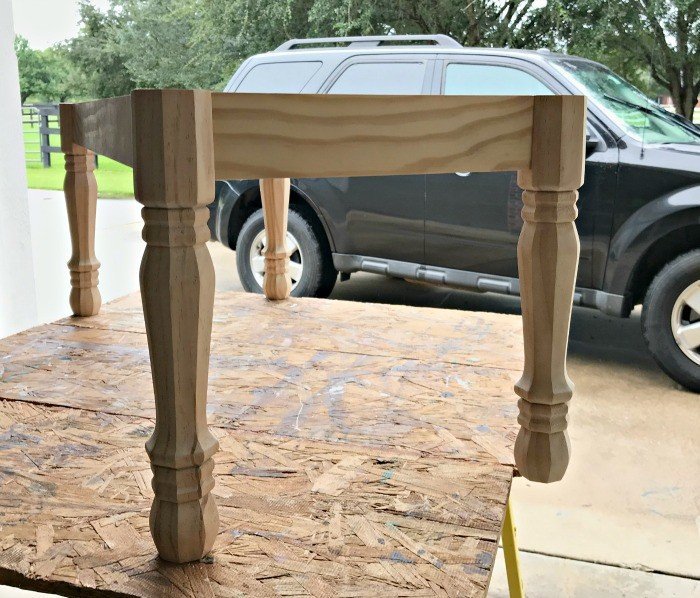
Now that each of the short sides of this DIY Entryway Bench Plan are built, connect them with the long sides (also called rails) using wood glue and screws.
Step 5
Now you have a completed frame. You can add the plywood top. Use the 15 3/4″ x 34 3/4″ x 3/4″ Cabinet Grade Plywood as the wood top. Glue and brad nail your seat board to the frame. Make sure it is centered on the frame before nailing it in place.
If you want this bench to have a wood top, you can iron on some edge banding to hide the plywood edge. Or, hide the edges with molding like I did on my DIY Coffee Table Build Plans with Turned Legs.
If you want an upholstered seat on your bench just leave the plywood top as is after gluing and nailing it down. I have the steps for the easy no sew upholstery in the next section of this tutorial.
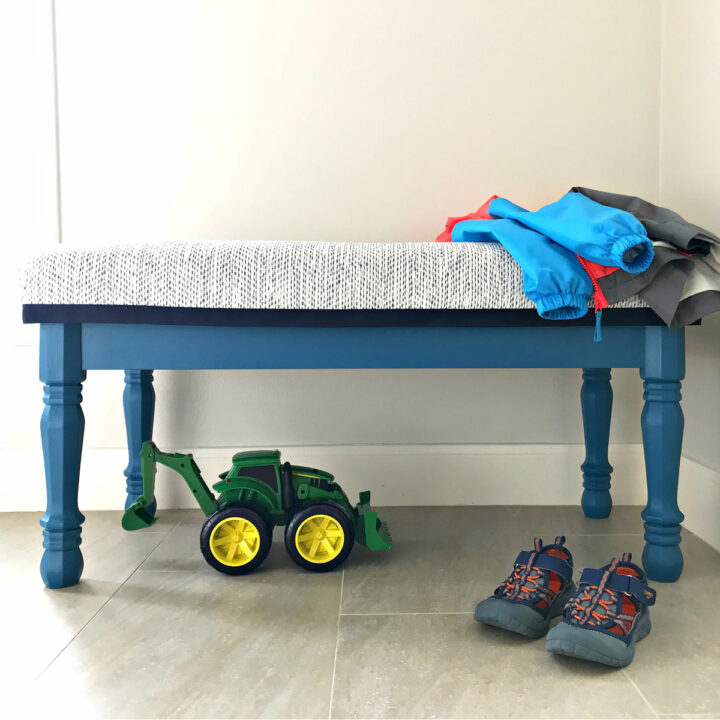
Now that your Easy DIY Entryway Bench is built, you’re ready to finish it off. 🙂
Painting Steps
I painted the frame of my entryway bench with 2 coats of Behr’s Mammoth Mountain Eggshell using this DIY chalk paint recipe to turn latex paint into quick drying chalk paint.
Be sure to sand with a fine grit between coats. Then I protected the finish with 1 coat of a clear protective finish spray. Spray top coats are just easier with curvy legs. 🙂
This color of paint is probably not for everyone. BUT, I have more than 25 step by step beginner furniture painting tutorials if you want more ideas for painting your DIY wood bench.
How to Upholster the Bench Top Seat
- 3″ thick foam – I always find a great price for this on Amazon
- Extra loft batting
- Spray adhesive
- Staples and Staple Gun – I used my trusty arrow staple gun that I’ve had for ages
- Upholstery Fabric – I used this beautiful Magnolia Home Fabric but I have a list of my favorite fabrics if you’re looking for something different
- Ribbon for trim and fabric glue
Step 1
Cut the 3″ foam to the exact size of your seat base. I use my large bread knife for this. Then use Spray Adhesive to glue the foam to the seat base.
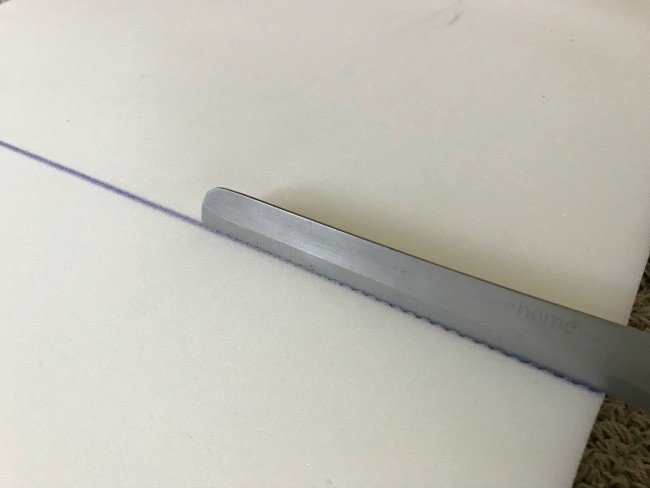
Step 2
Cut your batting to fit over the foam on the top and sides. You just want it to reach the bottom of the foam, but not go over. Spray adhesive to the foam top. Spread the batting smoothly across the top. Then spray each of the 4 sides and glue them down. You should have 4 corners sticking out now. Trim that extra batting off and any excess at the bottoms.

Step 3
Cut your fabric to hang about 2″ lower than the seat base on all 4 sides. Fold the fabric under and staple it directly to the seat base. You want it to be pulled tightly across the top.
So, I always start by doing 3 staples in each short side. 1 in the middle then near each end, pulled tightly. Then I do the same on the long sides.
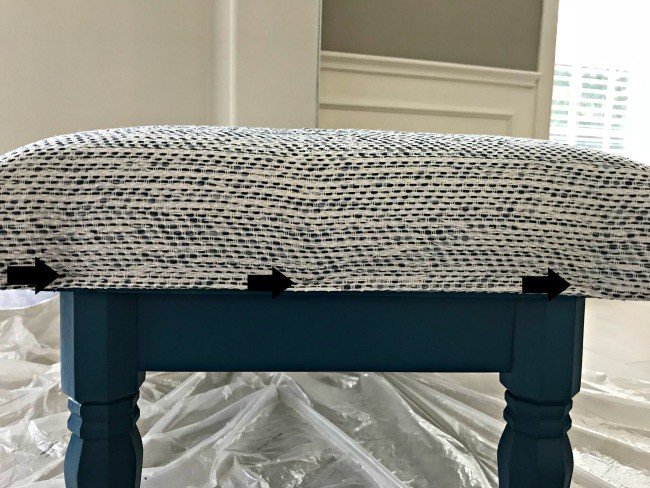
From there, you can keep pulling the fabric tight and folding under across each of the 4 sides. You just want to cover the seat base edge with fabric, but not let it hang under that board.
This is an easy way to upholster a bench top. You can see all of the fabric as you work to make sure it looks great. And, it’s easy to replace later, when you want a new look.
Don’t forget, if you feel like the fabric looks lumpy or messed up, you can always remove the staples in a section to fix it. After I was finished stapling, I used fabric glue to attach a ribbon all around the bench, to hide the staples.
To tell you the truth, I’m not loving that dark blue. I really wanted a powder blue velvet ribbon. I think I’ll order one and replace that soon. Who doesn’t need an excuse to use a velvet ribbon, right?
Side note on the upholstery: You could skip the ribbon and staple the fabric to the bottom of the seat base. You’ll have to work from the bottom to get the staples in. AND, I didn’t like the idea of being able to feel staples if I put my fingers under the seat.
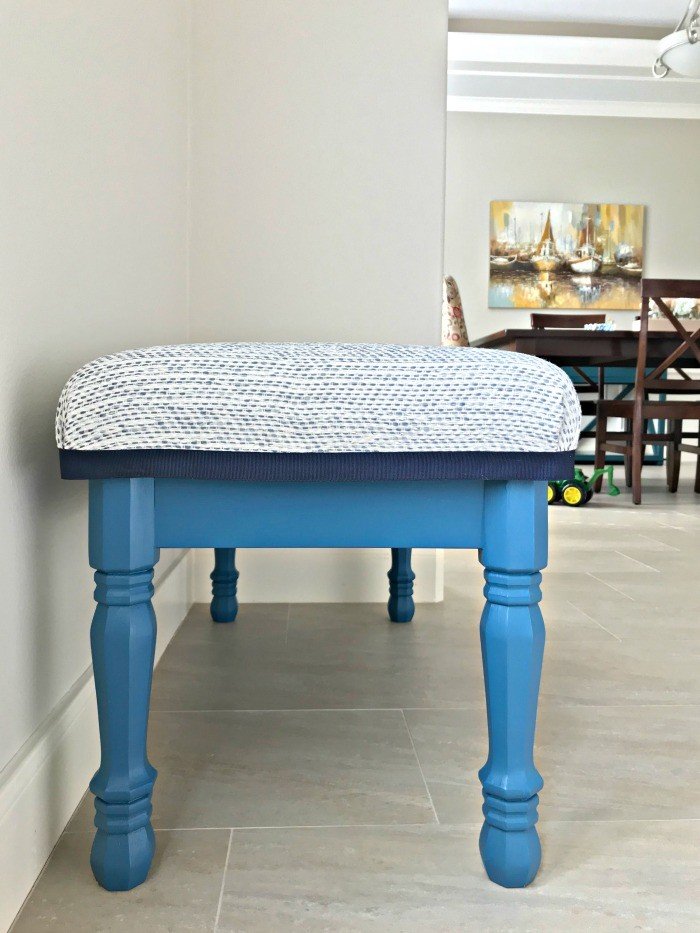
That’s it! So glad you stopped by to see this Easy DIY Entryway Bench Build Plan.
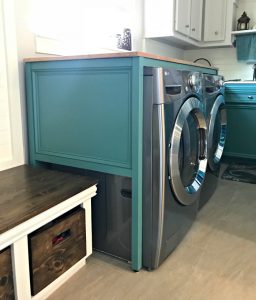
Looking for a a pretty DIY Laundry Table to organize your Laundry Room?
Or this beautiful DIY Chunky Leg Farmhouse Bench for inside your house.
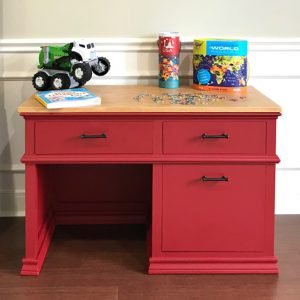
If you need a great little desk for your elementary age kids. Check out this DIY Childrens Desk with Storage Drawers.
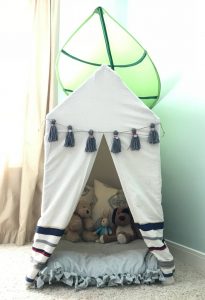
Or, this easy DIY Kids Play Tent from PVC Pipes.
Here’s a few more DIY bench projects that you might like from some of my blogger friends.
No-Sew Tufted Bench Makeover
Farmhouse Bench
5 Quick and Easy DIY Bench Makeovers
3 Chair Bench
Feeling inspired? Grab the printable Quick and Easy DIY Entryway Bench Build Plan and get building. Have fun and let me know if you have questions. Don’t forget to sign up for the Abbotts At Home email newsletter to get DIY, Remodeling, and Crafty ideas in your inbox.

Stephanie Abbott has been remodeling homes, updating & building furniture, and working on DIY home maintenance and cleaning tips for over 20 years. Her remodeling has been featured in Better Homes and Gardens Magazine. And, her DIY YouTube channel has had more than 8 million views.
Most of the DIY tutorials and videos on this site focus on beginner to intermediate level DIY Projects that can be done in an affordable way without high-end, expensive tools. All of the cleaning tips on this website have been tested in her home.


