
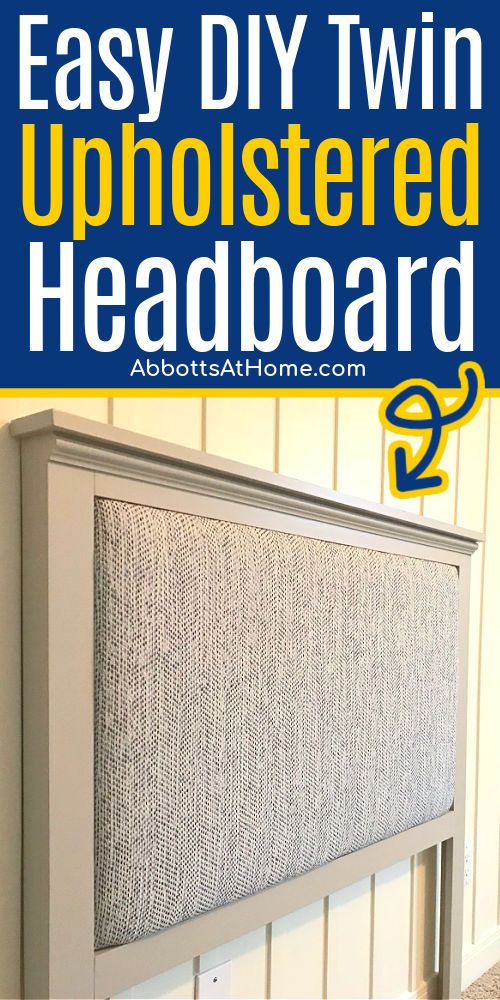
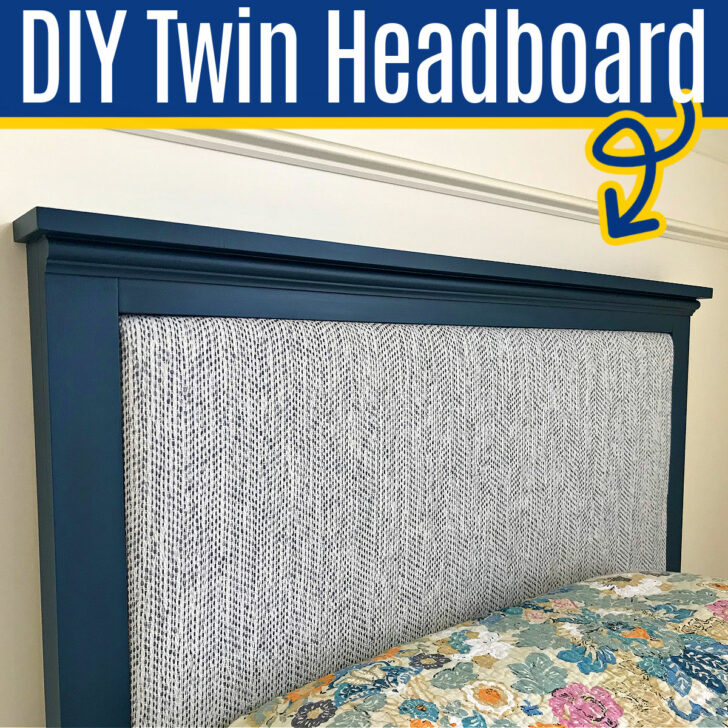
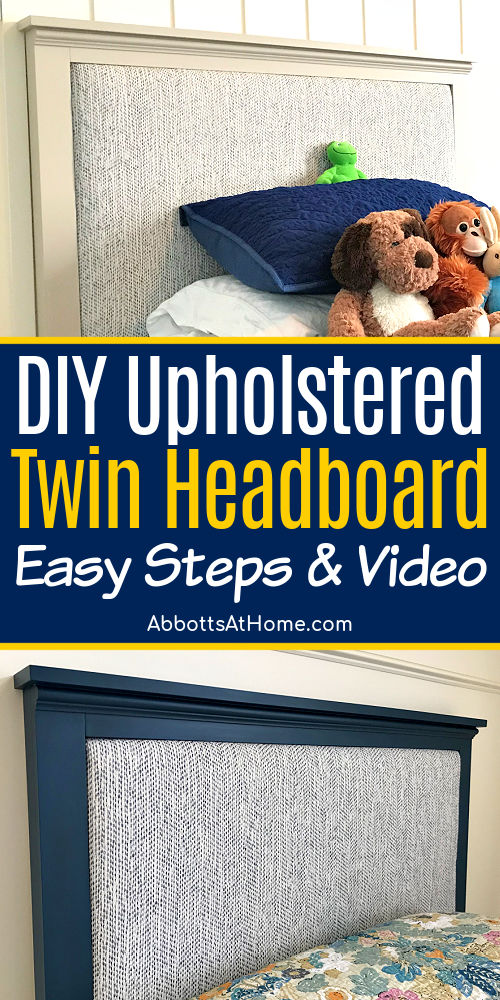
Make this No Sew DIY Twin Upholstered Headboard in just a weekend. This DIY twin headboard has EASY to follow build steps & how-to videos.
DIY Upholstered Twin Headboard
Sometimes it’s hard to find the perfect headboard for your bedroom. Especially when the wood color and upholstery color has to work with the rest of the decor in the room.
But with these build steps, you can make the perfect, custom DIY twin headboard for any bedroom.
I made 2 of these for my boys. It matches their room perfectly. BUT, it can be customized to match any room. Add a beautiful French Toile fabric to this grey and it would make a gorgeous French Country Bed.
Or, go for a medium wood stain and a plaid fabric for a woodsy, cabin look. I’d love a velvet covered headboard in a guest bedroom. Anything works when you’re the designer.
Now, let’s get to the steps for this DIY twin upholstered headboard!
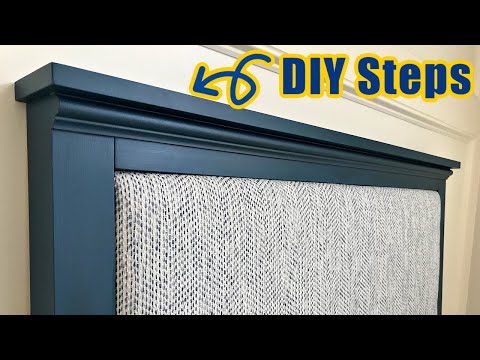
DIY Twin Headboard Build Overview Video
If any of the written steps are confusing, watch this short build overview video. Sometimes seeing something done can really help.
How To Make A Twin Headboard
Materials Needed
- Lumbar – I used Poplar, but Select Pine would work great too! See cut list below for lengths.
- 1 – 1″x2″x8′
- 2 – 1″x3″x8′
- 1 – 1″x4″x8′
- 1 – 8′ long 3/4″ high chair molding to decorate the front
- Wood Glue, Wood Filler, 120-grit Sandpaper, 220-grit Sandpaper
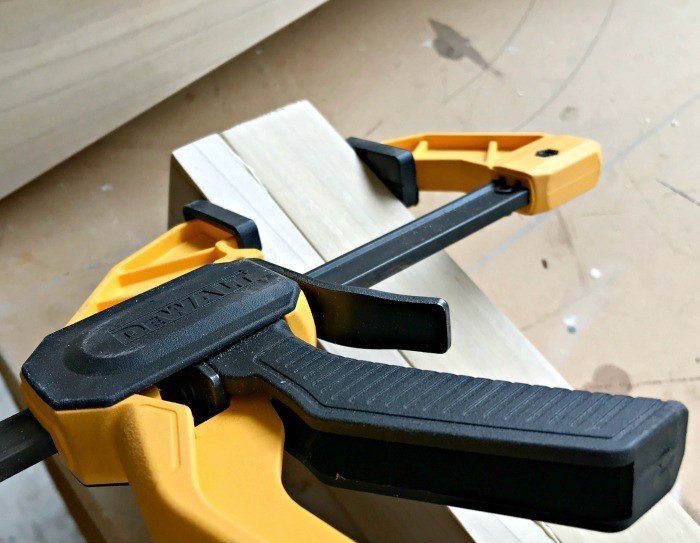
- Tools: Brad Nailer and 1 1/4″ Brad Nails, Kreg Jig and Screws, Miter Saw or Circular Saw, power sander (optional), new foam paint brushes, and clamps (I used these great Dewalt clamps)
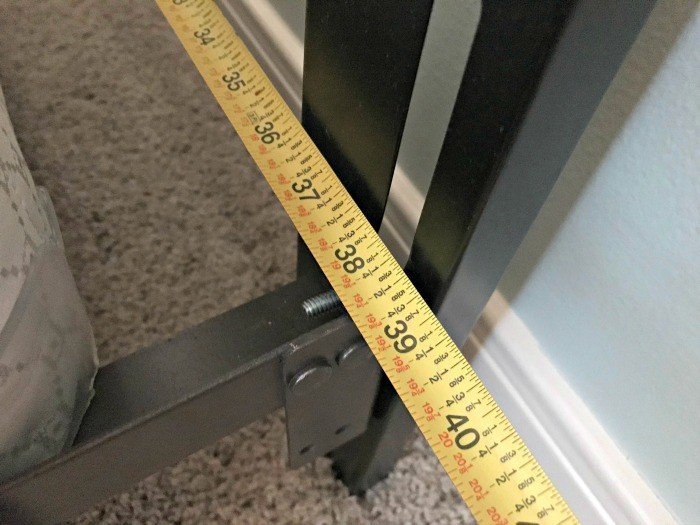
Cut List for the DIY Twin Headboard Frame
- Rails: 2 – 39 1/2″ long 1″x3″ boards
- Front of Legs: 2 – 47 1/2″ long 1″x3″ boards
- Side of Legs: 2 – 47 1/2″ long 1″x2″ boards
- Top: 1 – 45 1/2″ long 1″x4″ board
- Molding: 1 – 44 3/8″ long piece (double-check before cutting to get a perfectly cut piece for your finished frame)
Design Note: I made this headboard to fit outside of the bed frame. I wanted that extra wide, chunky look. If you want to attach the bed frame to the headboard, you can place a third rail at the height of your bed frame and use T-Nuts and Bolts to secure the headboard to the metal bed frame.
Step One – Cut Boards
Make all of the cuts in the cut list above. I use a Miter Saw to get the straightest cuts possible. But other saws can get the job done.
Step Two – Prep Boards
Sand each side and the ends of each cut board. Start with 120-grit, then finish with 220 for an extra smooth feel. I also sanded down all corners along the length and ends of boards.
Since it’s sanded instead of routed, I call it a rustic chamfer. It looks more finished to me. And it makes a nice, detailed joint where 2 boards meet. Brush off all dust with a slightly damp rag.
Step Three – Assemble The Legs
Start the build by assembling the legs of the headboard. I went with wood glue and brad nails for the legs. But, you can just let the glue dry with the boards clamped together to avoid nail holes.
Apply wood glue on one side of a 1×2. Then clamp the side of the 1×2 to the back edge of a 1×3. This gives the headboard an extra chunky look. Once the clamps are holding everything in place, brad nail along the front of the 1×3.
Be sure to always wipe off all excess glue with a damp cloth. If you’re staining, anywhere the glue touches needs to be sanded again to get a perfectly stained look.
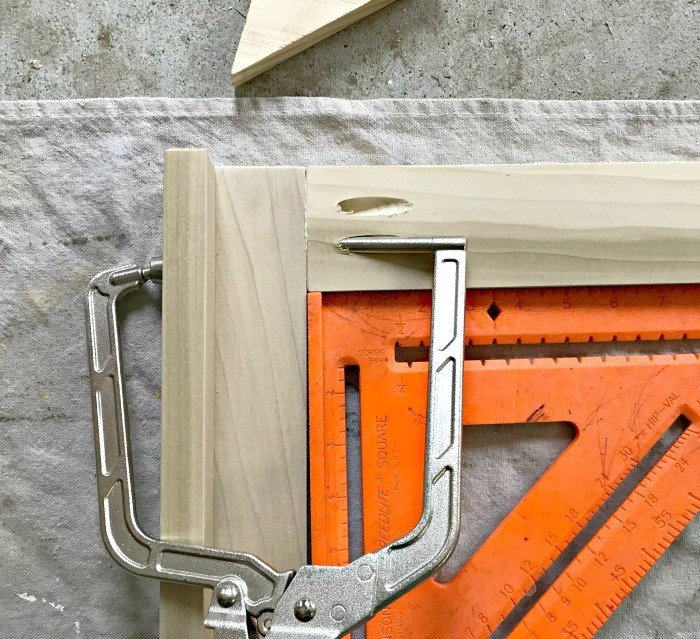
Step Four – Attach The Rails & Top
After both legs are assembled, use 2 Kreg Jig pocket holes and glue on each end of the rails to attach the legs together. The top rail should be even with the top of the legs. The TOP of the bottom rail is 26″ down from the top of the legs.

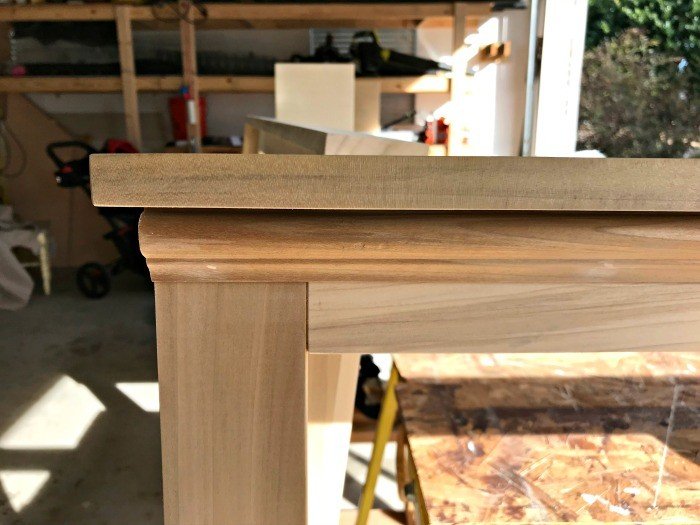
Next, attach the decorative molding flush with the top rail. Use clamps, glue and brad nails here. Now you can attach the top. Use clamps, glue and brad nails here too.
The back of the top board should be flush with the back of the legs. Make sure the top is centered on the DIY Twin Upholstered Headboard, so that each side has the same overhang.
Step Five – Use Wood Filler & Sand
Fill all of the nail holes with wood filler. After that dries, sand the filled holes flush with the wood to get a nice smooth look. Then brush away all dust with a slightly damp cloth again.
I used the 120 and 220 grit sandpaper for this step, then painted my frame. But, you could sand to a higher grit to prep for stain. Don’t forget to use wood conditioner. Or, you can use a gel stain for an easier to apply wood stain finish.
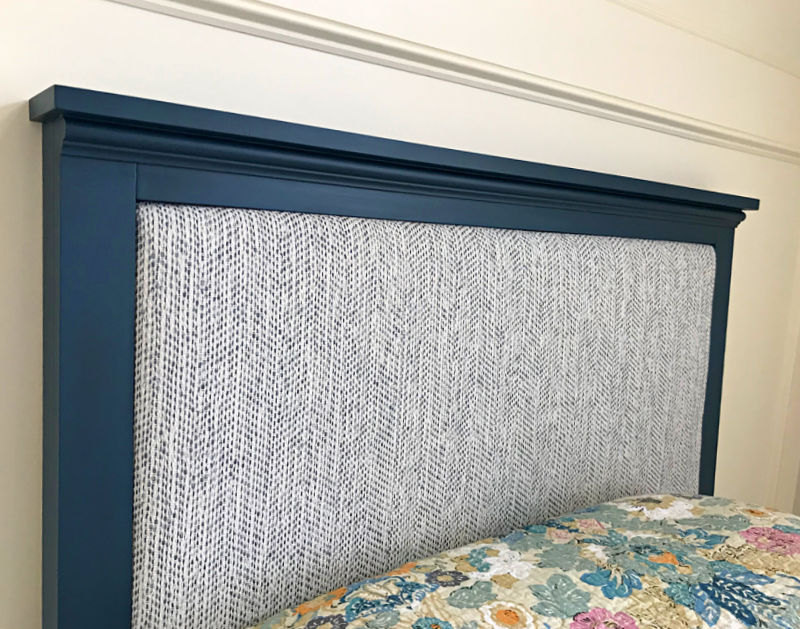
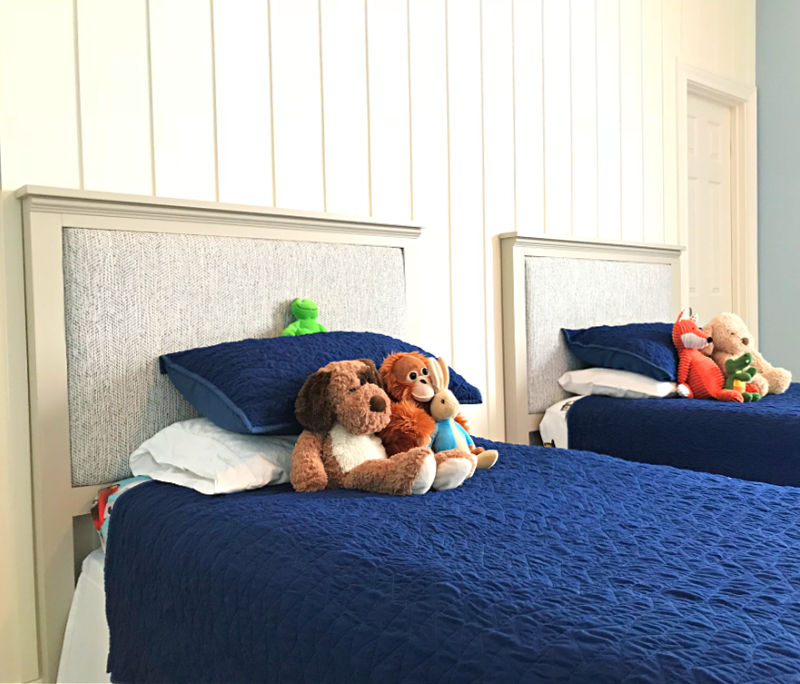
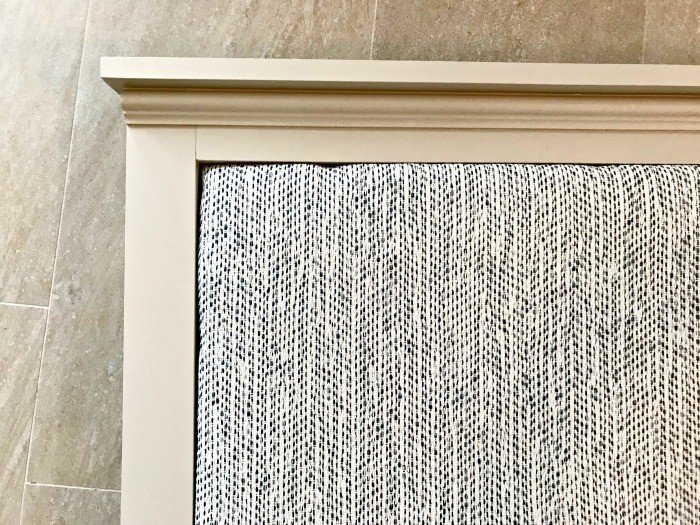
That frame was a quick and easy build, right? Here’s a look at the finished DIY Twin Headboards.
Now, it’s time to start making that easy no-sew upholstered back.
No-Sew Twin Upholstered Headboard DIY Back
Materials Needed
- 27″ x 42″ piece of 1/2″ or 3/4″ Plywood or MDF backing – Side Note: I used thinner plywood in the video to use up some scrap from my DIY Tray Ceiling, but it does make the build more complicated. I had to brace the thin board on the back.
- 1″ thick foam
- Extra High Loft Batting
- Spray Adhesive
- Your fabric, I used this beautiful Magnolia Home upholstery fabric. You can find my favorite fabric by the yard from Amazon here.
- Staples and Staple Gun
Easy To Follow DIY Upholstered Twin Headboard Video
Watch this video to see how I layered the foam and batting on the board to get a nice rounded look with the fabric.

Upholstery Step 1 – Cut The Foam
Cut the foam to the exact size of the opening in the frame. It should be 39 1/2″ x 23 1/2″. Use the spray adhesive to glue the foam centered on the board.
Upholstery Step 2 – Cut the Batting And Fabric
Cut the extra loft foam batting and fabric so that they hang over the edge of the foam a couple inches on all sides. Foam batting gives the fabric a soft, rounded look over foam. Without the batting, upholstery projects look too square.
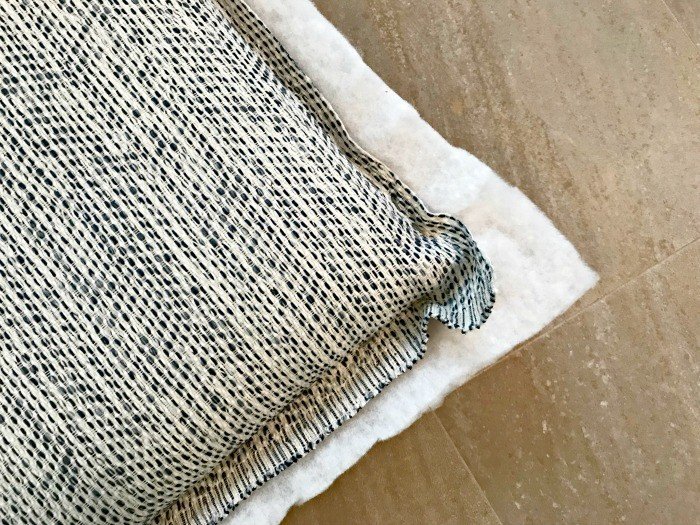
Upholstery Step 3 – Staple The Fabric Down
Use the Staple Gun to evenly staple the fabric and batting down. You want the fabric to be pulled tight across the board. Keep the staples evenly spaced along the edge.
Once your done, slip the frame over the backing to see how it looks. If you see any puckering, you can pull the staples out in that section and redo them to get a smooth look.
Upholstery Step 4 – Attach The Back To The Frame
After it looks perfect, trim away the excess fabric and batting to expose the plywood board. Then screw the plywood onto the bed frame.
Use 3 screws along each long side. Make sure to pick screws that won’t break through the front of your new headboard. 🙂
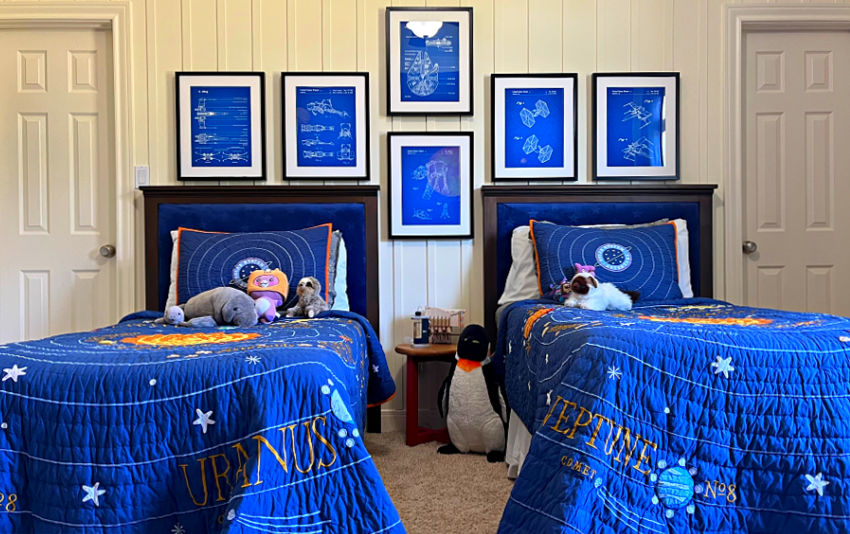
2022 Updated Look
For the latest version of these DIY twin upholstered headboards, I painted the wood frame with a dark bronze chalk paint. The fabric is a blue velvet star pattern.
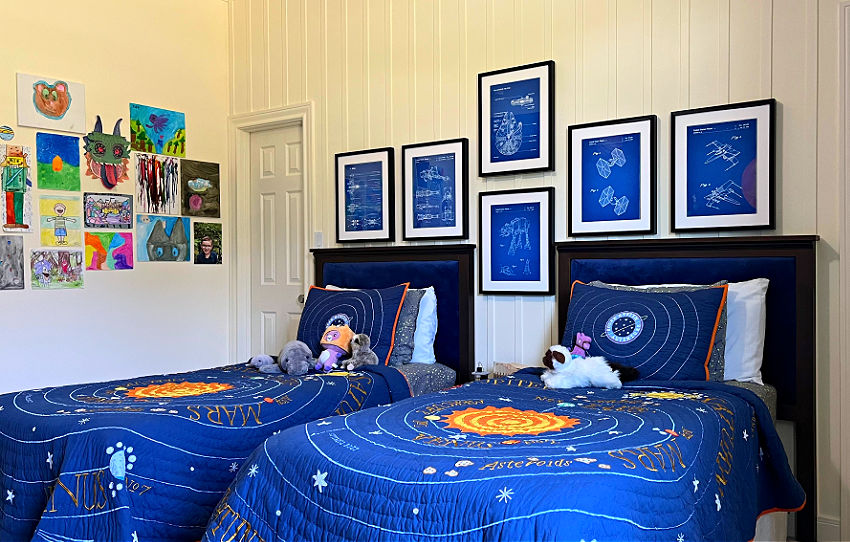
You can see more of this DIY Space Themed Bedroom Makeover in a previous post. If you like the theme, check out the 25 Best Outer Space Themed Bedroom Décor Ideas For Kids And Teens in another post.
There are so many great design options with this DIY twin headboard build.
More DIY Projects For You
- Beautiful DIY Childrens Desk Plans with Storage: Build Plans & Video
- How To Build A Swing Frame From 4×4’s: Quick, Cheap & Easy DIY Swing Set
- 10 BEST TIPS for Building Beautiful DIY Small Walk In Closet Built Ins
- 10 Helpful Tips For Working With A Builder To Build A House
- Super Easy Way To Remove Water Stains From Ceilings Without Paint (1 Step)
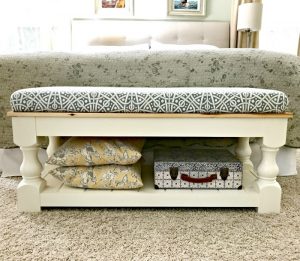
Looking for more beautiful Upholstered DIY Furniture. I have a Full DIY with an Upholstery Video for this Chunky Leg Farmhouse Bench.
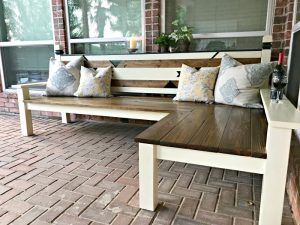
Or, have a look at my DIY L-Shaped Backyard Bench. Build a custom-sized bench for your space!
That’s it for how to make a twin headboard. Good luck with your build!

Stephanie Abbott has been remodeling homes, updating & building furniture, and working on DIY home maintenance and cleaning tips for over 20 years. Her remodeling has been featured in Better Homes and Gardens Magazine. And, her DIY YouTube channel has had more than 8 million views.
Most of the DIY tutorials and videos on this site focus on beginner to intermediate level DIY Projects that can be done in an affordable way without high-end, expensive tools. All of the cleaning tips on this website have been tested in her home.