
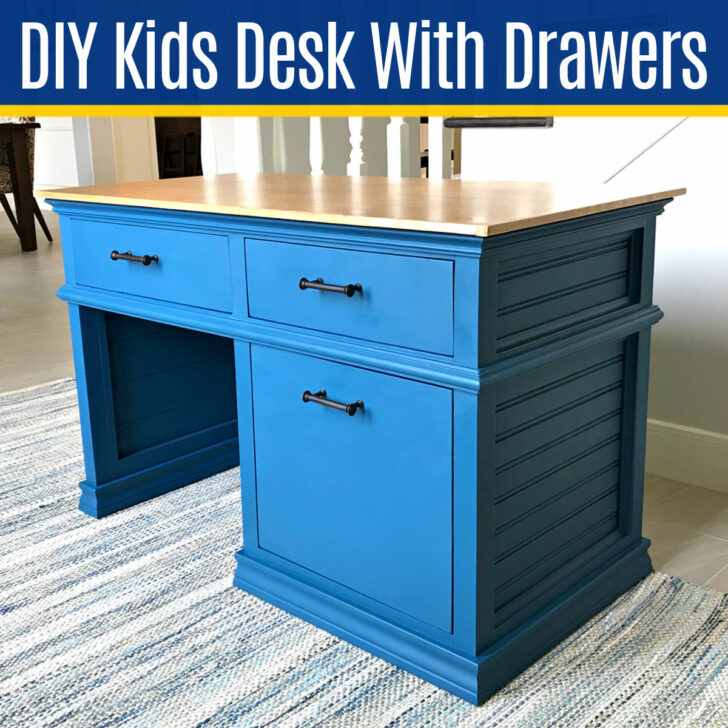
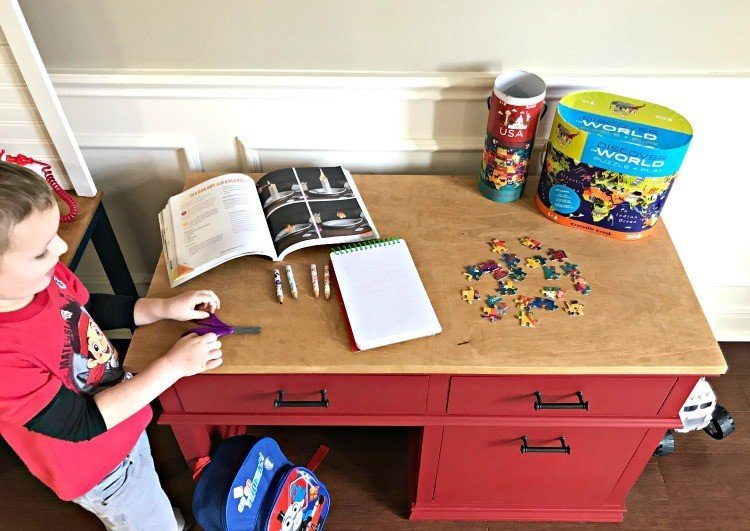
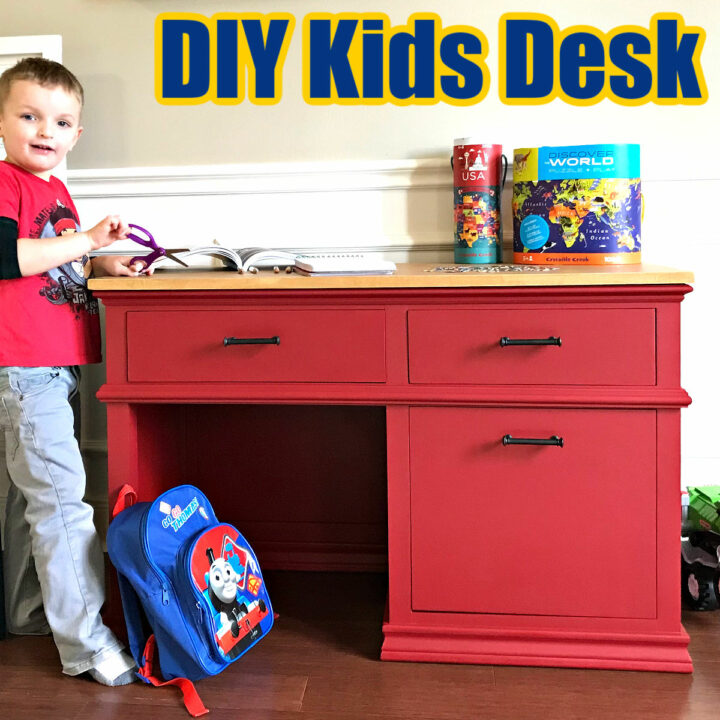
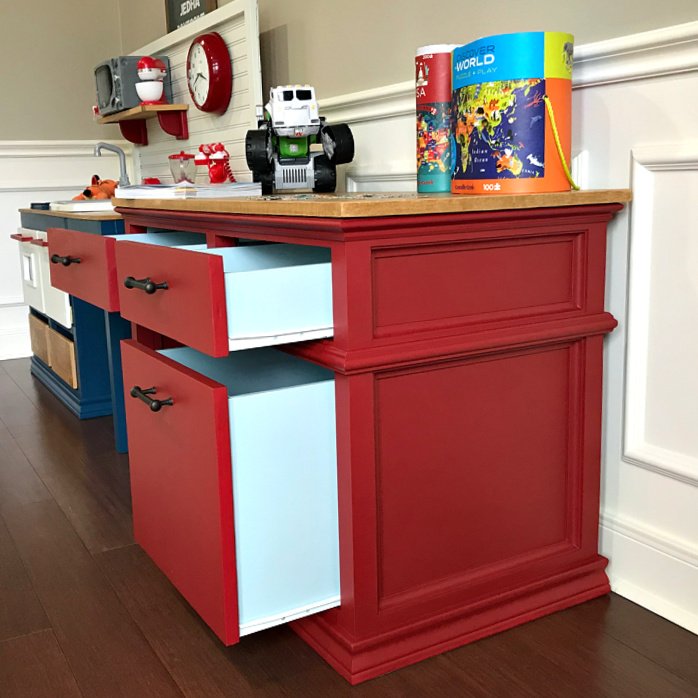
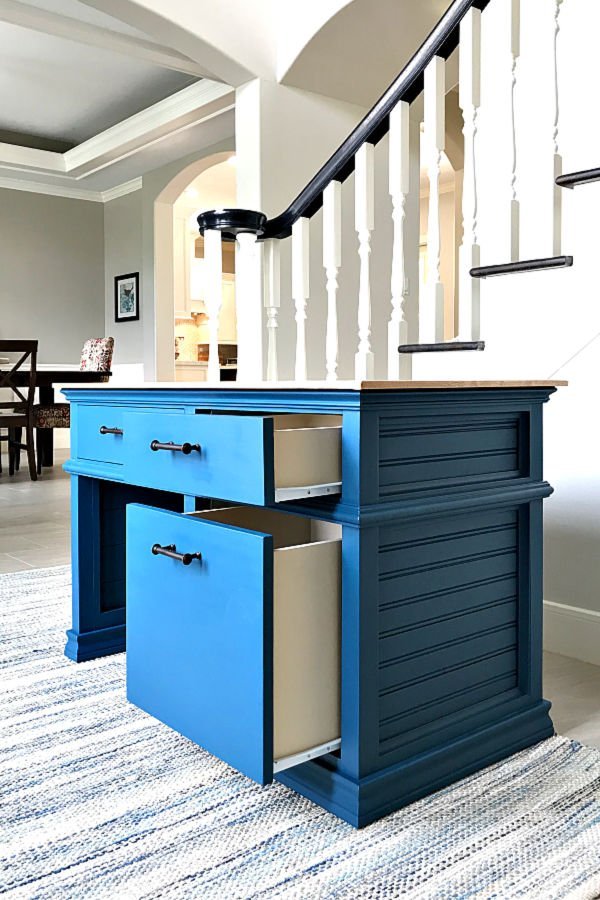
I LOVE this beautiful DIY Childrens Desk with storage drawers. It’s a perfect kids school or art desk. Full steps with video & printable plan.
DIY Childrens Desk Plans with Storage
Hi, guys. I’m so excited to share this DIY Childrens Desk Build Plan with you today. The build has lots of steps, but it’s not hard. It’s a pretty simple frame to build.
Then you just add some cove moulding and a plywood or beadboard panel to each opening. The hardest part of this build will be installing the drawers.
Drawers are just sometimes a pain and take a bit of fiddling. But, you can do this! And, it’s totally worth it to get this great kids school desk!
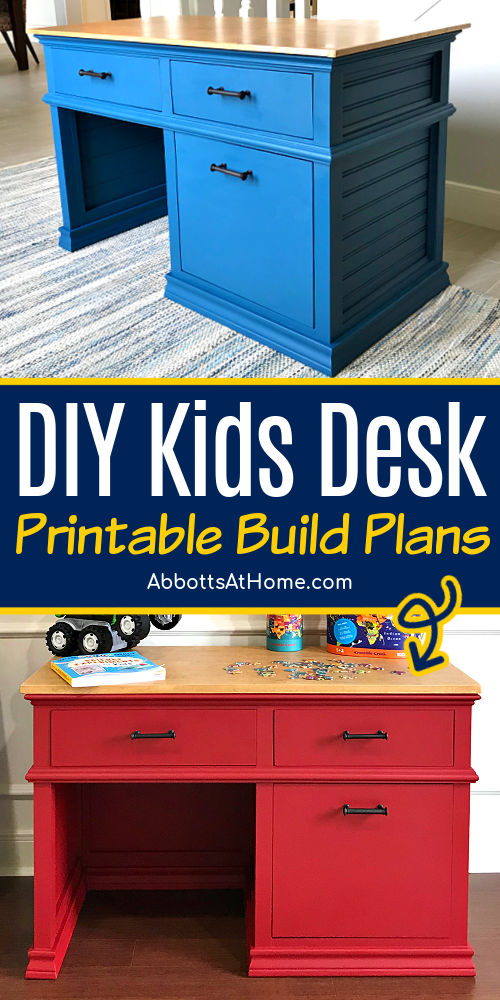
This desk size is best for grade school kids, probably kindergarten through 4th grade. Most kids that are 4′ 10″ or above will likely find this desk uncomfortable.
Middle School and High School kids will need a bigger desk. Check out this DIY Writing Desk With Turned Legs for a bigger desk for older kids.
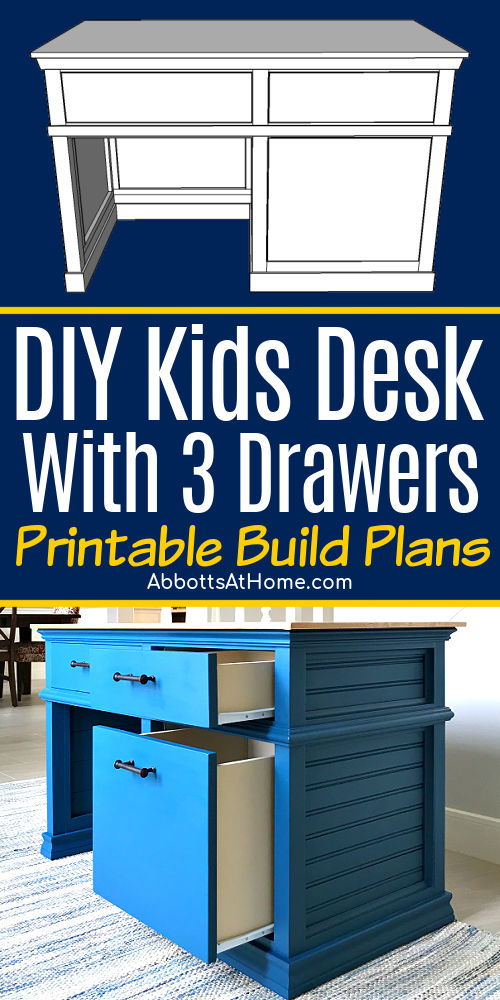
Printable Build Plans for this DIY Childrens School Desk with Storage are available for purchase on Gumroad. If you find any of these steps confusing, the printable will help explain things better, with plan images of each step and measurements

DIY Kids Desk with Storage – Tools Needed
- Kreg Jig, Screws and Drill
- Wood Glue
- Brad Nailer and Nails
- Miter Saw
- Sander and Sandpaper
- Straight-Edge Cutting Guide
DIY Kids School Desk with Storage – Shopping List
With all of this moulding and plywood, this can be a pricey build. But if you love the look and want a pretty desk with a high-end look, you’ll be glad you built this.
- Edge Banding
- 3 sets of 16″ Bottom-Mount Drawer Slides
- 40′ of 2×2 Dimensional Lumber
- 48′ of 1/2″ x 3/4″ Moulding
- 36′ of Cove Moulding
- 1 – 4′ x 8′ sheet of 1/4″ Plywood
- 1 – 4′ x 8′ sheet of 1/2″ Plywood
- 1 – 4′ x 8′ sheet of 3/4″ Plywood
- 17′ of 2 1/4″ high Door Casing
- 10′ of Cap Moulding
- 10′ of Panel Moulding
You can find the full cut list for the DIY Childrens School Desk Plans in the printable build plans. Be sure to double-check everything, as you build. It’s always possible that I could have mis-typed something. Bloggers don’t have editors. 😉
DIY Children’s Desk – Video Overview
If any of the build steps below are confusing, watch this short video for a quick look at the build.
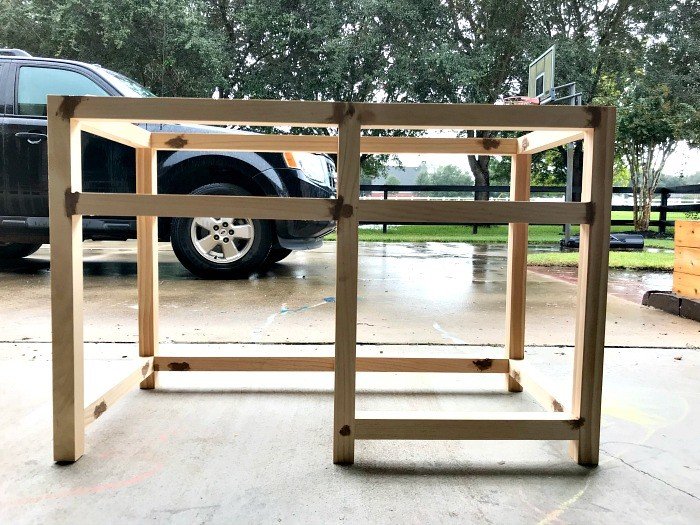
DIY Childrens School Desk With Drawers – Frame Build Steps
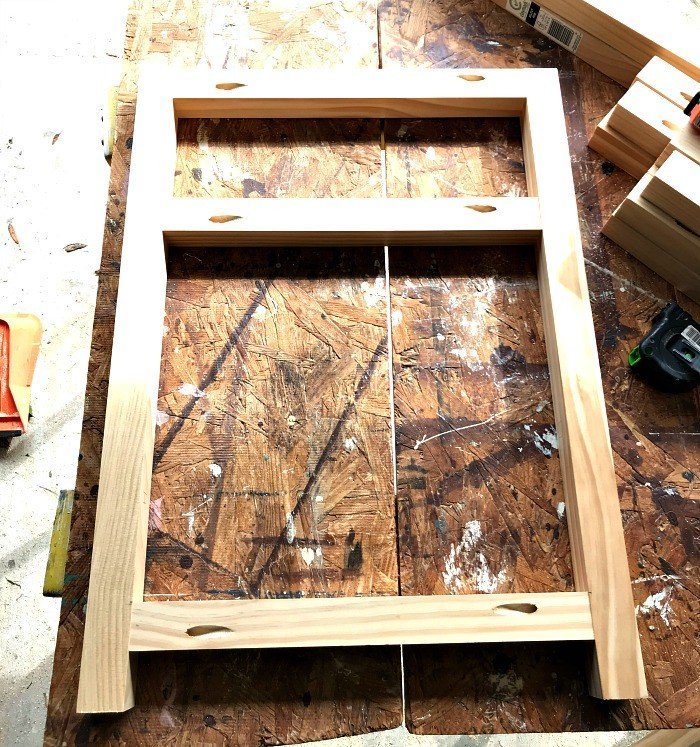
Step One
We’ll use 2×2’s to construct the 2 desk sides and the middle of the frame. All 3 will be built the same way. Put 1 pocket hole on each end of the 9 – 2×2’s.
Glue and screw 3 of the shorter 2×2’s between 2 of the longer 2×2’s. The first should be even with the top of the longer 2×2’s.
The top edge of the second should be 6 1/2″ down from that. And the top edge of the third should be 3 1/2″ up from the bottom of the longer 2×2’s. Build 3 of these.
Step Two
For the front and back “chair” sides of the desk, put 1 pocket hole on each end of 5 – 18″ 2×2’s. Glue and screw 2 of the 3 frames you built in Step One together with the 5 – 18″ 2×2’s.
2 of the 18″ 2×2’s will connect the 2 frames at the top edges of the front and back of the frames. 2 of the 18″ 2×2’s will connect the 2 frames 6 1/2″ down from the top edge.
The last 18″ 2×2 will connect 3 1/2″ up from the bottom.
Step Three
To complete the framing, put 1 pocket hole on each end of 6 – 16″ 2×2’s. These will connect the third side frame to the frame you assembled in Step Two.
Glue and screw 2 of the 16″ 2×2’s at the top edges of the front and back of the frames. 2 of the 16″ 2×2’s will connect the 2 frames 6 1/2″ down from the top edge.
The last 2 – 16″ 2×2’s will connect 3 1/2″ up from the bottom.
Step Four
Now onto the moulding and panels for the DIY Kids Desk with Drawers. We will use 1/2″ x 3/4″ moulding to build a frame for the 1/4″ Plywood or Beadboard Panels.
Cut 10 – 15 1/2″ long 1/2″ x 3/4″ moulding pieces to attach to the 15 1/2″ 2×2’s. Glue and nail along the 1/2″ side of the moulding, to leave enough room for the plywood and cove moulding.
BE CAREFUL, you want these in the right spot. 8 of them should be on the short sides of the desk, flush with the inside edges of the 15 1/2″ 2×2’s.
The other 2 will be flush with the inside of the opening for the seat on the lower part of the middle frame. If it helps explain this, you want the whole inside of the opening for the seat to look the same.
So, the moulding on the left and right side should match.
Step Five
Finish those 6 plywood panel frames with 6 – 12 1/4″ long 1/2″ x 3/4″ moulding pieces, on the 3 larger bottom sections. And 4 – 3 1/2″ long 1/2″ x 3/4″ moulding pieces.
Glue and nail along the 1/2″ side of the moulding, to leave enough room for the plywood and cove moulding.
Step Six
Both sides of the desk and the inside panels are done for now. Now, add 1/2″ x 3/4″ moulding to the back of the desk. You’ll need 4 – 18″ long 1/2″ x 3/4″ and 4 – 16″ long 1/2″ x 3/4″ moulding pieces.
After gluing and nailing those in place (flush with the inside edge of the 2×2’s), glue and nail 4 – 3 1/2″ long 1/2″ x 3/4″ moulding pieces to the sides of the 2 top panels.
And, 4 – 12 1/4″ long 1/2″ x 3/4″ moulding pieces will finish the sides of the 2 lower panels.
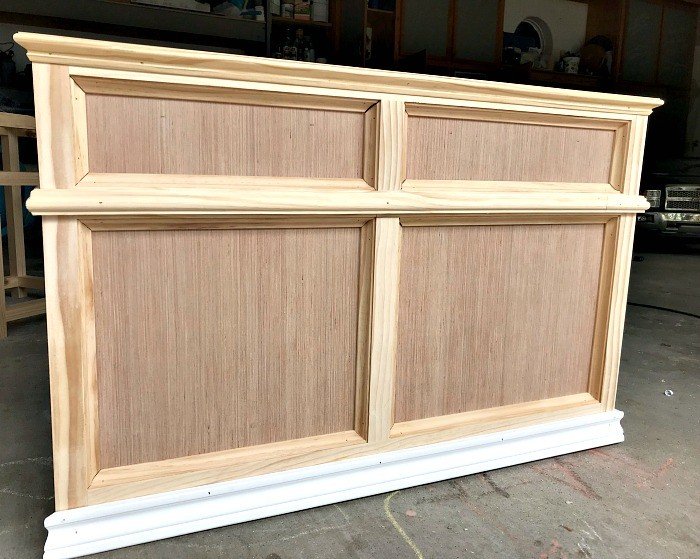
DIY Childrens School Desk with Storage – Panel Install
Now, let’s install the 1/4″ plywood panels, or Lauan board, and cove moulding. Be sure to use a smooth board, if you want a smooth finish. If you want to see grain, you can use a cheaper grade plywood.
Step One
I worked one side at a time with this, flipping the desk on end to put the side I’m working on face up. For the 2 short sides, you’ll need 2 – 15 1/2″ x 5″ plywood panels and 2 – 15 1/2″ x 13 3/4″ plywood panels.
Use glue to attach the plywood to the 1/2″ x 3/4″ frames. Then glue and brad nail cove moulding tightly in place, over it.
For your 45-degree cove moulding cuts on the 2 short sides, you’ll need: 4 – 5″ long pieces, 8 – 15 1/2″ long pieces, and 4 – 13 3/4″ long pieces.
Be sure to nail into the sides of the 2×2’s, instead of through the other moulding.
Step Two
Now, you can finish the back of the DIY Kids Desk with Storage. You’ll need 1 – 16″ x 5″ plywood panel, 1 – 18″ x 5″ plywood panel, 1 – 16″ x 13 3/4″ plywood panel, and 1 – 18″ x 13 3/4″ plywood panel.
Glue those in place. Then glue and brad nail the cove over each panel.
For your 45-degree cove moulding cuts, you’ll need: 4 – 5″ long pieces, 4 – 16″ long pieces, 4 – 18″ long pieces, and 4 – 13 3/4″ long pieces.
Be sure to nail into the sides of the 2×2’s, instead of through the other moulding.
Step Three
Next, we’ll add a panel to the lower, right-hand side of the chair opening. You’ll need 1 – 15 1/2″ x 13 3/4″ plywood panel. Glue it to the frame you built.
Then frame in the bottom and top of the other side with 2 – 15 1/2″ long 1/2″ x 3/4″ moulding pieces. BUT THIS TIME glue them 3/4″ side down AND FLUSH with the edge of the 2×2.
This is really important because it will be where you’d attach your drawer slides. So, you want everything flush and square to make sure the slides will work.
Finish that panels moulding with 2 – 12 3/4″ long 1/2″ x 3/4″ on the sides.
Step Four
Then add 2 – 15 1/2″ long 1/2″ x 3/4″ moulding pieces between the 2 smaller drawers at the top. Each one should be glued and nailed on the 1/2″ sides and flush with each side of the 2×2.
These will be used for the drawer slides again.
Step Five
Now, we’ll attach 2 drawer bottoms. You need 1 – 15 1/2″ x 18″ plywood panel and 1 – 15 1/2″ x 16″ plywood panel.
Use 4 – 15 1/2″ long 1/2″ x 3/4″ moulding pieces, 2 – 15″ long 1/2″ x 3/4″ moulding pieces, and 2 – 17″ long 1/2″ x 3/4″ moulding pieces to build support frames for the panels.
Glue and nail the moulding to the 2×2’s 1/4″ down from the top of the 2×2, so that the plywood panels will sit flush with the top of the 2×2’s. Then glue the panels to the top of those frames.
DIY Kids Desk with Storage – Desk Drawers Build
We’re ready to build our drawers. Yasss! All 3 drawers will be 16 inches deep. I used 16″ Bottom Mount Euro Drawer Slides. So, the slides required 1/2″ clearance on each side.
Make sure to check the directions for the slides you buy. The requirements may be different. You might have to adjust your drawers for the slides you use.
Also, you can use soft close, side mounted drawer slides. Just adjust the drawer plans per the slides and add moulding or 1/2″ plywood where the slides will be mounted inside the desk.
I’d also recommend an inset drawer bottom for side-mounted drawer slides. It’s stronger when bottom-mount slides aren’t helping support the weight. And, looks prettier.
Step One
You’ll build 3 box frames for this DIY Kids Desk with Storage. With the drawer sides being the 16″ long pieces. Use glue and nails to construct.
You could use pocket holes, but I think it’s overkill for drawer sides and makes lining up a square box harder. Good wood glue is strong enough here. The Brad Nails hold it tight together while the glue dries.
The top left box is 2 – 3 3/4″ x 16″ x 1/2″ plywood and 2 – 3 3/4″ x 16″ x 1/2″ plywood. The top right box is 2 – 3 3/4″ x 16″ x 1/2″ plywood and 2 – 3 3/4″ x 14″ x 1/2″ plywood.
The bottom right box is 2 – 12 1/4″ x 14″ x 1/2″ plywood, and 2 – 12 1/4″ x 16″ x 1/2″ plywood pieces. Remember, the 16″ pieces are the drawer sides.
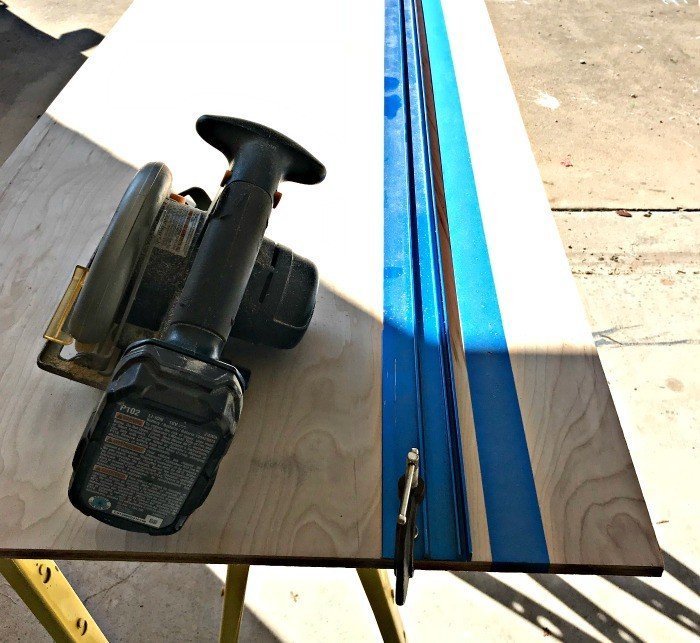
A Straight Cutting Guide for your circular saw can be a huge help here.
Step Two
Glue and Nail 1/4″ plywood bottoms onto the 3 boxes. Top left bottom is 17″ x 16″. The 2 right-side drawers are 15″ x 16″.
Gluing and nailing is strong enough here because the Euro slides will carry the load on the drawer.
Step Three
Install drawers using the drawer slides, per slide instructions. Make sure drawer sits inset 3/4″ from outside of frame to allow for drawer face.
I set my drawer slides as close to the bottom of the drawer opening as possible. Adjust drawer slides until you are satisfied with how the drawer opens/closes.
You may need to add more moulding, if your slides are set higher than mine.
Step Four
Apply Birch edge-banding around all 4 sides of the drawer faces. Place drawer face on installed drawers, with a 1/16″ gap on all sides of drawer face.
Temporarily hold in place with 1″ finish nails, double-sided tape, or hot glue. Then clamp face for extra security and screw on face from inside of drawer.
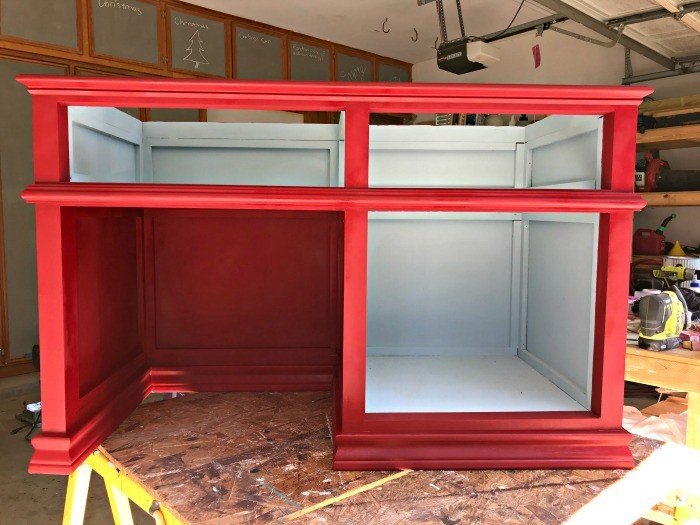
DIY Childrens School Desk Plans – Moulding & Top
I find with trim moulding, it’s best to measure and cut as you go. This helps you get the tightest fit and account for any slight differences in build.
It also helps you focus on which direction the 45-degree angle should be cut on each end of the trim.
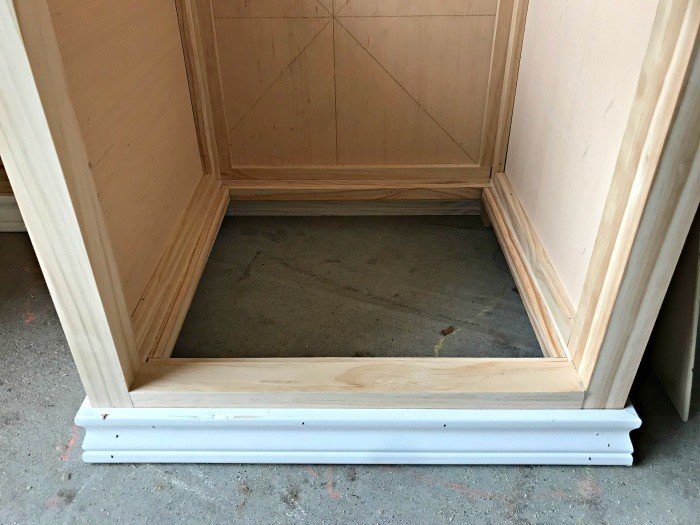
I used about 17′ of 2 1/4″ high Door Casing as base moulding around the bottom of the desk. About 10′ of Panel Moulding, similar to this, centered on the middle 2×2 rails.
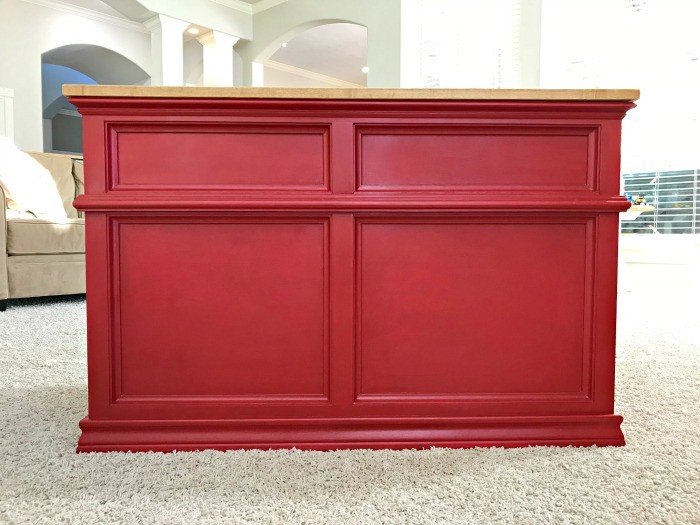
And, about 10′ of cap moulding along the top edge.
Based on which cap moulding you pick, you may need to adjust the desk top. My desk top is 40 1/8″ x 20 1/8″ x 3/4″ Birch Plywood. That leaves about 1/4″ overhang on all edges.
I finished the desk top with edge-banding, applied with an iron.
I used wood conditioner on the top, then finished with 2 coats of Watco Medium Walnut Danish Oil. I also applied 3 coats of Varathane Matte Poly to make sure the top is extra hard and protected.
Attach the desk top with glue and nails OR angle brackets OR pocket holes. Add some pulls or hardware you love and that’s it! You’re done. Enjoy you’re new DIY Kids Desk with Storage. 🙂
DIY Childrens Desk – Finishing Steps
Fill all holes and imperfections with wood filler and let dry. Repeat as needed. Then sand the project in the direction of the wood grain with 120 grit sandpaper.
Brush clean or vacuum away dust. Follow up with a slightly damp tack cloth or scrap cloth, to get it extra clean. You may also need to use primer or wood conditioner, based on your finish.
To finish my DIY Kids Desk with Storage, I used Magnolia Homes By Kilz Paint. Like chalk paint, it is quick drying and sands easily. I have to say, I don’t even prime with this paint.
I’ve used this paint in other colors on my DIY Laundry Table and the DIY Console Table with Drawers too.
That’s it for the build steps. Click below to buy the full steps, 3D sketch diagrams, and cutting guide.
Printable Build Plans for this DIY Kids Desk with Storage are available for purchase on Gumroad. If you find any of these steps confusing, the printable will help explain things better, with plan images of each step and measurements.
More DIY Projects For You
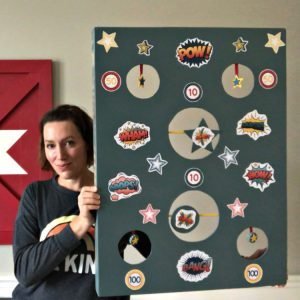
Looking for more fun DIY projects your kids will love?! Check out this DIY Nerf Gun Target Tutorial. The moving targets make it more challenging and fun!
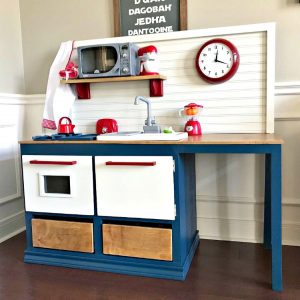
They might also love this beautiful DIY Wooden Kids Kitchen with lots of storage and interactive fun.
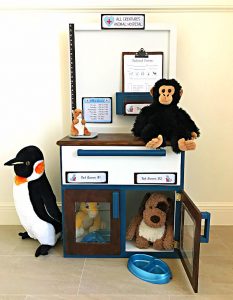
We love this DIY Play Animal Doctor Office Too. Build Plans and Printable Signs Available.
And, this DIY Table Over Washer and Dryer is always popular.

Or, have a look at my Build Plans Gallery to see everything.
Feeling inspired? Now you’re ready to build your own DIY Kids Desk Plans with Storage. Let me know if you have questions. Don’t forget to sign up for the Abbotts At Home email newsletter to get DIY, Remodeling, and Crafty ideas in your inbox.

Stephanie Abbott has been remodeling homes, updating & building furniture, and working on DIY home maintenance and cleaning tips for over 20 years. Her remodeling has been featured in Better Homes and Gardens Magazine. And, her DIY YouTube channel has had more than 8 million views.
Most of the DIY tutorials and videos on this site focus on beginner to intermediate level DIY Projects that can be done in an affordable way without high-end, expensive tools. All of the cleaning tips on this website have been tested in her home.