3 Easy Steps to make a weed free gravel path, or pea gravel path. Plus, a printable guide to help you DIY a gravel path in your yard that blocks weeds for years.
Easy DIY Weed Free Gravel Path
OK guys, pulling weeds is one of my least favorite chores. It’s sunny and humid in Houston, weeds grow really fast 9 months of the year.
I spend 1/2 a day every week pulling up the weed jungle in our flower beds. But luckily, I’ve found a way to block some of those weeds.
Today I have the 3 quick and easy DIY steps to a weed free gravel path or pea gravel garden in your yard.
After just a few hours work this path is looking great and protected from future weed growth. Yay!
Now I won’t have to worry about our pea gravel path turning into a jungle again this year.
BUT fair warning, I say this is easy because you don’t need special skills, chemicals, or tools to do this. But, it’s yard work. So, it does mean you’ll need to do some physical labor.
Hang in there though. It’ll be worth it when you’re done. And, it will prevent a lot of extra weeding later for a long time to come.
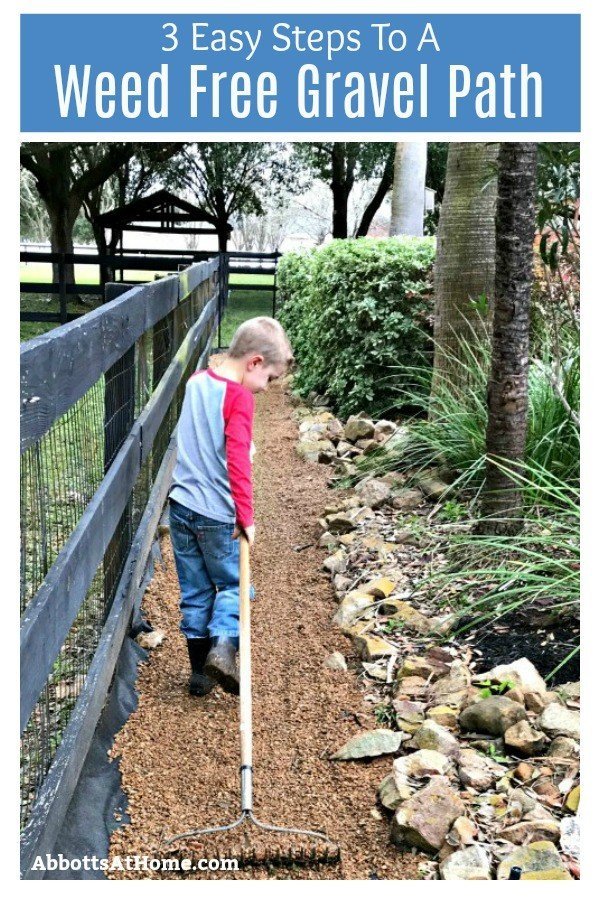
Which Gravel Should You Use For A Gravel Path
You want to make sure to pick a gravel that looks pretty and feels comfortable to walk on. The smaller the gravel is, the easier it is to walk on.
You’ll also want a type of gravel with rounded edges, instead of the sharp edges you find on some larger gravel.
I recommend using Pea Gravel for making pathways in your yard. You can even use pea gravel to cover dirt driveways.
Small rounded gravel, like pea gravel looks pretty and it’s easy to walk on. Pea Gravel is pretty cheap too.
How Much Does Pea Gravel Cost
Pea Gravel is actually pretty cheap, especially if you can buy it in bulk. At least it is here in Texas. We probably did this whole path for $20 or $30 bucks. And it will last for years and years.
At most landscape supply stores you can have pea gravel dumped directly into the back of a truck bed. I think we bought a full truck bed of pea gravel for just $60.
We buy our mulch by the truckload too. It saves a lot of money and we don’t have all of those empty plastic bags to throw away later.
And, being able to drive the truck full of mulch or gravel right where we need it saves time and effort!
We used half of that truckload of gravel on this DIY pea gravel path. And the other half on other projects around our yard.
Actually, this is the same pea gravel I used to make a fun DIY Pea Gravel Digging Site for our boys!
What You’ll Need
- Shovel & Heavy Duty Rake & Scissors & Wheelbarrow
- Cute Gardening Gloves 😉
- A good, thick Landscape Fabric
- Pea Gravel
3 Easy DIY Steps to a Weed Free Gravel Path
Step One – Prep Your Space
Some people just put landscape fabric over weeds and hope that will kill them. But, I’m always afraid that some of those weeds will be “super weeds” and push through the fabric barrier.
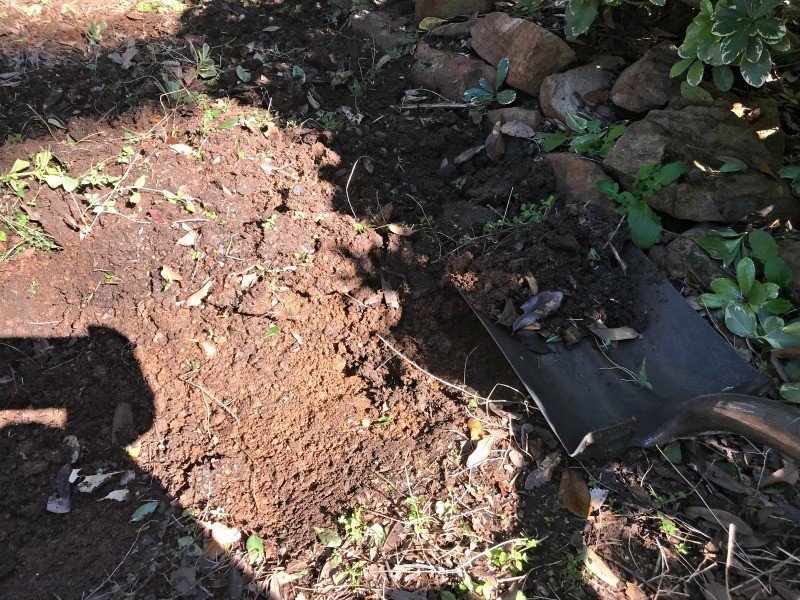
To be safe, I dig up the top 2 inches of soil across the whole path. It’s a bit of work, I just think of it as an extra work out.
Digging up the top layer of soil means I can also level any uneven spots. And, it means I can lower the dirt in the area for the path or garden below the ground level.
Digging an inch or two down for your pea gravel pathway will turn the ground around it into a natural barrier that will hold the gravel in place.
That natural barrier along your pathway will prevent your gravel from washing away in the rain.
OR, you can use pretty garden edging to make crisp, clean lines for your garden path. Garden edging comes in a lot of styles and is pretty easy to install.
After you’ve dug across the whole area for your garden pathway, rake across the area to clear out the weeds, rocks, and limbs you just lifted up. Raking will also level out that dirt a bit.
Step Two – Spread Thick Landscape Fabric
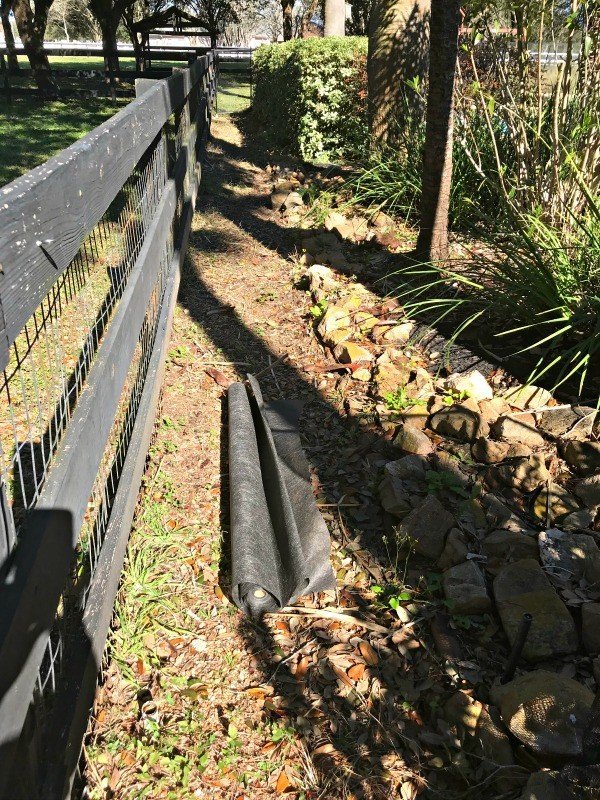
Now, unroll the landscape fabric across your gravel garden pathway. Be sure to have a few extra inches of fabric on either side.
You can trim away any excess after pouring and spreading the pea gravel.
AND, be sure to pick a thick landscaping fabric for your weed free pea gravel path. It costs more but lasts a lot longer.
You can use galvanized garden staples to pin your fabric in place while you work.
But landscape staples are not always necessary. That pea gravel will hold the landscape fabric down too.
If you need to lay more than 1 piece of landscape fabric, be sure to overlap the pieces by a few inches to block weeds from growing between the rows of landscaping fabric.
Step Three – Spread Gravel and Trim
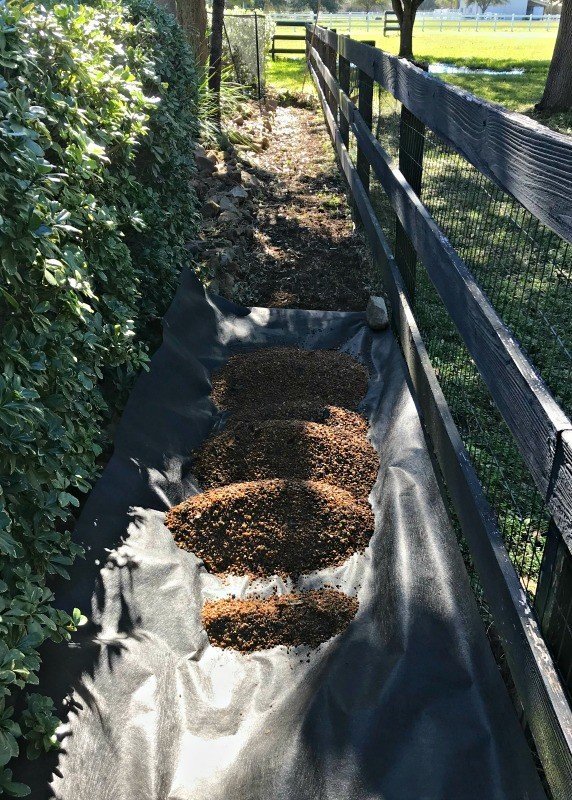
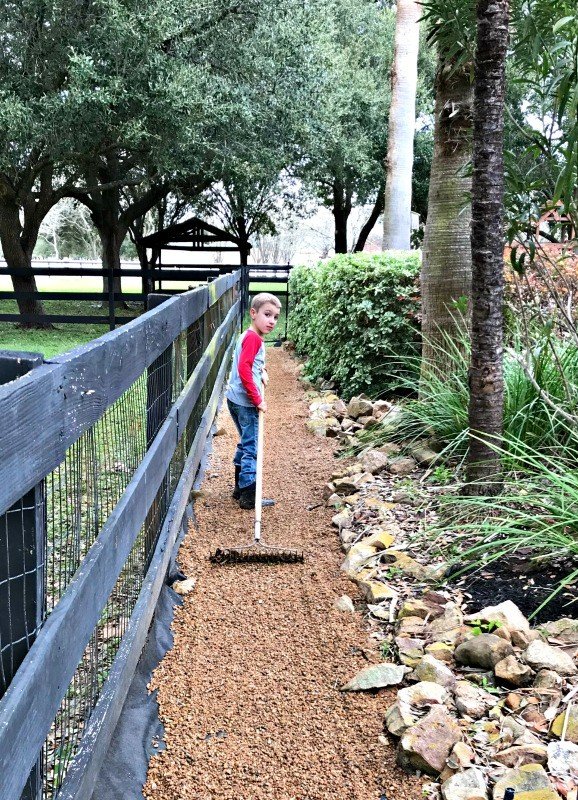
Next, wheelbarrow in piles of pea gravel. You want your path to be 1 or 2 inches thick. So make sure to use enough pea gravel to get a nice looking pathway in your yard.
Then spread that pea gravel smooth with the flat side of your rake. Use the flat side so that you don’t accidentally rip the fabric beneath the rake.
After you’ve finished spreading the pea gravel for your gravel pathway, you can trim away any extra fabric on the sides with scissors.
I also buried some of my landscaping fabric under the larger landscaping rocks on one side of our path.
Making this pathway was so easy it looks much prettier covered in pea gravel.
More DIY Projects You Might Like
Want another easy backyard project? Check out this Easy DIY Swing Set Build Steps & Tips. I built this swing in just an hour!
Looking for more home maintenance projects?? Check out this easy DIY for making that ugly grout look new again.
Here’s how I build DIY Removable AC Screens or Fence Panels in my yard. Perfect for hiding your AC, old boats, or anything else in your yard!
Save lots of money by building your own 3 Rail Fence with this tutorial for how to set wooden fence posts in concrete.
And, here is the easy to follow DIY Steps to Caulk Along Your Kitchen Counter.
Check out this post with 20+ Easy DIY Home Maintenance Updates, upgrades, and tips too.
If you’re tired of that crumb-collecting gap under your cabinets. Here’s how to Fill the Gap Between Cabinets and Floor with Caulk.
Thanks for checking out my 3 easy DIY steps to a Weed Free Gravel Path. Let me know if you have questions.
Don’t forget to sign up for the Abbotts At Home email newsletter to get DIY, Remodeling, and Crafty ideas in your inbox.

Stephanie Abbott has been remodeling homes, updating & building furniture, and working on DIY home maintenance and cleaning tips for over 20 years. Her remodeling has been featured in Better Homes and Gardens Magazine. And, her DIY YouTube channel has had more than 8 million views.
Most of the DIY tutorials and videos on this site focus on beginner to intermediate level DIY Projects that can be done in an affordable way without high-end, expensive tools. All of the cleaning tips on this website have been tested in her home.

