Easy Steps and Video showing how to Paint over an Old Canvas with a DIY Acrylic Pour Art. I LOVE this DIY to reuse old canvas art.
How to Paint over an Old Canvas
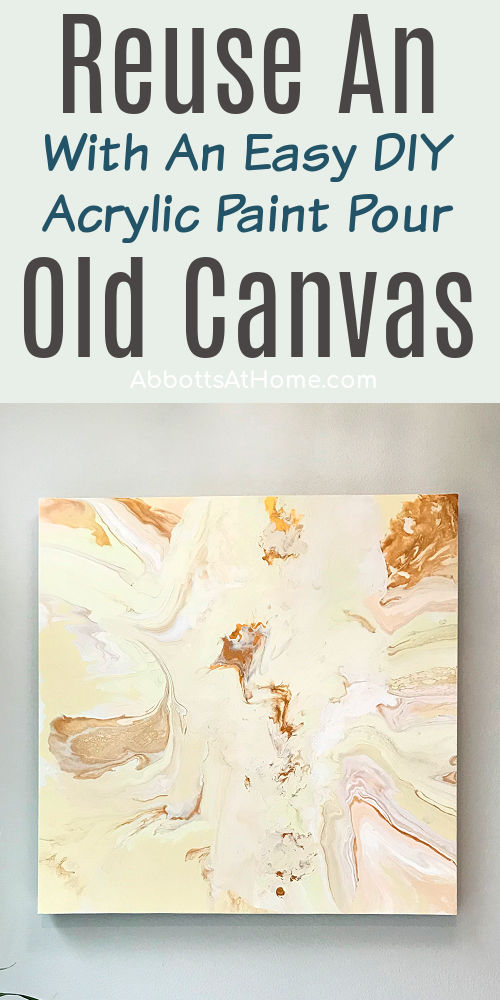
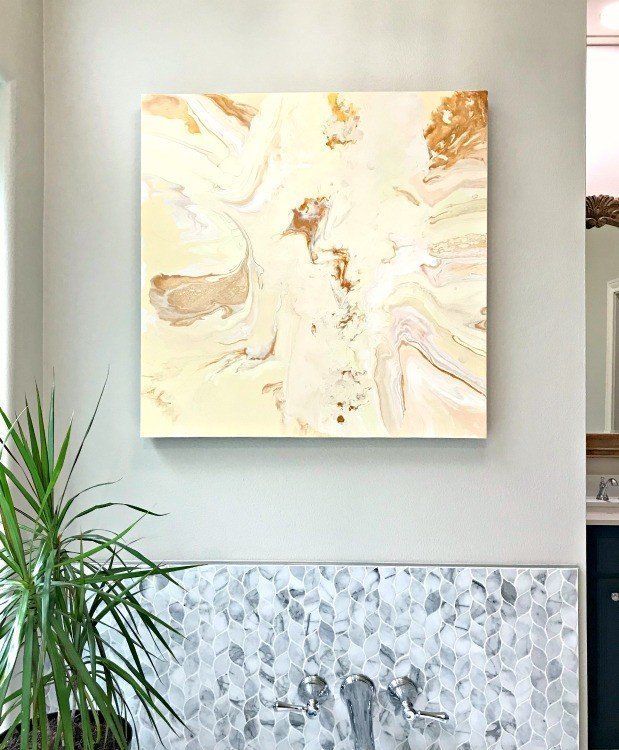
Hi guys! I’m back with another wall art project. This one’s an upcycle or reuse of an old canvas print I had in storage for a couple years.
Now I can share with you how to paint over an old canvas with DIY Acrylic Pour Art. Yay!
In the last few months, I’ve shared a few acrylic pour art tutorials. I love how easy this art project is.
You can see the videos and tutorials for my Dining Room Acrylic Pour Art and my very popular first Acrylic Paint Pours here. I also shared a fun resin marbling video and tutorial on a tray.
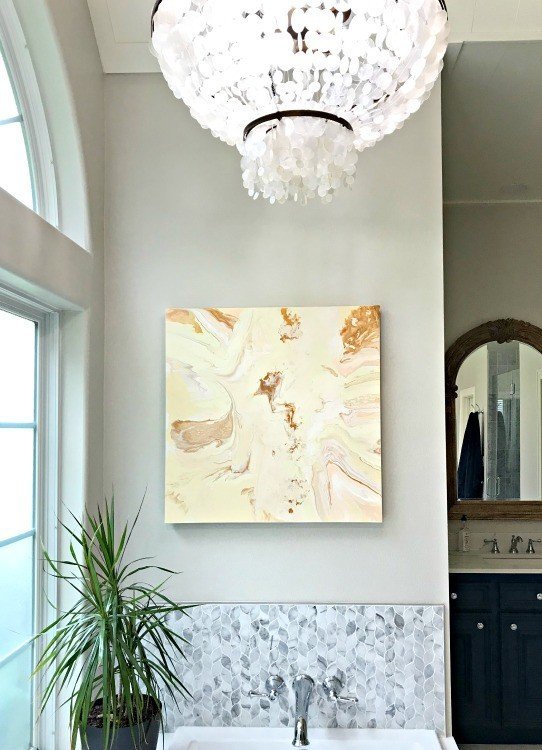
This wall art project is the last tutorial from my full Master Bathroom Makeover. And it really finished off the whole room, as I hoped.
I had an old canvas in a closet for a couple years. I still liked it, but it didn’t fit anywhere in my house. So, I decided it was perfect for upcycling.
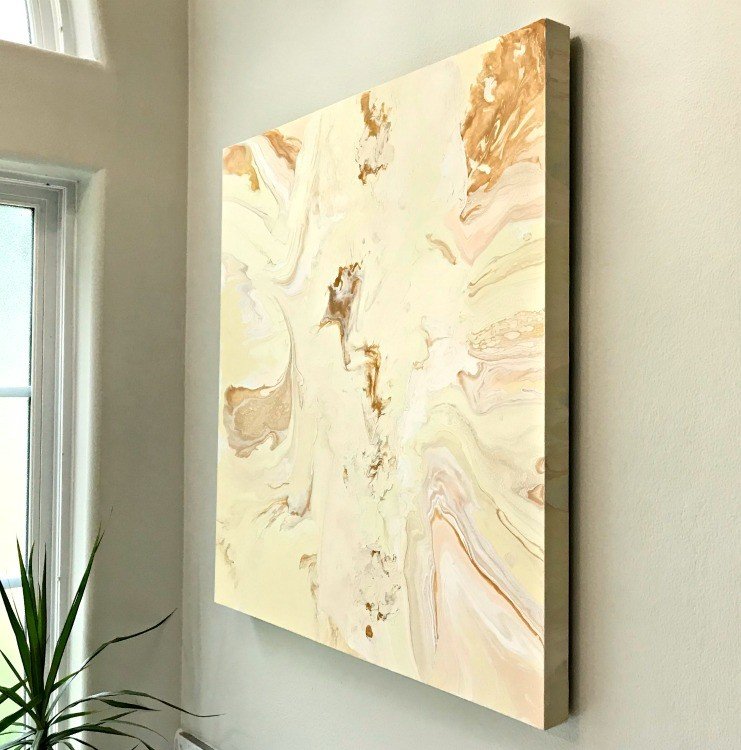
Here’s the quick and easy DIY steps to Paint over an Old Canvas with an Acrylic Pour. If you’d like to frame yours, you can find the tutorial for the 1×2 wood frames in my last post.
And, be sure to Follow me on YouTube to get quick video tutorials of all of my latest DIY projects.
Paint over an Old Canvas Acrylic Pour Video
Watch this video to see how this was kinda my first acrylic pour fail and how I fixed it. 🙂
Materials Needed
- Acrylic Paints – I love this Big Variety Pack
- Art Canvas or old canvas to upcycle
- Latex Primer, if using an old canvas
- Some Cups and Craft Sticks for Mixing
- Drop Cloth
- Water and/or Floetrol
- Blow Dryer – This might get paint on it. So, use a cheap one.
- Matte Mod Podge & Foam Brush
Paint Pouring Setup & Steps
Step One
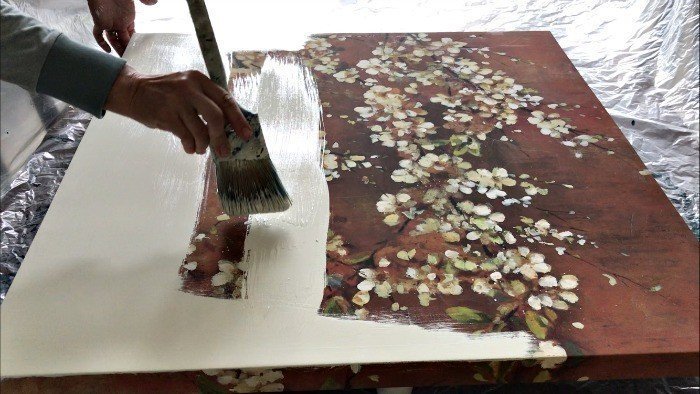
Prep your old canvas with a coat of a good latex primer. Then let that dry completely. This will make sure that the paint will stick to the original print or paint used.
Step Two
Mix 4 to 8 acrylic paints with water. Craft sticks are great for mixing paint. Be sure to hold all the sticks together to make sure the colors work together.
I add a little grey or white to colors when I want to make them match a little better. For this pour, I used 75% acrylic paint and 25% water.
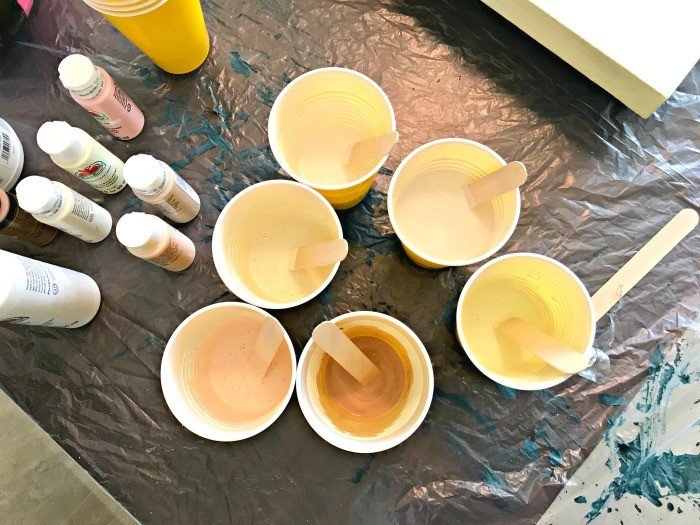
You want the mixture thin enough to pour. Floetrol can also be used in the mix, it helps hold the paint together when more water is added.
Honestly, there are a lot of variations and different ways people do these pours and mix their paints. I haven’t done anywhere near enough to say I’m an expert. All I can tell you is what I did and show you the result. 🙂
Step Three
Design Tip: Use more of the colors you want to see the most and less of darker colors, because they take over a canvas.
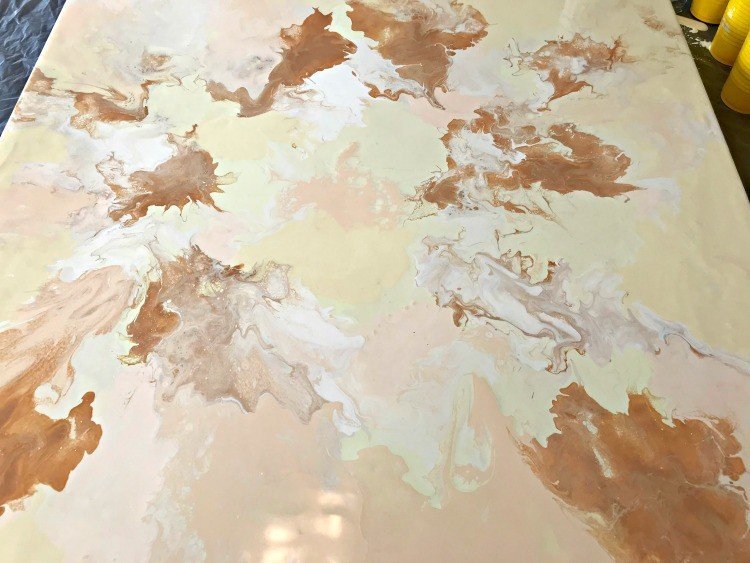
Start by spreading a wet layer of mixed paint. I tend to use light colors. Make sure to cover the entire canvas. While it’s still wet, start pouring your colors around the canvas. Go with your gut on design.
Step Four
Once you’ve got enough paint to cover the canvas in a 1/8″ or 3/16″ layer, grab that blow dryer. Set it to high and blow the paint around until you find a pattern you like.
See the video for how I use the blow dryer. You can see a better look at how this should work in my Dining Room Wall Art Paint Pour.
Step Five
Allow to completely dry without moving. Should be 24 – 36 hours. Don’t leave near a fan or vent. Drying too fast can lead to cracks. I sealed this paint with Matte ModPodge and a foam brush once it dried.
How This Pour was a Near Fail
If you watched this video, then you know that this pour didn’t really go as it normally does. Pouring Paint over an old canvas was more complicated than I expected.
This canvas wasn’t stretched as tight as a new canvas. So, all that paint kept drifting to the saggy middle, but I didn’t realize it was happening until too late.
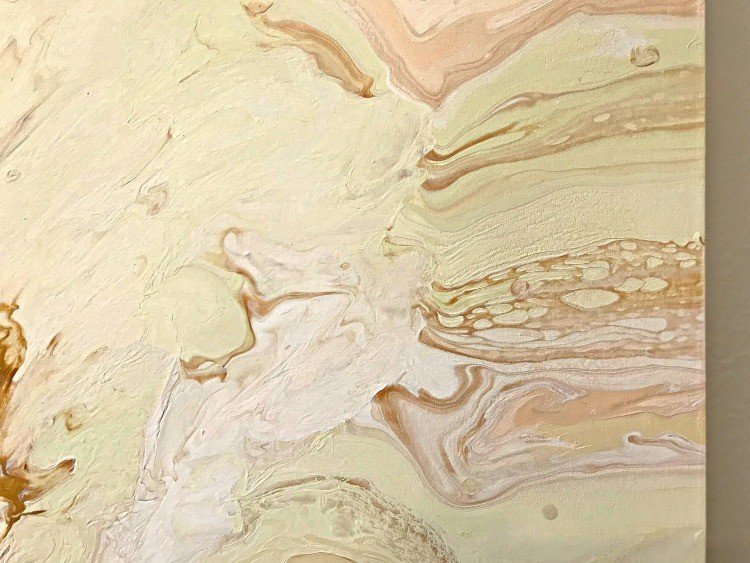
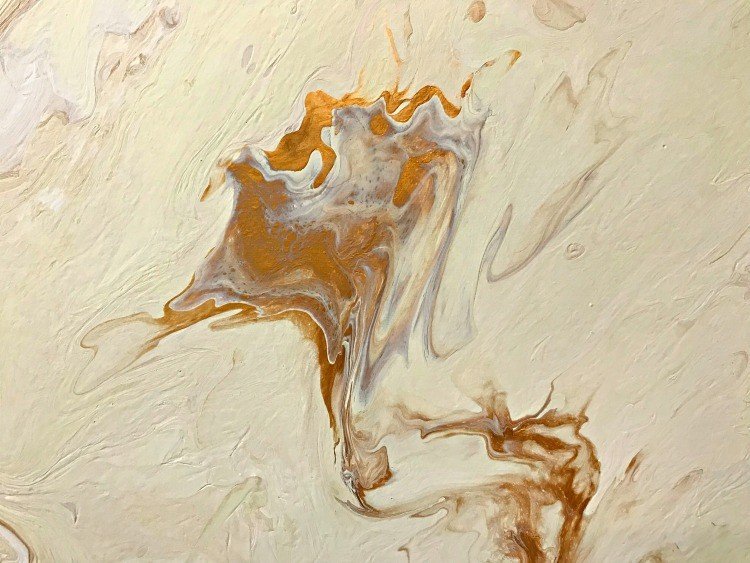
Pouring the paint off also stretched the different colors in new ways on parts of the canvas. The new design ended up better than what I was able to get with the blow dryer this time.
Some people always do their pours by tipping the canvas to mix the colors and get a pretty design. I got really lucky that this worked out for me. 🙂
Don’t forget, you can always scrape the canvas before it dries and redo your pour.
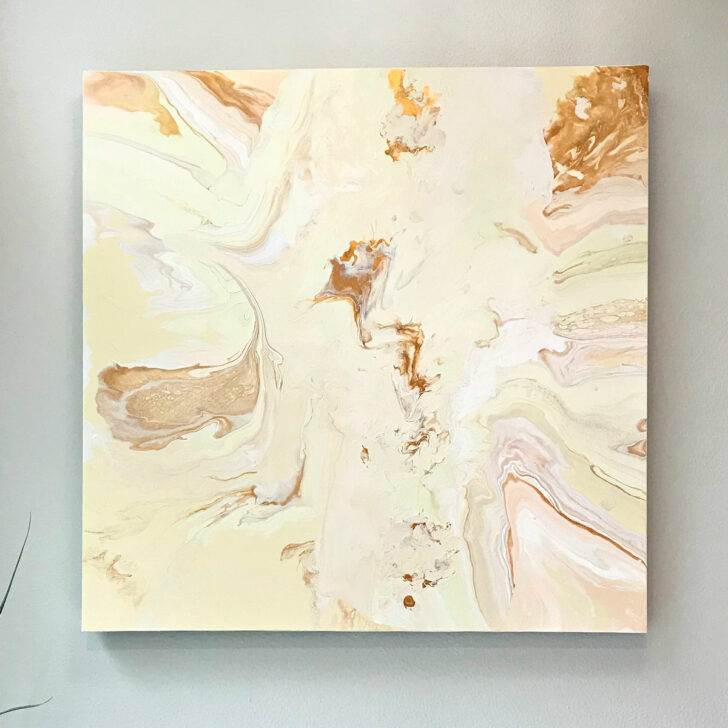
I ended up putting too much paint on the canvas because it was all drifting away from the sides, so the blow dryer wasn’t really moving things around as expected.
I probably should have used a little more water too. But, there’s always so much to learn about acrylic paint pours. It seems like each one is a new learning experience.
If you don’t like one of your pours, you can always scrape the paint off the canvas before it dries and try again later. That’s it for this DIY Paint over an Old Canvas with an Acrylic Pour tutorial. Good Luck on your pour. 🙂
More DIY Ideas For You
Looking for another acrylic paint pour tutorial?? Check out my popular DIY Acrylic Paint Pouring Wall Art tutorial and all of the pictures from that pour.
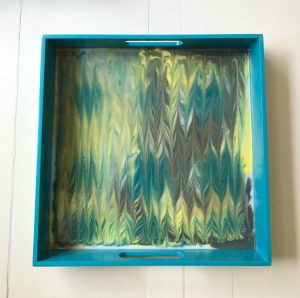
Looking for more easy DIY home decor? Check out this Easy DIY Resin Tray Tutorial and Video.
Or, this Paint Pour Tutorial & Video I used for pretty drawer bottoms.
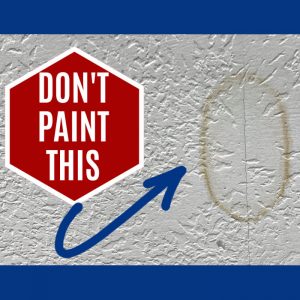
Everyone should know the easy DIY steps for How to Fix Water Stains on Ceiling Leaks, without painting too!
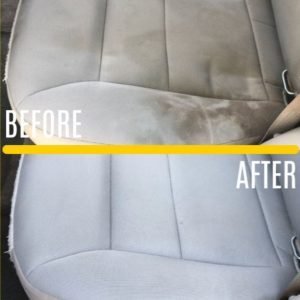
And, this super popular post for How to Clean Car Seats At Home, the Easy Way.
You might also like this DIY for How to Whiten Tile Grout. It’s a Game Changer!

Thanks for checking out my DIY Paint over an Old Canvas with an Acrylic Pour tutorial. Please let me know if you have questions.
Don’t forget to sign up for the Abbotts At Home email newsletter to get DIY, Remodeling, and Crafty ideas in your inbox.

Stephanie Abbott has been remodeling homes, updating & building furniture, and working on DIY home maintenance and cleaning tips for over 20 years. Her remodeling has been featured in Better Homes and Gardens Magazine. And, her DIY YouTube channel has had more than 8 million views.
Most of the DIY tutorials and videos on this site focus on beginner to intermediate level DIY Projects that can be done in an affordable way without high-end, expensive tools. All of the cleaning tips on this website have been tested in her home.

