
QUICK and EASY to follow written steps and walk through video to show you how to make a Lazy Susan Turntable with DIY Lazy Susan Hardware.
How to Make a Lazy Susan Turntable
Hi guys! Today I have the easy to follow steps for how to make a quick and easy DIY Lazy Susan Turntable.
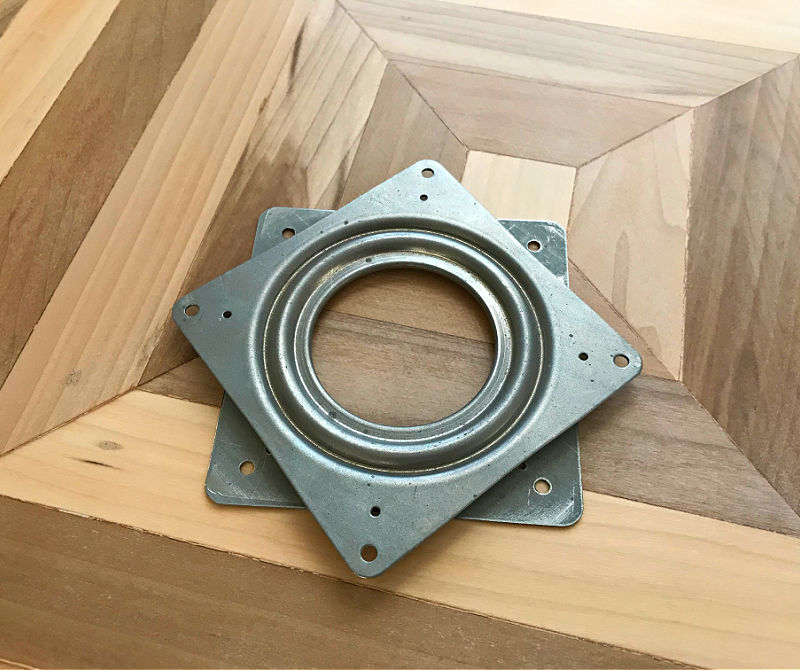
Lazy Susan hardware can be found on Amazon and at most hardware stores. But it looks kind of complicated. I know I was confused when I first saw it.
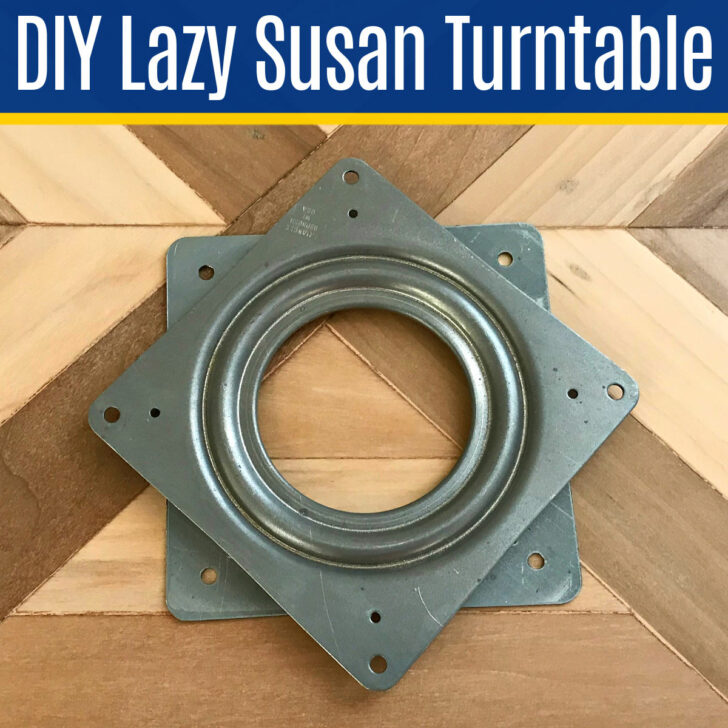
But, once I figured it out, I realized that this Lazy Susan turntable hardware is actually super easy to use. So, I made an easy to follow step by step video to show you how to make a Lazy Susan turntable too!
After reading my tips below and watching the video, you’ll know how to attach a Lazy Susan Turntable to almost anything.
And you can turn most wood rounds, squares, trays or boxes into a Lazy Susan.
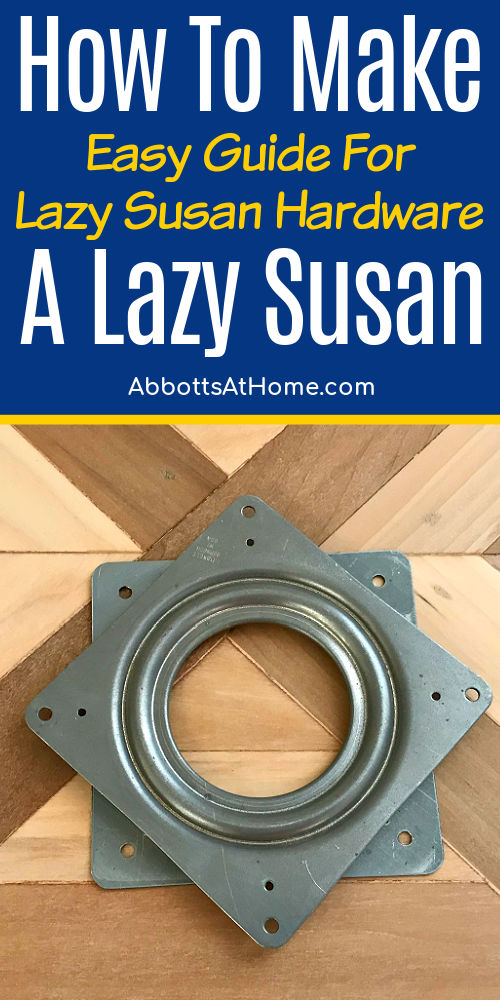
Table of contents
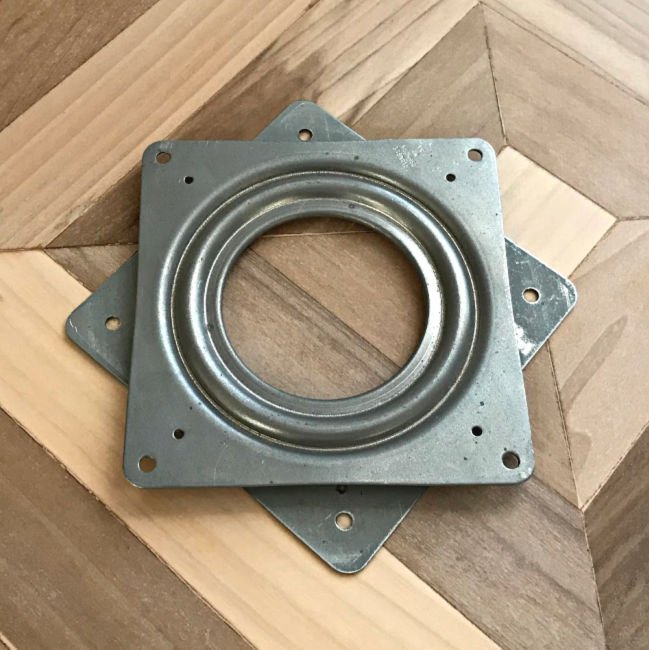
What You’ll Need to Make Lazy Susan Turntables
- 4″ Square Lazy Susan Hardware, or larger when necessary
- A Round Cork Mat, Piece of MDF, or plywood cut to size. This will be the base of the Lazy Susan.
- Super Glue and/or dril, drill bits, screws and screwdriver
How do you Attach a Lazy Susan Turntable
If the written steps are confusing, watch this short video to get a step by step look at how to make Lazy Susan turntables with that confusing looking turntable hardware.
Lazy Susan DIY Steps
Step One
Screw the bottom half of the hardware onto the base of your Lazy Susan. Having a base on your Lazy Susan protects any table top or counter you set it on from scratches.
And, it also looks better when you hide that hardware out of sight. If you can’t screw into the base, try a super glue, like DAP Rapid Fuse.
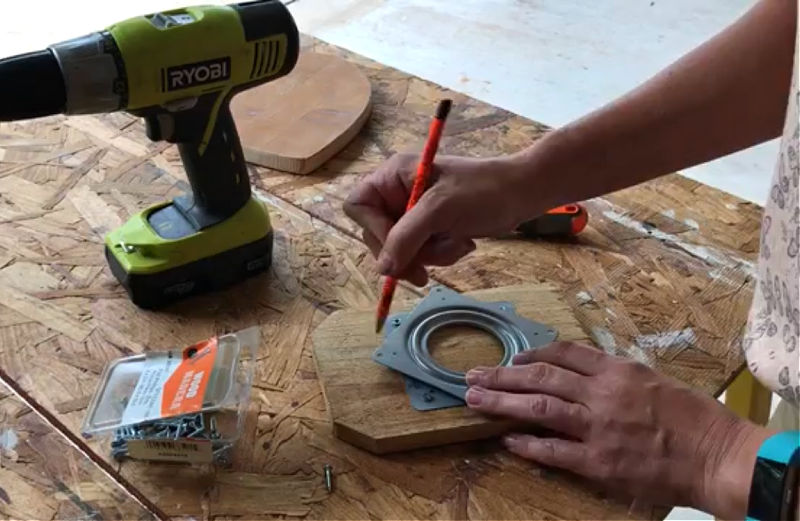
Step Two
Spin the top of the hardware so that a corner is between two corners on the bottom half of the Lazy Susan Hardware. Then use a pencil to mark an access hole.
Step Three
Use a drill to drill the access hole where you marked it. Keep the hole as small as you can. You really only need it to be large enough for the screws and screw driver to fit through.
Step Four
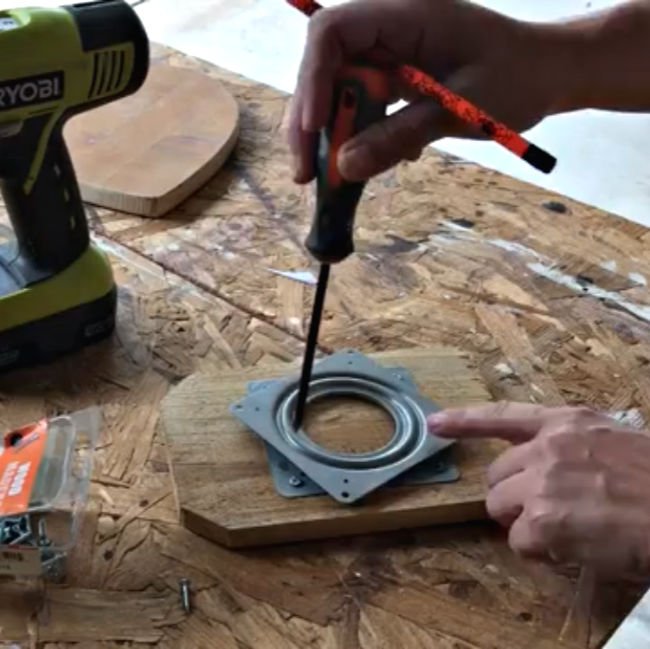
Once you have an access hole drilled, you can attach the top. Be sure that the top is perfectly centered on the Lazy Susan Hardware before attaching.
From the bottom, you can carefully spin the hardware, looking through the access hole, until you see one of the corners on the top half of the Lazy Susan Hardware.
Drill a pilot hole, then screw in small, Flat head screws that fit the Lazy Susan Hardware holes and AREN’T too long for the wood you are using on top.
Step Five
Once you have the first screw in place, carefully spin the hardware to line up for the next screw. Repeat everything from step 4 to attach the last 3 screws.
Step Six
That’s basically it for how to make a lazy Susan turntable. If you picked the right screws you should have a free spinning Lazy Susan ready to go now. 🙂
Here are some ideas for making a pretty DIY Lazy Susan Turntable.
Ideas for Designing a Pretty DIY Lazy Susan
You can use an old tray, cutting board, mirror, and lots of other home décor to make a pretty DIY Lazy Susan.
If you want to start from scratch and design your own Lazy Susan, you can find really nice unfinished wood slices and craft wood rounds on Amazon.
They even have really cool unfinished wood trays in lots of sizes and designs. The unfinished hexagon trays are my favorite. In fact, I just ordered one to have a little DIY fun with. I’ll definitely share that here when I finish it.
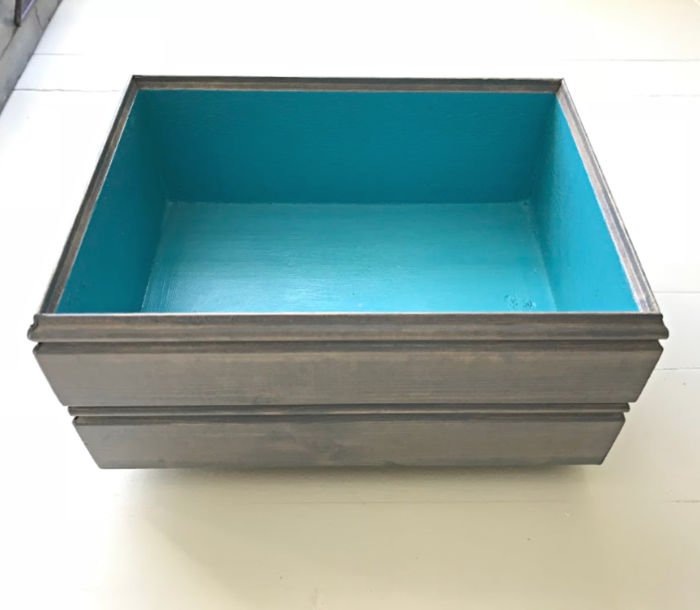
You can also find my steps for making a pretty DIY Lazy Susan Box on this blog. I attached Lazy Susan Hardware to this box and have been using it to organize my go to spice’s for 3 or 4 years now. 🙂
2 Ways to Make a DIY Lazy Susan Turntable
First Way
INSTALL USING SCREWS: Watch the video to see the standard way to install Lazy Susan Hardware with screws.
Second Way
INSTALL USING SUPER GLUE: I used 1/8″ thick plywood for the base of my Lazy Susan Cabinet Organizer. Since most screws would have been too long, I decided to try my trusty DAP Rapid Fuse instead.
It’s a super glue that works on wood, steel, and lots of other surfaces. It worked great! BUT BE CAREFUL, screws can be undone. Glue can’t, at least not easily.
So, test everything before gluing. Be sure that the box will spin in it’s space on top of that hardware and the base piece of wood before gluing.

Looking for more Easy to Follow DIY Projects? Check out this DIY Home Improvement Video Playlist on YouTube.
How to Make a Lazy Susan Turntable
Lazy Susan Hardware can look confusing, so I made this quick and easy guide for how to make a Lazy Susan Turntable to explain what to do.
Materials
- Lazy Susan Turntable
- Drill and Drill Bits
- Screws and Screw Driver
Instructions
Basic Steps for How to Make a Lazy Susan Turntable, shown in the video.
- Screw the bottom half of the hardware onto the base of your Lazy Susan. Having a base on your Lazy Susan protects any table top or counter you set it on from scratches. And, it also looks better when you hide that hardware out of sight. If you can't screw into the base, try a super glue, like DAP Rapid Fuse.
- Spin the top of the hardware so that a corner is between two corners on the bottom half of the Lazy Susan Hardware. Then use a pencil to mark an access hole.
- Use a drill to drill the access hole where you marked it. Keep the hole as small as you can. You really only need it to be large enough for the screws and screw driver to fit through.
- Once you have an access hole drilled, you can attach the top. Be sure that the top is perfectly centered on the Lazy Susan Hardware before attaching. From the bottom, you can carefully spin the hardware, looking through the access hole, until you see one of the corners on the top half of the Lazy Susan Hardware. Drill a pilot hole, then screw in small, Flat head screws that fit the Lazy Susan Hardware holes and AREN'T too long for the wood you are using on top.
- Once you have the first screw in place, carefully spin the hardware to line up for the next screw. Repeat everything from step 4 to attach the last 3 screws.
- That's basically it for how to make a lazy susan turntable. If you picked the right screws you should have a free spinning Lazy Susan ready to go now. 🙂
2 Ways to Make a DIY Lazy Susan Turntable
- INSTALL USING SCREWS: Watch the video to see the standard way to install Lazy Susan Hardware with screws.
- INSTALL USING SUPER GLUE: I used 1/8" thick plywood for the base of my Lazy Susan Cabinet Organizer. Since most screws would have been too long, I decided to try my trusty DAP Rapid Fuse instead. It's a super glue that works on wood, steel, and lots of other surfaces. It worked great! BUT BE CAREFUL, screws can be undone. Glue can't, at least not easily. So, test everything before gluing. Be sure that the box will spin in it's space on top of that hardware and the base piece of wood before gluing.
Notes
Ideas for Designing a Pretty DIY Lazy Susan
You can use an old tray, cutting board, mirror, and lots of other home decor to make a pretty DIY Lazy Susan. If you want to start from scratch and design your own Lazy Susan, you can find really nice unfinished wood slices and craft wood rounds on Amazon.
They even have really cool unfinished wood trays in lots of sizes and designs. The unfinished hexagon trays are my favorite. In fact, I just ordered one to have a little DIY fun with. I'll definitely share that here when I finish it.
You can also find my steps for making a pretty DIY Lazy Susan Box on this blog. I attached Lazy Susan Hardware to this box and have been using it to organize my go to spice's for 3 or 4 years now. 🙂
You might also like this easy tutorial to whiten your grout.
And, this tutorial for How to Make a No Sew Bench Seat.
Or these steps for How to Restain a Door without Removing It.

This tutorial for How to Clean Car Seats at Home is a Game Changer!

Want a beautiful home decor idea? Try this DIY Acrylic Paint Pouring Wall Art.

Make this Easy Kids PVC Pipe Tent Frame for a quick and easy playhouse for your kids.

Feeling inspired? Now you’re ready to make your own How to Make a Lazy Susan Turntable.
Let me know if you have questions. Don’t forget to sign up for the Abbotts At Home email newsletter to get DIY, Remodeling, and Crafty ideas in your inbox.

Stephanie Abbott has been remodeling homes, updating & building furniture, and working on DIY home maintenance and cleaning tips for over 20 years. Her remodeling has been featured in Better Homes and Gardens Magazine. And, her DIY YouTube channel has had more than 8 million views.
Most of the DIY tutorials and videos on this site focus on beginner to intermediate level DIY Projects that can be done in an affordable way without high-end, expensive tools. All of the cleaning tips on this website have been tested in her home.