
Easy to follow guide for mixing and using Bondo All Purpose Putty to fix damaged wood furniture or mistakes on woodworking projects.
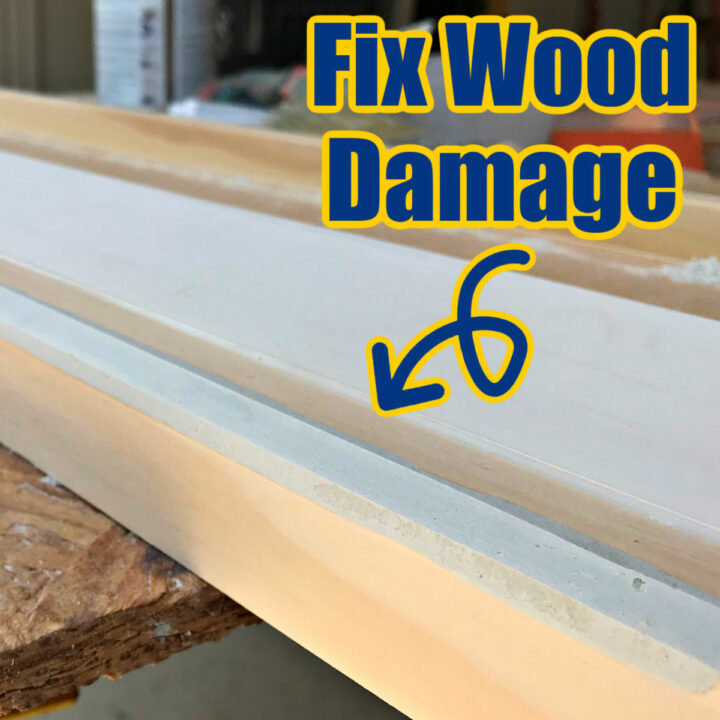
How to Fix Damaged Wood Furniture with Bondo
Well, I really messed up my latest woodworking project. But, I wasn’t worried, at all. I have used Bondo All Purpose Putty to patch a few furniture makeover projects.
And, I have a tutorial all about how to repair wood rot or dry rot with Bondo on exterior wood, like our shutters.
Today, I’m going to show you how to fix damaged wood furniture or woodworking projects with Bondo putty.
Bondo doesn’t stain like wood. But, really, neither does most wood fillers. So, if you are hoping to stain furniture after patching, a less opaque gel stain might be the best option for hiding a patch while still having a stained finish.
If you want to know how to use gel stain, check out this tutorial to see how to stain for a professional finish using gel stain and glaze.
I almost always paint over bondo with a pretty DIY Chalk Paint or store-bought chalk paint. Bondo is great because it hardens faster than wood filler and cures harder than wood filler.
This means your patch will be more durable than wood filler. In fact, I was able to use a router on the big patch in this project that same day.

Don’t forget to follow me on Instagram for DIY project sneak peeks and quick how-to videos. Now, let’s get to that guide for how to fix damaged wood furniture or woodworking projects.
Here’s What You Need to Repair Wood Furniture Damage
How to Fix Damaged Wood Furniture?
To see how to fix damaged wood furniture or woodworking projects with Bondo putty, watch this video.
It’s a detailed step by step walk through of how to mix bondo and apply it to furniture damage, dents, and missing spots.
How to Repair Damaged Wood Furniture?
Step One
Prep your wood for repair. Start by cleaning off any dust, dirt, and loose bits and paint with a clean rag. If your wood damage is new and has clean edges, like mine, you’re ready for step two.
BUT, if your wood damage has cracks or splintered wood, you need to decide if parts of it need to be stabilized first.
You may need to use wood glue on cracks or splinters first. Keep the glue clean inside the cracks and splinters so you don’t have to sand it off before using the Bondo.
Let the wood glue completely dry, then give any glue on the surface a rough sand with 80 or 100-grit sandpaper to make it ‘grippy’ for the Bondo Putty.
You might also want to remove parts that are splintered, rough areas that could prevent the Bondo from forming a solid bond with the furniture.
You don’t want air bubbles or unfilled spots in the furniture. This could cause structural weakness that can lead to more damage later. Every repair job is different, so you’ll have to use your own judgement here.

Step Two
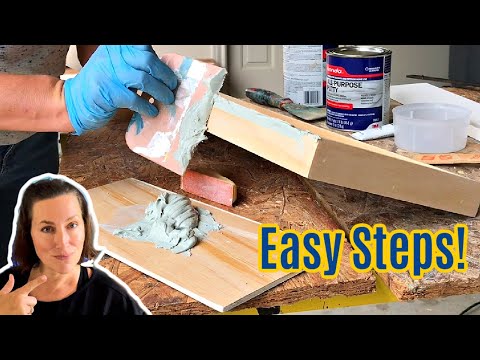
The next step to fix damaged wood furniture is to mix up your Bondo. Follow the directions of the container to mix your Bondo.
A little bit of the hardener goes a long way. Watch the video to see me mix up 2 different batches of Bondo. Bondo will harden in about 5 minutes. So, only mix a little at a time to avoid wasting it.
Step Three
Now, your Bondo is ready to apply. But, remember you only have about 5 minutes before it hardens too much for you to smooth it.
So, work quickly AND try to get the Bondo as neat and clean as possible so you have less sanding later. The key to this step is planning ahead.
If you have a curvy or detailed area to patch, think about what tools you might need at hand to form the putty into that general shape before it sets.
Plastic tools, like the set of spreaders that Bondo sells, are less likely to dent and scrape soft woods. The better your patch looks before it sets, the easier it will be to sand after it dries.
Let your patch dry and cure for 20 to 30 minutes before sanding. While your waiting, clean off your tools. Cleaning them now will be a lot easier than cleaning them after the Bondo has had time to cure.

Step Four
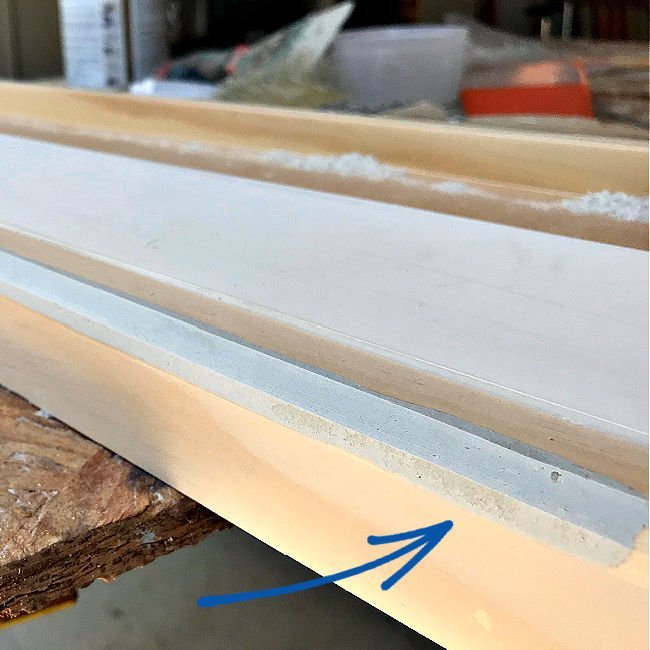
Sand and decide if you need a second coat of Bondo. Bondo works best on bigger patches. Little scratches and air bubbles should be filled with wood filler instead.
If you decide you need a second coat of Bondo, just follow the directions from step three.
Step Five
Now on to the final step for how to fix damaged wood furniture or woodworking projects. Once the second coat of Bondo or wood filler has had time to dry completely.
Sand it smooth with 180-grit or higher sanding blocks or sandpaper. Pick the one that works best for your patch. I love this little Micro Zip sander for small spaces and grooves.
You really want to get your patch looking smooth, level, and as perfect as possible before painting or staining. Wood filler or Bondo won’t stick to paint like it does wood.
So, if you decide you need to use more of either, you should do that before painting or staining.
Once you feel like your patch is ready for paint or stain, clean off that dust and go for it. I used my DIY Chalk Paint from Latex Paint Recipe to make the chalk paint I used on this project.
Then I used my steps for how to get a super smooth finish with chalk paint to get a beautiful looking and smooth feeling paint finish.
UPDATE: I recently made a HUGE router mistake on a cabinet door I was building. Check out how great Bondo worked on that woodworking mistake in my new video.
If you need some Furniture Painting or Staining Inspo, check out this DIY Furniture Makeover video playlist on YouTube.
Well, that’s it for this guide for how to fix damaged wood furniture or woodworking projects. If you love home improvement projects as much as I do, check out these DIY Home Improvement videos here, on my YouTube channel. 🙂
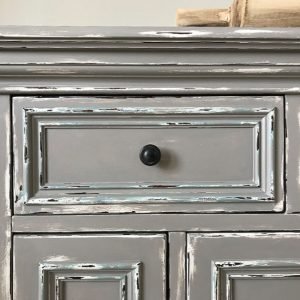
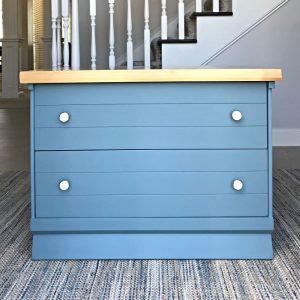
You might also like this DIY Gray Chalk Paint Furniture Makeover.
You might also like this DIY for How to Whiten Tile Grout. It’s a Game Changer!

If you have or are thinking about installing marble tile in your shower, check out the easy DIY steps I’m using to clean marble tile in a shower that won’t damage it.

Or, this amazingly easy DIY for how to clean your car seats at home.
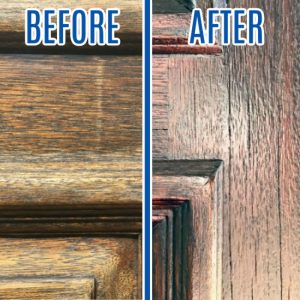
And, if it is time to Stain your Front Door, check out these steps for how I restain a front door without stripping it or removing it. 🙂
Or this easy DIY Paint Makeover with Kilz Demo Day Paint Color.
That’s it for how to fix damaged wood furniture or woodworking projects. Let me know if you have questions. Don’t forget to sign up for the Abbotts At Home email newsletter to get DIY, Remodeling, and Crafty ideas in your inbox.

Stephanie Abbott has been remodeling homes, updating & building furniture, and working on DIY home maintenance and cleaning tips for over 20 years. Her remodeling has been featured in Better Homes and Gardens Magazine. And, her DIY YouTube channel has had more than 8 million views.
Most of the DIY tutorials and videos on this site focus on beginner to intermediate level DIY Projects that can be done in an affordable way without high-end, expensive tools. All of the cleaning tips on this website have been tested in her home.