
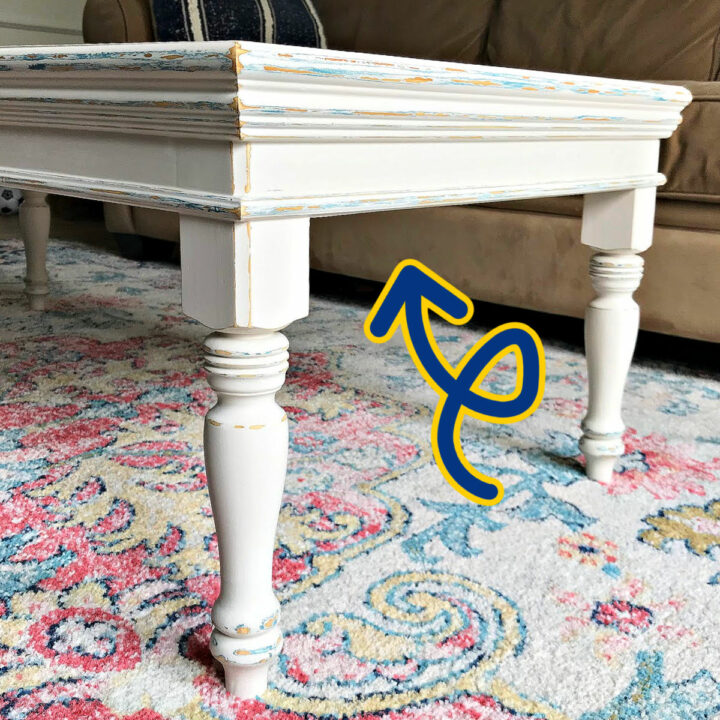
The EASIEST way to get a beautiful, smooth finish with chalk paint. Includes FAQ’s, wet sanding tips, & how to avoid streaky chalk paint!
How to Get a Smooth Finish with Chalk Paint
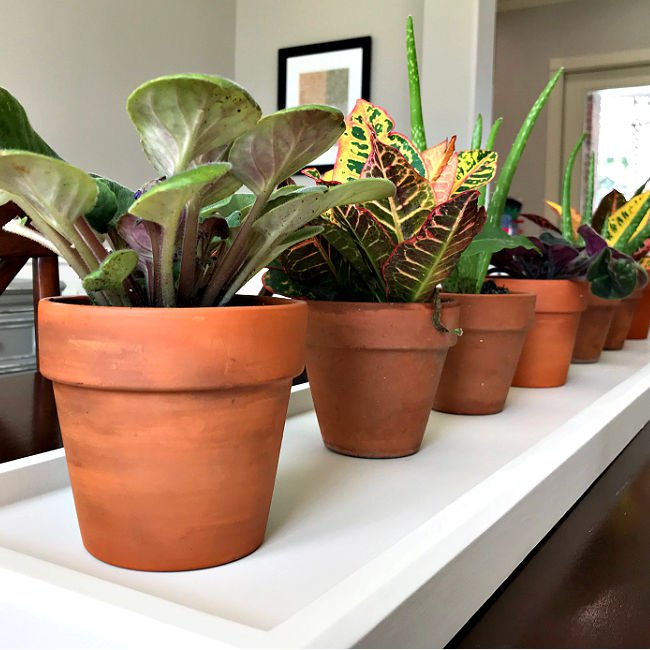
Using chalk paint is my favorite way to create a beautiful new look on furniture and home décor.
It’s easy to apply, cures fast, and can be bought or mixed in any color. Here’s my tips for how to get a smooth finish with chalk paint.
Don’t worry, getting a beautiful, streak-free look with chalk paint is easy.

Painting furniture with chalk paint is hard to mess up. Almost anything that goes wrong can be fixed with a little research and/or a few more coats of paint.
But some chalk paints can leave rough, chalk paint brush strokes behind. Today, I have the tips you need to save your chalk paint fail below.
And, steps to get a smooth finish with chalk paint the next time you use it. Let’s get started!
Table of contents

Wet Sanding Chalk Paint
Wet sanding chalk paint is an easy way to give chalk paint a smooth feel. I like to use a damp, fine grit sanding sponge to wet sand paint.
Just run the sponge under water, squeeze out the excess, and lightly sand the painted surface. You’ll have to stop and rinse out the sanding sponge every few minutes to remove built up paint residue.
Wet sanding also works on furniture paints that describe themselves as “chalky like” and most acrylic-based furniture paints. It even works on my homemade chalk paint.
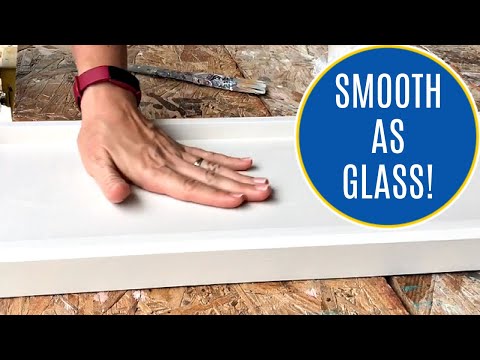
See How To Wet Sand Chalk Paint In This Video
Watch this video to see exactly how sanding chalk paint with a damp, fine grit sanding block can give you a silky smooth chalk paint finish.
Why Does My Chalk Paint Look Streaky
Furniture paint can sometimes look blotchy or streaky when it dries. There are a few reasons your chalk paint looks streaky.
1. Thick Chalk Paint Can Cause Streaks
If your chalk paint is too dry or thick, it is harder to apply smoothly. That causes an uneven chalk paint texture that can look streaky.
You might also see really pronounced chalk paint brush strokes when the chalk paint is too thick.
Since chalk paint is water-based, you can add in a little bit of water, stir it in to, and test to see if you have a smoother application before adding in a little more water.
When I make my DIY Chalk Paint from Latex Paint, I always mix in enough water to get a smooth, easy application.
This might sound strange, but some chalk paint is designed to be a little dry to purposely show brush strokes.
Having the chalk paint brush strokes show is a different style of chalk painting that some people love. I just prefer a smooth finish with chalk paint.
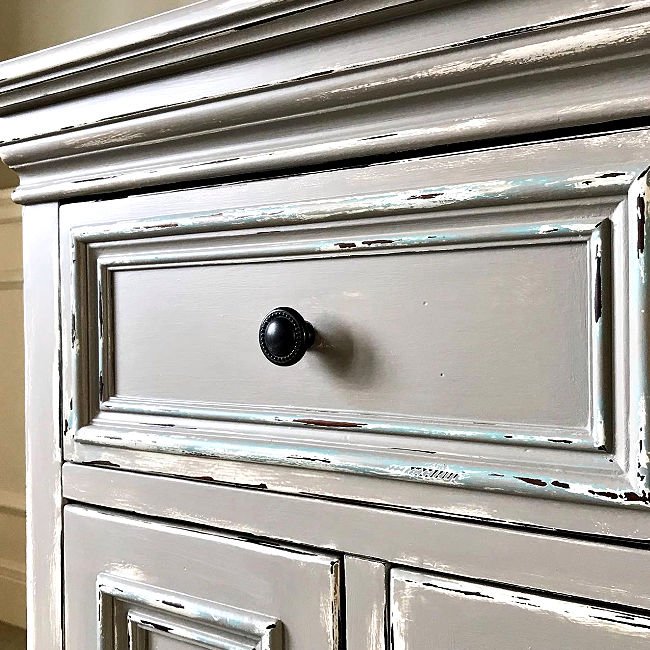
2. It’s The First Coat
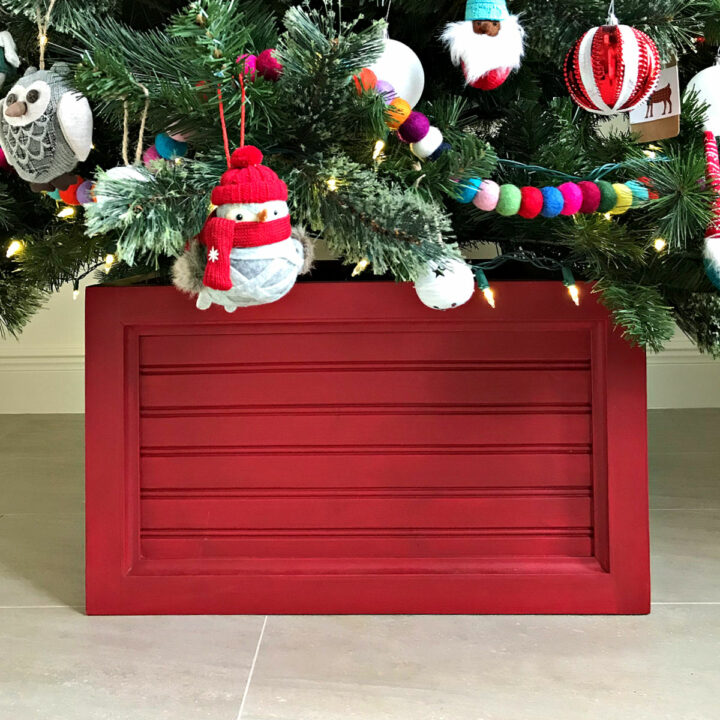
The first coat of most types of chalk paint always looks a bit streaky and blotchy. Especially with dark or red colors.
If your chalk paint seems to be applying evenly and isn’t too thick, apply a couple more coats to see if you get a more even, pretty finish.
Be sure to let each coat dry completely before applying the next.
You can also lightly sand chalk paint between coats with a fine grit sandpaper or sanding block between coats to get that “like glass” smooth finish with chalk paint.
3. You’re Brushing Over Partly Dried Paint
Another cause for streaky chalk paint is brushing over partially dried paint. This is pretty easy to do on big surfaces, like table tops.
Brushing over thick, partly dry sections of paint can completely dull the sheen on that spot, causing a streak.
If your chalk paint is drying faster than you can paint a surface, it might need a little water mixed in to extend the dry time while you’re painting.
4. The Wax Top Coat Wasn’t Buffed Enough
If you use a wax top coat, it can cause streaky looking chalk paint too. You probably just need to buff that wax a bit longer to get a nicer look.
I used wax as the top coat on this DIY Wooden Barn Star and on this Easy DIY Blue Distressed Chalk Paint Look but I’m not a huge fan of the protection that wax provides.
A good water-based top coat looks nicer and protects better than wax. Lately, I prefer General Finishes Flat Out Flat or Minwax Polycrylic in a Clear Matte Sheen.
How to Get a Smooth Finish with Chalk Paint
What You’ll Need
- Extra Fine Grit Sanding Block
- Clean Damp Rag and Clean Dry Rag
- Nylon Brush
- Chalk Paint
- General Finishes Flat Out Flat
- Brown Paper Bag
Step One – Apply The Chalk Paint Correctly
Start by applying 3-4 coats of Chalk Paint to your furniture or home décor. Be sure to let each coat dry completely before applying the next.
Use a high quality nylon brush to get a smooth finish and reduce the chance of chalk paint brush marks. You want a thick even coat of color across the whole surface.
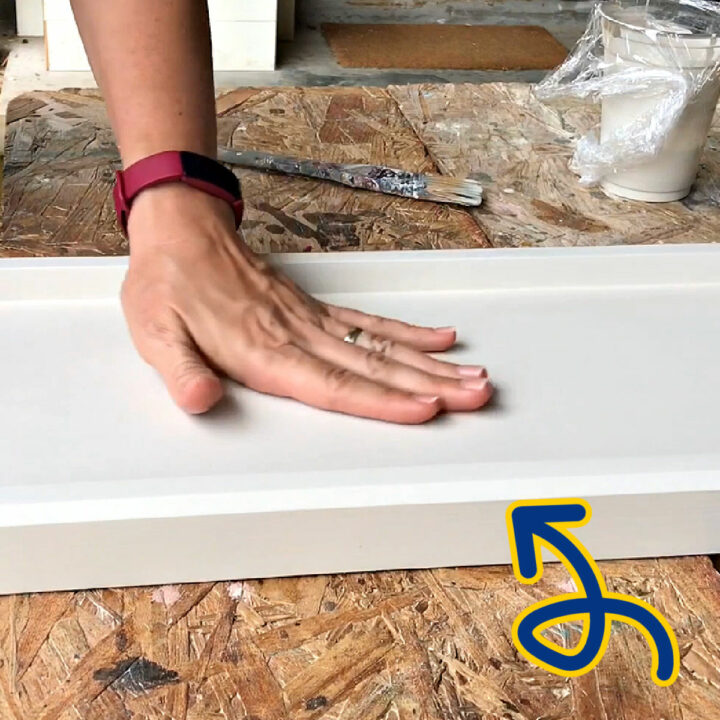
Step Two – Wet Sanding
Once your last coat of chalk paint has completely dried, you’re ready to wet sand to get that beautiful streak-free smooth finish with chalk paint. Use a damp Extra Fine Grit Sanding Block.
You want that sanding sponge to be damp but not dripping wet. That dampness helps to reduce the friction on that sponge and produce a lighter sand. Wet sand the entire painted surface.
Use a light touch when you wet sand the paint. You’ll get a feel for it after a few minutes. But, you want to only press hard enough to get a smooth finish.
You don’t want to accidentally sand the chalk paint off. If you do sand too deep anywhere, like corners. Just touch up with a little more chalk paint.
Step Three – Clean And Prep For Top Coat
Once you have the chalk paint finish looking and feeling as smooth as you’d like, you’re ready to clean it off. Use a damp, clean rag to wipe off all of the paint residue that’s left behind from wet sanding.
When the paint residue is cleaned off, use the dry, clean rag to wipe your chalk painted furniture or home décor dry. Let it completely dry before applying a top coat.
Step Four – Apply A Water-Based Top Coat
Now, you’re ready for a top coat. Some people like to use wax on chalk paint. It is nice sometimes, but I generally go for a water-based poly.
Lately, I’ve been loving the matte look of General Finishes Flat Out Flat top coat. It applies fast, nice and even too. Follow the directions on whatever top coat you pick to get the best result.
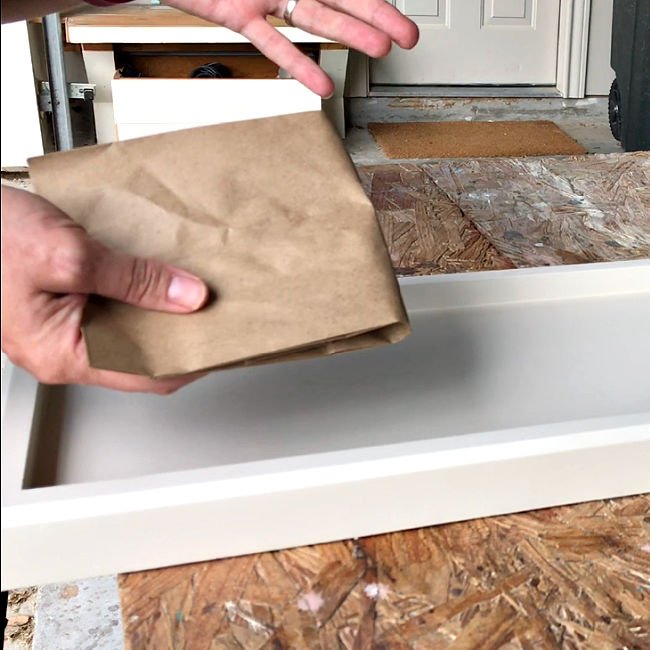
Step Five – Optional Brown Paper Bag Sanding
This last step is optional. Once you’ve applied the recommended number of coats of your top coat and let it dry, you can use a brown paper bag to lightly sand the top coat for an even smoother feel.
Brown Paper Bags have a very high grit, somewhere around 10,000. Which means they are great for getting a buttery feeling finish and removing dust nibs without scratching that perfect sheen.
If any of these steps aren’t clear, you can see how I do all of these steps for a smooth finish with chalk paint in the video near the top of this post.
Get The Beginner’s Guide to Painting Furniture
Looking for more furniture painting tips??? Grab the 19 page free printable version of my Beginner’s Guide to Painting Furniture that includes everything from this post, plus answers to 12 Common Questions about Painting Furniture.

Looking for more of my Furniture Painting videos? You can see them here, on my YouTube channel. 🙂
More DIY’s You Might Like
You might also like this post for How to Patina Paint DIY Metal Finishes, with 20+ Examples.
Or, this tutorial for a fun and easy DIY Acrylic Pour Tutorial.
If you’re tired of having a dry looking, sun-damaged front door, check out this quick 1 step fix for a dry wood front door.
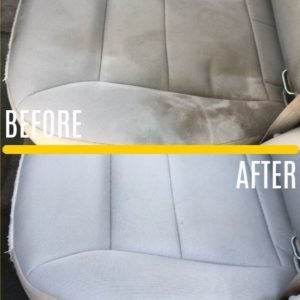
Or, this easy DIY for how to clean car seats at home.
Are you ready to quit cable and save money?! Here’s everything you need to know in How Do I Get Rid of Cable and Still Watch TV.

How to Get a Smooth Finish with Chalk Paint
Follow these easy steps to get a beautiful, smooth finish with chalk paint. This is how to fix rough feeling and blotchy looking chalk paint!
Materials
- Extra Fine Sanding Sponge
- Chalk Paint
- Nylon Brush
- General Finishes Flat Out Flat or Other Top Coat
- Clean Damp Rag
- Clean Dry Rag
- Optional Brown Paper Bag
Instructions
How to Get a Smooth Finish with Chalk Paint
- Start by applying 2-4 coats of Chalk Paint to your furniture or home decor. Be sure to let each coat dry completely before applying the next. Use a high quality nylon brush to get a smooth finish and reduce brush strokes. You want a thick even coat of color across the whole surface.
- Once your last coat of chalk paint has completely dried, you're ready to wet sand to get that beautiful streak-free smooth finish with chalk paint. Use a damp Extra Fine Grit Sanding Block. You want that sanding sponge to be damp but not dripping wet. That dampness helps to reduce the friction on that sponge and produce a lighter sand. Wet sand the entire painted surface.
- Use a light touch when you wet sand the paint. You'll get a feel for it after a few minutes. But, you want to only press hard enough to get a smooth chalk paint finish. You don't want to accidentally sand the chalk paint off. If you do sand too deep anywhere, like corners. Just touch up with a little more chalk paint.
- Once you have the chalk paint finish looking and feeling as smooth as you'd like, you're ready to clean it off. Use a damp, clean rag to wipe off all of the paint residue that's left behind from wet sanding.
- When the paint residue is cleaned off, use the dry, clean rag to wipe your chalk painted furniture or home decor dry. Let it completely dry before applying a top coat.
- Now, you're ready for a top coat. Some people like to use wax on chalk paint. It is nice sometimes, but I generally go for a water-based poly. Lately, I've been loving the matte look of General Finishes Flat Out Flat top coat. It applies fast, nice and even too. Follow the directions on whatever top coat you pick to get the best result.
- This last step is optional. Once you've applied the recommended number of coats and let it dry, you can use a brown paper bag to lightly sand the top coat for an even smoother feel. Brown Paper Bags have a very high grit, somewhere around 10,000. Which means they are great for getting a buttery feeling finish and removing dust nibs without scratching that perfect sheen.
Notes
If any of these steps aren't clear, you can see how I do all of these steps for a smooth finish with chalk paint in the video. 🙂
Why does my Chalk Paint Look Streaky
Chalk paint can sometimes look blotchy or streaky when it dries. There are a few reasons why this might happen. If your chalk paint is too dry, it is harder to apply smoothly. You can add a bit of water and stir it in to make the chalk paint easier to apply. When I make my DIY Chalk Paint from Latex Paint, I always mix in enough water to get a smooth, easy application.
This might sound strange, but some chalk paint is designed to be a little dry to show brush strokes. Having the strokes show is just a different style of chalk painting that some people love. I just prefer a smooth finish with chalk paint.
The first coat of chalk paint always looks a bit streaky and blotchy. If it seems to be applying evenly and isn't too thick, apply a couple more coats to see if you get a more even, pretty finish. Be sure to let each coat dry completely.
You can also lightly sand chalk paint with a fine grit sandpaper or sanding block between coats to get that "like glass" smooth finish with chalk paint.
Feeling inspired? Now that you know how to get a Smooth Finish with Chalk Paint, you can do it too.
Let me know if you have questions. Don’t forget to sign up for the Abbotts At Home email newsletter to get DIY, Remodeling, and Crafty ideas in your inbox.

Stephanie Abbott has been remodeling homes, updating & building furniture, and working on DIY home maintenance and cleaning tips for over 20 years. Her remodeling has been featured in Better Homes and Gardens Magazine. And, her DIY YouTube channel has had more than 8 million views.
Most of the DIY tutorials and videos on this site focus on beginner to intermediate level DIY Projects that can be done in an affordable way without high-end, expensive tools. All of the cleaning tips on this website have been tested in her home.