Getting the perfect distressing on furniture doesn’t have to be hard work. A little Vaseline can make it so easy! Here’s the easy to follow steps for how to paint and distress furniture with Vaseline.
How to Paint and Distress Furniture with Vaseline
I used to work so hard sanding down furniture to try to get the perfect amount of distressing in all the right places. But, the sanding would go on and on sometimes, like on my Farmhouse Coffee Table Makeover from last year.
And I’d accidentally over sand or sand spots I didn’t mean too. But now I know the secret ingredient for how to paint and distress furniture perfectly, every time!
It’s Vaseline, guys! Yep, just plain old Vaseline Jelly that’s been around for ages. In that same jar that grandma always had!
This is why I love using Vaseline to distress. Using just your finger, you can place the Vaseline in the exact spots you want to look distressed, worn and chippy.
And, you can also place Vaseline on flat surfaces that may be harder to distress with just sandpaper.
The Vaseline prevents the paint from sinking into the furniture in those spots. So, the paint is easily sanded away with light effort. Yea!
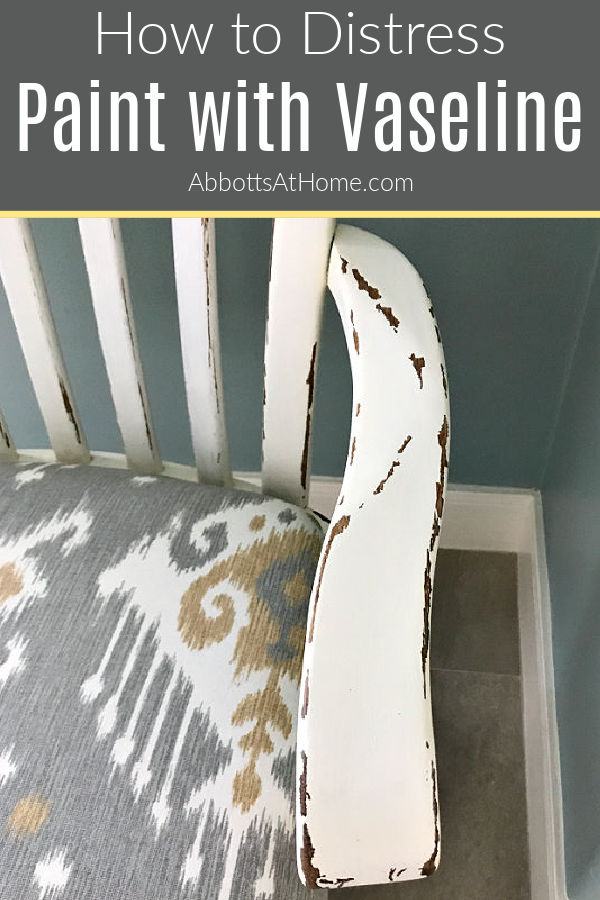
Today, I have 5 examples of ways that I have used Vaseline with Chalk Paint to get different distressed paint looks. With the exact steps I use to paint and distress with Vaseline.
What You Need
- Optional: Wood cleaner, I used my simple wood cleaning recipe using ingredients from my kitchen
- Chalk Paint, I make my own with this chalk paint with my recipe
- Vaseline Jelly
- Rust-oleum Matte Varathane
- 120-grit sandpaper or sanding block
How to Paint with Vaseline Video
Seeing something done always helps me understand it better. You can follow along with this video to see every step I follow for how to paint and distress furniture with Vaseline. You can find more of my beginner chalk paint videos on YouTube.
How to Distress Paint with Vaseline
Remember, the key with Vaseline is to put it wherever you want the paint or stain beneath to peek through. Vaseline lets you easily decide beforehand which spots will get distressed.
I typically go with any edges, corners, and raised areas. And then add a few spots that would get extra wear and tear from use or would just look pretty distressed.
If you want light distressing, make sure to only apply a light wipe of Vaseline. Gloppy bits of Vaseline may spread to other areas when you apply the paint.
Have fun, go with your gut to get the look you like. You can always start again or redo spots. Here’s the steps for how to paint and distress furniture with Vaseline.
Step One
If necessary, strip off any old finish or paint. Here’s a tutorial for stripping paint off wood furniture if you need it.
Step Two
If you didn’t need to strip your furniture, use a wood cleaner (like TSP) to remove any dirt, grime, and oils on the furniture. Lightly scrub every surface and allow to dry. Skip this step on new furniture builds and wood.
Step Three
Then, sand every surface, as smooth as you’d like, with 120-grit sandpaper. Wipe clean.
Step Four
If you want a different base color, apply that now. This works with stain and paints. Use as many coats as necessary to get the look you want. I prefer foam brushes and chalk paint for the smoothest finish.
Step Five
If you did apply a base coat, sand with a fine grit sandpaper or sanding block and wipe clean again.
Step Six
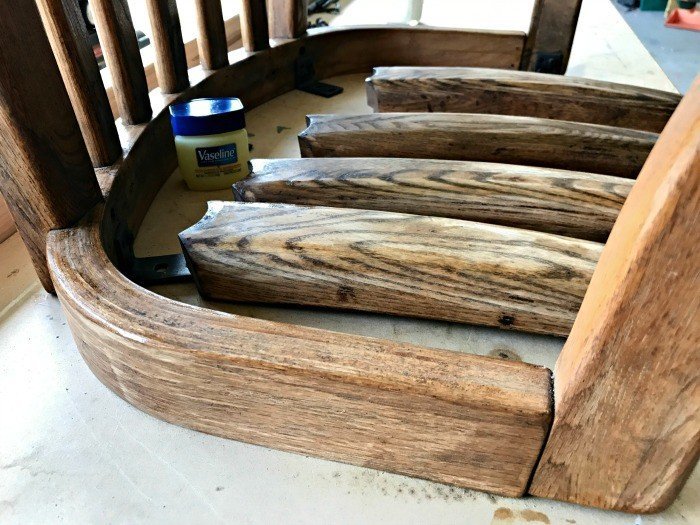
Apply Vaseline on edges and raised areas that would naturally get chipped or worn with use. I just use my finger to apply it.
Vaseline distressing isn’t supposed to be perfect. It’s supposed to look natural. So, I think using your finger will result in imperfect lines and a more natural look than a paint brush.
You could also use a Q-Tip to apply the Vaseline in fine lines.
Step Seven
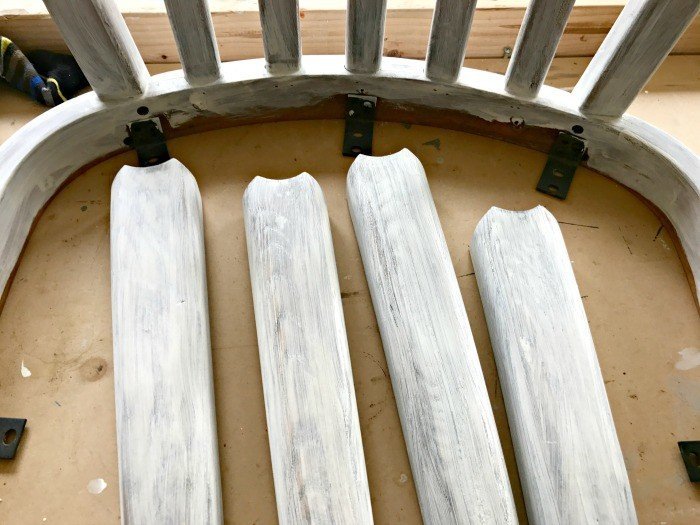
Paint over all wood with 2 to 3 layers of chalk paint to get a fully covered finish. Allow proper drying between layers.
Step Eight
Distress the areas you put Vaseline on with a slightly wet sanding block or sandpaper. I like to use a wet sanding block to sand off chalk paint. Just be sure to squeeze out the excess water before sanding.
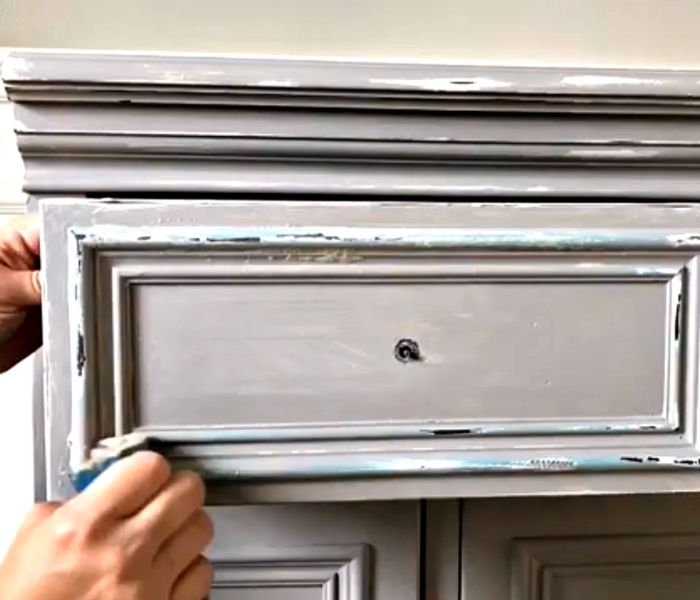
Step Nine
Once you have the type of distressed look you prefer, clean off the paint residue with a clean, damp cloth. Then protect all of the wood with 2-3 coats of polyurethane. I love the Matte finish and extra smooth feel of this fast-drying Matte Urethane.
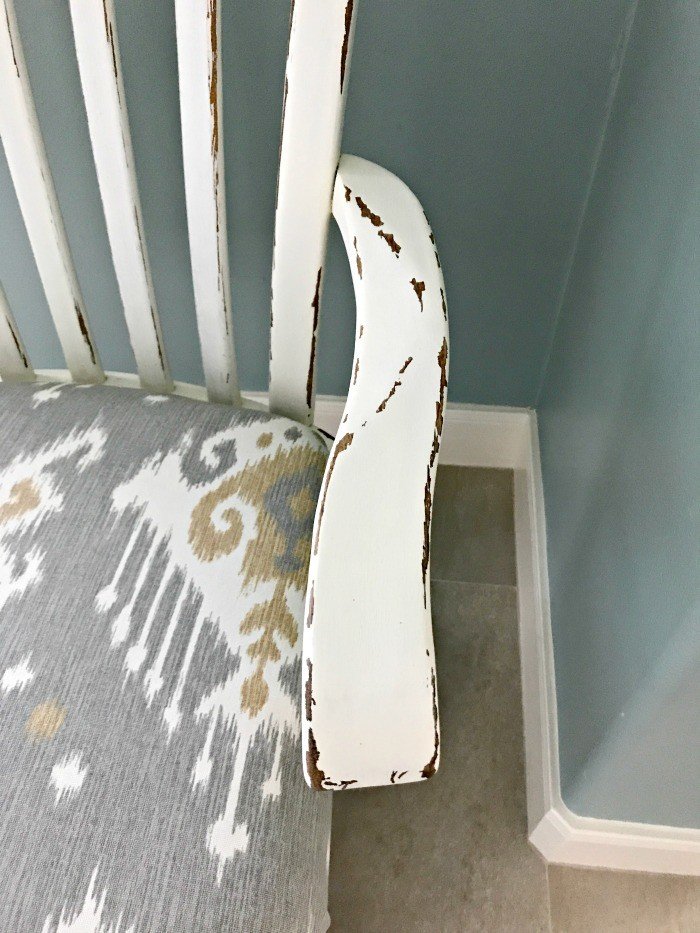
Easy peasy, right?! I love how quick and easy distressing is with Vaseline! Keep scrolling for 4 more examples of how I have used Vaseline to distress chalk paint.
5 Examples of Distressed Chalk Paint with Vaseline
Vintage Distressed Paint Look
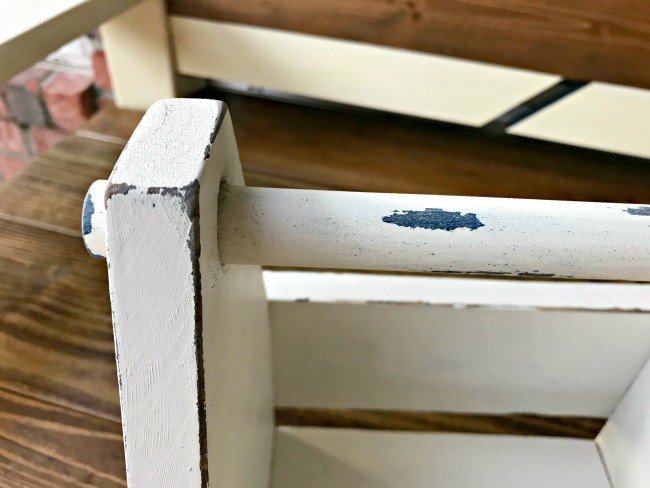
I went for a vintage, antique shop look on this DIY Vintage Beer Caddy I built for my husband. You can see exactly how to distress paint with Vaseline in the YouTube video above.
Get the Shabby Chic Look
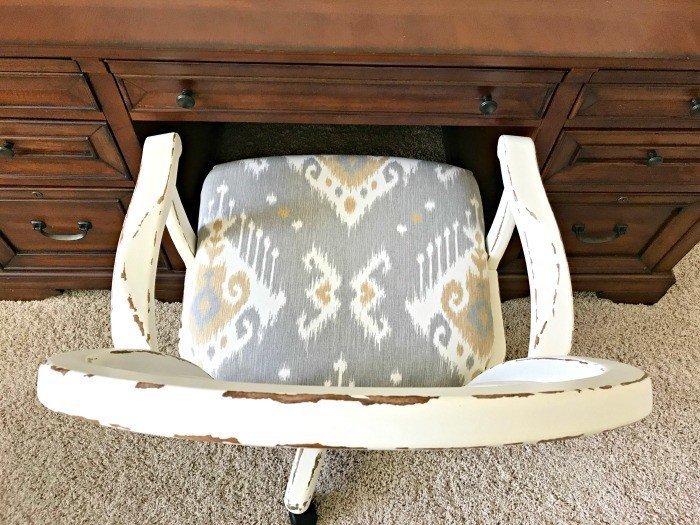
I wanted a shabby chic look on this office chair makeover. So, I applied more Vaseline than I normally do, in wider lines, to get this chippy distressed paint look. See the details behind this DIY White Distressed Chalk Paint look in another post.
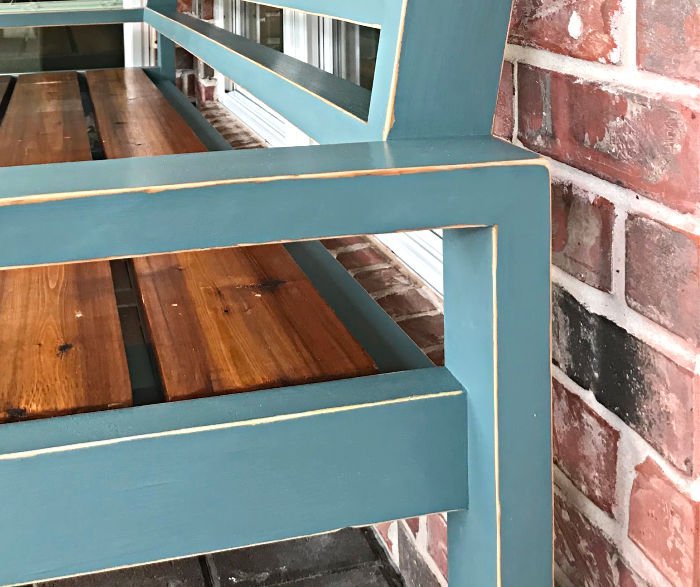
Blue Distressed Chalk Paint
I built this DIY Outdoor Sofa from 2×4’s for my back patio. I wanted to give the paint some extra character. So, I used Vaseline on all of the edges and corners before I painted it. You can see the steps for this DIY Blue Distressed Paint using Vaseline in a previous post.
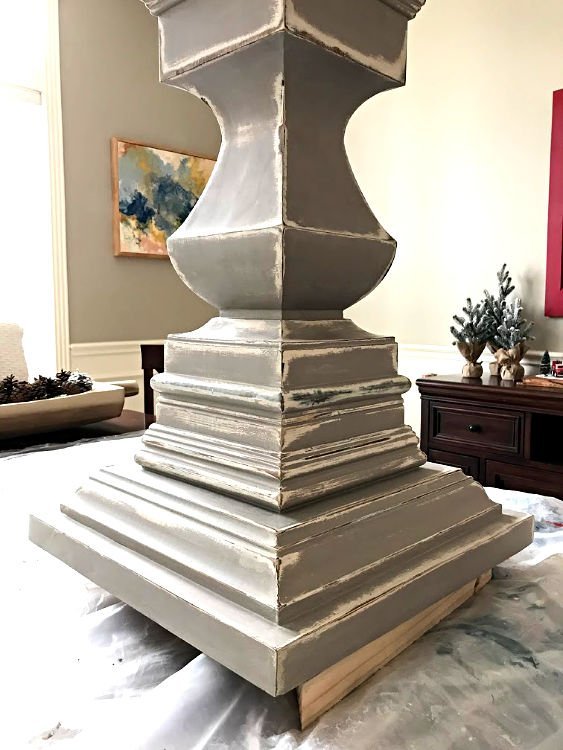
Gray Distressed Chalk Paint
I built this DIY Round Pedestal Table for our kitchen. To get the paint look on this pedestal, I layered stain, Vaseline, and chalk paint to get this pretty DIY Gray Chalk Paint Finish.
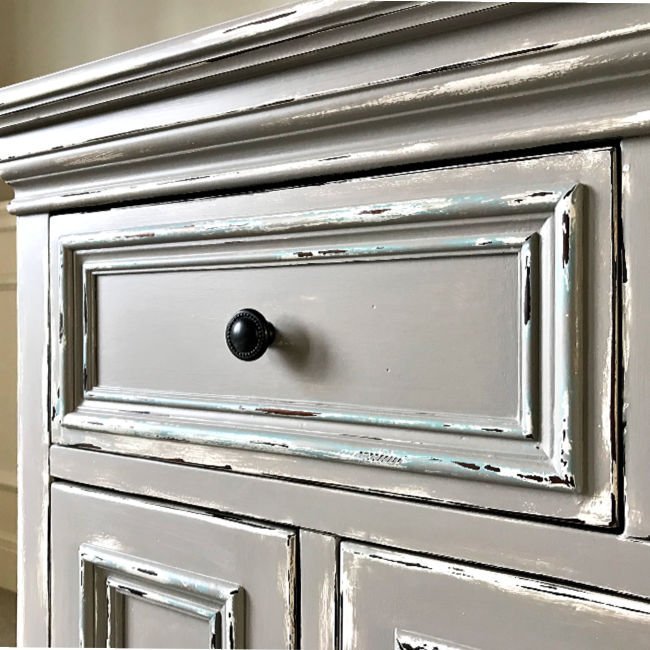
White and Grey Distressed Chalk Paint
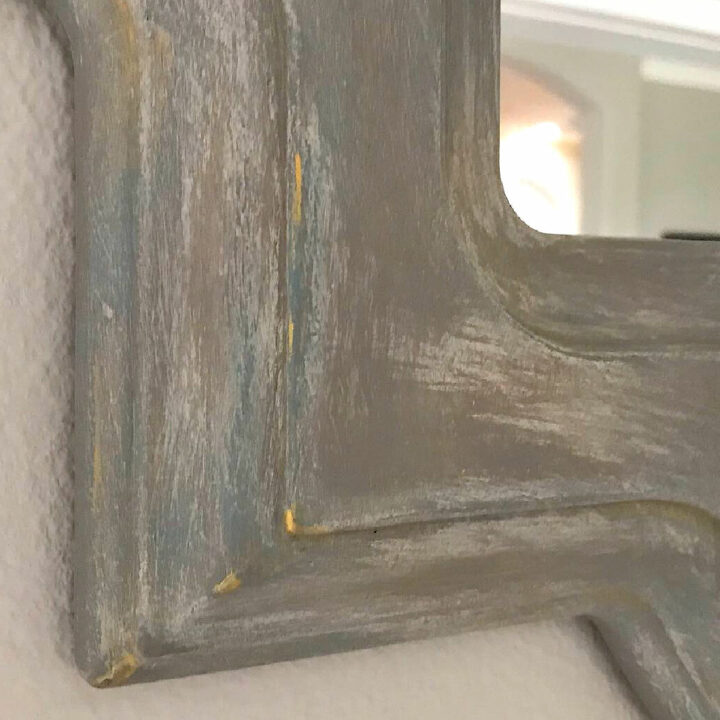
This DIY White and Grey Distressed Chalk Paint Makeover is pretty similar to the one I did on that pedestal table. But, I added blue highlights under the grey chalk paint too. I applied the Vaseline on the raised areas and edges to bring out the pretty details on this piece.
That’s all the distressed chalk paint examples I have for now. I hope they helped inspire you. Now that you know how to paint and distress furniture with Vaseline, what are you going to try it on?
Keep scrolling for a printable version of these steps.
Don’t forget, you can find more of my beginner chalk paint videos on YouTube. 🙂
You might also like this post on how to get a smooth finish with chalk paint.
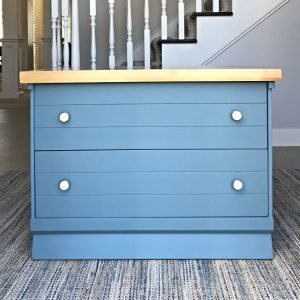
Here’s an easy DIY furniture redo using just this beautiful smoky blue paint color.
Here’s 5 before and after examples for how to brighten any room with light paint colors on walls!
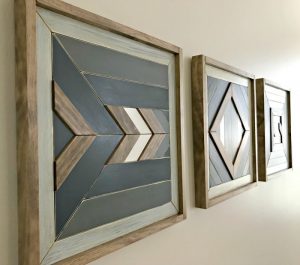
Here’s how to design and build your own DIY Scrap Wood Wall Art.
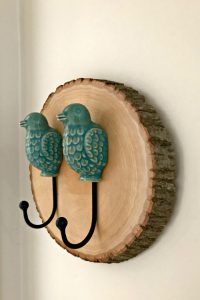
Or for a quick and simple DIY, try this Easy Wood Slice Wall Hook DIY.
Feeling inspired? Now that you know how to paint and distress furniture, get out there and try it! Don’t forget to sign up for the Abbotts At Home email newsletter to get DIY, Remodeling, and Crafty ideas in your inbox.
How to Distress Paint with Vaseline

Easy steps for how to paint and distress furniture with Vaseline. With 5 beautiful examples of paint distressed with Vaseline on furniture.
Materials
- Chalk Paint
- Vaseline
- Sanding Sponge
- Nylon Paint Brush
Instructions
Here's a quick overview of the steps. Detailed instructions are below.
Quick Step Guide
- Strip, Clean, or Prep Furniture for it's new finish.
- Apply your base stain or paint. Let Dry.
- Apply Vaseline on Corners, Edges, and Raised areas you want to distress.
- Apply 2-3 coats of chalk paint. Let Dry.
- Wet sand with a Sanding Sponge to remove paint on areas where you applied Vaseline.
- Clean and Protect with a Water Based Poly.
Step One
If necessary, strip off any old finish or paint. Here’s a tutorial for stripping paint off wood furniture if you need it.
Step Two
If you didn’t need to strip your furniture, use a wood cleaner (like TSP) to remove any dirt, grime, and oils on the furniture. Lightly scrub every surface and allow to dry. Skip this step on new furniture builds and wood.
Step Three
Then, sand every surface, as smooth as you’d like, with 120-grit sandpaper. Wipe clean.
Step Four
If you want a different base color, apply that now. This works with stain and paints. Use as many coats as necessary to get the look you want. I prefer foam brushes and chalk paint for the smoothest finish.
Step Five
If you did apply a base coat, sand with a fine grit sandpaper or sanding block and wipe clean again.
Step Six
Apply Vaseline on edges and raised areas that would naturally get chipped or worn with use. I just use my finger to apply it.
Vaseline distressing isn’t supposed to be perfect. It’s supposed to look natural. So, I think using your finger will result in imperfect lines and a more natural look than a paint brush.
You could also use a Q-Tip to apply the Vaseline in fine lines.
Step Seven
Paint over all wood with 2 to 3 layers of chalk paint to get a fully covered finish. Allow proper drying between layers.
Step Eight
Distress the areas you put Vaseline on with a slightly wet sanding block or sandpaper. I like to use a wet sanding block to sand off chalk paint. Just be sure to squeeze out the excess water before sanding.
Step Nine
Once you have the type of distressed look you prefer, clean off the paint residue with a clean, damp cloth. Then protect all of the wood with 2-3 coats of polyurethane. I love the Matte finish and extra smooth feel of a Matte Poly.
Notes
Remember, the key with Vaseline is to put it wherever you want the paint or stain beneath to peek through. Vaseline lets you easily decide beforehand which spots will get distressed.
I typically go with any edges, corners, and raised areas. And then add a few spots that would get extra wear and tear from use or would just look pretty distressed.
If you want light distressing, make sure to only apply a light wipe of Vaseline. Gloppy bits of Vaseline may spread to other areas when you apply the paint.
Have fun, go with your gut to get the look you like. You can always start again or redo spots. Here’s the steps for how to paint and distress furniture with Vaseline.

Stephanie Abbott has been remodeling homes, updating & building furniture, and working on DIY home maintenance and cleaning tips for over 20 years. Her remodeling has been featured in Better Homes and Gardens Magazine. And, her DIY YouTube channel has had more than 8 million views.
Most of the DIY tutorials and videos on this site focus on beginner to intermediate level DIY Projects that can be done in an affordable way without high-end, expensive tools. All of the cleaning tips on this website have been tested in her home.

