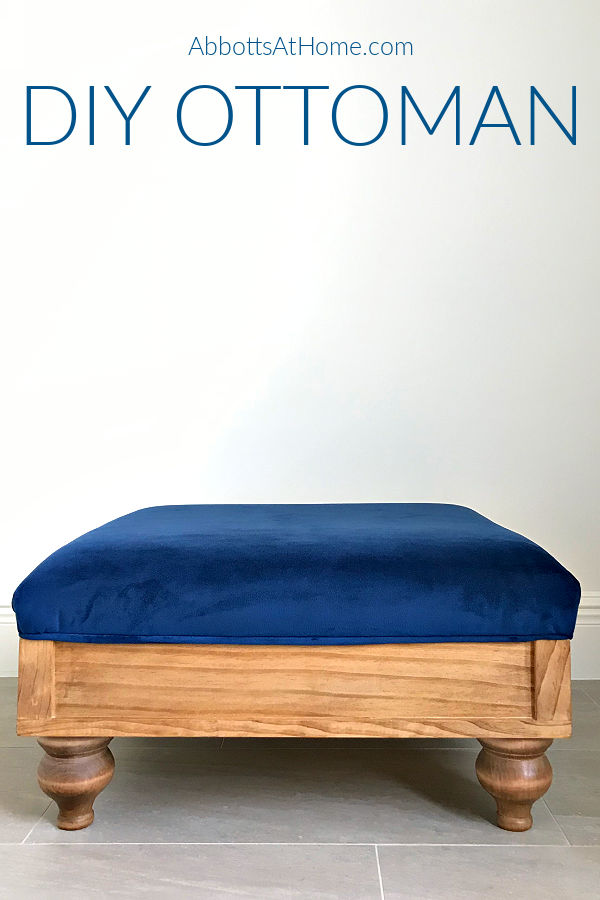
Easy To Follow Steps to Build, Finish, and Upholster a DIY Upholstered Ottoman from Scratch. You can build this low ottoman in a weekend.
DIY Upholstered Ottoman Build Plan
Today, I’ve got a quick build for you guys!
You can build, finish and upholster with these DIY Upholstered Ottoman Plans in just a weekend. And it’s such a versatile piece of furniture.
You can use this ottoman as a footstool, extra seating, or as a low coffee table for your next family game night.
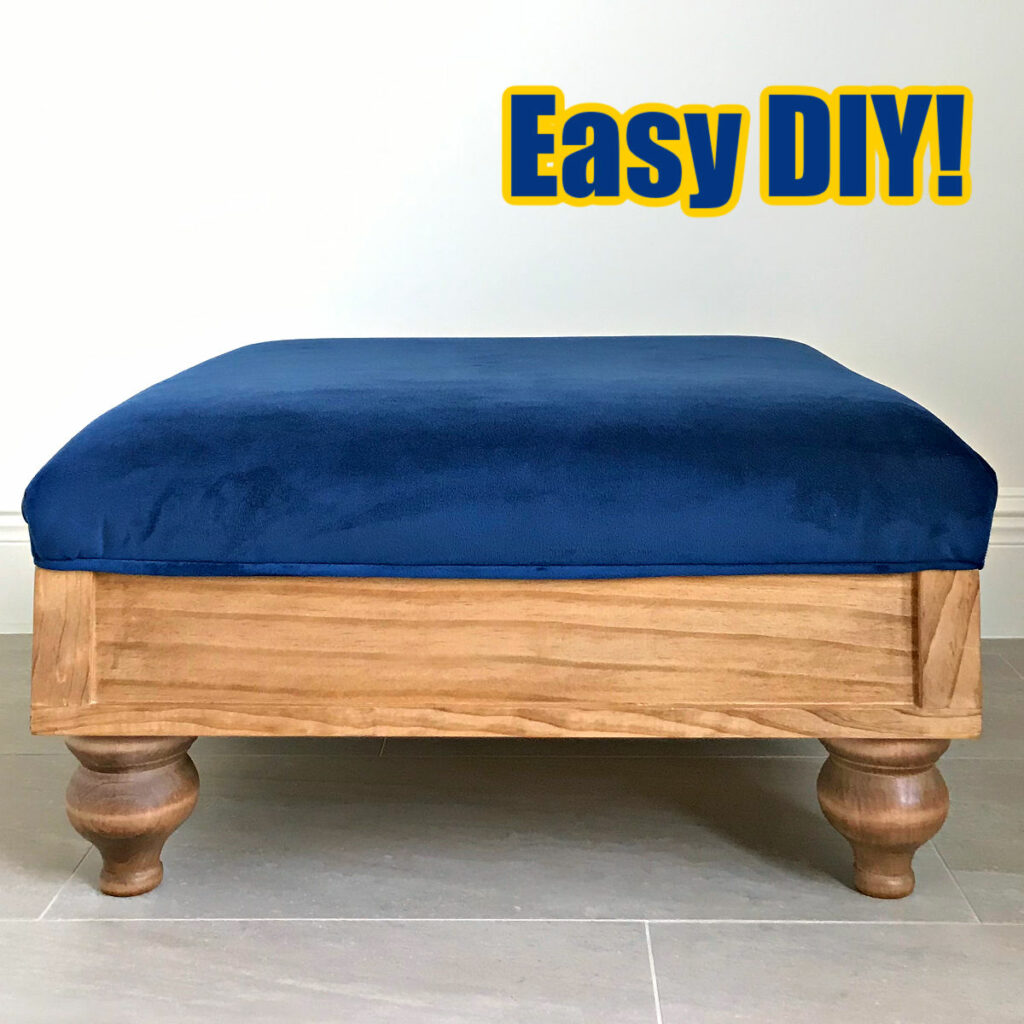
Just pick your favorite fabric by the yard and quick drying wood finish to get this ottoman built quickly!
I absolutely love this little ottoman. It’s the perfect height for our newly reupholstered wingback chairs.
And, our kids love this DIY Ottoman as extra seating in front of the TV.
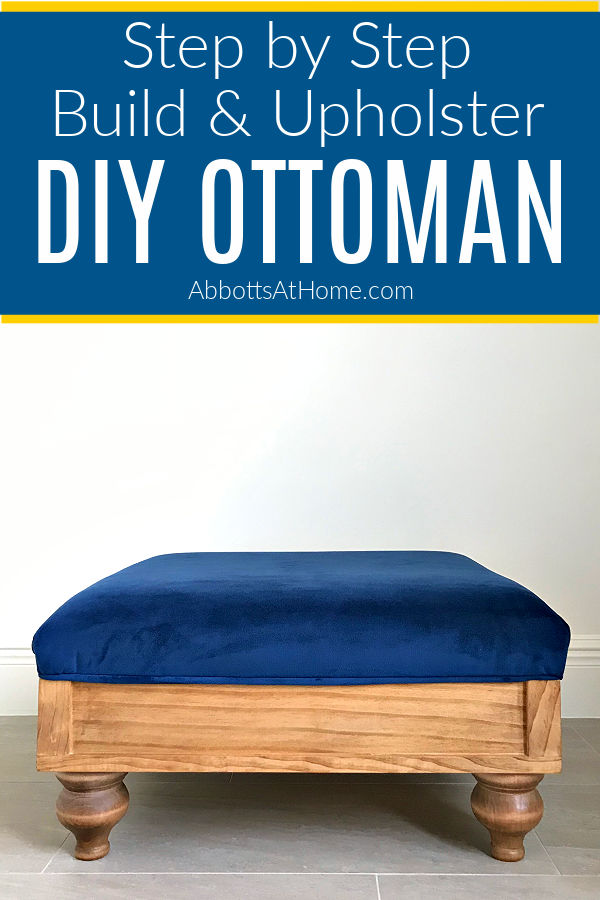
What you Need to Make An Upholstered Ottoman
- 4 – 21″ long 1″ x 4″ select pine boards (or similar)
- 4 – 3 1/2″ long 2″ x 2″ select pine boards
- 4 Unfinished Pine Wood Bun-Style Feet – (I used this Tulip Foot one from Lowes)
- 1 – 24″ x 24″ piece of 1/2″ plywood
- 4 – 1/2″ x 3/4″ Pine Moulding cut into 24″ long pieces with 45-degree miters (don’t cut yet)
- 4 – 1/2″ thick boards to raise the top leg plates (see photo, Step 5)
- 4 – Heavy Duty Top Leg Plates, like these
- 3″ thick medium density upholstery foam
- Extra Loft Batting
- 1 yard of upholstery fabric (can be easily ordered on Amazon) – I used a Navy Velvet from JoAnn’s

Tools Needed
- Kreg Jig, Screws and Drill
- Wood Glue
- Brad Nailer and Nails
- Miter Saw
- Sander and Sandpaper
- Scissors
- Staple Gun and Upholstery Staples
DIY Upholstered Ottoman Plans from Scratch – Build Steps
Step One
Cut all of your wood to size, except the 1/2″ x 3/4″ Moulding.
Step Two
Put 2 Kreg Jig Pocket Holes at each end of the 4 – 21″ 1×4 boards.
Step Three
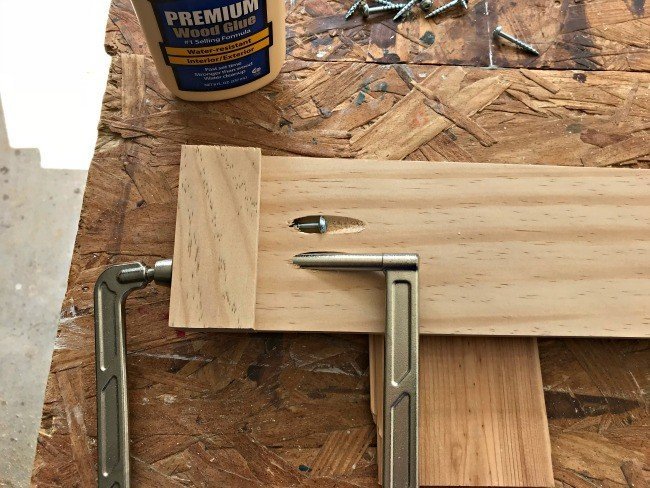
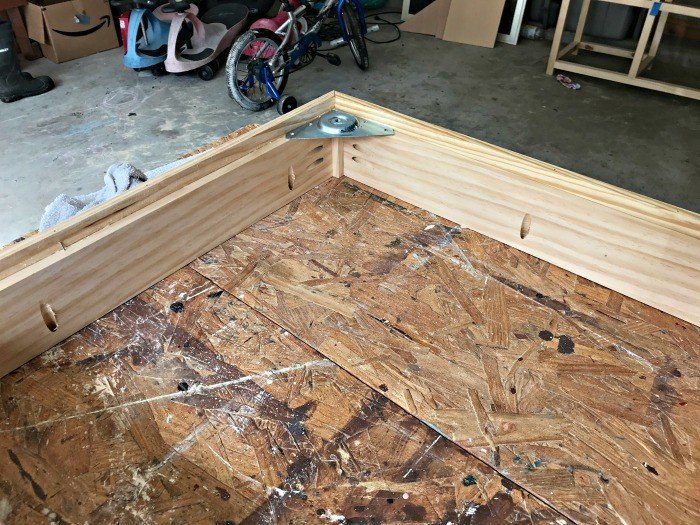
Glue and Screw the 4 – 1×4 boards to the 2×2’s, with a 1/4″ setback from the front of the 2×2. I usually use a 1/4″ thick piece of scrap wood as a spacer (see picture below). Build the complete square frame with the 2×2’s as the corners.
Step Four
Measure and cut the 1/2″ x 3/4″ Moulding to attach along the bottom of the square frame. For 45-degree miter cuts, I like to double check the measurements before cutting. They should be 24″. I used glue and my brad nailer to attach the dowel even with the 2×2’s.
On the opposite side of the dowels (top of the frame), add 6 pocket holes that will be used to attach the seat later. I put 2 near the corners of 2 opposite sides, then 2 near the center of the other 2 sides.
Step Five
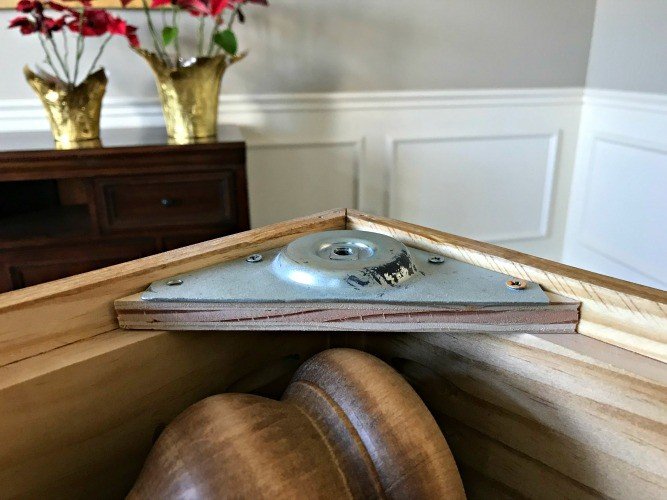
Attach the 4 Top Leg Plates, over a 1/2″ thick piece of board or plywood, tightly into the corners of the bottom of the square frame. That’s it. Now you’re ready to apply the finish to your DIY Upholstered Ottoman. 🙂
Finishing Steps
Start by giving everything a light sanding. I have found that 180-grit is all you really need for Select Pine and these feet. If you’re using different wood, you may need to use different grits and/or wood conditioner.
I love using Watco’s Danish Oil, lately. It is super easy to apply. You just pour some on the wood and spread it around. And it dries so much faster than most finishes.
I used 2 coats of Watco’s Danish Oil in Medium Walnut for this build. It doesn’t require another topcoat, but I did apply Varathane Satin Polyurethane to the feet, just to give them a shinier look.
I applied the finish to the feet and square frame before attaching the feet. Once everything is dry, the next step on my DIY Upholstered Ottoman Plans is to screw the feet on.
How to Upholster this DIY Upholstered Ottoman Plans
Step One
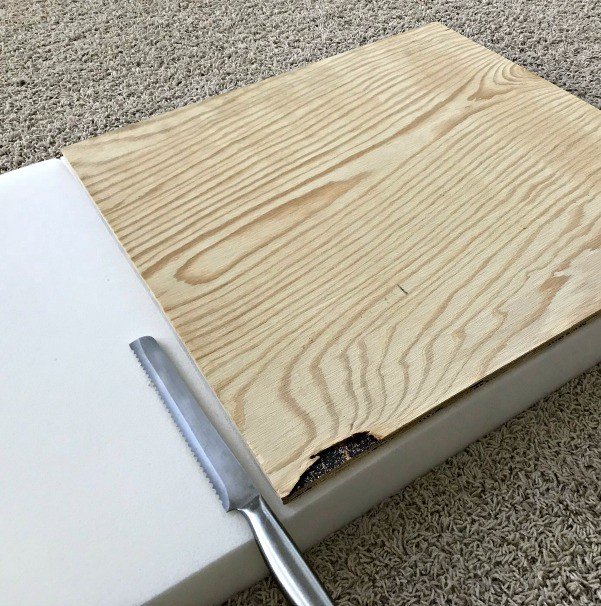
Cut a 24″ x 24″ piece of the 3″ foam. Then cut 2 layers of the high loft batting and 1 layer of fabric about 30″ x 30″.
Step Two
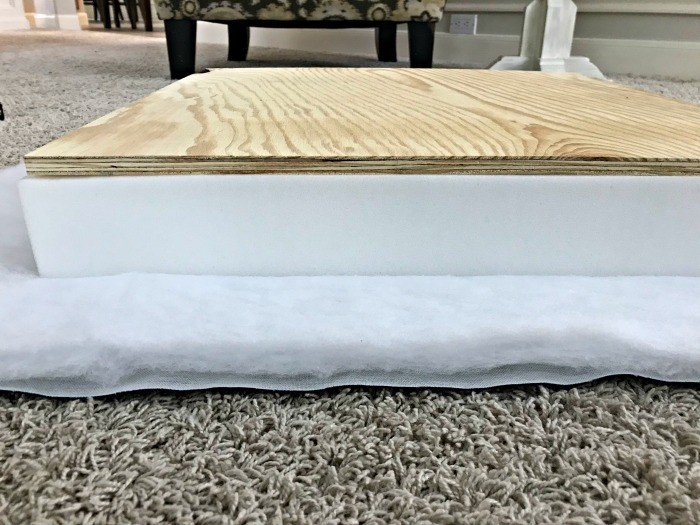
Lay the upholstery fabric upside down on a clean flat surface. Then spread the 2 layers of batting over the fabric. Making sure that the batting is centered and spread smooth. Place the upholstery foam in the center.
Then the 24″ x 24″ plywood board on top of the foam. Lift up the fabric on each of the 4 sides just to make sure it is centered and will cover at least an inch of the bottom of the plywood. Re-center, if needed.
Step Three
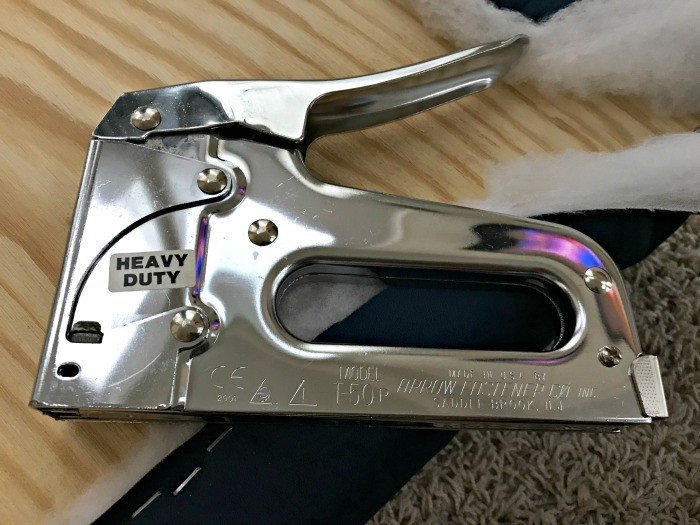
Now, pull the fabric and batting tight in the center of 1 side and staple about 1″ or 1 1/2″ from the edge. Switch to the opposite side and pull the fabric and batting tight and staple again.
Move to a third side and pull the fabric and batting tight and staple in the center. Then do the same on the fourth side.
Lift up the seat to make sure it looks tight enough across the surface of the seat. You can always remove staples and adjust, if needed. Even after tons of upholstery projects, I always end up removing staples and adjusting at some point. 🙂
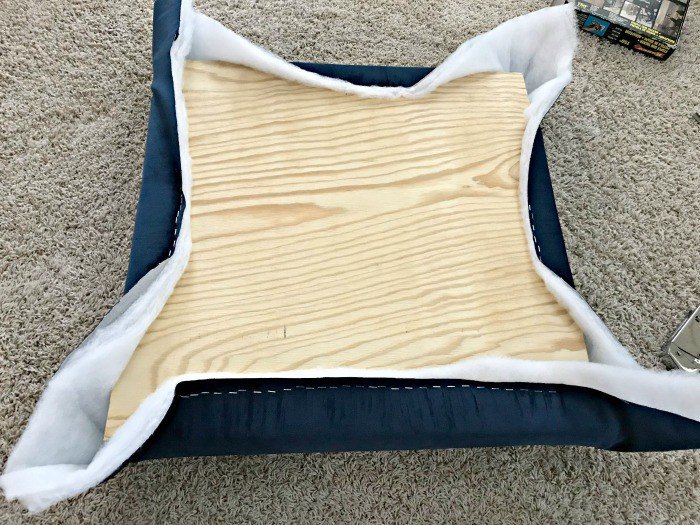
Once you think everything looks nice and tight, staple each of the 4 sides while pulling tightly on the fabric and batting. Start with 1 side, move to the opposite side, then do the last 2 sides.
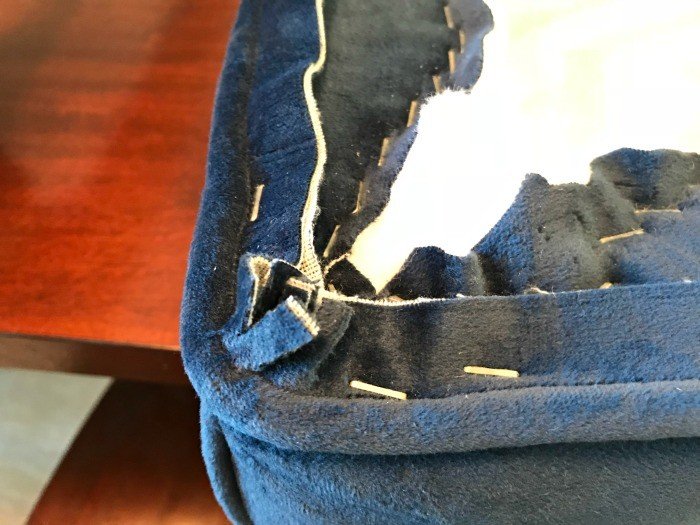
Keep the staples close together (see picture). Leave 2 ” of unstapled fabric on each side of the 4 corners.
Step Four
The corners can be done in a few different ways on my DIY Upholstered Ottoman Plans. First, you could have pinned and sewed them before attaching the fabric.
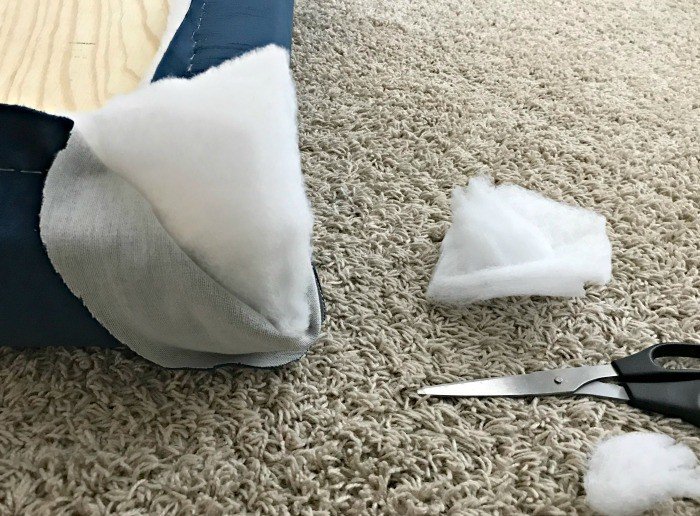
For this ottoman, I folded the fabric under 1 corner to make a straight line, that wasn’t pulled too tightly.
But first, trim away the excess batting at the corners. You just want the batting to meet at the corners, any more than that will look lumpy.
Once the extra batting is cut away, fold the fabric under one side to create a straight line in the corner. Then staple the fabric in place. I didn’t pull as tight at the corners as I did on the sides. I wanted to keep a squarer look on the corners.
I sometimes go for 2 straight lines at the corners by folding the fabric under on each side, but that wasn’t looking great with this thick velvet fabric.
Play around with your corners to find a look you like. Once the corners are finished and look good, cut away the excess fabric and batting.
Step Five
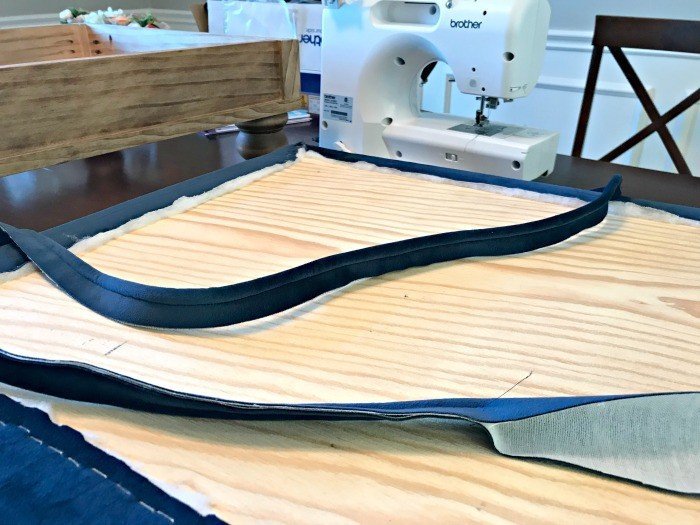
Then I made some matching cording wrapped in the same fabric and attached it to the bottom of the seat. This just adds a polished look and isn’t hard to make, at all. 🙂

Step Six
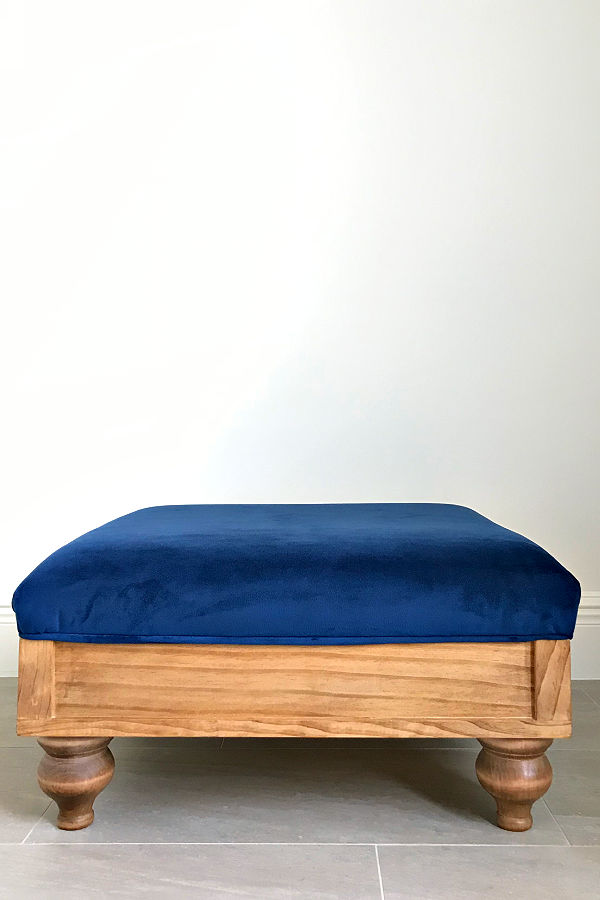
Attach the seat to the frame by flipping the seat upside-down, then centering the frame on it. Use the 6 pocket holes to attach the frame tightly to the seat. Pat yourself on the back, you’ve built your own DIY Upholstered Ottoman. 🙂
RECOMMENDED: 28 Best Small Scrap Wood Projects With Easy To Follow DIY Steps & Videos
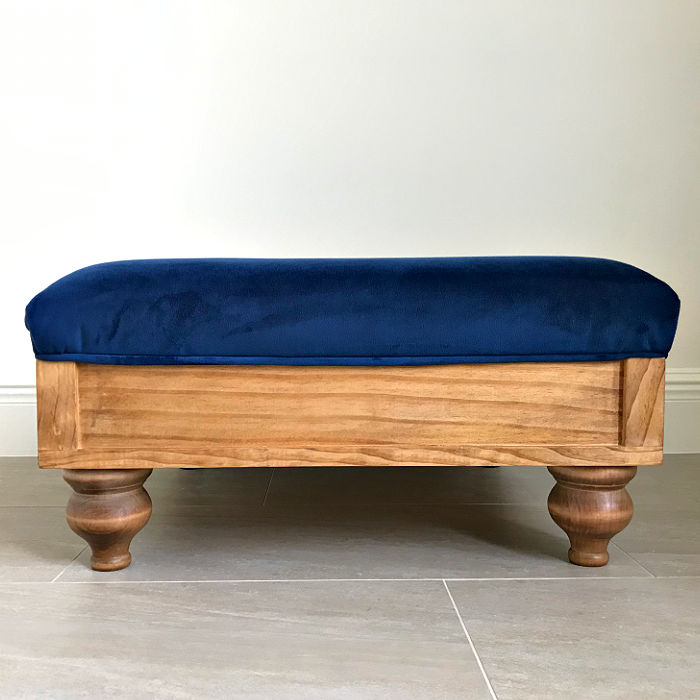
More Photos of this DIY Wood Ottoman
More DIY Projects from my Living Room Makeover
- Remodel the Fireplace Wall with a Modern, Traditional Millwork Design
- Paint the Walls, Ceiling, and Crown Molding
- Build 2 new Side Tables
- Add a Console Table Behind our Couch
- Move the TV above the Fireplace
- Rearrange the Layout around our Great Views
- Reupholster 2 Wing Chairs…in the worlds most amazing fabric 😉
- Add new lighting, wall art, decor, throws, pillows…basically, add the icing!
Looking for more DIY woodworking ideas? This DIY Outdoor Sofa from 2×4 and Cedar is beautiful!
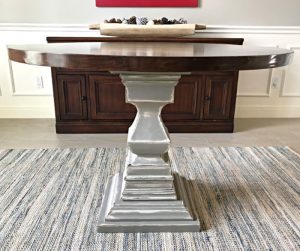
This DIY Round Kitchen Table Pedestal with it’s DIY Round Plywood Table Top is a beautiful looking woodworking project.
And, this DIY Table Over Washer and Dryer – Laundry Table is one of my favorites.

Or, check out the DIY Kids Desk with Storage Drawers for your online learners. 🙂
Now you can find more of my DIY Woodworking and Furniture Projects on my YouTube Channel. Check out the most popular videos on my channel here. Thanks!!
Feeling inspired? Now you’re ready to follow these DIY Upholstered Ottoman from Scratch. Let me know if you have questions.
Don’t forget to sign up for the Abbotts At Home email newsletter to get DIY, Remodeling, and Crafty ideas in your inbox.

Stephanie Abbott has been remodeling homes, updating & building furniture, and working on DIY home maintenance and cleaning tips for over 20 years. Her remodeling has been featured in Better Homes and Gardens Magazine. And, her DIY YouTube channel has had more than 8 million views.
Most of the DIY tutorials and videos on this site focus on beginner to intermediate level DIY Projects that can be done in an affordable way without high-end, expensive tools. All of the cleaning tips on this website have been tested in her home.

