You can makeover that tired piece of furniture in a weekend, with this easy DIY for Stripping Paint from Wood Furniture!
Stripping Paint from Wood Furniture
You can redo an old piece of furniture into something beautiful. And it doesn’t have to be intimidating. Trust me!
Today, I’m breaking down the easy to follow DIY steps for stripping paint from wood furniture. And, I have answers to the common questions I get about stripping paint on furniture.
With a great, easy-to-follow video to help you strip the old finish off your furniture.
I have been stripping old paint and stain off of furniture, stairs, and doors for the last 20 years. I have tried so many types of paint strippers.
From the strongest chemical strippers that feel a bit dangerous to use. To the “safe, green” strippers that don’t really seem to work.
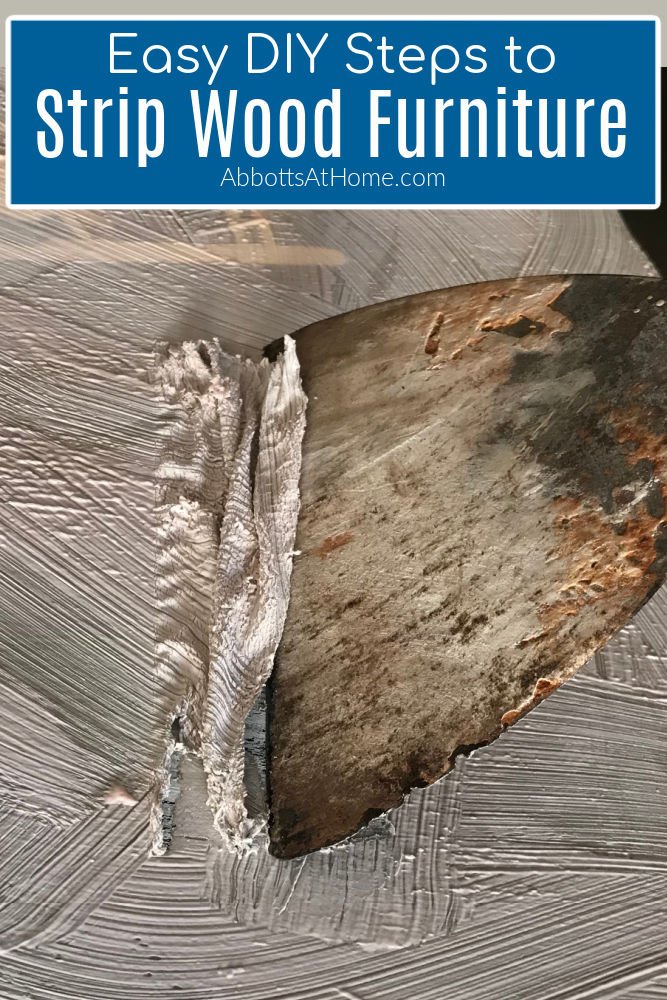
Table of contents
How to Strip Old Paint Off Furniture with Citristrip
Stripping paint from wood furniture, even with thick layers of dinged up paint and stain, was pretty easy with Citristrip. Here’s everything you need to know to do it!
What Should You Use to Strip Furniture
Here’s what I use to strip the old finish off of furniture.
- 120 and 220-grit sandpaper
- A power sander, like mine, is optional on this DIY, since we only use it after stripping
- Plastic sheeting, Drop Clothes, or garbage bags and painter’s tape
- Saran Wrap or similar plastic food wrap
- Protective gloves
- CitriStrip Paint Stripper, old or cheap paint brush, & Plastic Knife (also called Putty Knife)
- Clean Rags & Odorless Mineral Spirits
- Heavy Duty Stripping Pad
Video showing how to Use Citristrip with Saran Wrap
If any of the written steps below are confusing, watch this video. And, you can also watch this video for stripping paint with Citristrip and plastic wrap.
How to Strip Paint from Wood with Citristrip – Steps
Step One
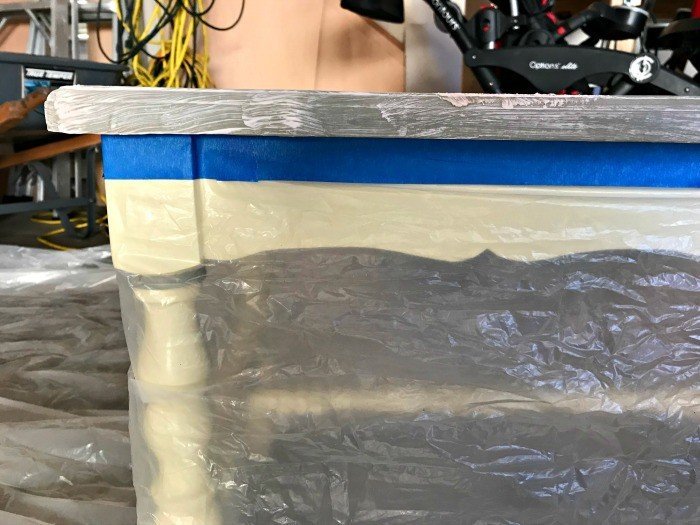
Start by taping off any areas that won’t be stripped. This will protect it from the stripping chemicals. You don’t want weird stripped spots messing up the texture of areas that will be painted. I used plastic sheets and painter’s tape.
Step Two
Put on your gloves, then brush a thick coating of Citristrip all over any area that will be stripped. I leave this for 1 to 3 hours. But be sure to scrap it before it dries. Once it dries, it’s not as easy to scrape off.
If it does dry before you can scrape the Citristrip off, then just apply another layer of Citristrip. Let that work for an hour, then scrape all of the stripper off.
Read 5 Best Ways to Remove Dried Citristrip on Furniture and Wood for more ideas.
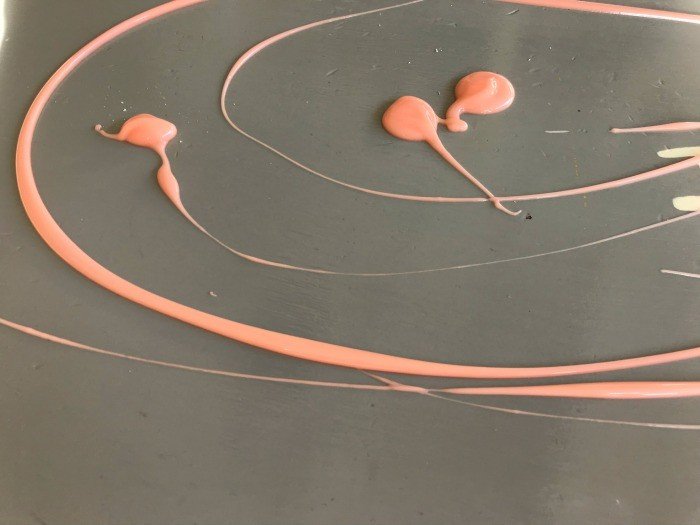
This is optional, but you can cover the stripper with Saran Wrap and leave it longer to help the Citristrip penetrate deeper. I think it definitely helps.
The Saran Wrap slows down the drying process and lets the stripper work longer.
You can see how I used Saran Wrap with Citristrip in the video above. It’s worth doing that extra step when you’re stripping paint from wood furniture.
Step Three
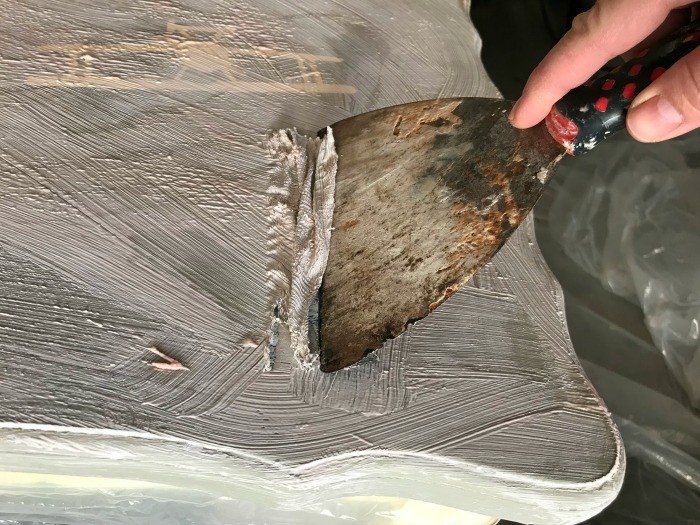
Scrape the stripper off with your plastic knife. I am using a metal knife in the photo. But the metal can gouge your wood, if you’re not careful. Plastic is the safest bet for stripping paint from wood furniture.
Step Four
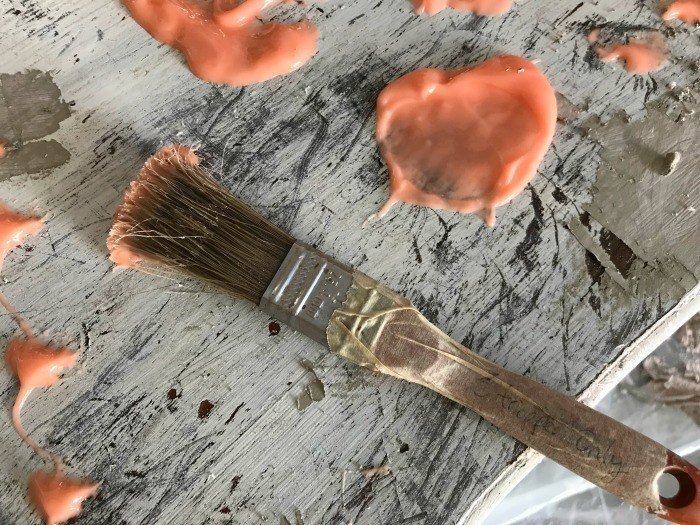
Don’t try digging too hard in areas where it is hard to scrape the paint off. Just finish scraping any areas that come off easily, then apply another thick coat of Citristrip.
Leave for 1 to 2 more hours, then scrape again. Two applications of Citristrip worked for me. I probably had 3 layers of latex and 2 layers of polycrylic on this table.
Step Five
After the paint was scraped off, I had a light gummy residue left on the table. With my gloves back on, I poured Mineral Spirits onto the clean scrap rag and lightly scrubbed the residue off.
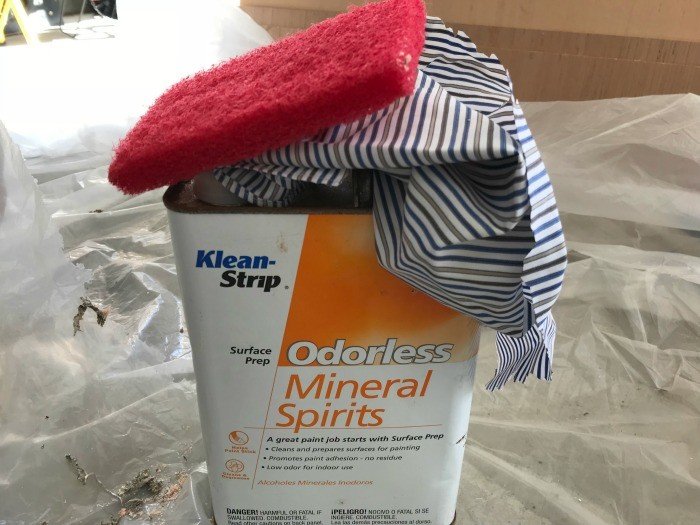
You can see in the picture that the gummy bits started rolling up and rubbing away. Keep using clean spots of the rag and the Mineral Spirits to rub it off.
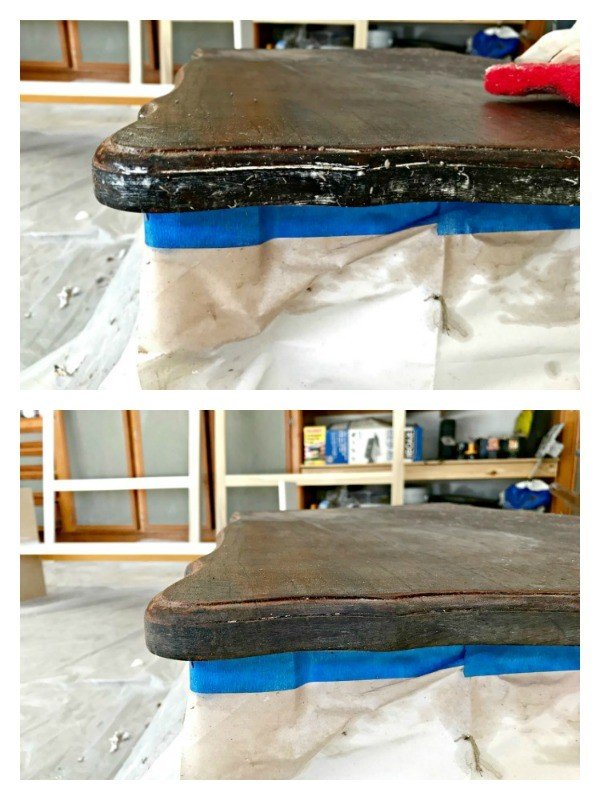
Any tough spots or textured areas (like my routed edge) can be wiped with the Mineral Spirits then scrubbed with the Stripping Pad. Those things are great for getting into crevices.
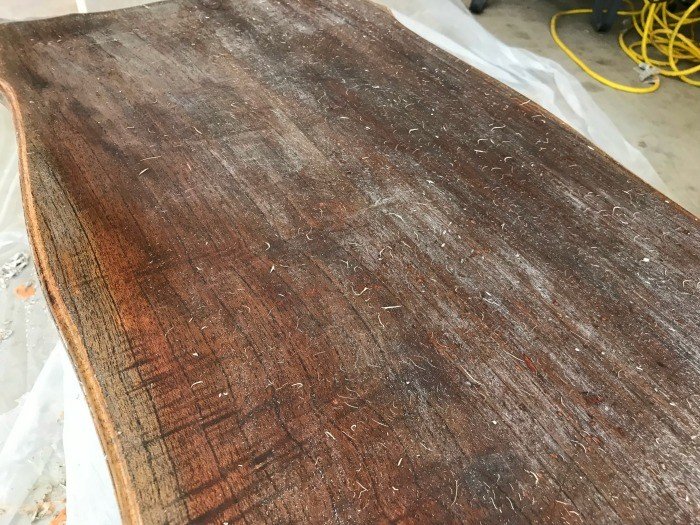
Mid-rubbing paint off with a cloth and Mineral Spirits. You can see how it kind of pills up before wiping off.
Step Six
Once all of the gummy residue is gone, let the wood dry completely. Now you can give it a good sanding. I used my trusty $30 power sander to make this quick and easy.
I focused mainly on the top, since I have a routed edge. Plus, I was going for a stripped, natural look anyway. I used 120-grit first, then switched to 220-grit for a super smooth feel.
Keep scrolling for the PRINTABLE steps for stripping paint from wood furniture.
The Best Paint Stripper for Wood Furniture and Doors
For the last 15 years, my favorite way to strip wood furniture is with Citristrip. Citristrip is a paint stripping gel that has a nice orange-y scent and no dangerous fumes. It also works really works great.
I also prefer Citristrip for most jobs because it’s really thick, so the gel stays where you put it.
Citristrip is also non-caustic, and can be used indoors. I’ve only had to move to stronger, more dangerous chemical strippers once.
That was for stripping 80 years of thick varnish and paints off of stairs in a house I flipped once. That was only due to the endless number of paint layers I was stripping.
And, I’m not even sure that the stronger stuff worked any better than Citristrip.
The key to getting the deepest stripping of paint layers is to keep the Citristrip paint stripping gel wet for as long as possible. When it’s wet, it’s working.
This tutorial will show you the easiest way to use this paint stripper and how to keep it wet long enough to penetrate deep into the finish on your wood furniture.
Here’s the printable steps to use Citristrip Paint Stripper on furniture.
Stripping Paint from Wood Furniture

Tools
- CitriStrip
- Saran Wrap
- Mineral Spirits
Instructions
DIY Steps for Stripping Paint from Wood Furniture
Note: I prefer Citristrip for most jobs. It’s really thick, so stays where you put it, it’s non-caustic, can be used indoors, smells nice, and really works. I’ve only had to move to stronger, more dangerous chemicals once.
That was for stripping 80 years of thick varnish and paints off of stairs in a house I flipped once. That was only due to the endless number of paint layers I was stripping. And, I’m not even sure that the stronger stuff worked any better than Citristrip.
Step One
- Start by taping off any areas that won’t be stripped. This will protect it from the stripping chemicals. You don’t want weird stripped spots messing up the texture of areas that will be painted. I used plastic sheets and painter’s tape.
Step Two
- Put on your gloves, then brush a thick coating of Citristrip all over any area that will be stripped. I leave this for 1 to 3 hours. But be sure to scrap it before it dries. Once it dries, it’s not as eay to scrape off.
- If it does dry before you can scrape the Citristrip off, then just apply another layer of Citristrip. Let that work for an hour, then scrape all of the stripper off.
- This is optional, but you can cover the stripper with Saran Wrap and leave it longer to help the Citristrip penetrate deeper. I think it definitely helps. The Saran Wrap slows down the drying process and lets the stripper work longer.
- You can see how I used Saran Wrap with Citristrip in the video above. It’s worth doing that extra step when you’re stripping paint from wood furniture.
Step Three
- Scrape the stripper off with your plastic knife. I am using a metal knife in the photo. But the metal can gouge your wood, if you’re not careful. Plastic is the safest bet for stripping paint from wood furniture.
Step Four
- Don’t try digging too hard in areas where it is hard to scrape the paint off. Just finish scraping any areas that come off easily, then apply another thick coat of Citristrip. Leave for 1 to 2 more hours, then scrape again. Two applications of Citristrip worked for me. I probably had 3 layers of latex and 2 layers of polycrylic on this table.
Step Five
- After the paint was scraped off, I had a light gummy residue left on the table. With my gloves back on, I poured Mineral Spirits onto the clean scrap rag and lightly scrubbed the residue off. You can see in the picture that the gummy bits started rolling up and rubbing away. Keep using clean spots of the rag and the Mineral Spirits to rub it off.
- Any tough spots or textured areas (like my routed edge) can be wiped with the Mineral Spirits then scrubbed with the Stripping Pad. Those things are great for getting into crevices.
Step Six
- Once all of the gummy residue is gone, let the wood dry completely. Now you can give it a good sanding. I used my trusty $30 power sander to make this quick and easy. I focused mainly on the top, since I have a routed edge. Plus, I was going for a stripped, natural look anyway. I used 120-grit first, then switched to 220-grit for a super smooth feel.
Ideas for Painting or Staining Furniture
And, if you need some inspiration or help with how to refinish that furniture after stripping the old paint or stain from the furniture, this blog is full of lots of furniture makeover tutorials.
Most with easy to follow videos to show you how to copy that paint look.
If you are new to refinishing furniture, I have a step by step guide for how to paint furniture for beginners. That guide includes answers to tons of common questions beginners ask me.
You might also like this list of 20+ Beginner Furniture Painting Tutorials.
Check out my favorite DIY Gray and White Distressed Paint look, this DIY Blue And Copper Chalk Paint look, this beautiful DIY Blue Distressed Paint look, and my tips for how to get a smooth finish with chalk paint.
And, you can find most of my furniture makeover videos here, on YouTube. Now, let’s get to those steps for how to strip paint from wood furniture.
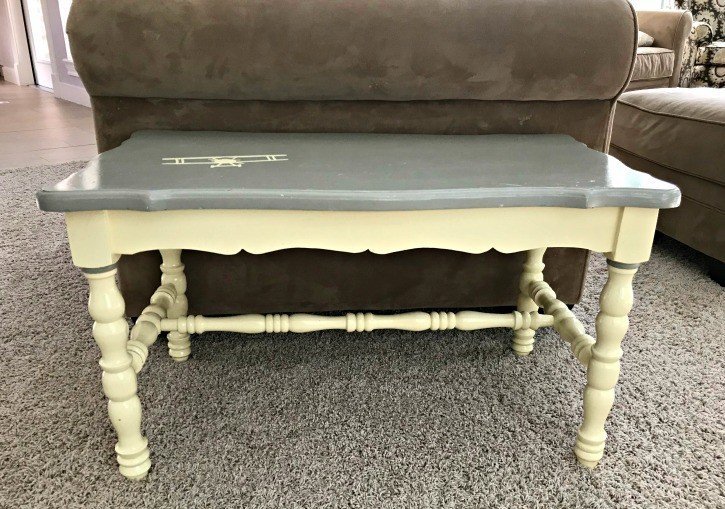
Giving the Little Table it’s new look
After following my steps for Stripping Paint from Wood Furniture, you’re ready to give the piece it’s new look. Check out this Furniture Painting Playlist on YouTube to see some of my favorite paint looks.
- I wiped the painted area of the table with mild soapy water and dried it. Then I applied 1 coat of a water-based primer.
- After that dried, I used a foam brush to apply 2 layers of Magnolia Homes by Kilz in Spontaneous.
- Then 2 coats of my favorite Matte Polycrylic went on the unfinished top. You can apply the poly over the painted area too. If you wanted extra protection.
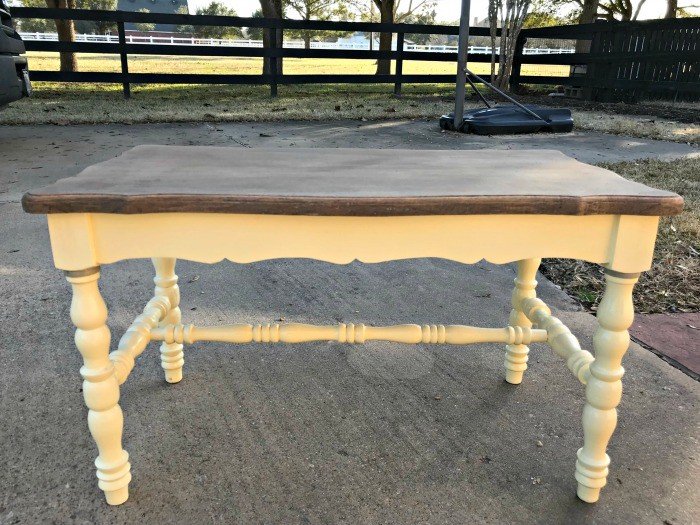
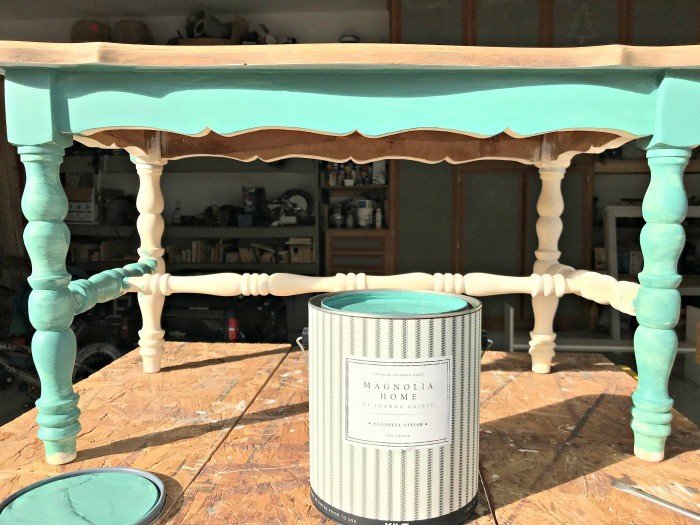
I have to say, for most Latex Paints, I mix the latex into a chalk paint with my go to recipe. You can also see answers to common FAQ’s about homemade chalk paint in this How to Make Chalk Paint from Plaster of Paris post.
Chalk Paint dries faster and harder than latex, so that works best on furniture. But, I wanted to see how this new paint looked without messing with it.
BTW, I am not, in any way, affiliated with or sponsored by this paint line, this is just my honest opinion. I love the look of this paint. It dried pretty quick for a latex and seems to be less ‘plastic-y’.
Latex paints have a long cure time, because they are designed for walls, that usually doesn’t matter. But if you use a latex with a long cure time on furniture, it can be a big problem.
I used latex on the first dresser I ever painted. For months after painting the dresser, it would get dented by anything I set on top of it. I mean anything, even lightweight lamps left marks.
Not good, that’s when I learned about cure times and the awesomeness of chalk paint. Chalk Paint usually has little to no cure time. This Kilz paint cures quickly.
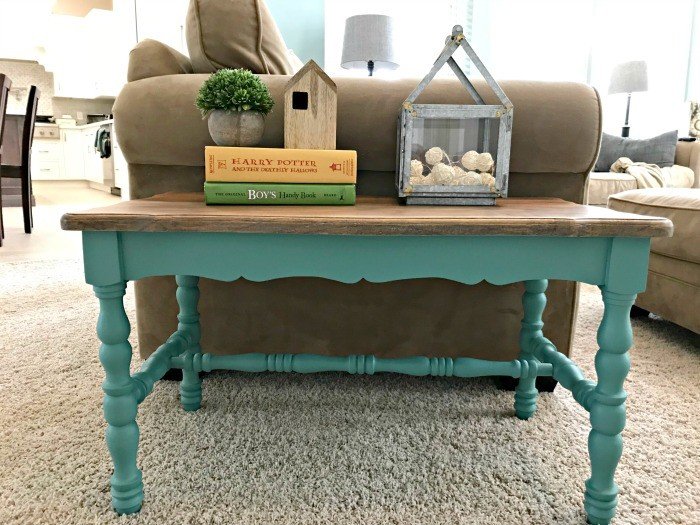
Looking for another Easy Home Maintenance Project? You can Restore your Grout to Like New and this product seals grout too. Yay! Click here to see the How to Whiten Grout Tutorial.
Here’s 20+ Step by step beginner furniture painting tutorials to help you give your furniture a new look!
You can grab the printable guide for how to paint furniture for beginners on this post.
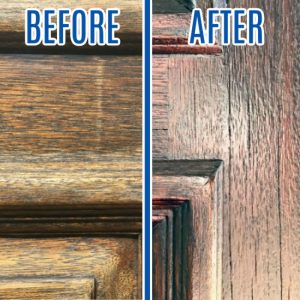
Check out the Easy DIY Steps for How to Restain a Door without stripping or removing it.
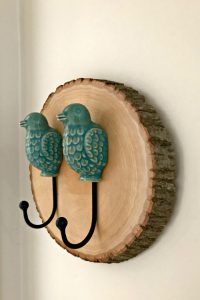
Looking for more cute and crafty decor? Try this easy DIY for a Wood Slice Wall Hook.
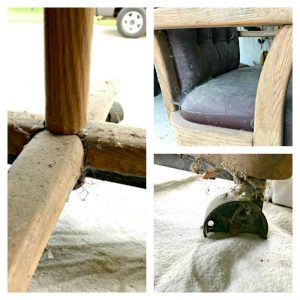
Or, check out this beautiful office chair makeover. Even the wheels were broken, guys!
Thanks for checking out this tutorial for stripping paint from wood furniture with Citristrip.
Don’t forget to sign up for the Abbotts At Home email newsletter to get DIY, Remodeling, and Crafty ideas in your inbox.

Stephanie Abbott has been remodeling homes, updating & building furniture, and working on DIY home maintenance and cleaning tips for over 20 years. Her remodeling has been featured in Better Homes and Gardens Magazine. And, her DIY YouTube channel has had more than 8 million views.
Most of the DIY tutorials and videos on this site focus on beginner to intermediate level DIY Projects that can be done in an affordable way without high-end, expensive tools. All of the cleaning tips on this website have been tested in her home.


