
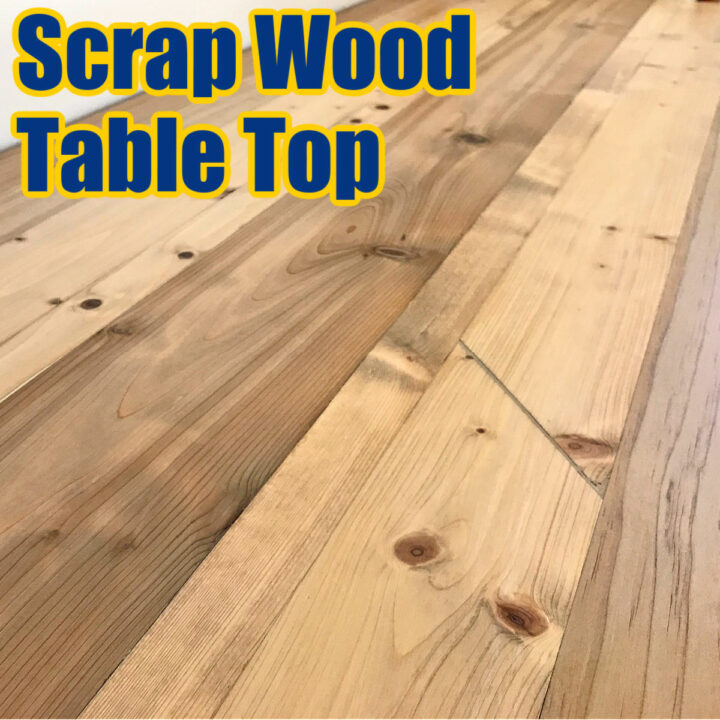
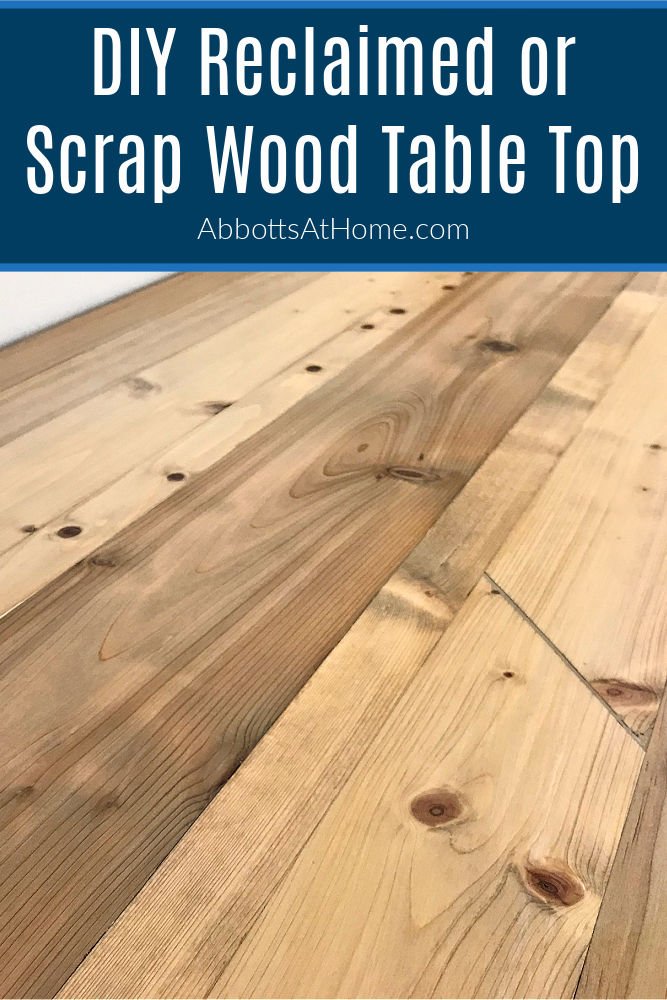
Turn that scrap wood or reclaimed wood into this beautiful rustic DIY Scrap Wood Table Top for your next furniture or woodworking project.
DIY Scrap Wood Table Top
If you don’t have a massive pile of wood leftover from projects or reclaimed lumber, are you even really a woodworker? Even beginner woodworkers start collecting scrap wood pretty quickly.
It’s pretty much inevitable. And, what’s also inevitable is trying to figure out how to use that scrap wood. Good news, I have a DIY Scrap Wood Table Top for you today that I am loving!
Part of this wood was reclaimed Pine from my DIY Outdoor Corner Bench that I replaced with a new DIY Outdoor Sofa from 2×4’s and took apart last year. The rest was Cedar leftover from another project.
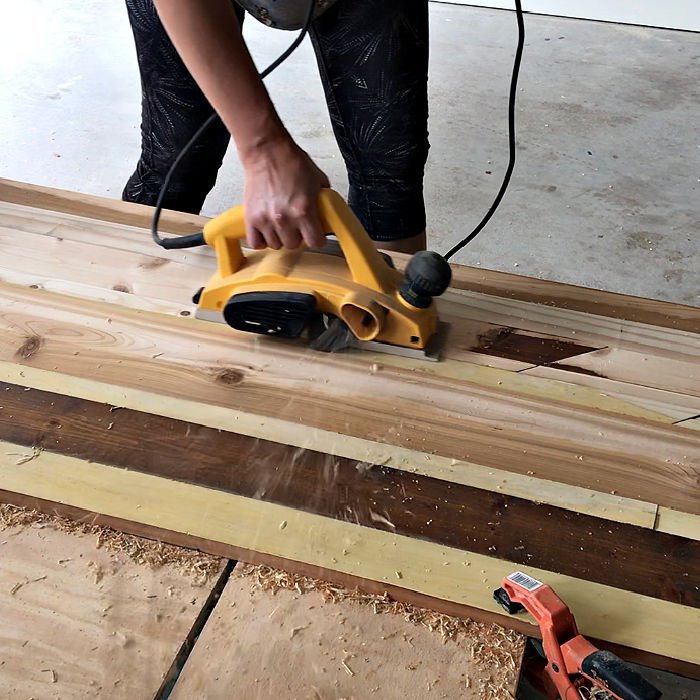
I used my Dewalt Electric Hand Planer to quickly remove the old finish on those boards, but you can totally skip that step, if your boards are bare and ready to sand. 🙂 Check out my Beginner tips to use the Dewalt Hand Planer in a previous post.
Now, let’s get to how to build that DIY Scrap Wood Table Top. 🙂
What you Need
- Miter Saw or Circular Saw
- Kreg Jig, Drill, & Screws
- Wood Glue and Wood Filler
- Power Sander & 80, 120, and 180 Grit Sandpaper
- Optional: Dewalt Hand Planer
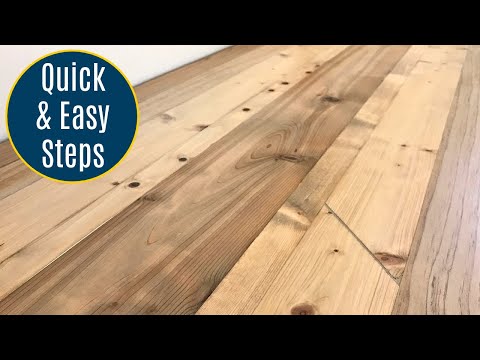
If any of the steps for this DIY Scrap Wood Table Top are confusing, I highly recommend watching the short video. Hopefully seeing it done can help clear up any confusion.
How to Make this DIY Scrap Wood Table Top
This is a pretty easy build, beginner woodworkers with the right tools should be able to make this table top. The key to getting it looking great is getting a smooth top and the finish.
I’ll have the steps for how I did the finish on this DIY Scrap Wood Table Top below the build steps.
Step One
Decide how wide and deep you want your table top to be. Then you can pick the scrap wood or reclaimed wood from your stash that would work best. BTW, you can absolutely go out and buy new wood for this build too. 🙂
I used 1x Dimensional Lumber for this build. I recommend using the same thickness of lumber for the whole build, whether that’s 1x, 2x, or something else.
It will just make it easier to keep it all the same thickness. If you have a planer you can run boards through to make them the same, go for it.
Also, make sure your boards are straight and not warped before building your DIY Scrap Wood Table Top. Warped boards will make for a warped table top.
And, I recommend using 1×6 or smaller boards. If you have scrap 1×8 or wider boards, you can use a table saw to rip them into 1×4, or similar sized boards.
This will just reduce the chance of having your table top warp later. The wider a board is, the more movement that can happen with that board.

Step Two
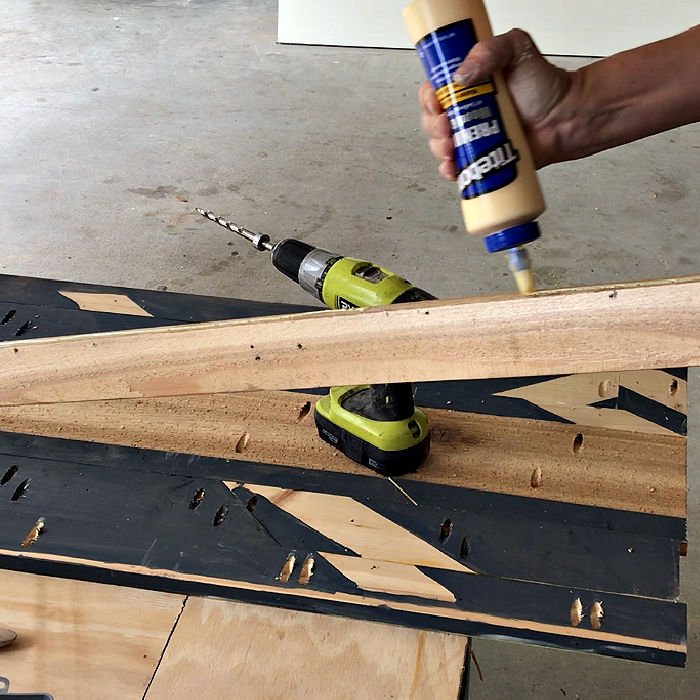
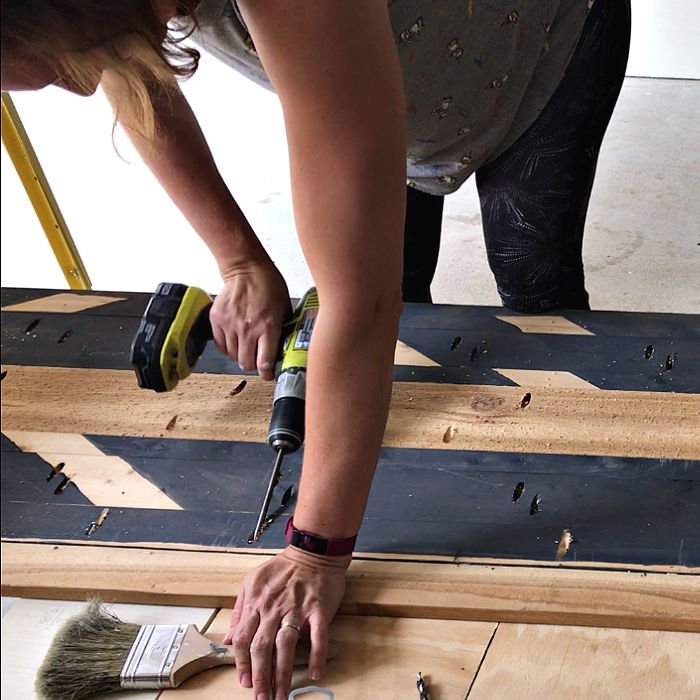
Cut your boards to size, then use wood glue and Kreg Jig Pocket holes to join the boards together. You want the pocket holes to be spaced about 8″ apart.
And, keep the pocket holes about 2″ away from the end of a board to reduce chance of splitting.
Follow any other Kreg Jig recommendations for how to use their jig. I also recommend using clamps to help keep the boards flat across the top of the table top you’re building. That’ll help reduce the amount of sanding you do later.
Tip, you can make your table top a couple inches wider than you need it, then cut the sides with a circular saw after assembling the table top. That makes it easier to get each side perfectly straight.
Step Three
Once your table top is joined and the glue has time to dry, sand the top, sides and edges smooth. You also have the option to use an electric hand planer, like I did, to quickly remove old finish and level the boards on your DIY Scrap Wood Table Top.
You can see how I did that in the video above.
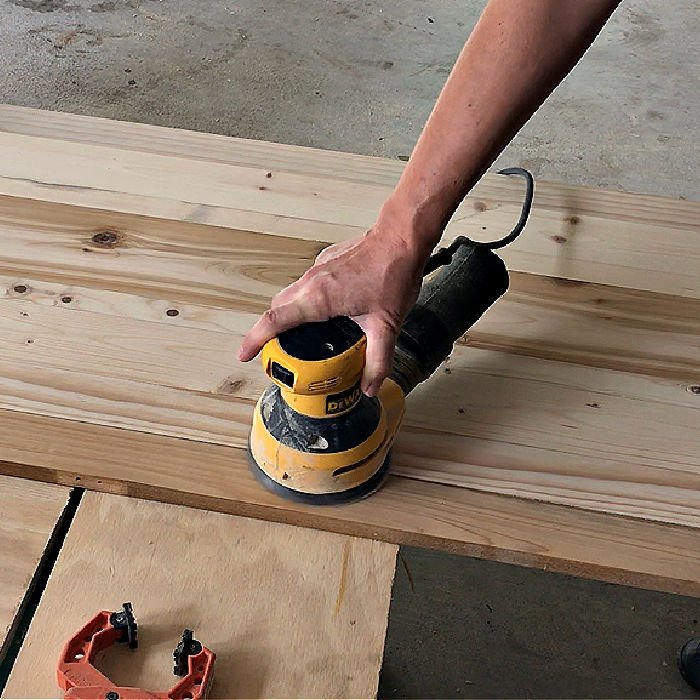
Use the sander after the planer for a smooth finish and to prep the table top for finish. I used 80-grit, 120-grit, and 180-grit sandpaper to smooth the top and to get it ready for the Danish Oil I applied.
Be sure to brush off the dust between grits to reduce any swirls or marks that can be left in soft wood during sanding. That’s it for building your reclaimed or scrap wood table top. Now, it’s ready for finish.
How to Do a Rustic Whitewash Finish
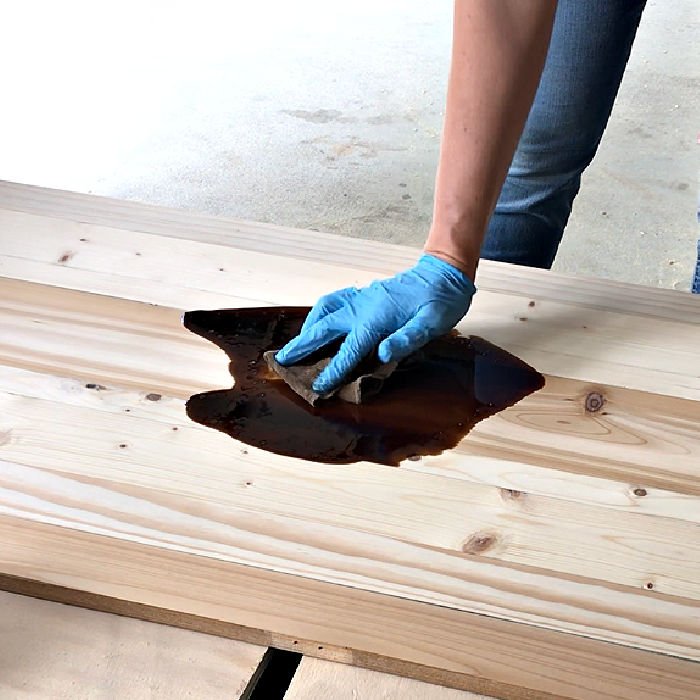
To get the beautiful, rustic whitewash finish; I started by wiping on a generous coat of Danish Oil in Medium Walnut.
I love Danish Oil because it soaks into the wooden and hardens. That makes soft woods a bit more durable than it normally is. It’s also super easy to apply.
RECOMMENDED: Top 12 Reasons I Use Danish Oil On New Wood And To Restore Old Dry Wood
Be sure to read the directions on the container and follow safety guidelines. I wear gloves when applying this finish. Wipe away any of the finish that the wood doesn’t absorb after 5 minutes. Then, let the Danish Oil dry
Then I used a cream colored chalk paint for a whitewash over the Danish Oil. I make my own chalk paint with this DIY Chalk Paint Recipe from latex paint.
I love mixing my own chalk paint from latex paint because it’s generally a lot cheaper, works just as well, and makes it easier to get any color you want.
If you love using chalk paint as much as me, check out my tips for getting a smooth finish with chalk paint too. But, back to this project.
To get a whitewash look, use a wet rag to apply the chalk paint. The water on the rag will keep the chalk paint thin and see through.
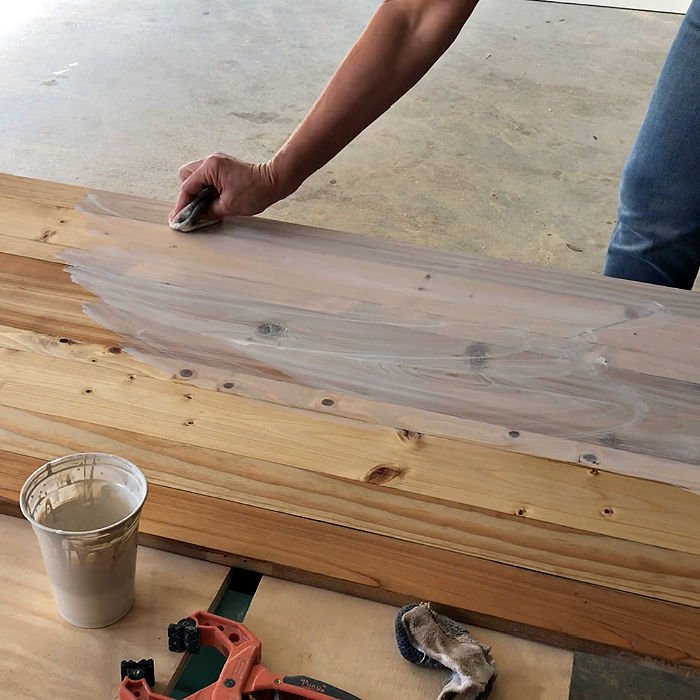
Be sure to wipe off the excess chalk paint with a dry rag, right away. You just want a light wash of that chalk paint. I kept wetting the rag I was using to apply the chalk paint to keep the finish light.
You could also just water down the chalk paint to make it thinner before applying. Whatever is easiest for you works. Just be sure to wipe off excess with a dry rag, either way.
Once I let the whitewash on my DIY Scrap Wood Table Top dry, I was ready to apply a topcoat. Use 2 to 3 coats of a water-based poly. Follow the directions on the topcoat for the best result. I prefer a Matte finish, but go with what you like.
I also like to very lightly sand the top coat with an extra fine grit sanding block when I’m done to make that top coat feel silky smooth.
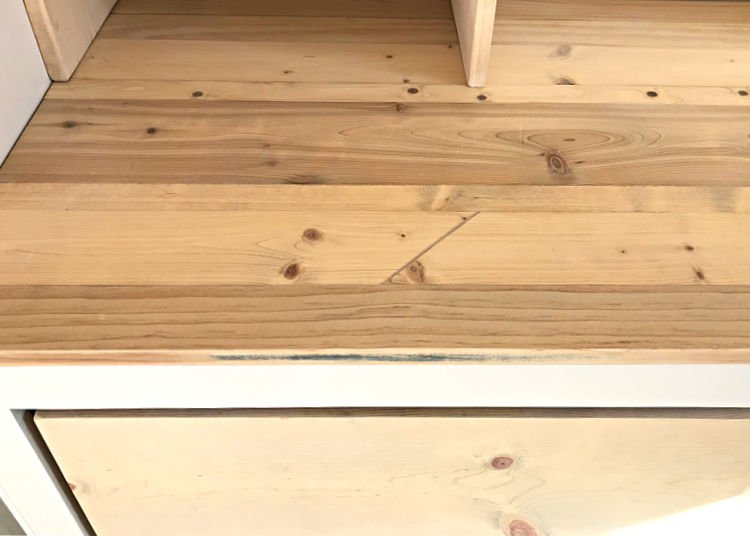
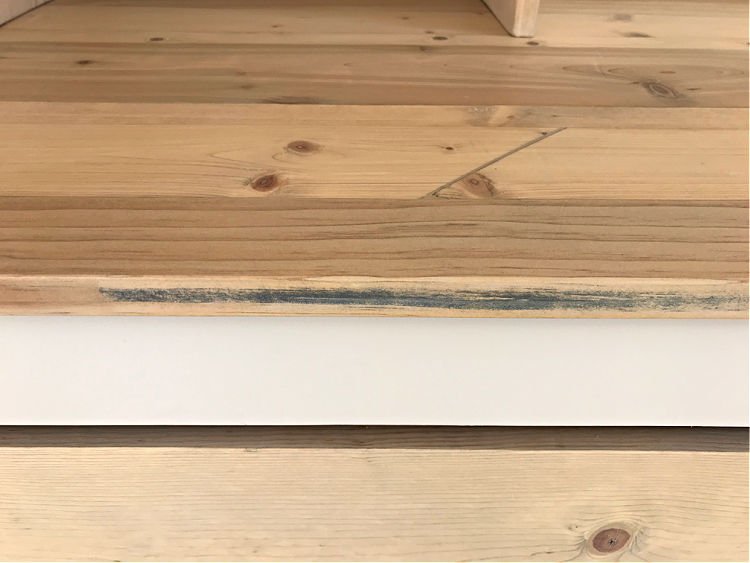
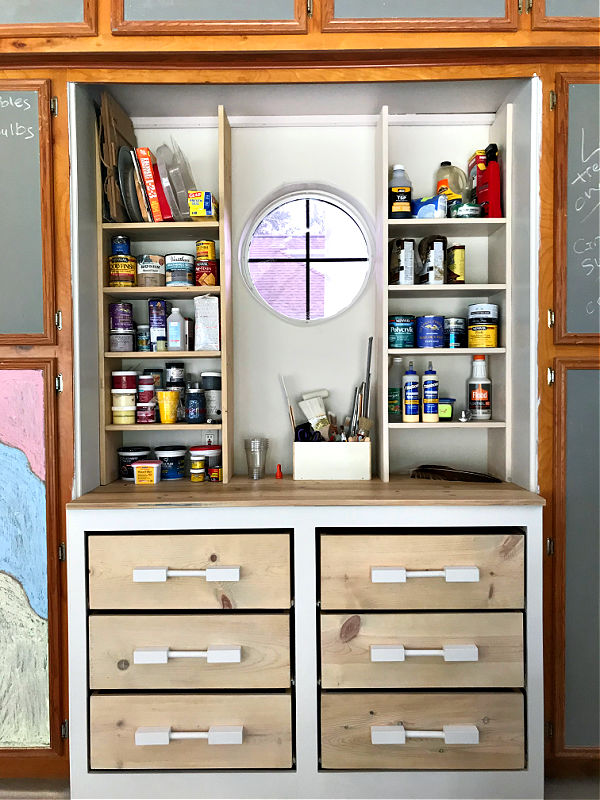
That’s it, guys. Here’s some more pictures of the finished DIY Scrap Wood Table Top I built for my new Garage Storage area. You can see my steps to build those Easy DIY Drawer Boxes in my last post. Scroll down for a printable version of this tutorial.
DIY Scrap Wood Table Top
Tools
- Miter Saw
- Circular Saw
- Kreg Jig & Drill
- Power Sander
Instructions
How to Make this DIY Scrap Wood Table Top
This is a pretty easy build, beginner woodworkers with the right tools should be able to make this table top. The key to getting it looking great is getting a smooth top and the finish. I'll have the steps for how I did the finish on this DIY Scrap Wood Table Top below the build steps.
Step One
- Decide how wide and deep you want your table top to be. Then you can pick the scrap wood or reclaimed wood from your stash that would work best. BTW, you can absolutely go out and buy new wood for this build too. 🙂
- I used 1x Dimensional Lumber for this build. I recommend using the same thickness of lumber for the whole build, whether that's 1x, 2x, or something else. It will just make it easier to keep it all the same thickness. If you have a planer you can run boards through to make them the same, go for it.
- Also, make sure your boards are straight and not warped before building your DIY Scrap Wood Table Top. Warped boards will make for a warped table top.
- And, I recommend using 1x6 or smaller boards. If you have scrap 1x8 or wider boards, you can use a table saw to rip them into 1x4, or similar sized boards. This will just reduce the chance of having your table top warp later. The wider a board is, the more movement that can happen with that board.
Step Two
- Cut your boards to size, then use wood glue and Kreg Jig Pocket holes to join the boards together. You want the pocket holes to be spaced about 8" apart. And, keep the pocket holes about 2" away from the end of a board to reduce chance of splitting.
- Follow any other Kreg Jig recommendations for how to use their jig. I also recommend using clamps to help keep the boards flat across the top of the table top you're building. That'll help reduce the amount of sanding you do later.
- Tip, you can make your table top a couple inches wider than you need it, then cut the sides with a circular saw after assembling the table top. That makes it easier to get each side perfectly straight.
Step Three
- Once your table top is joined and the glue has time to dry, sand the top, sides and edges smooth. You also have the option to use an electric hand planer, like I did, to quickly remove old finish and level the boards on your DIY Scrap Wood Table Top. You can see how I did that in the video above.
- Use the sander after the planer for a smooth finish and to prep the table top for finish. I used 80-grit, 120-grit, and 180-grit sandpaper to smooth the top and to get it ready for the Danish Oil I applied.
- Be sure to brush off the dust between grits to reduce any swirls or marks that can be left in soft wood during sanding. That's it for building your reclaimed or scrap wood table top. Now, it's ready for finish.
Notes
How to Do a Rustic Whitewash Finish
To get the beautiful, rustic whitewash finish; I started by wiping on a generous coat of Danish Oil in Medium Walnut. I love Danish Oil because it soaks into the wooden and hardens. That makes soft woods a bit more durable than it normally is. It's also super easy to apply.
Be sure to read the directions on the container and follow safety guidelines. I wear gloves when applying this finish. Wipe away any of the finish that the wood doesn't absorb after 5 minutes. Then, let the Danish Oil dry
Then I used a cream colored chalk paint for a whitewash over the Danish Oil. I make my own chalk paint with this DIY Chalk Paint Recipe from latex paint. I love mixing my own chalk paint from latex paint because it's generally a lot cheaper, works just as well, and makes it easier to get any color you want.
If you love using chalk paint as much as me, check out my tips for getting a smooth finish with chalk paint too. But, back to this project. To get a whitewash look, use a wet rag to apply the chalk paint. The water on the rag will keep the chalk paint thin and see through.
Be sure to wipe off the excess chalk paint with a dry rag, right away. You just want a light wash of that chalk paint. I kept wetting the rag I was using to apply the chalk paint to keep the finish light.
You could also just water down the chalk paint to make it thinner before applying. Whatever is easiest for you works. Just be sure to wipe off excess with a dry rag, either way.
Once I let the whitewash on my DIY Scrap Wood Table Top dry, I was ready to apply a topcoat. Use 2 to 3 coats of a water-based poly. Follow the directions on the topcoat for the best result. I prefer a Matte finish, but go with what you like.
I also like to very lightly sand the top coat with an extra fine grit sanding block when I'm done to make that top coat feel silky smooth.
Looking for more of my Home Improvement Videos? Check out this DIY Home Improvement playlist on YouTube.
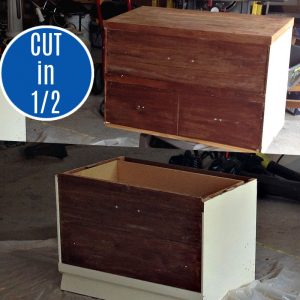
Here’s how to cut a dresser in half to make 2 great new pieces of furniture.
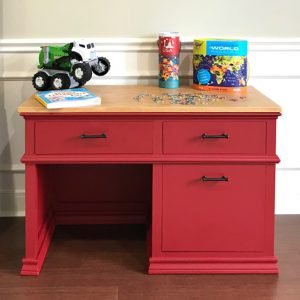
I also have printable build plans for this sweet DIY Childrens Desk with Storage Drawers.
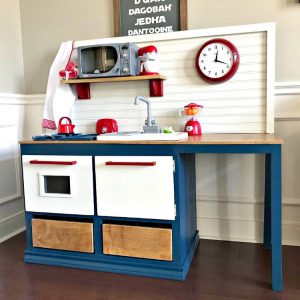
And, this awesome DIY Kids Play Kitchen too.
You might also like this DIY for How to Whiten Tile Grout. It’s a Game Changer!

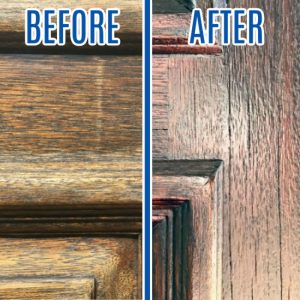
And, if it is time to Stain your Front Door, check out these steps for how I restain a front door without stripping it or removing it. 🙂
Feeling inspired? Now that you know how I built this DIY Scrap Wood Table Top, you can do it too. Let me know if you have questions. Don’t forget to sign up for the Abbotts At Home email newsletter to get DIY, Remodeling, and Crafty ideas in your inbox.

Stephanie Abbott has been remodeling homes, updating & building furniture, and working on DIY home maintenance and cleaning tips for over 20 years. Her remodeling has been featured in Better Homes and Gardens Magazine. And, her DIY YouTube channel has had more than 8 million views.
Most of the DIY tutorials and videos on this site focus on beginner to intermediate level DIY Projects that can be done in an affordable way without high-end, expensive tools. All of the cleaning tips on this website have been tested in her home.