Hi guys! Today I have the easy to follow steps to DIY Ridge Cap Shingles from Architectural Shingles for a Shed or Playhouse.
And, the exact steps to use to install the last shingle on a ridge cap. That last shingle on a roof ridge can be confusing.
DIY Ridge Cap Shingles on a Shed or Playhouse
I’m in the middle of building a new kids playhouse from a shed for my boys. And, to get my HOA to approve it quickly, I designed it to look like a shed-sized version of our barn.
So, I’ll be sharing tons of DIY projects about this playhouse that can be used to build a shed too.
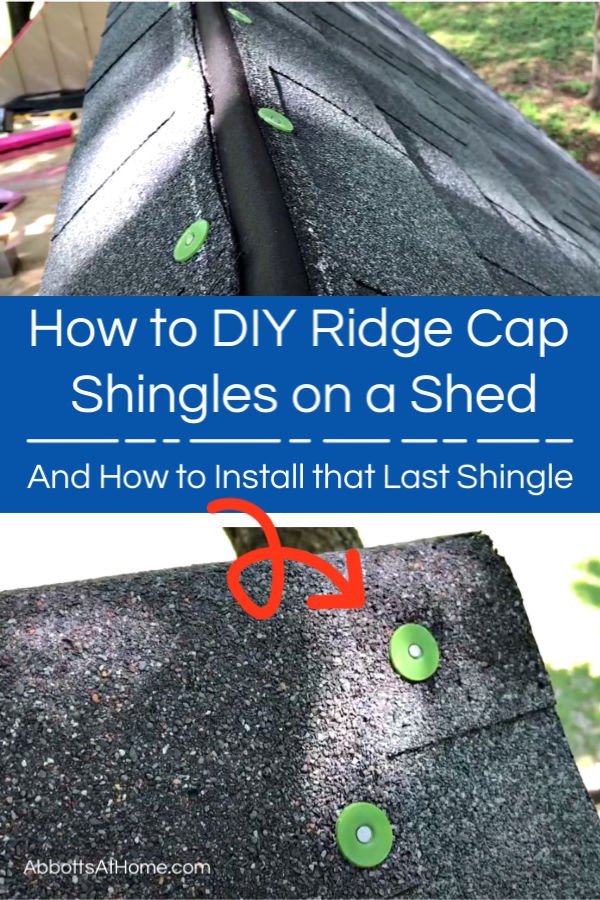
You can see the exact steps I used to DIY Ridge Cap Shingles on a Shed or Playhouse in the video below. With some important tips just below that.
Step by Step Ridge Cap Shingle Video
In this video, I walk through each step I used to DIY Ridge Cap Shingles on a Shed or Playhouse. If you have any questions, be sure to comment on the video and I’ll try to answer when I can.
What you’ll Need
- Hand Cut Ridge Line Shingles or Store-bought Ridge Shingles
- Hammer
- Plastic Cap Roofing Nails
- Box Knife or Utility Knife
- Roof Cement
Can You Make Ridge Cap Shingles From Architectural Shingles?
You can use Store-Bought Hip & Ridge Shingles OR make your own. You can cut 1 regular 3-tab shingle into 3 Ridge Cap Shingles. This super short YouTube video shows you how to cut 3-tab shingles.
Architectural shingles aren’t great for making your own hip and ridge shingles. I wouldn’t recommend doing this on a house. Because they just don’t look as nice as they could.
They sell separate ridge shingles to match your architectural shingles.
Please Note: I used architectural shingles on this roof. That means the lower, visible part of the shingle has 2 layers.
That wasn’t ideal for making my own Ridge Shingles in the recommended way. You can see my explanation in the DIY Ridge Cap Shingles video above.
I ended up cutting them short and using them anyway because it’s a shed, not my house, and it’s April 2020. So, we’re in the middle of social distancing right now.
I decided to make my own rather than go to the store for Ridge shingles. But, as you can see in the video, I still used the double layer of shingles along the ridge.
If this had been my house, I absolutely would have used the store-bought hip and ridge shingles for the best look and result.
Which Direction to Lay Ridge Shingles
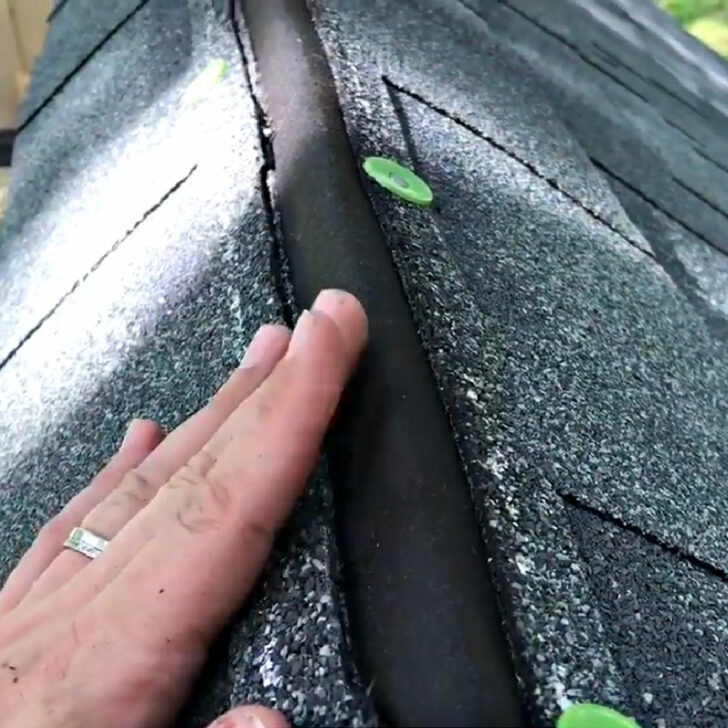
Lay the ridge shingles so that the end faces away from your strongest winds.
So, if your strongest winds come from the north, and the ridge generally runs north – south, nail at the north side and lay the tar strip on the shingle on the south side.
But, if your strongest winds come from the north and the ridge generally runs west east, I would just make a judgement call about whether or not the winds are stronger from the east or west and lay the ridge cap shingles based on that.
Do You Need Roofing Cement And Roofing Nails
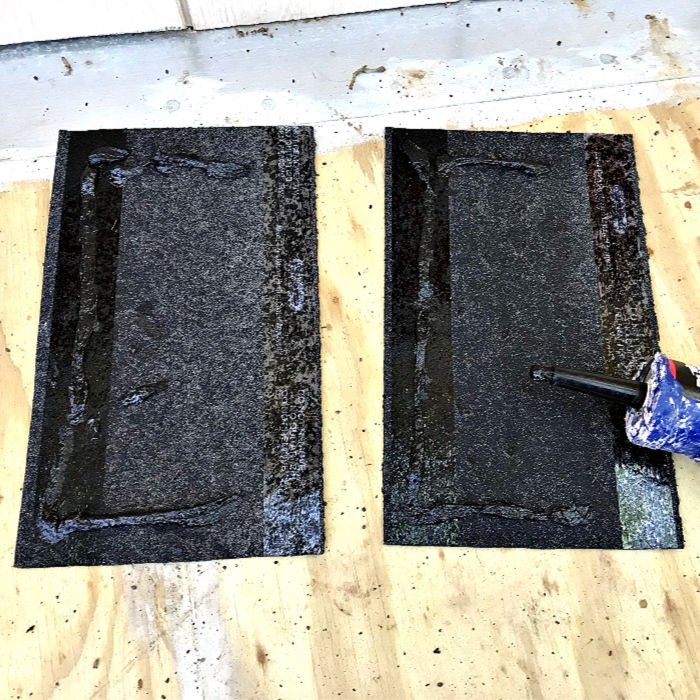
When roofers fix bent or curling shingles, they use roofing cement and ROOFING NAILS to hold the shingle in place
For anyone that’s doing DIY Ridge Cap Shingles on a shed, playhouse, or small barn, I say when in doubt roofing cement and nails add extra durability.
You can hide the nail heads with a dab of roofing cement and a pinch of shingle granules.
Since, I cut off the tar strip on my shingles, to make my ridge shingles, I used a bead of roofing cement along the 3 edges that weren’t nailed down. That was probably overkill, but I’ll never have to worry about those shingles failing. 🙂
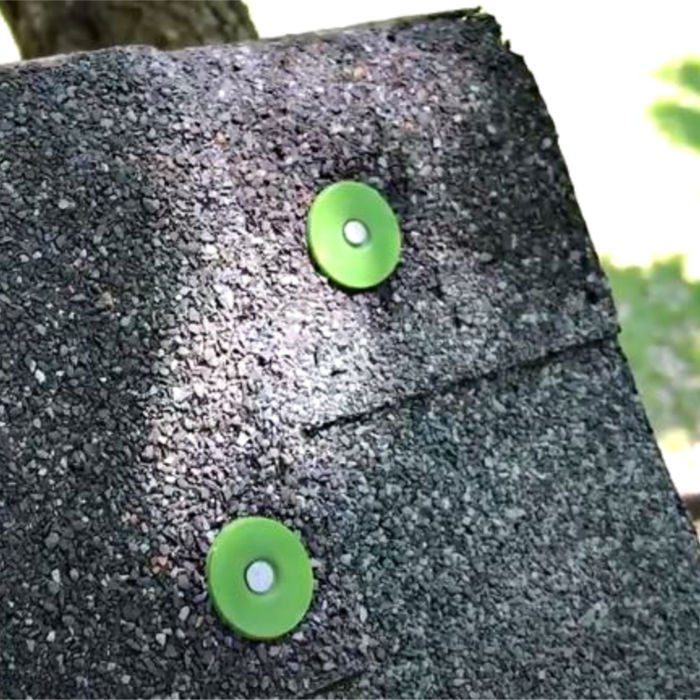
How to Install the Last Shingle on A Ridge Cap
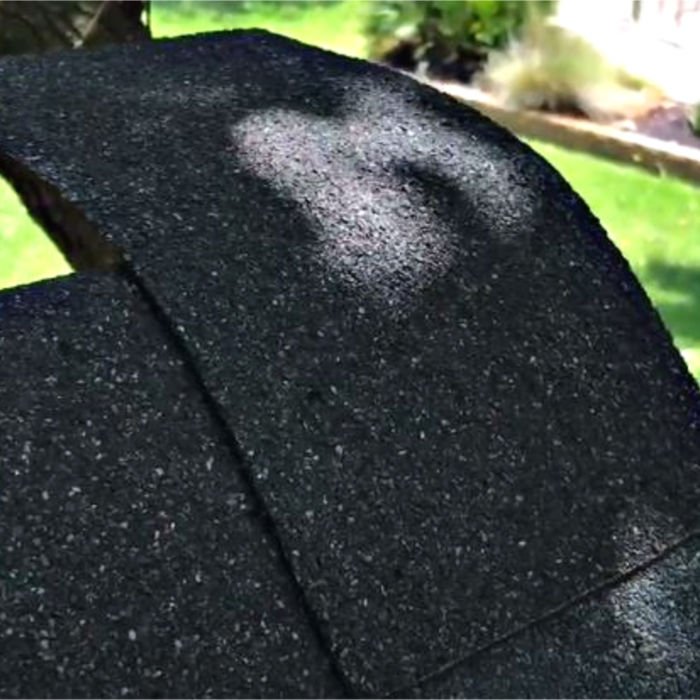
Installing the last shingle on the ridge cap of a roof isn’t hard. This video shows exactly how to cut the last shingle, use roofing cement, nail the last shingle on the ridge cap, then hide those nails. You can see me do that in the video below.
That’s it for this DIY Ridge Cap Shingles on a Shed or Playhouse tutorial. I hope you’ve found this helpful. Good luck with your DIY Roof Shingles!
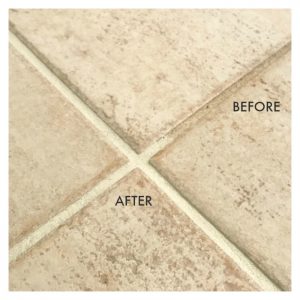
Looking for more home maintenance projects?? Check out this easy DIY for making that ugly grout look new again.
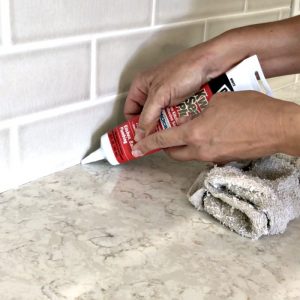
And, here is the easy to follow DIY Steps to Caulk Along Your Kitchen Counter.
Check out this post with 20+ Easy DIY Home Maintenance Updates, upgrades, and tips too.
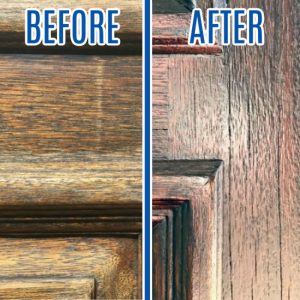
Check out this popular tutorial for How to Restain a Door without removing it or stripping it.
And, I love this Easy DIY for How to Clean a Glass Shower Door that’s safe for marble and stone tile.
Feeling inspired? Now that you’ve seen How to DIY Ridge Cap Shingles on a Shed or Playhouse, you can do it too. Let me know if you have questions.
Don’t forget to sign up for the Abbotts At Home email newsletter to get DIY, Remodeling, and Crafty ideas in your inbox.

Stephanie Abbott has been remodeling homes, updating & building furniture, and working on DIY home maintenance and cleaning tips for over 20 years. Her remodeling has been featured in Better Homes and Gardens Magazine. And, her DIY YouTube channel has had more than 8 million views.
Most of the DIY tutorials and videos on this site focus on beginner to intermediate level DIY Projects that can be done in an affordable way without high-end, expensive tools. All of the cleaning tips on this website have been tested in her home.

