Easy DIY Hack to SAFELY use a pressure mounted baby gate on stairs, no drilling & no holes. We’ve used ours for 4 years and it doesn’t budge!
Easy DIY Baby Gate For Stairs, No Drill Holes!
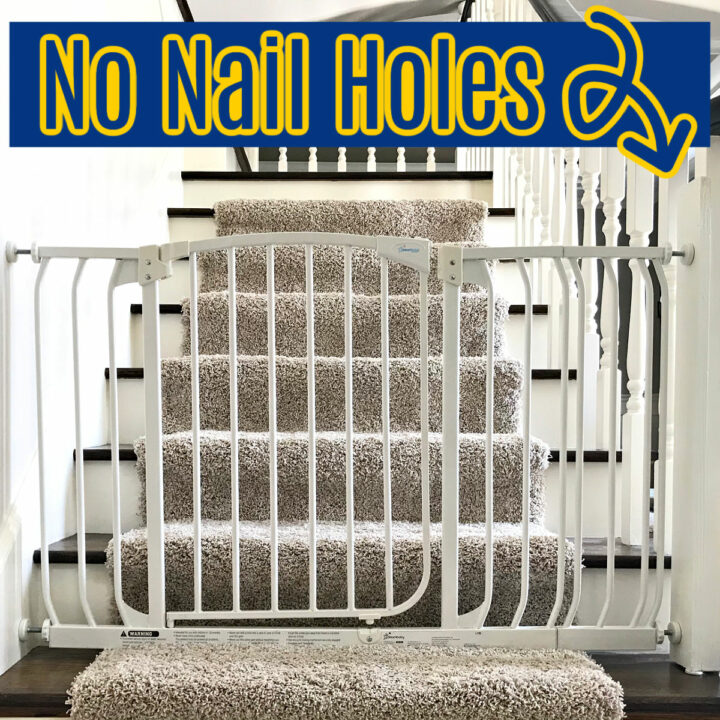
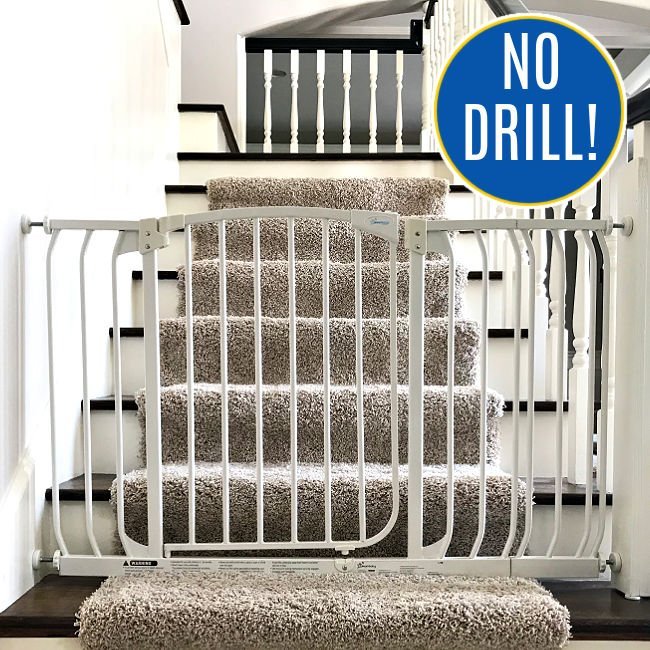
OK, guys. Here’s a cheap and easy DIY that I have loved for 4 years. It’s my easy way to install any pressure mounted baby gate on stairs, with no drill and no holes required.
This DIY baby gate hack works on 2 stair banisters, 2 walls at the bottom of a stairway, or wall to banister.
And, this thing is sturdy. My boys have both stood at that gate and shook it back and forth when trying to get me to open it. And it did not budge at all. Yaasss!
They’re 3 1/2 and 5 now and know how to open it. So, I’m about to take it down.
But, not before taking pics and sharing this idea with anyone else that wants a cheap and easy hack, that DOESN’T leave any holes or damage on the wall or baluster.
In fact, the only marks left behind on the wall and baluster were a few tiny scuffs on the paint. I just painted over those and it looks like nothing was ever there.
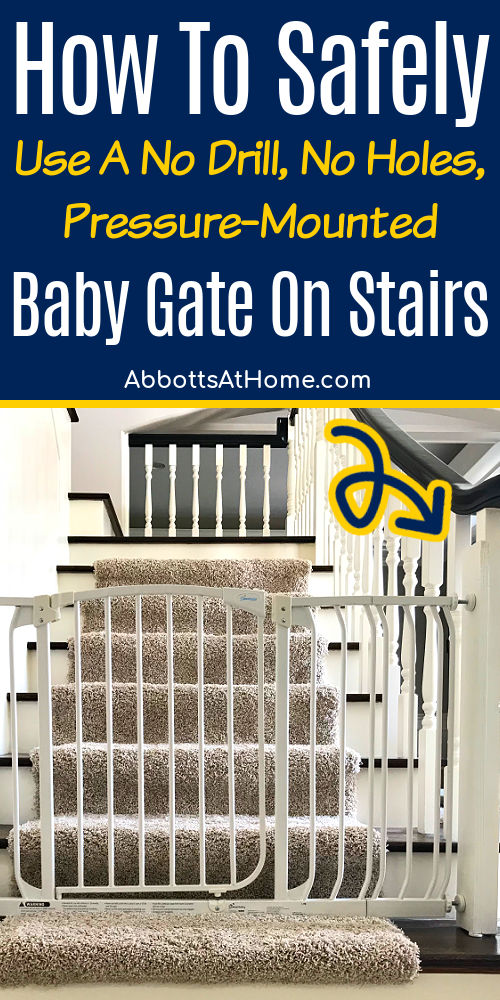
This easy DIY baby gate for stairs was definitely a HUGE WIN in this house!
Table of contents
BEFORE YOU GET STARTED
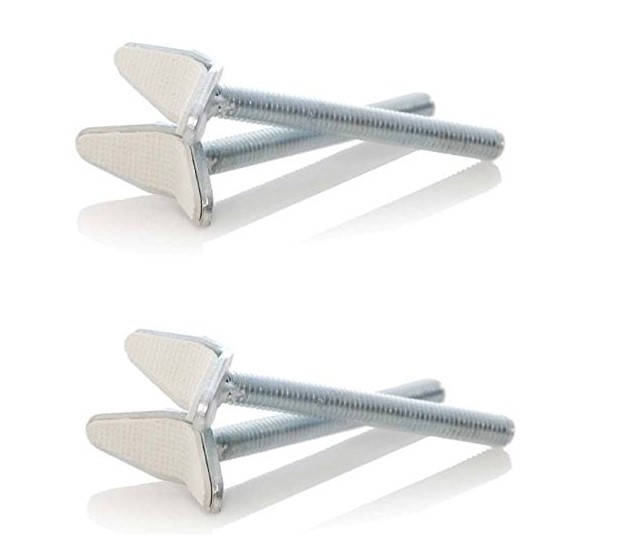
Before you start building, the company that made my baby gate (Dream Baby) sells these generic-sized baluster adjusters.
But they are at a preset angle, that can’t be adjusted. This definitely would have been shake-able on my angled banister.
Read the reviews first and decide if you want to try these before building this no drill DIY baby gate hack for stairs. Maybe you’ll get lucky and these adjusters will fit your stairs tightly.
DIY Baby Gates for Stairs – Safety Tips
Before we get to the build, lets talk safety first. The most important reason to put up a baby gate is safety, right.
So, I wanted to make sure this No Drill DIY Baby Gate Hack for my Stairs was perfectly safe.
I only wanted this pressure-mounted gate on the very bottom step. Any higher and it could have been a fall hazard for a baby.
I put this up when my first baby was about 1 year old. That was 4 years ago. It’s never once failed.
And, even though I didn’t drill any holes to attach this gate, it’s completely stable and doesn’t shift at all, even for an adult. Which is great.
Babies will pull themselves up on anything they can and shake things around. So, any shifting on a pressure mount gate would be a safety hazard.
But, there is one issue with a pressure mount gate on stairs. The design requires a bar across the floor at the bottom. So, it takes up a bit of that very back of the bottom step.
I’ve had one house guest kind of stumble the first time coming down through that gate. You have to watch where you step with this set up.
Are Pressure Mounted Baby Gates Safe for the Top of Stairs
I would absolutely not recommend a pressure mounted gate at or just before the top of stairs. The bar across the bottom of the pressure mounted gate would be a trip hazard.
I’ve heard that half of all injuries associated with these gates is caused tripping over that bar. Who knows if that’s true, but be careful.
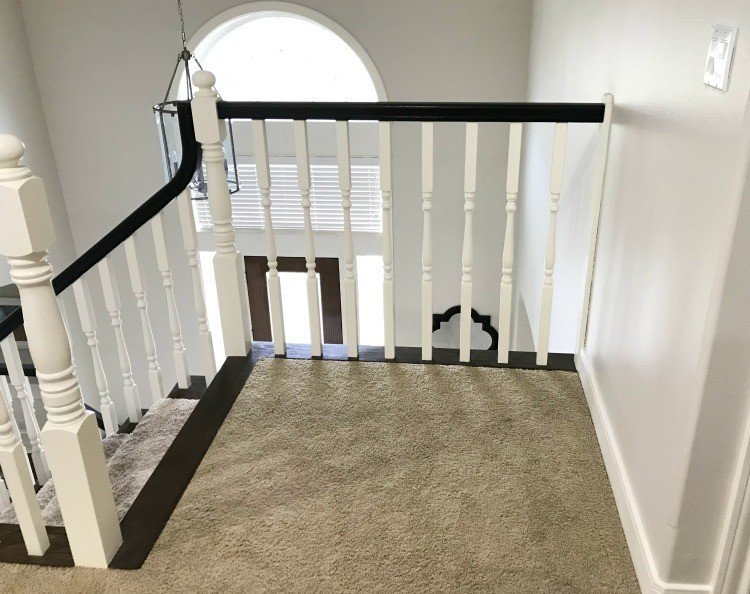
If you want to use this No Drill DIY Baby Gate Hack at the top of stairs, I recommend placing the pressure mount gate a few feet before the stairs start, if possible.
Or, go with a drill in baby gate at the top of stairs so that you won’t have the bar across the bottom. Or the risk of having a baby shake the gate loose and fall down the stairs.
How to Put a No Drill, Pressure Mount Gate on Stairs
Materials Needed
Here’s what you’ll need to build a baluster wrap for this DIY baby gate no drill holes hack.
- Pressure Mount Baby Gate, like mine
- Lumber that will be big enough to wrap around your baluster or newel post, 1″ thick dimensional lumber would look best
- Brad Nailer OR Nails and Hammer OR Drill and Screws
- Wood Glue
- Saw, I used my Miter Saw
- Optional: Digital Angle Finder
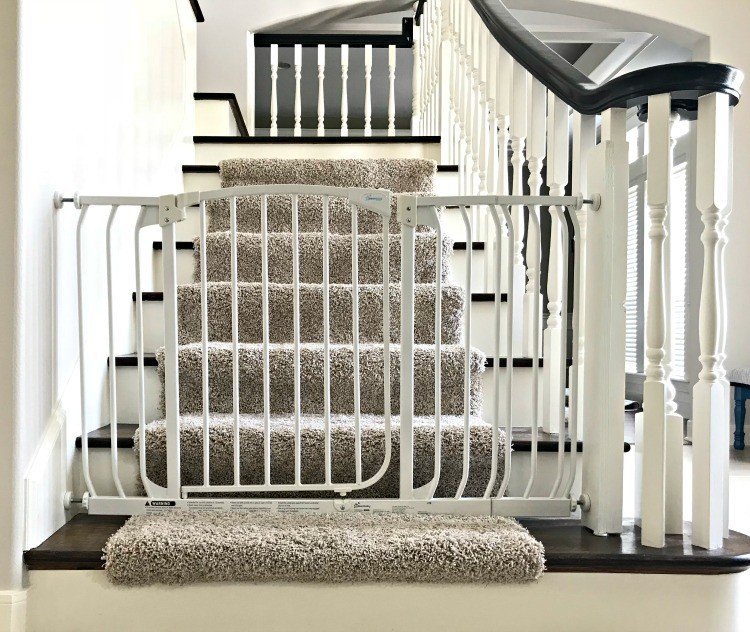
Step One – Pick The Location
Decide which baluster or newel post will work best for your baby gate. You want to pick the one that is close to the back of the bottom step on your stairs.
You want the back because that bottom bar on the pressure mount gate will be sitting on the floor there.
If the bar was near the front of the step, then it would be harder for you to put a foot on that step.
Step Two – Build The Baluster Wrap
If that baluster or newel post is square-shaped (where the pressure mounts will touch it) AND completely square with the wall or the baluster on the other side of the stairs, then you are golden, my friend.
You don’t even need to build a wrap, like mine. You can just pressure mount there. But, if your baluster is too thin, round or at an angle. You need to build a tight wrap for it.
Start by building a 2 sided L-shaped post, as long as the gate is high. I used wood glue and brad nails to build it.
Mine was a 1×4 with 2 – 1×2 sides. You’ll need to adjust this based on the size and angle of your baluster and newel post.
Step Three – Cut Scrap Blocks To Square The Wrap
With just 2 sides of this no drill DIY baby gate hack for your stairs built, hold it square with the opposite wall or at a 90 – degree angle to the front of the second step (where the gate will be).
Then you can use a digital angle finder to help you figure out what angle of cut would be needed to square off your baluster.
Or you can even grab scrap paper and sketch the full empty triangle between your L-shaped post and the baluster.
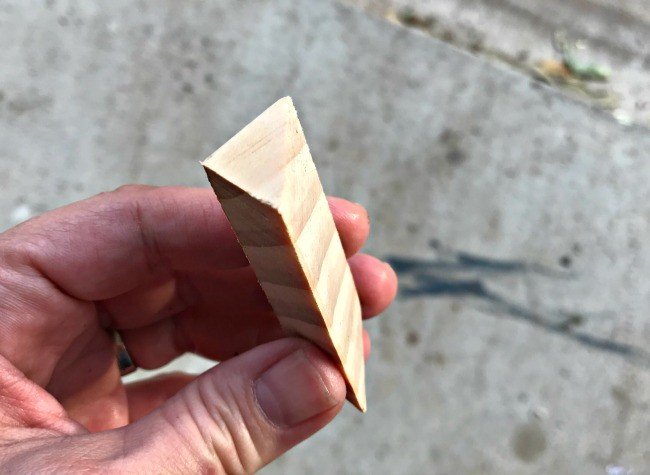
Use that angle to cut 3 or 4 matching angles to act like shims on your L-shaped post. This will be easiest and safest on a Miter Saw, with a 1×2 or 1×3.
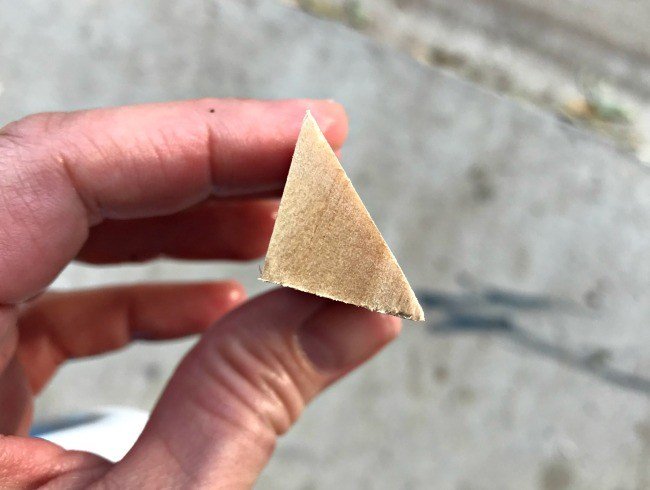
Tape those shims on along the length of the post, to test the fit.
Now, you want that post to fit snugly against the inside and front corner of the baluster or newel post.
If everything is perfectly snug and at a 90-degree angle with the front of the steps (where the gate will be) then you can glue and nail those shims in place.
Step Four – Finish Building The Wrap
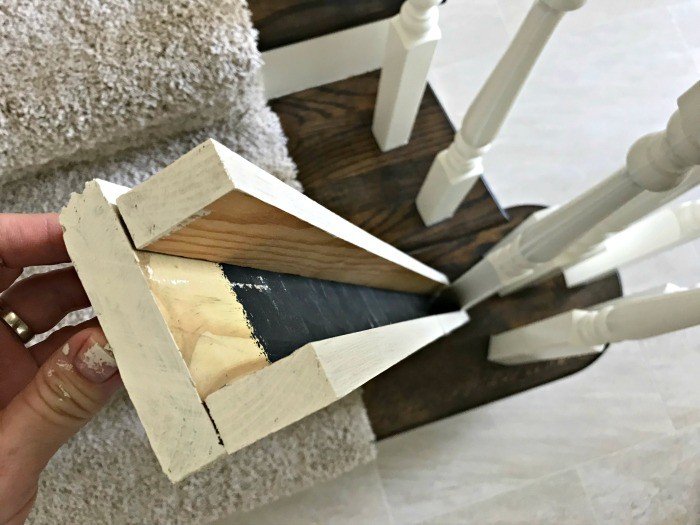
It’s time to turn that L-shaped post into a C.
Hold it tightly against the baluster or newel, at that 90-degree angle to the steps, and hold a third piece of wood tightly to the back of the post, but square with the front and side pieces.
So, it’ll be touching the furthest point back of the baluster or newel.
Mark where the 3rd piece should be attached to fit tightly around the baluster or newel. Attach it to your baluster wrap with glue and brad nails.
Step Five – Test The Fit Of The No Drill Baby Gate
Slide that C-shaped post in place and test the fit. If it feels snug and doesn’t wiggle when you move it, you’re done.
But, if that baluster was sitting at a big angle to the steps, you’ll need to follow the same process from Step Three to build shims for the other inside corner of the C. Glue and nail those in place too.
Step Six – Paint The Wrap To Match Your Balusters
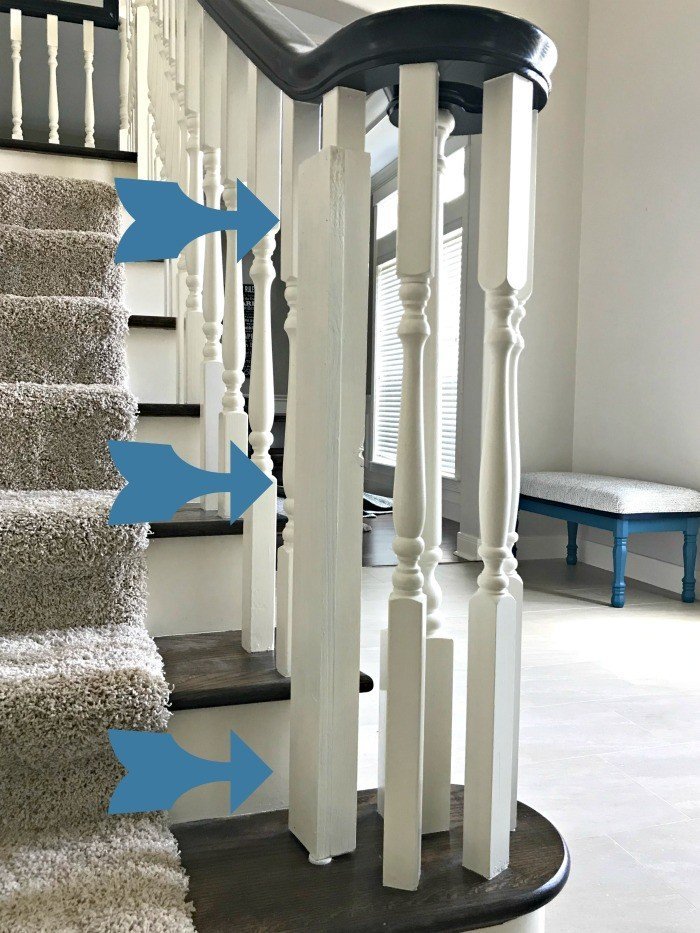
You should now have a super tight C-shaped wrap (or 2, if both sides of the stairs aren’t walls) for this no drill DIY Baby Gate for stairs, that fits over the baluster or newel post.
Paint that to match the baluster or newel post. Now, you’re ready to set up that pressure mount gate, per the instructions that came with the gate.
DIY Tip: I put one of those 1″ round furniture pads under my C-shaped wrap, to protect my floor from any possible scratches.
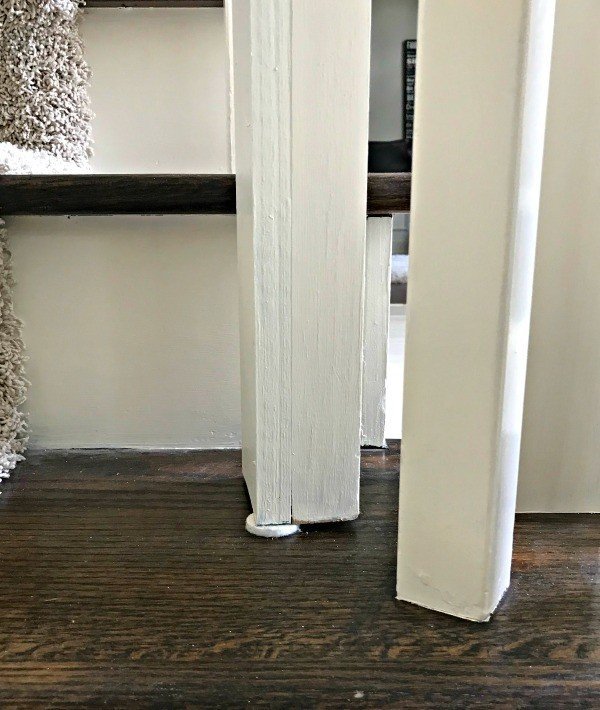
Shake and pull on that tightened baby gate to make sure it won’t budge at all, to make sure this no drill baby gate hack for your stairs is built tight enough.
It should be perfect, unless the 3rd piece you attached wasn’t super tight against the back of the baluster or newel.
In that case, you can try using real shims or even those same felt pads to tighten that fit. You want it so tight that it doesn’t move at all.
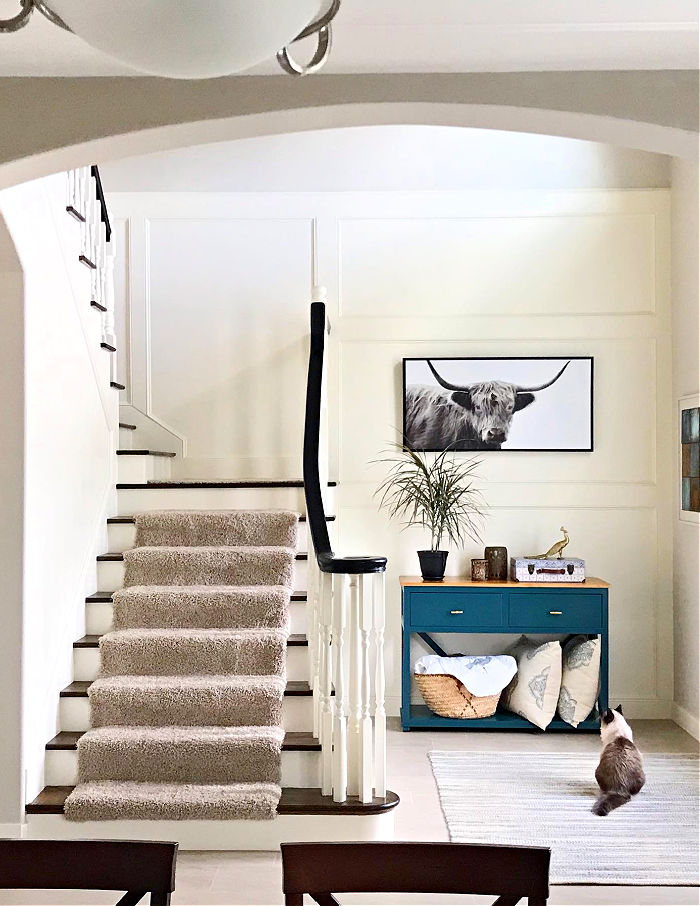
That’s it. You’ve got a new No Drill DIY Baby Gate blocking off those stairs. 🙂
Easy Pressure Mount Baby Gate Installation on Stairs Video
You can see a short version of this tutorial in the video below.
More DIY Projects For You
Looking for another Easy Home Maintenance Project? You can Restore your Grout to Like New and this product seals grout too. Yay! Watch the quick video to see how easy it is, then click here to see the Grout Whitening Tutorial.
Or this easy DIY way to Restain a Door without removing it or stripping it.
If you love DIY Home Improvement as much as I do, I have this post full of 20+ Home DIY Tips and Tricks I recommend for EVERYONE. And, this video has a quick tour of 10 more DIY Tips and Tricks from my home.
Here’s the easy way to get rid of water stains on your ceiling – without paint!
This DIY Table Over Washer and Dryer is always a popular build.
If you need a great little desk for your elementary age kids. Check out this DIY Childrens Desk with Storage Drawers.
Or, this easy DIY Kids Play Tent from PVC Pipes.
Thanks for checking out my DIY Baby Gate No Drill Hack. Please let me know if you have questions.
Don’t forget to sign up for the Abbotts At Home email newsletter to get DIY, Remodeling, and Crafty ideas in your inbox.
DIY Baby Gate Hack for Stairs - No Drill
Today, I'm excited to show you my DIY Baby Gate Hack for Stairs. We've had this up for 4 years and it's worked great! No drill & no holes!
Materials
- Pressure-mount Baby Gate
- 1x Lumber to wrap a balluster
- Wood Glue and Brad Nailer OR Drill and Screws to assemble
Instructions
- Decide which baluster or newel post will work best for your DIY Baby Gate. You want to pick one that is close to the back of the last step on your stairs. You want the back because that bottom bar on the pressure mount gate will be sitting on the floor there. If the bar was near the front of the step, then it would be harder for you to put a foot on that step.
- If that baluster or newel post is square-shaped (where the pressure mounts will touch it) AND completely square with the wall or the baluster on the other side of the stairs, then you are golden, my friend. You don’t even need to build a wrap, like mine. You can just pressure mount there.
- But, if your baluster is round or at an angle. You need to build a tight wrap for it. Start by building a 2 sided L-shaped post, as long as the gate is high. I used wood glue and brad nails to build it. Mine was a 1×4 with 2 – 1×2 sides. You’ll need to adjust this based on the size and angle of your baluster and newel post.
- With just 2 sides built, hold it square with the opposite wall or at a 90 – degree angle to the front of the second step (where the gate will be). Then you can use a digital angle finder to help you figure out what angle of cut would be needed to square off your baluster. Or you can even grab scrap paper and sketch the full empty triangle between your L-shaped post and the baluster.
- Use that angle to cut 3 or 4 matching angles to act like shims on your L-shaped post. This will be easiest and safest on a Miter Saw, with a 1×2 or 1×3. Tape those shims on along the length of the post, to test the fit.
- Now, you want that post. To fit snugly against the inside and front corner of the baluster or newel post. If everything is perfectly snug and at a 90-degree angle with the front of the steps (where the gate will be) then you can glue and nail those shims in place.
- It’s time to turn that L-shaped post into a C. Hold it tightly against the baluster or newel, at that 90-degree angle to the steps, and hold a third piece of wood tightly to the back of the post, but square with the front and side pieces. So, it’ll be touching the furthest point back of the baluster or newel.
- Mark where the 3rd piece should be attached to fit tightly around the baluster or newel. Attach it to your DIY Baby Gate Hack for Stairs with glue and brad nails.
- Slide that C-shaped post in place and test the fit. If it feels snug and doesn’t wiggle when you move it, you’re done. But, if that baluster was sitting at a big angle to the steps, you’ll need to follow the same process from Step Three to build shims for the other inside corner of the C. Glue and nail those in place too.
- You should now have a super tight C-shaped post (or 2, if both sides of the stairs aren’t walls) for this no drill DIY Baby Gate hack for stairs, that fits over the baluster or newel post. Paint that to match the baluster or newel post. Now, you’re ready to set up that pressure mount gate, per the instructions that came with the gate.
DIY Tip: I put one of those 1″ round furniture pads under my C-shaped post, to protect my floor from any possible scratches.
Notes
Here’s a cheap and easy DIY that I have loved for 4 years. It’s my DIY Baby Gate Hack for Stairs, with no drill and no holes required.
And, this thing is sturdy. My boys have both stood at that gate and shook it back and forth when trying to get me to open it. And it did not budge at all. Yaasss!

Stephanie Abbott has been remodeling homes, updating & building furniture, and working on DIY home maintenance and cleaning tips for over 20 years. Her remodeling has been featured in Better Homes and Gardens Magazine. And, her DIY YouTube channel has had more than 8 million views.
Most of the DIY tutorials and videos on this site focus on beginner to intermediate level DIY Projects that can be done in an affordable way without high-end, expensive tools. All of the cleaning tips on this website have been tested in her home.

