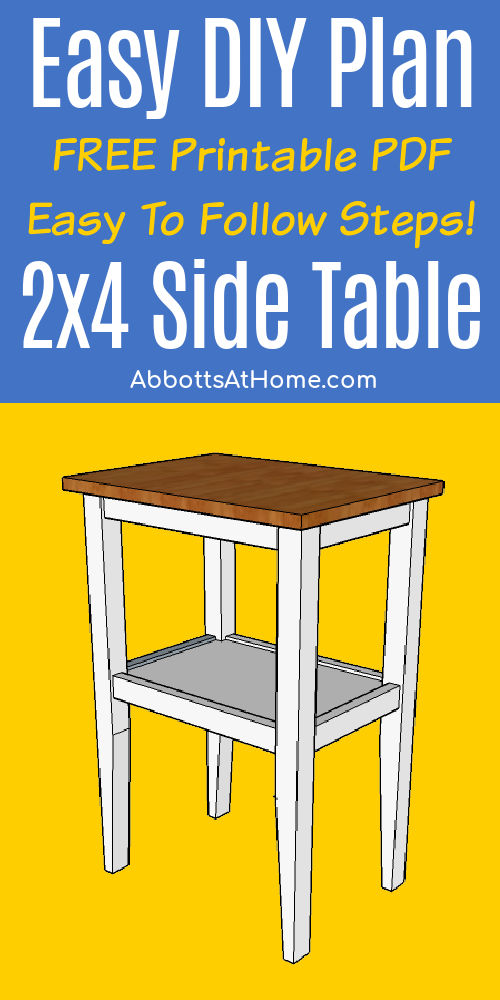
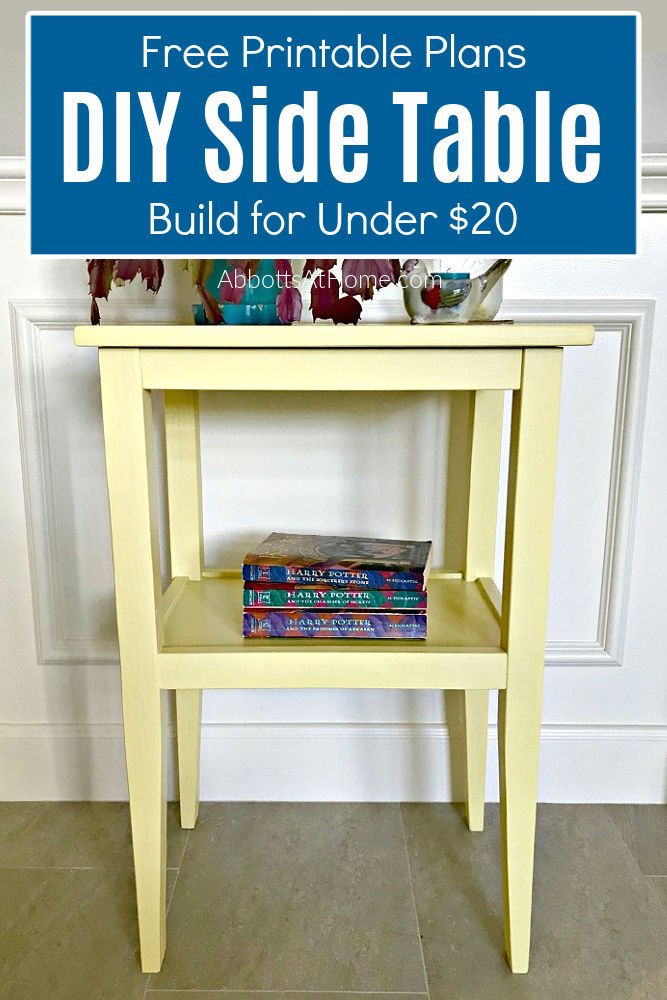
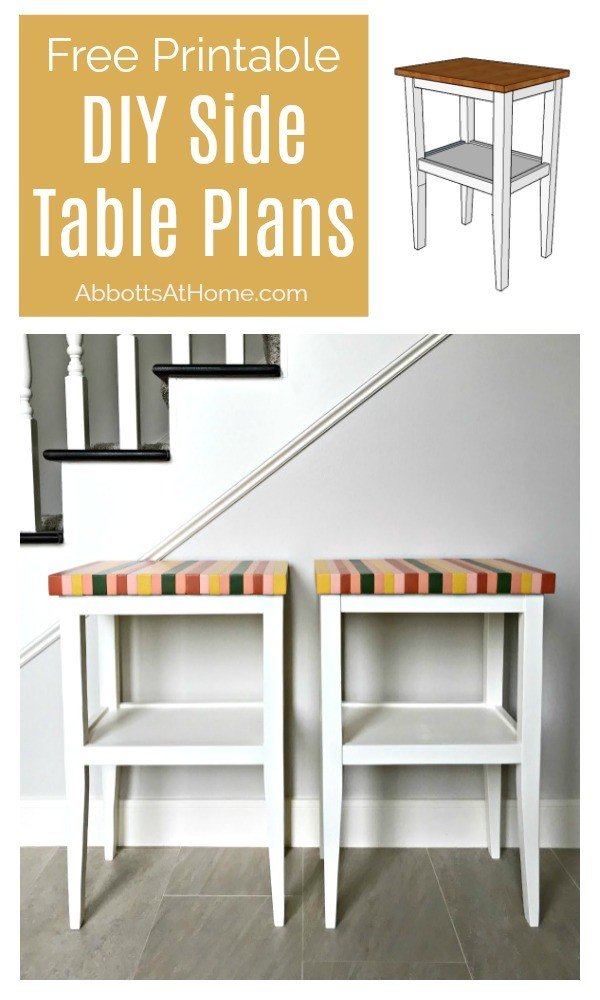
Free printable build plans for this pretty DIY Side Table with a shelf. Build from 2×4’s for just $20. Perfect for any room in your house.
Free DIY Side Table Build Plan
The idea for my DIY Side Table Plans came from a woodworking challenge on Instagram. The IG Builders Challenge account on Instagram hosts 2 or 3 woodworking challenges a year and I love it!
The first day of the challenge always starts with the release of woodworking plans for a random piece of furniture. You never know what you’ll be building until that day.
Then each participant modifies the plans to show off their skills and creativity. Fun, right?
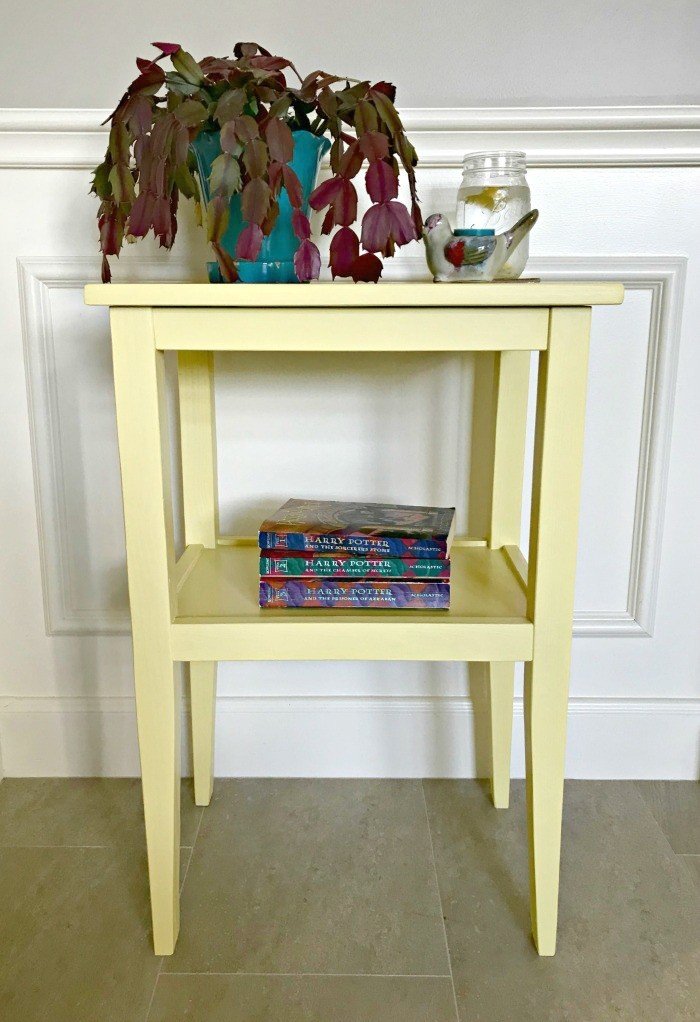
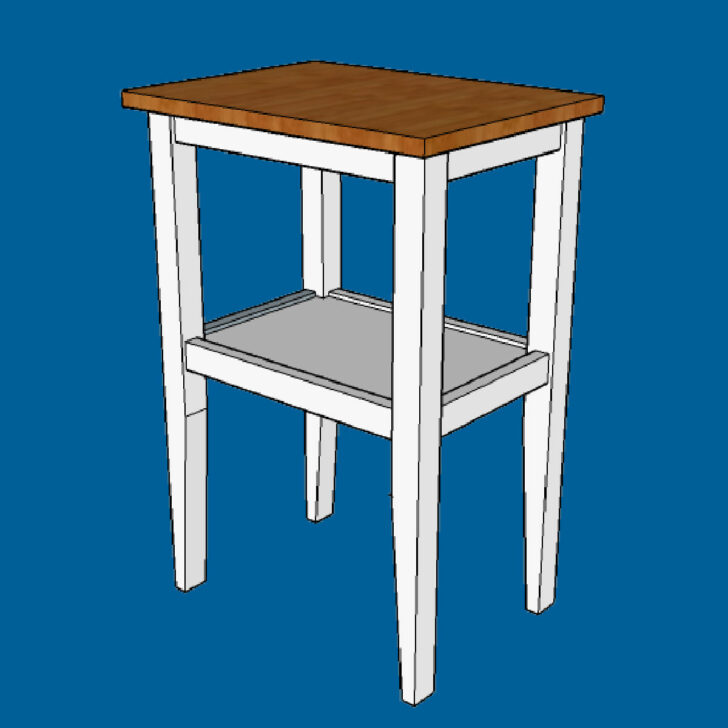
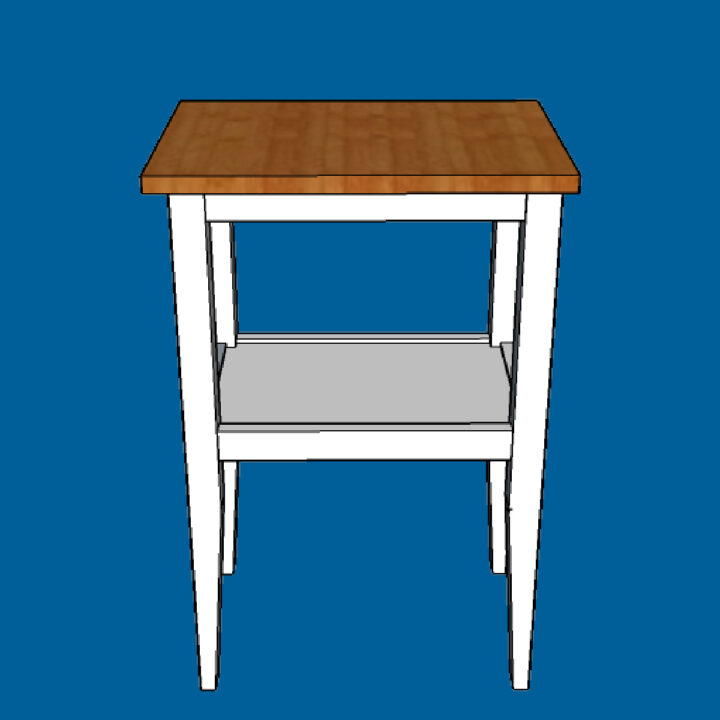
The plan for this challenge was for a simple wood side table build from a 2×4. I modified that plan in a few ways to design a side table with a 3/4″ solid top, a middle shelf, and an optional tapered leg.
During the Spring 2017 challenge, I was awarded 1st Runner Up for my L-Shaped Backyard Bench entry. Yay! Check out that build if you’re looking for ideas for new backyard furniture. You can find all of my DIY Furniture Plans here.
More About the Side Table Design
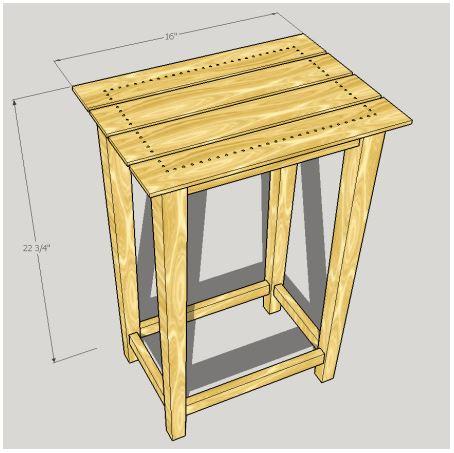
The original challenge plan for this side table plan for woodworkers was released as a single wood table built from 1 – 8′ long 2×4. You can see the original design below.
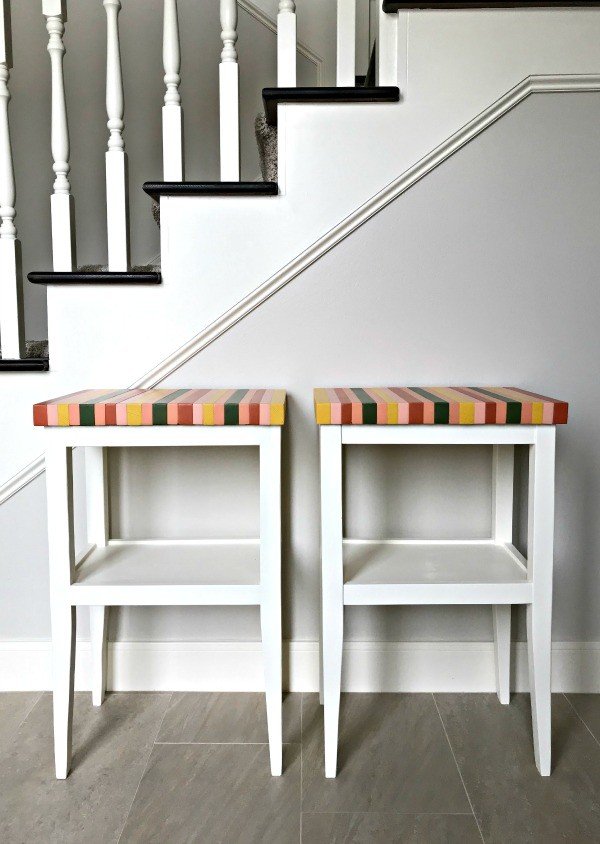
For my DIY Side Table Build Plan, I decided I could use some new bed side tables for my guest room. So, I built two.
I raised the height, modified the taper in the legs, added a middle shelf, and switched the top to 3/4″ plywood. I love how simple and elegant my changes turned out.
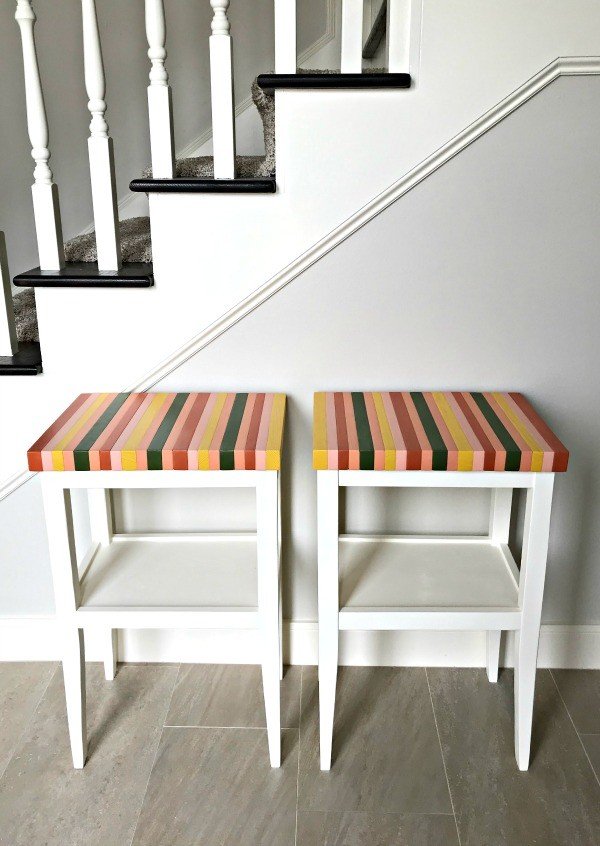
UPDATE 2019: I repainted and replaced the simple 3/4″ plywood top on this wood bedside table with my new DIY Wood Color Block Table Top.
I love the bit of texture on this design and the thicker profile on the top. This is another 2×4 build that can be made for less than $10.
Tools Needed
- Kreg Jig & Kreg 1 1/4″ Coarse Thread Screws
- Drill
- Various clamps
- Miter Saw or Circular Saw
- Optional: Table Saw for tapering the legs and some sort of homemade jig OR a store-bought tapering jig
- Jig Saw (to notch out the lower plywood shelf)
Materials Needed
- 9’ of 2×2 dimensional lumber, like Select Pine
- 8’ of 1×2 dimensional lumber, like Select Pine
- About 2’ x 2’ of 3/4″ Plywood
- Zinsser 123 Primer, or your favorite
- Chalk Paint in any shade you’d like, for the frame
- 2 – 1″ Corner Braces
- Wood Filler, Wood Glue, and Good Paint Brushes
Keep scrolling for the build steps. Or download the printable plans below.
Download the Printable Side Table Build Plan
Hello, DIY friends! You can download the FREE DIY Side Table Build Plans from my Gumroad store. These plans are for personal use only. They cannot be shared or sold without my permission. Please let me know if you have any questions and enjoy your build!
The printable plans include Full Steps and Measurements, 3D Drawings, and Materials List.
Cost to Build this Side Table
I’m providing instructions for building this side table the easiest way, with the best materials. BUT, for the challenge I actually built this by resawing a 2×4 into 2×2 and 1×2 dimensional lumber sizes, with standard squared edges.
I’m going to skip explaining that for today. It will just confuse the build. BUT, this build would cost about $20, per table, with 2×4’s that have been resawn.
A Select Pine Board, or similar, 2×2 will provide a much smoother, cleaner, straighter piece of wood for this build.
Using Select Pine to build this Side Table, or similar dimensional lumber will cost about $30 to $35, per table.
Woodworking Steps to Build this Side Table
When this DIY Side Table is finished the table dimensions are 18″ wide, 13 1/2″ deep, and 26 3/4″ high.
Step One
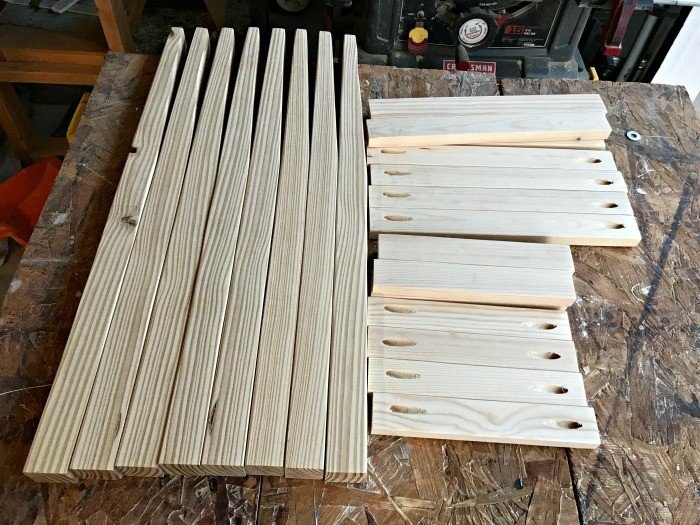
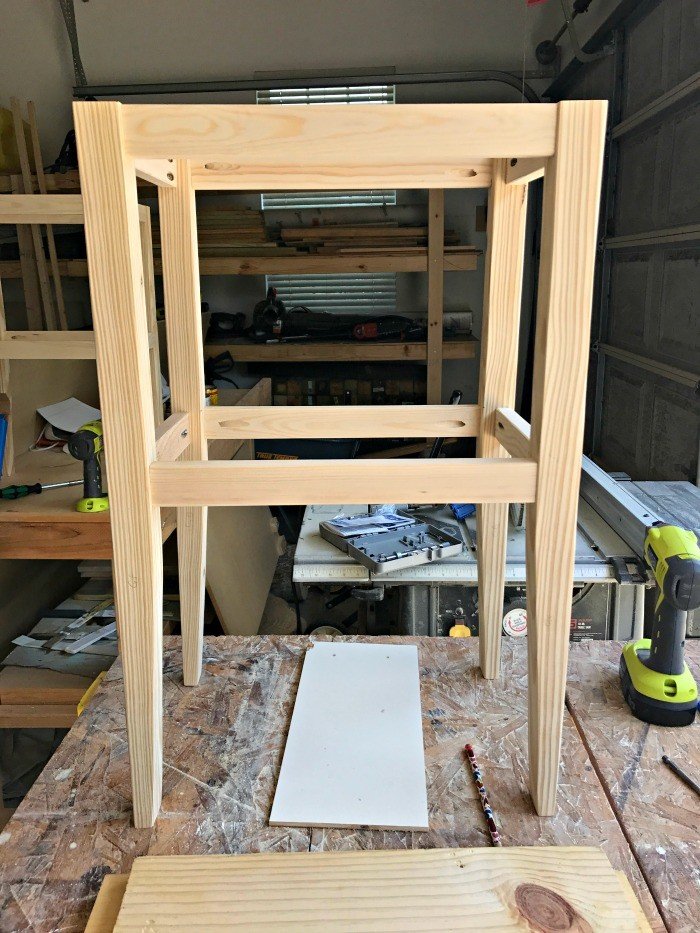
Cut the legs and aprons and stretchers for your table. Measurements can be found in the FREE printable plans at the end of the directions.
Step Two
Optional: I’ve slightly tapered the bottom half of my legs. I quickly made my own jig. But you can find store bought jigs that’ll do the job better. I tapered the inside of my legs because I prefer the look of wider legs.
Step Three
Use your Kreg Jig to put 1 pocket hole on each end of the 1×2″ boards. That will be on 8 boards for 16 pocket holes total.
Step Four
Sand all of the wood with 120-grit sandpaper. Sand all 4 sides of aprons (horizontal pieces that connect to legs and top), stretchers (horizontal pieces that connect legs), and legs. Smooth down, or knock down, the hard corners to give the piece a softer, more finished look. But keep the short edges on the rails that connect to the 2×2″ legs squared.
Step Five
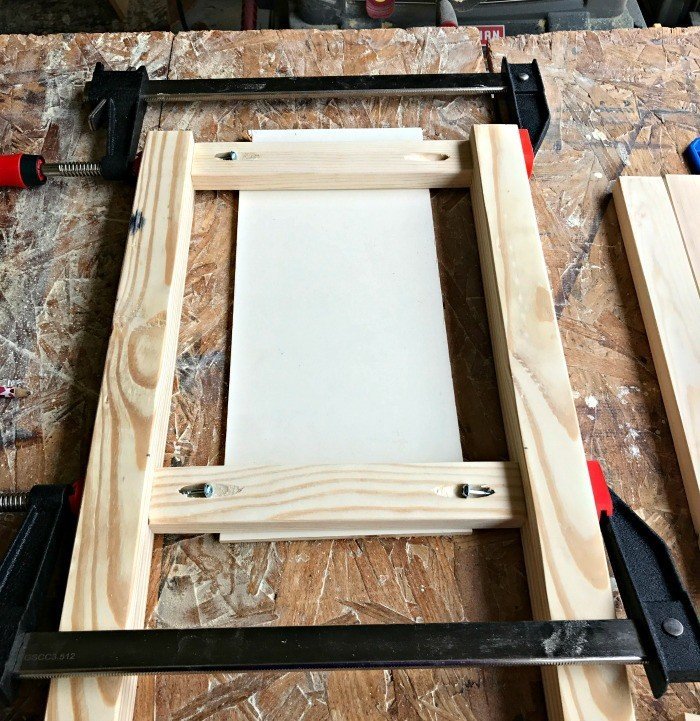
For the DIY Side Table Plans we’ll use the Kreg Drill Bit, Screws, and glue to assemble the table. The top apron should be level with the top of the legs. The top of the lower stretcher should be 11 1/2″ from the top.
I used a scrap piece of 1/8″ thick paneling to get the 1/8″ set back on the apron and stretcher. Make sure to always wipe away glue with a damp cloth as you go.
Step Six
Build the shelf. Measure the inside of the lower apron to get the exact measurements for that shelf. Remember to notch out the corners, for the legs, with your jigsaw.
Use your Kreg Jig to add 6 pocket holes to the bottom of your plywood shelf. 2 holes on each long side, 1 on each short. Sand the shelf, then clamp in place. I set this 1/8″ lower than the apron. Screw the shelf in place.
Step Seven
Cut the 3/4″ plywood table top. Apply iron on edge banding to the sides for a nice finish. You can attach it later with 2 – 1″ Corner Braces. But first, apply your finish to the frame and table top.
Finishing this DIY Wood Side Table
Use wood filler, as needed and sand smooth with 120-grit sandpaper. If painting, prime the wood with a good primer. Then apply 2 – 3 coats of paint.
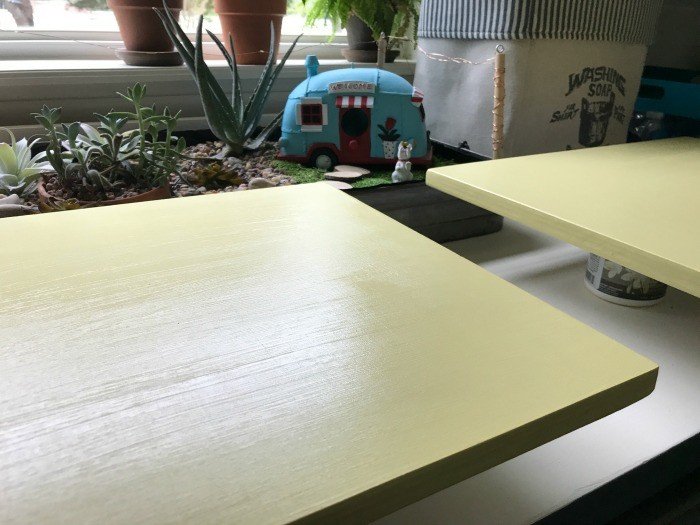
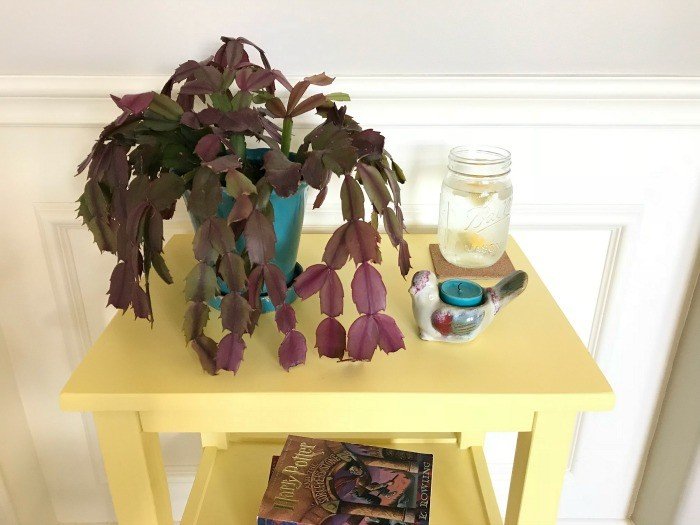
I prefer chalk paint on furniture. I used this pretty shade of yellow from DecoArt. But, I also mix my own DIY chalk paint from latex paint.
I mixed the white chalk paint I used on the 2019 update on this table. That latex paint is the paint I use on all the trim in our home. It’s Behr’s Polished Pearl in Eggshell.
Once you have achieved a solid, finished look with the paint, apply 1 to 2 layers of the Polycrylic, if needed. Lately, I only apply polycrylic to painted furniture if it needs extra protection or if I want to add a little extra sheen.
If staining anywhere, like the top, I am loving how easy Watco Danish Oil is to apply. It’s such a pretty and fast way to get a nice stained finish. I use it almost exclusively, lately.
I only top that with polycrylic on table tops that need extra protection. Like the DIY Kids Desk with Storage I built for my boys.
You can find 30+ Beginner Furniture Painting Tutorials on my site, if you need more ideas for painting your side table.
That’s it! You’ve finished this DIY Side Table Plans build. Step back and admire your amazing talent and beautiful table.

More DIY Projects You Might Like
How about another DIY Furniture Build Plan? Check out my beautiful Upholstered Bench.
Or this beautiful, large L-Shaped Bench for your backyard.
And, this DIY Table Over Washer and Dryer is always popular.
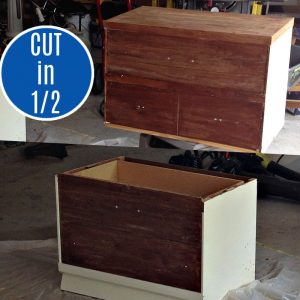
Want to really transform an old piece of furniture? Here’s how to cut a dresser in half to make 2 great new pieces.
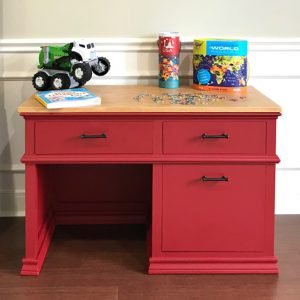
If you need a great little desk for your elementary age kids. Check out this DIY Childrens Desk with Storage Drawers.
Feeling inspired? Get out there and build your own with these DIY Side Table Plans. Follow the links above to get the things you’ll need. Have fun and let me know if you have questions. Or post pictures of your work and tag Abbotts At Home on FB, I’d love to see it!
Stephanie Abbott has been remodeling homes, updating & building furniture, and working on DIY home maintenance and cleaning tips for over 20 years. Her remodeling has been featured in Better Homes and Gardens Magazine. And, her DIY YouTube channel has had more than 8 million views.
Most of the DIY tutorials and videos on this site focus on beginner to intermediate level DIY Projects that can be done in an affordable way without high-end, expensive tools. All of the cleaning tips on this website have been tested in her home.





What nice sturdy little tables! I love the new colorblock top! Thanks for sharing with us at The Blogger’s Pit Stop!
Thank you, Roseann. So glad you liked them!
We can always use an extra side table! This one is so cute and functional. Pinned!
Thanks so much, Cherryl! I really appreciate the compliment and pin.
Those side tables are so fun! This post really makes woodworking/furniture building feel less intimidating! I’m feeling inspired to try my hand at it.
Thanks! And go for it, Olivia. I love seeing my furniture designs come to life.
Such a cute table!! I love the soft lemon colour that you chose too!
Thanks so much, Sam!
Oh, wow! You are SO talented, Stephanie!
This table looks better than store bought!
XO, Vanessa
Thanks so much, Vanessa!
Beautiful. Love the color you used.
Thanks so much, Jamie!
I upcycle a lot of furniture but I’ve never built anything from scratch, it would be great to give this a try!
Lianne | Makes, Bakes and Decor
You should try a build. You might love it!
This is such a cute table and I love the color you painted it! I can’t believe how easy it is to make. Thanks for sharing your tutorial with us at Merry Monday this week!
Thanks so much, Marie! So happy you stopped by!
Very pretty! Love the color. Very welcoming.
Thanks so much!
Stephanie, it’s amazing that you can build a table like that for only $20! Love those tapered legs too…it really makes this so much more interesting as a side table. And that upholstered bench isn’t bad either. Caught a glimpse of that. Pinned.
Thanks, Florence! You’re so sweet!
Your side table turned out amazing! I’m with the others, the yellow is a great color Pinned!
I love this little side table, as well as the beautiful yellow paint color
Thanks so much, Ivory!
This is so pretty! I love the fun yellow color and great instructions!!
Thanks, Melissa. So glad you liked it!