
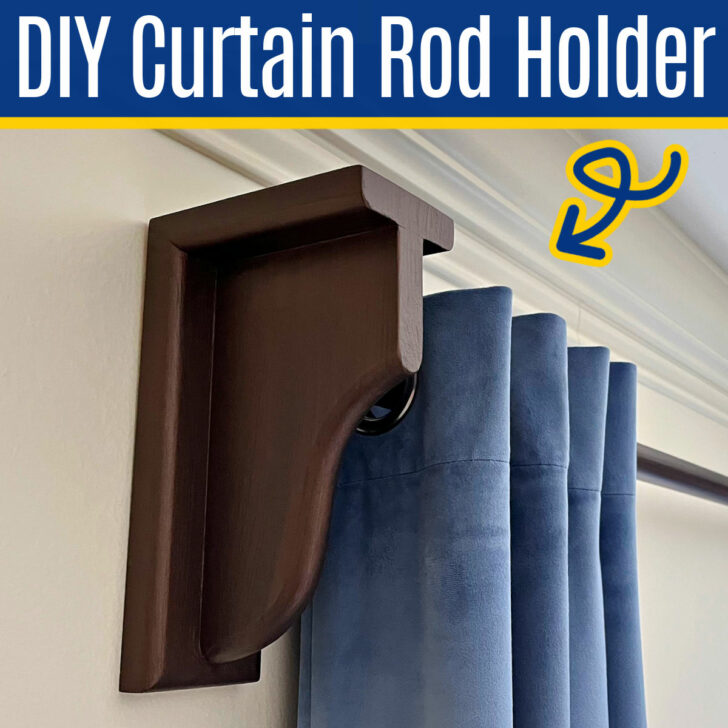
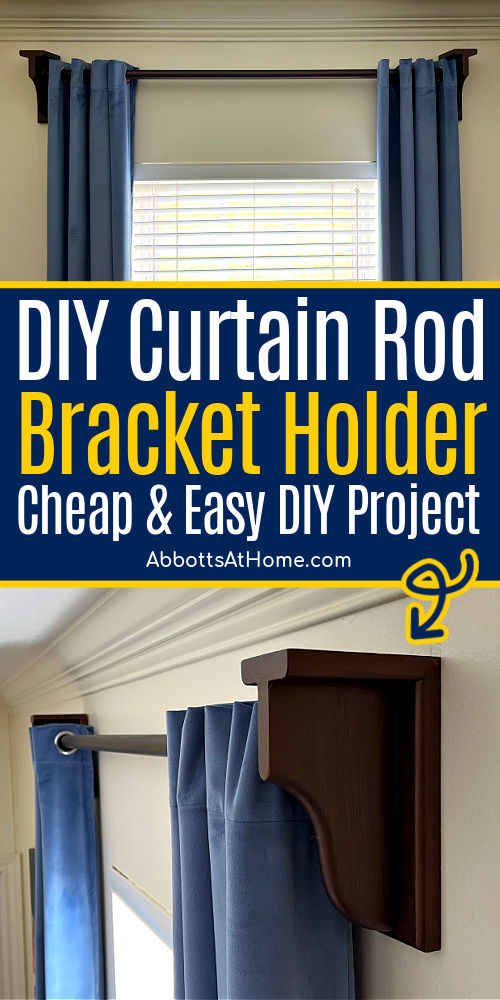
Make a QUICK & EASY DIY Wooden Curtain Rod Brackets in less than a day. This wood bracket & rod can be stained or painted to match any room.
DIY Wooden Curtain Rod Bracket
I looked all over my favorite stores, IRL and online, and couldn’t find the perfect curtain rod and brackets for the boys bedroom makeover. So, I did what any DIY lover would do, and just made my own.
Honestly, when I say this is a quick & easy DIY curtain rod holder, I mean it. I bet I had this assembled, painted, and hung in less than 3 hours. So quick, guys!
With this DIY, you can use nearly any wood shelf brackets you like. And paint or stain them any color you’d like. So, you’ll always get the perfect design and style to match your room.
AND, you get to make your own custom width rod too. So, no more buying those adjustable rods. Those adjustable rods are always kind of a pain to pull a curtain over, with that bump in the middle. Right?!
OK, let’s get this DIY curtain rod brackets build started.
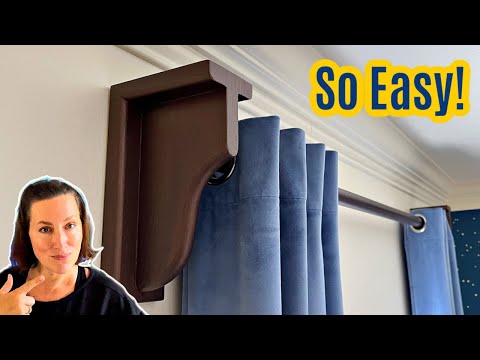
DIY Wooden Curtain Rod Holder – Video Overview
If any of the written steps are confusing, watch this video to hear me explain how to make this DIY curtain rod holder with more detail.
DIY Curtain Rod Bracket Steps
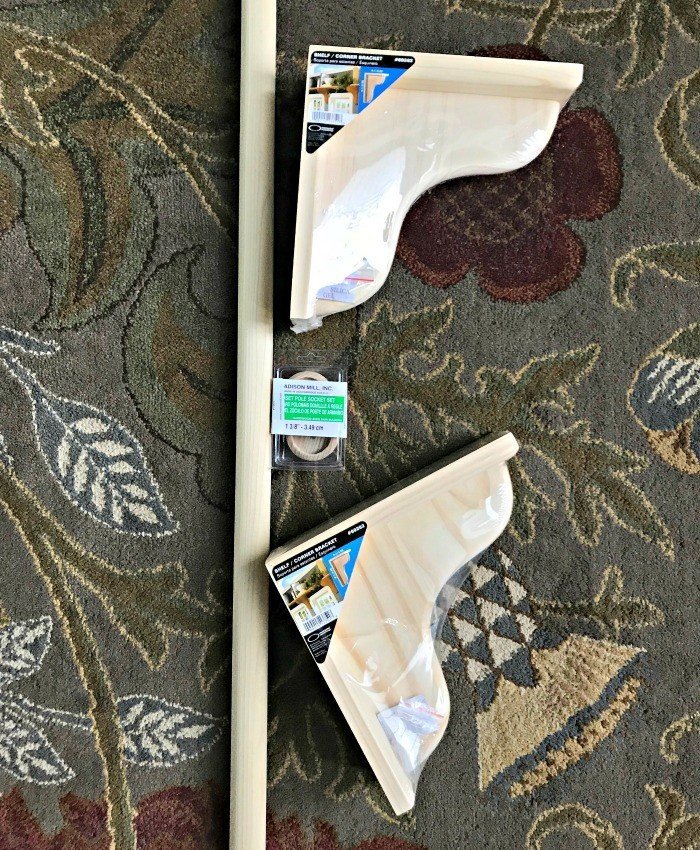
Materials Needed
Quick Note: You can pick any style of wood shelf bracket or cornice you think would look best. Just make sure you have enough room for the Closet Pole Socket Set (with room to lift the rod in and out). And you want enough depth to keep the curtain the right distance away from the wall too.
- Wood Closet Pole Socket Set
- Wood Closet Pole, in the correct length (you can get this cheaper at Home Depot or Lowe’s)
- 2 Wood Shelf Brackets or Wood Cornices, I find mine at Lowe’s
- Wood Glue & 150-grit Sandpaper
- Optional: Brad Nails and Brad Nailer
- Miter Saw
- Spirit Level
- Paint Brushes or Paint Sponges
- Whichever spray, latex or chalk paint works for you. I used Castle Path by Behr, mixed into a chalk paint with my recipe
- Polyurethane, like Minwax Polycrylic in Clear Matte
Build Note: I used glue and brad nails for assembly. BUT, if you don’t have a brad Nailer, you could glue and clamp the pieces together. Just be sure to let the glue dry before painting.
Step One – Cut To Size
Decide on the best bracket size and design for your space. Make sure it’s big enough for the rod socket, with enough room for lifting the rod in and out of place.
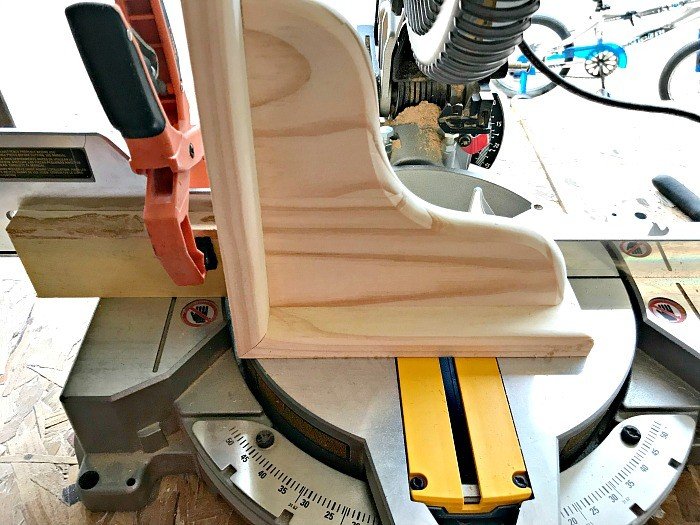
Then cut one end of your bracket off. I think this makes it look more like Curtain Brackets and less like shelf brackets. I cut about 3″ off the end of mine.
You can easily make sure you get 2 identical cuts, by clamping a scrap piece of wood to the saw.
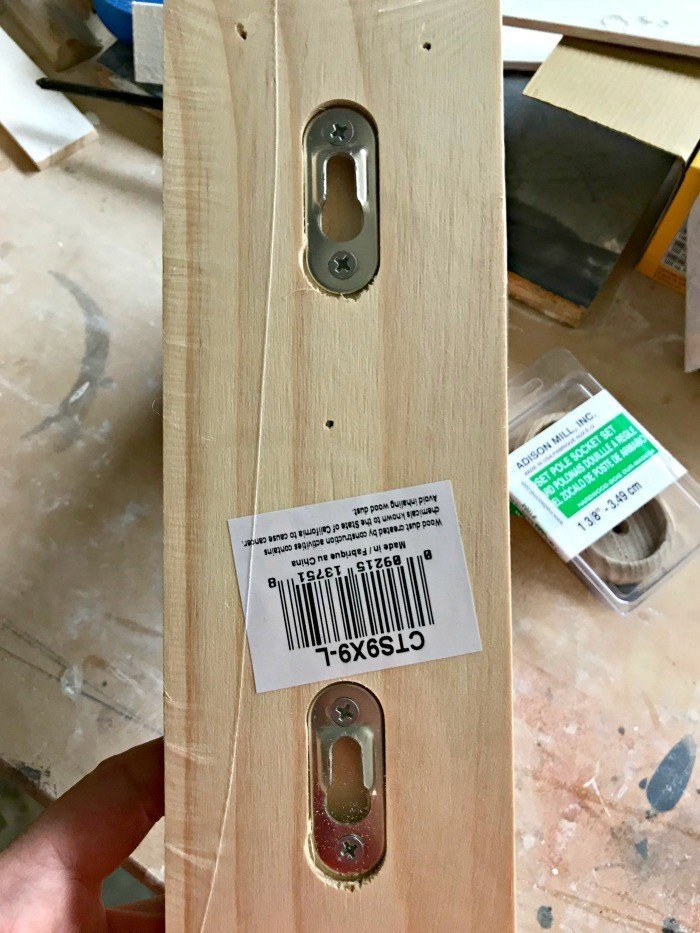
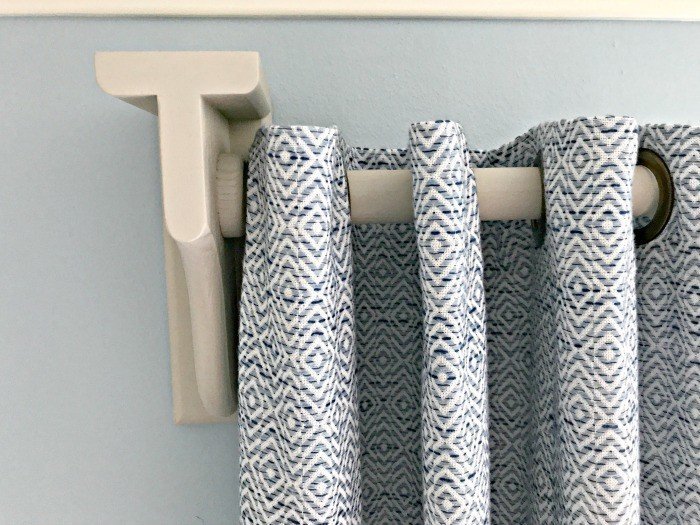
Step Two – Assemble
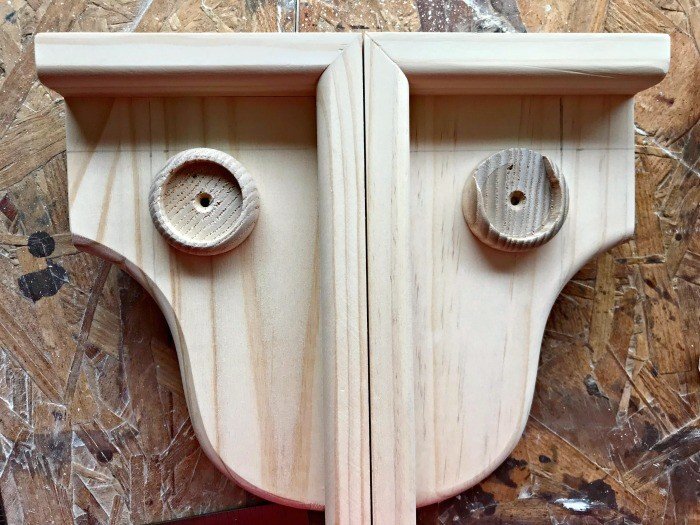
Mark the placement of the sockets on the brackets. I tested that I could lift the rod in and out of place before deciding where I wanted my socket.
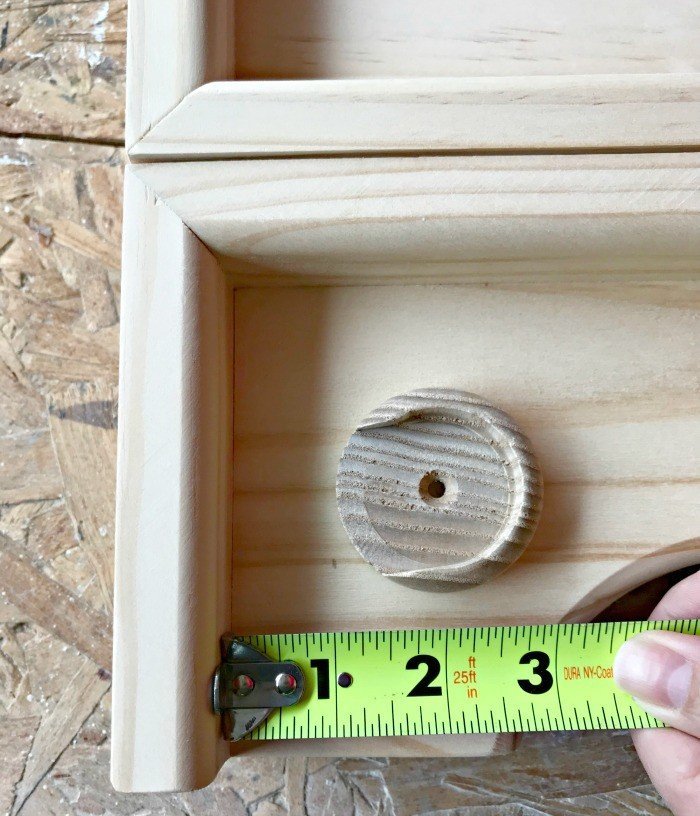
Glue and clamp and/or nail the sockets to the brackets. Wipe away any excess glue with a clean, damp cloth. Let the glue dry for a few hours.
If painting, lightly sand the brackets and rod. If staining, you will need a to completely sand with 150-grit sandpaper. Then apply Wood Conditioner, to prep for stain.
Step Three – Apply Finish And Hang
Then, apply paint or stain and a polyurethane to protect the finish. Follow the product guidelines to allow for correct dry time between coats.
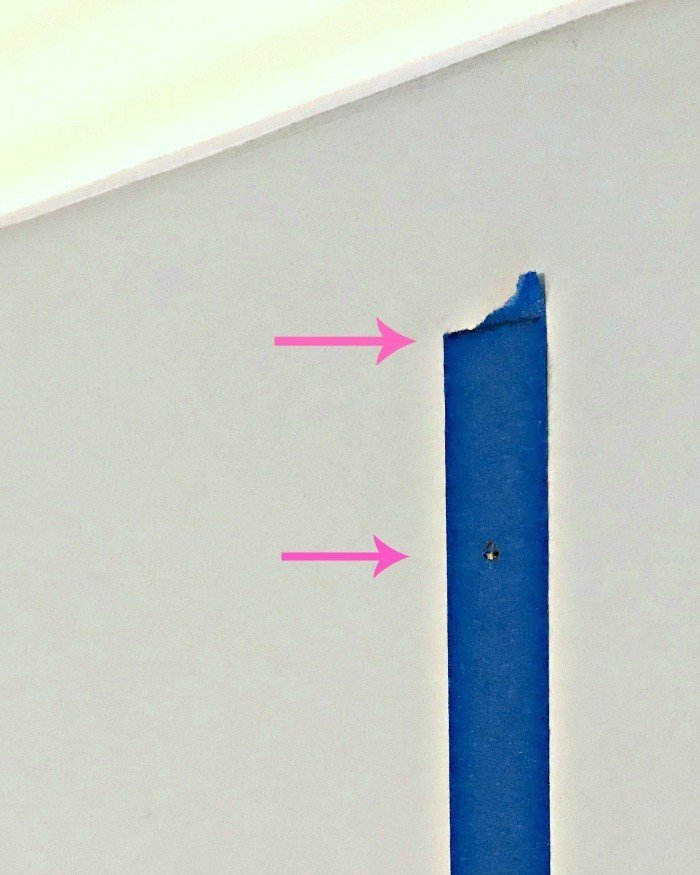
To hang the DIY wood curtain rod brackets, use painter’s tape to mark the top of the bracket and where each screw hole should be.
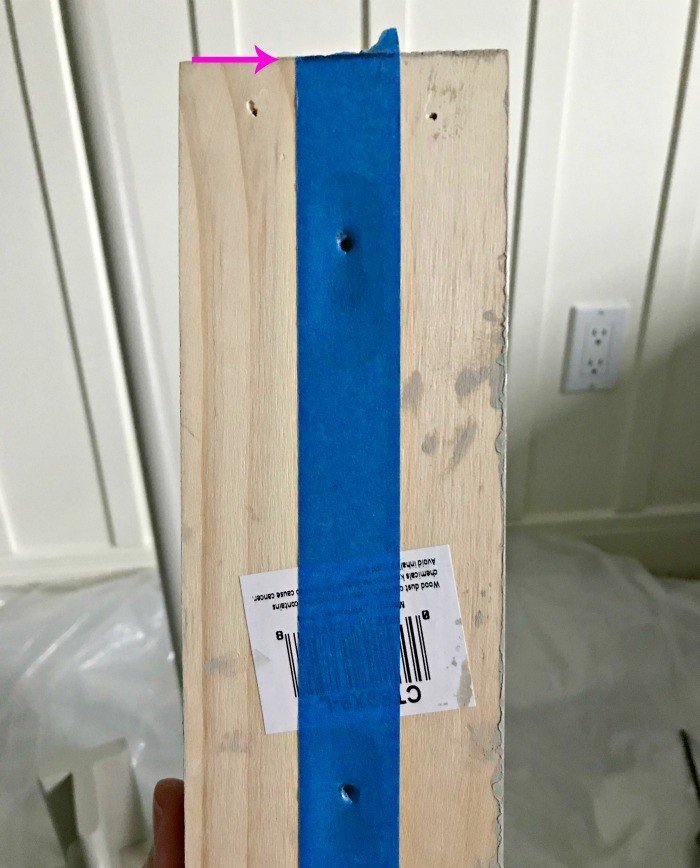
Then transfer that tape to the wall. I knew I wanted my brackets 4″ below the 2 layer crown molding in the bedroom. So, I used the line marking the top of my bracket as a guide for hanging.
I also used a level to make sure that tape was straight before putting the anchors in the wall.
Once both brackets are hung, measure and cut your rod. Touch up any paint or stain, on the ends, as needed. Hang those curtains and enjoy!
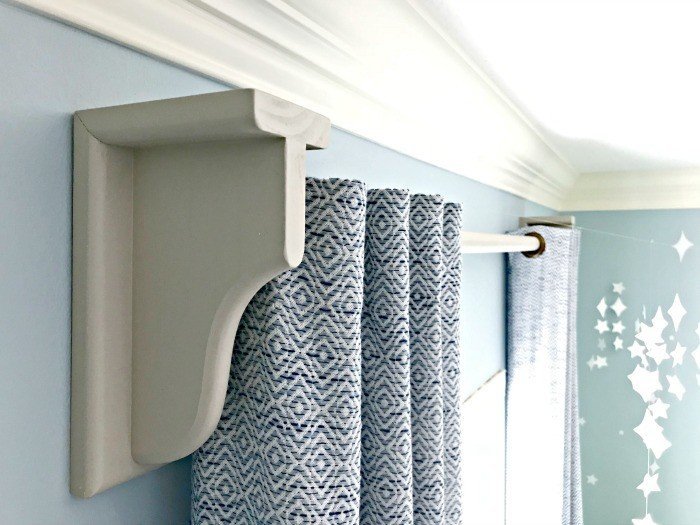
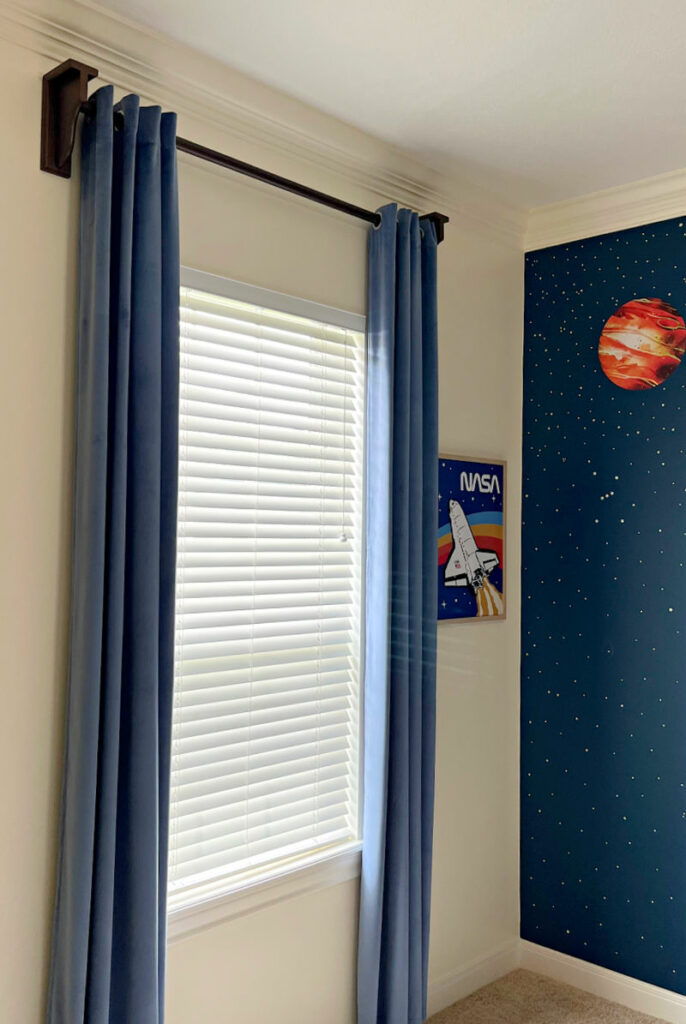
The Finished Look – 2 Ways!
Update: It’s been 6 years since I built these curtain bracket holders. Since then, the boys bedroom has gotten a new look. So, here’s both of those looks. I hope they help you design a look you’ll love!
More DIY Projects For You
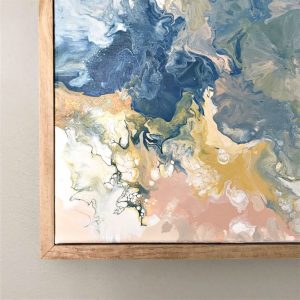
Looking for a another easy DIY Home Decor Project? Try this DIY Wood Frame for Canvases or Other Wall Art.
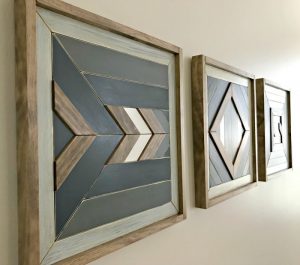
Or add a little style to your home while having fun with your Miter Saw, with this DIY Scrap Wood Wall Art.
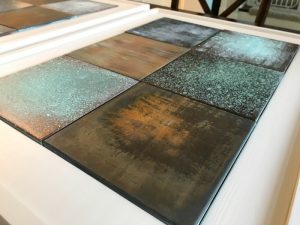
Or, have a look at how to faux paint 20 different metal patina looks.
I love this beautiful DIY Acrylic Paint Pouring Wall Art tutorial.

Looking for a way to make your Laundry Room prettier and more functional? Check out this DIY Over Washer and Dryer Laundry Table build.
Feeling inspired? Get out there and make your own Quick & Easy DIY Wooden Curtain Rod Bracket Holder. Good luck and have fun!

Stephanie Abbott has been remodeling homes, updating & building furniture, and working on DIY home maintenance and cleaning tips for over 20 years. Her remodeling has been featured in Better Homes and Gardens Magazine. And, her DIY YouTube channel has had more than 8 million views.
Most of the DIY tutorials and videos on this site focus on beginner to intermediate level DIY Projects that can be done in an affordable way without high-end, expensive tools. All of the cleaning tips on this website have been tested in her home.