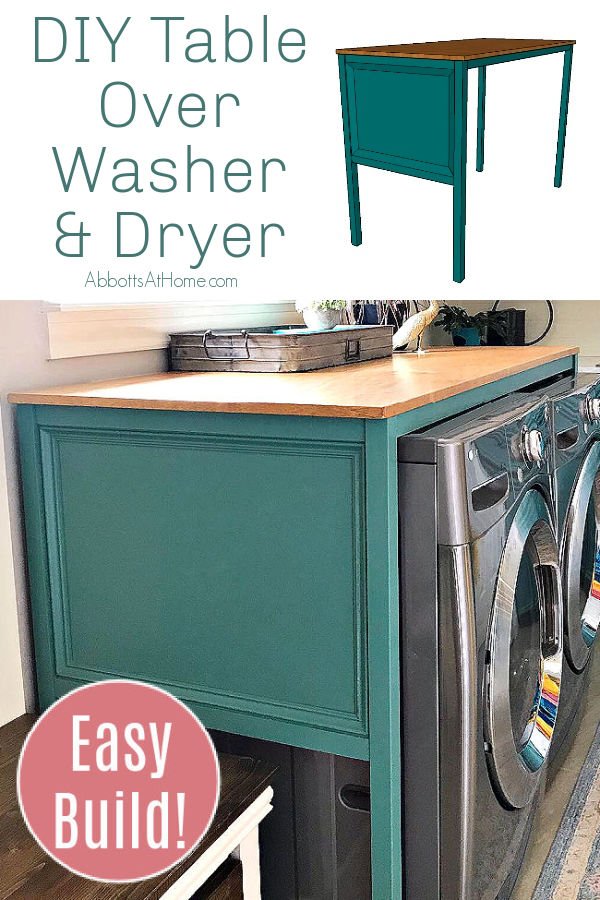
This easy DIY Laundry Table Over Washer and Dryer hides that ugly gap behind your washer and dryer, adds style, and gives you a great folding table!
DIY Laundry Table Over Washer and Dryer
I love this easy to build DIY Table that goes over your Washer and Dryer, guys!
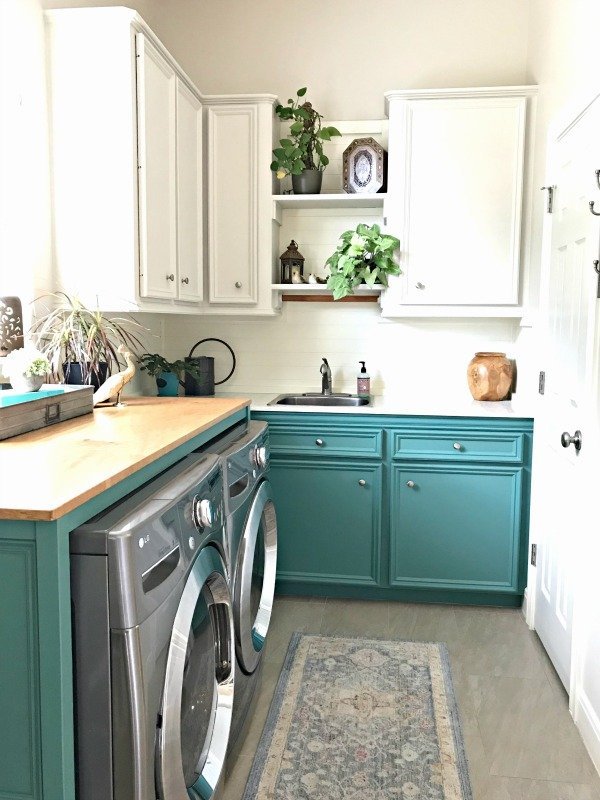
It’s probably tied for the best change I made during my Laundry Room Makeover. It’s sharing the love with converting a few of my existing cabinets into a Mudroom Bench.
Since my washer and dryer aren’t surrounded by walls, I couldn’t just put a countertop over them.
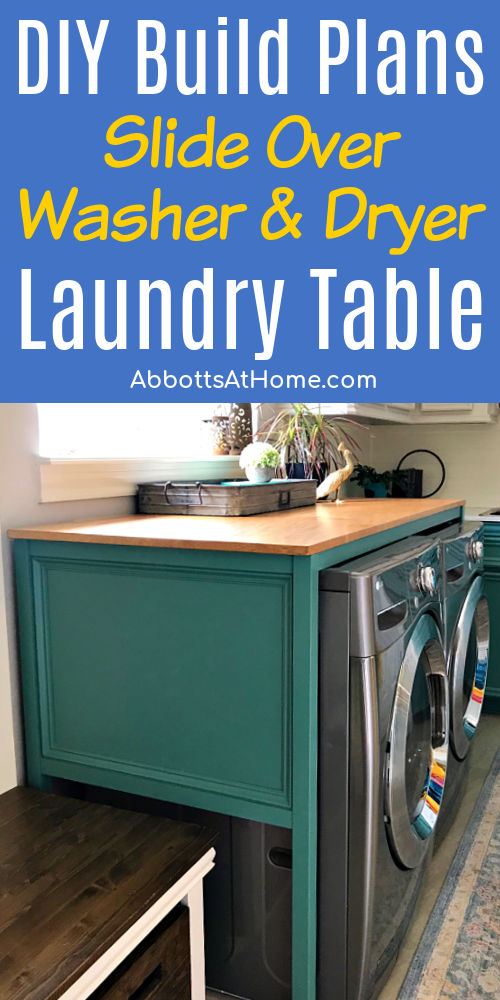
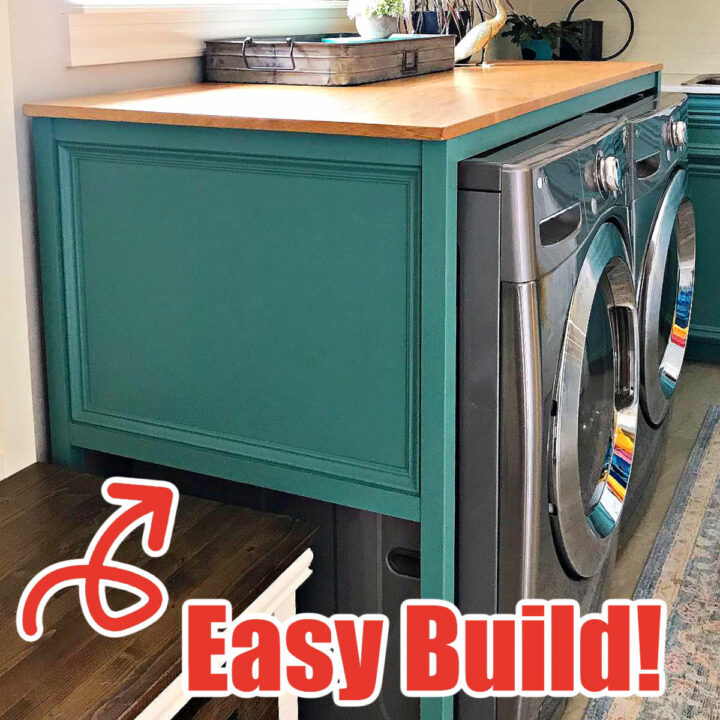
Building a table was the best solution for us. And, I’m so excited to share this easy DIY Table Over Washer and Dryer build with you all.
This is a great build for anyone new to using a Kreg Jig.
BUT, if you don’t have a Kreg, you can adjust this build to work with angle brackets or even just glue and brad nails (with the addition of more supports).
Glue and dowels would work too. But, for this tutorial, we’ll focus on the Kreg Jig steps.
Table of contents
Laundry Folding Table Build Overview Video
If any of the written build steps are confusing, watch this short video.
DIY Laundry Table Build Steps
This table is really pretty quick to cut and assemble. It’s essentially 9 pieces; 4 legs, 4 rails, and a top.
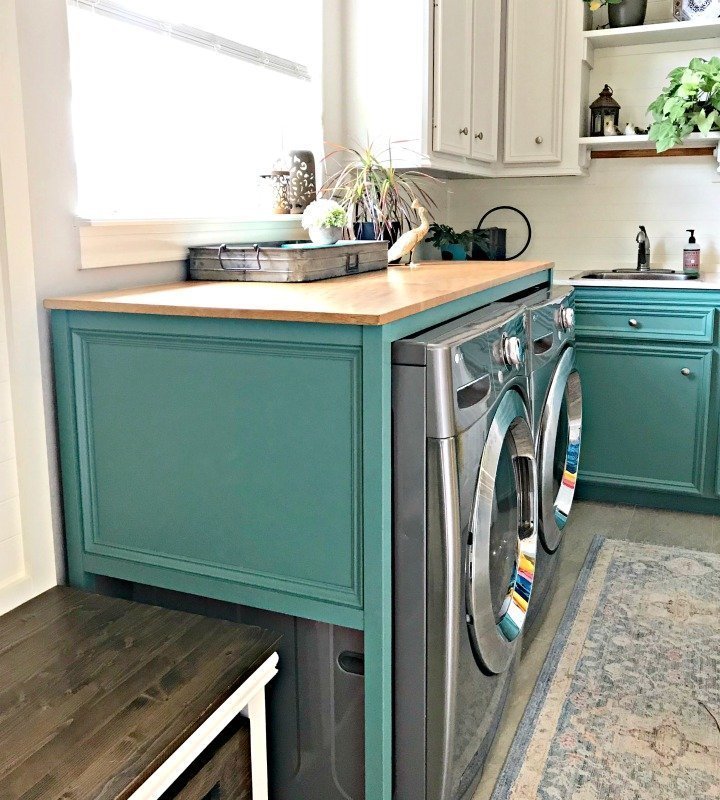
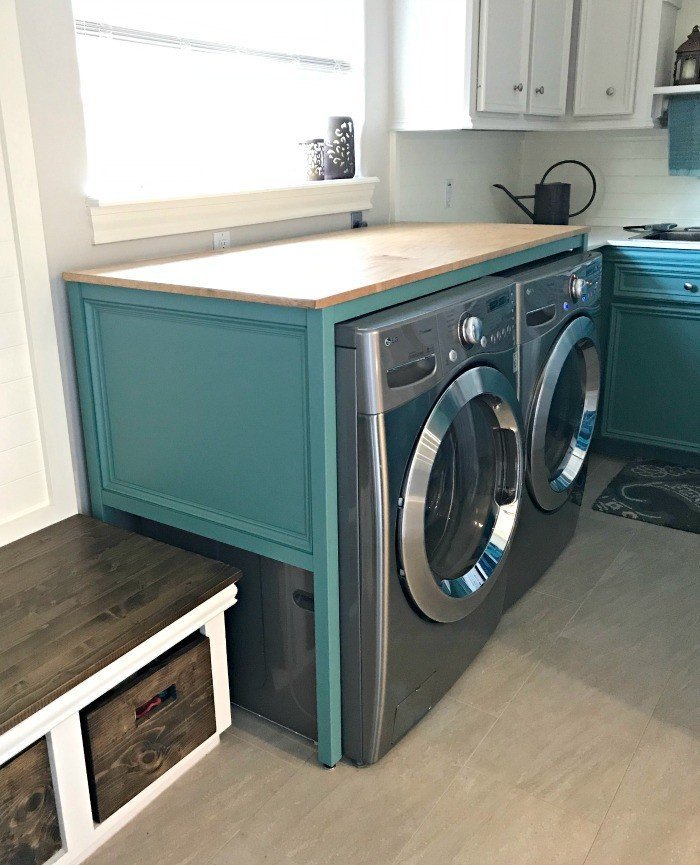
Then you have the option of adding 1 or 2 longer sides, if you want to hide more of the machines. You can see how I added the optional extra side pieces to the bench side of my table.
This table hides the huge gap behind our machines made by the dryer vent pipe. That gap drove me crazy for months after we moved in. And you know stuff would fall back there all. the. time. Ugh!
FREE Printable Plans for this table can be found at the end of the tutorial. Let’s get this easy DIY Laundry Table build started!
Materials Needed
- Saw, I used a Miter Saw for the straightest possible cuts
- Power Drill
- Kreg Jig, I use the Kreg Jig R3, and screws
- Lumber listed on the printable PDF plans
- Plywood for the top, I used Maple
- Edge Banding and Iron to apply it
- Wood Glue
- Sandpaper
- Wood Filler
RECOMMENDED: 13 Best FREE PDF Furniture Build Plans And 12 Popular Woodworking Projects
Before You Start
Make the Height Right
Washers and Dryers vary in size. So does the open space you have on the sides of those machines.
You may need to modify this build to work with your machines. Adjust the leg length to fit your washer and dryer’s height.
Also, adjust the width between the side legs based on how wide your machines are spaced. If you accidentally build your table a bit too short, add adjustable feet to the bottom of the legs to raise it a bit.
Make the Table Removable
I wanted to make sure this table was easy to remove whenever we needed to clean behind the washer and dryer, replace the washer and dryer, paint, or work on the plumbing, etc.
SO, make sure you can get this table out of the Laundry Room.
I measured the opening for the door to the garage and made sure that the top and frame would easily fit through, while assembled. This does mean that the top doesn’t completely cover our washer and dryer.
Make sure you take your Laundry Room door into account when setting your table depth.
My frame had to be modified because the dryer vent blocked the spot for the back right leg. I’ll show you how I modified the design to account for that.
The Free PDF plans will show you how to do this build without that adjustment.
Which Wood to Use
I recommend using Select Pine or Poplar for this build. Either of those would provide a nice, smooth finish for your table frame.
Personally, if I’m staining wood, I like Pine, if I’m painting, I like Poplar. BUT I am using reclaimed common or white boards in the photos.
I wanted to save the boards I used from my original DIY Laundry Table I built 5 years ago.
That table was OK, but I built it before I started using the Kreg Jig R3 so it’s not quite as sturdy as this new table.
Plus, this new DIY Table Over Washer and Dryer is so much prettier. 😉

DIY Laundry Table Build Steps
Step 1
Cut your leg and rail pieces for the frame.
Step 2
Drill 1 pocket-hole in each end of all 4 rails (see build plan). So, you’ll have 8 pocket holes total. I normally use 2 pocket holes, to keep the board from shifting while the glue dries.
But the 1×2 is too small to put 2 pocket holes on. I also drilled pocket holes on the rails to attach the plywood top.
Step 3
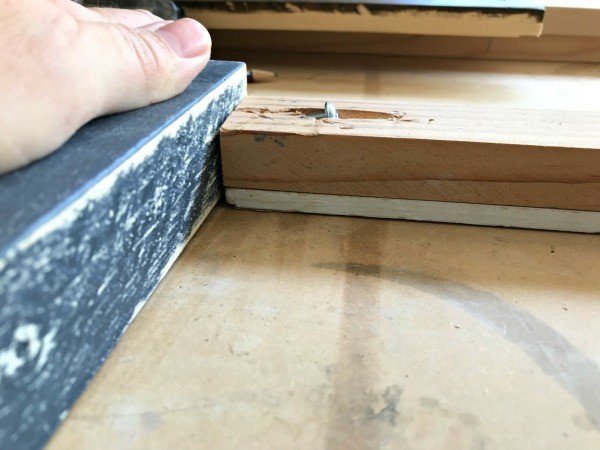
Connect 2 of the legs with one of the short rails, using the pocket hole and wood glue on each side. Be sure to line the top edge of the rail with the top of the leg.
I also like to use a 1/4″ piece of scrap to set the rail a bit back from the leg.
This is a design element and prevents any issues with the screw cracking the 2×2 leg. Now connect the other 2 legs with the other short rail. You should have the 2 short sides of the frame assembled.
Step 4
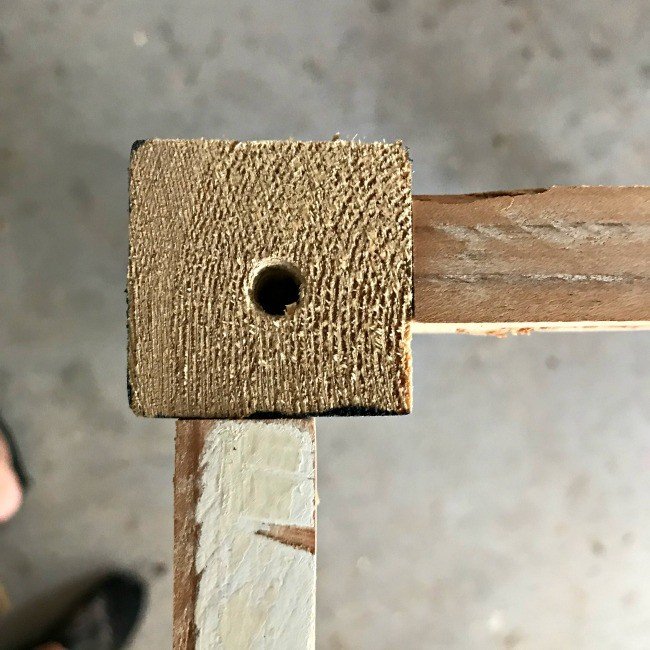
Connect both of your short sides with a long rail, using the same glue and screw method. Make sure it gets the same set back as the sides too.
You might find it’s easiest to attach the long rails while the short sides are sitting upside-down, on the top of their frames.
Step 5
Once you have all 3 sides connected, attach the final long rail with your screws and glue.
Optional Step 6
Now, you’re frame is technically done. You can move on to the plywood top OR add the extra framing to 1 or both sides. I added it to one of my sides to hide the side of the machines (and that gap!) next to my bench.
If you can’t see the sides of your machines, you can skip this step.
Add the plywood, with glue and 2 pocket holes into each leg, set back 3/4″ from the legs (1/2″ back from the front of the rails).
Add an extra rail just beneath the plywood, set back 1/4″ to match the rail above the plywood.
You can just caulk around the plywood or frame out the plywood with decorative moulding, like the cap moulding I used.
Add The Plywood Top
Step 1
Cut your plywood top to size for your DIY Laundry Table that goes over your Washer and Dryer.
I always use a cutting guide with the circular saw when cutting plywood. It’s the only way I can make a straight cut, guys! 🙂
Step 2
Now give everything a good sanding. When painting, I sand with 120 or 150-grit sandpaper to smooth the boards and round off sharp edges, a bit.
With the Plywood top I stained, I sanded up to 220-grit. Wipe off all the dust with a tack cloth or very slightly day rag.
Step 3
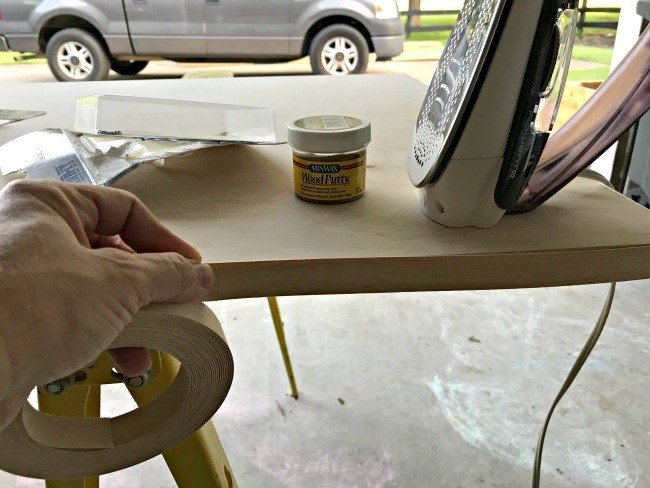
Attach the edge-banding to the sides of your plywood. It’s a quick and easy job with an iron. If you want to protect your iron, just wrap the bottom with aluminum foil.
Trim away excess banding with an edge trimmer, or carefully, with a box knife. Sand the corners smooth for a seamless look.
Step 4
Stain or paint table top before attaching. And paint or stain the entire frame. It’ll just be easier to do this separately. 🙂
Once that’s finished. Attach the top with glue and screws. Be sure to center it before attaching.
I always finish both sides of everything to protect the wood from possible drying, moisture or humidity.
Plus, it just looks nicer, if someone happens to see the bottom. You don’t want them to think you’re an amateur, right. 😉
Now that your DIY Over Washer and Dryer Laundry Table is built, you’re ready to finish it off.

Finishing Steps
On the frame, I used Drydex Wood filler to fill in any small gaps, cracks, or imperfections. I went with Magnolia Homes by Kilz color Spontaneous in Eggshell on the frame.
Adding 1 coat of this Matte Polycrylic really helped the color pop.
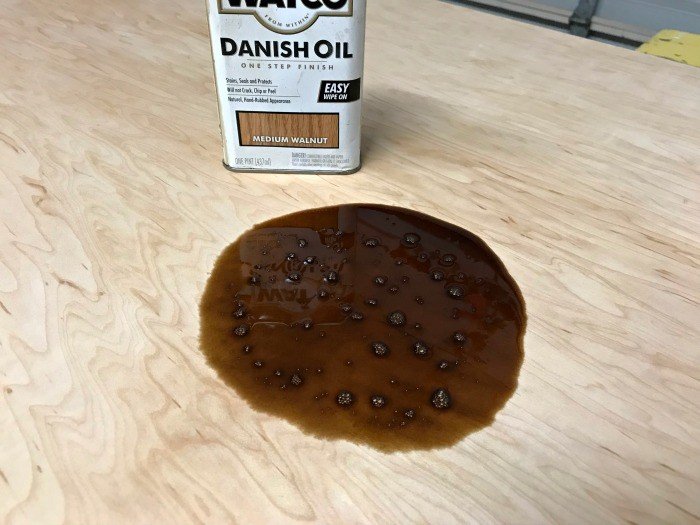
For the table top, I used 2 coats of Watco’s Danish Oil Finish in Medium Walnut. I love this product, just pour it on and spread around for a nice finish.
I did follow it up with 2 coats of the Matte Polycrylic too.
The Danish Oil Finish is nice, but adding the polycrylic gave the finish a depth that feels more professional and high-end.
Printable DIY Laundry Table Build Plans!
Hello, DIY friends! You can download the FREE DIY Laundry Table plans from my Gumroad store by clicking the button below.
These plans are currently free to email subscribers and for personal use only. They cannot be shared or sold without my permission. Please let me know if you have any questions and enjoy your build! 🙂
More DIY Projects You Might Like
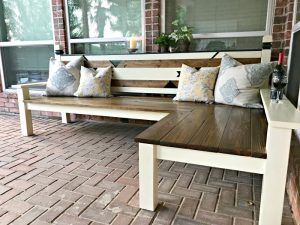
Looking for a big bench for your backyard? Check out my L-Shaped Backyard Bench tutorial.
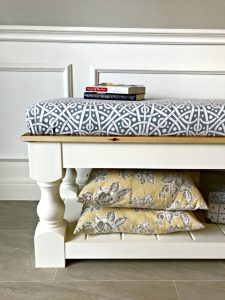
Or this beautiful DIY Chunky Leg Farmhouse Bench for inside your house.
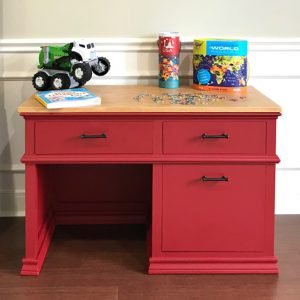
If you need a great little desk for your elementary age kids. Check out this DIY Childrens Desk with Storage Drawers.
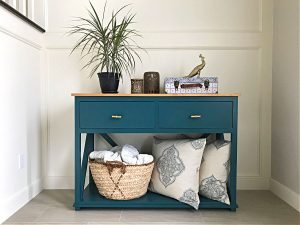
Check out this beautiful DIY Console Table with Drawers too!
And, I love this sweet DIY Kids Play Kitchen.
Feeling inspired? Get out there and make your own DIY Table Over Washer and Dryer.
Have fun and let me know if you have questions. Don’t forget to sign up for the Abbotts At Home email newsletter to get DIY, Remodeling, and Crafty ideas in your inbox.
DIY Table Over Washer and Dryer Build Plan
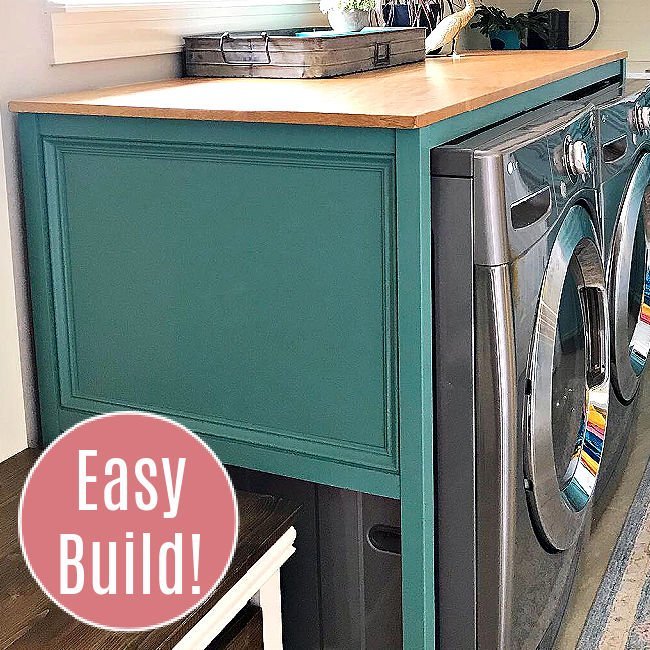
Hide those ugly machines with this DIY Table Over Washer and Dryer or DIY Folding Table. Full tutorial and printable build plans for a beautiful table to slide over your washer and dryer.
Tools
- Miter Saw
- Power Drill
- Kreg Jig and Screws
- Sander & Sandpaper
- Circular Saw
Instructions
Step 1
- Cut your leg and rail pieces for the frame.
Step 2
- Drill 1 pocket-hole in each end of all 4 rails (see build plan). So, you’ll have 8 pocket holes total. I normally use 2 pocket holes, to keep the board from shifting while the glue dries. But the 1×2 is too small to put 2 pocket holes on. I also drilled pocket holes on the rails to attach the plywood top.
Step 3
- Connect 2 of the legs with one of the short rails, using the pocket hole and wood glue on each side. Be sure to line the top edge of the rail with the top of the leg. I also like to use a 1/4″ piece of scrap to set the rail a bit back from the leg. This is a design element and prevents any issues with the screw cracking the 2×2 leg. Now connect the other 2 legs with the other short rail. You should have the 2 short sides of the frame assembled.
Step 4
- Connect both of your short sides with a long rail, using the same glue and screw method. Make sure it gets the same set back as the sides too. You might find it’s easiest to attach the long rails while the short sides are sitting upside-down, on the top of their frames.
Step 5
- Once you have all 3 sides connected, attach the final long rail with your screws and glue.
Optional Step 6
- Now, you’re frame is technically done. You can move on to the plywood top OR add the extra framing to 1 or both sides. I added it to one of my sides to hide the side of the machines (and that gap!) next to my bench. If you can’t see the sides of your machines, you can skip this step.
- Add the plywood, with glue and 2 pocket holes into each leg, set back 3/4″ from the legs (1/2″ back from the front of the rails). Add an extra rail just beneath the plywood, set back 1/4″ to match the rail above the plywood. You can just caulk around the plywood or frame out the plywood with decorative moulding, like the cap moulding I used.
Step 7
- Cut your plywood top to size for your DIY Table Over Washer and Dryer. I always use a cutting guide with the circular saw when cutting plywood. It’s the only way I can make a straight cut, guys! 🙂
Step 8
- Now give everything a good sanding. When painting, I sand with 120 or 150-grit sandpaper to smooth the boards and round off sharp edges, a bit. With the Plywood top I stained, I sanded up to 220-grit. Wipe off all the dust with a tack cloth or very slightly day rag.
Step 9
- Attach the edge-banding to the sides of your plywood. It’s a quick and easy job with an iron. If you want to protect your iron, just wrap the bottom with aluminum foil. Trim away excess banding with an edge trimmer, or carefully, with a box knife. Sand the corners smooth for a seamless look.
Step 10
- Stain or paint table top before attaching. And paint or stain the entire frame. It’ll just be easier to do this separately. 🙂 Once that’s finished. Attach the top with glue and screws. Be sure to center it before attaching. I always finish both sides of everything to protect the wood from possible drying, moisture or humidity. Plus, it just looks nicer, if someone happens to see the bottom. You don’t want them to think you’re an amateur, right.
Notes
This easy DIY Table Over Washer and Dryer hides that ugly gap behind your washer and dryer, adds style, and gives you a great folding table!
Read these Build Notes, before you start!
Washers and Dryers vary in size. So does the open space you have on the sides of those machines. You may need to modify this build to work with your machines. Adjust the leg length to fit your washer and dryer’s height. Also, adjust the width between the side legs based on how wide your machines are spaced. If you accidentally build your table a bit too short, add adjustable feet to the bottom of the legs to raise it a bit.
I wanted to make sure this table was easy to remove whenever we needed to clean behind the washer and dryer, replace the washer and dryer, paint, or work on the plumbing, etc. SO, make sure you can get this table out of the Laundry Room.
I measured the opening for the door to the garage and made sure that the top and frame would easily fit through, while assembled. This does mean that the top doesn’t completely cover our washer and dryer. Make sure you take your Laundry Room door into account when setting your table depth.
My frame had to be modified because the dryer vent blocked the spot for the back right leg. I’ll show you how I modified the design to account for that. The Free PDF plans will show you how to do this build without that adjustment.
I recommend using Select Pine or Poplar for this build. Either of those would provide a nice, smooth finish for your table frame. Personally, if I’m staining wood, I like Pine, if I’m painting, I like Poplar. BUT I am using reclaimed common or white boards in the photos.

Stephanie Abbott has been remodeling homes, updating & building furniture, and working on DIY home maintenance and cleaning tips for over 20 years. Her remodeling has been featured in Better Homes and Gardens Magazine. And, her DIY YouTube channel has had more than 8 million views.
Most of the DIY tutorials and videos on this site focus on beginner to intermediate level DIY Projects that can be done in an affordable way without high-end, expensive tools. All of the cleaning tips on this website have been tested in her home.


