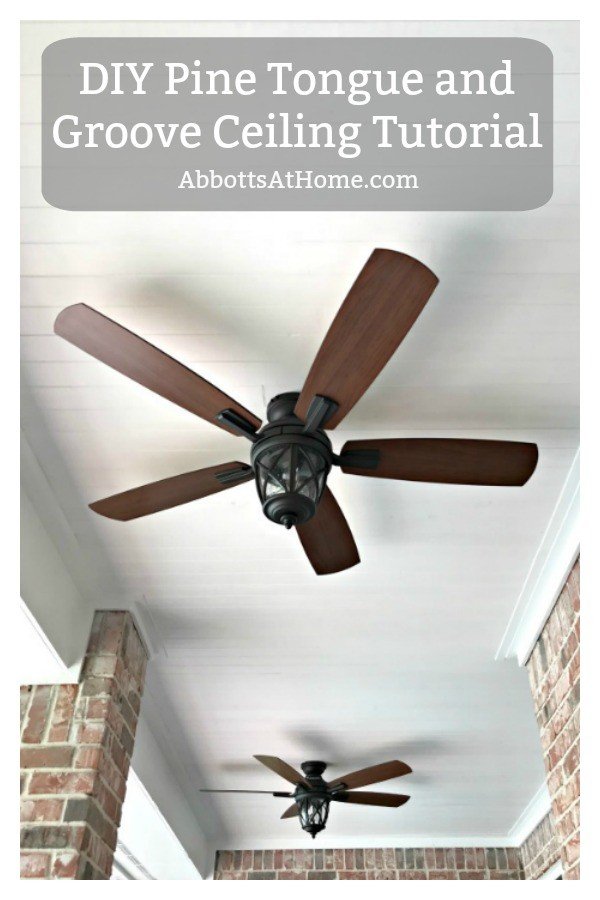
I LOVE this cheap and easy DIY tongue and groove porch ceiling makeover! Get that beautiful porch you’ve always wanted, in just a weekend.
Easy DIY Tongue and Groove Porch Ceiling Makeover
I’m so excited to share this this budget-friendly tongue and groove outdoor ceiling makeover with you today!
For as long as I can remember I’ve adored patios with bead board or tongue and grooves ceilings. They are incredibly charming. And, they add huge curb appeal!
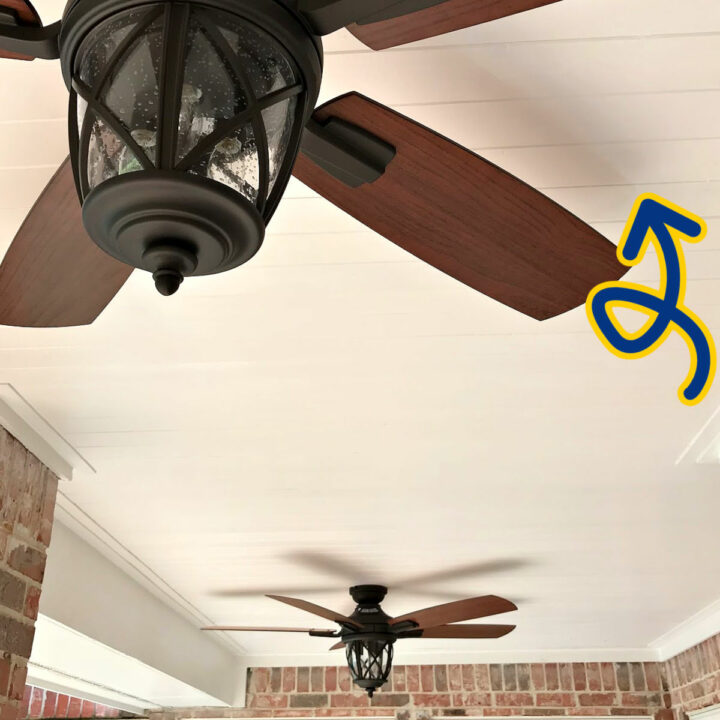
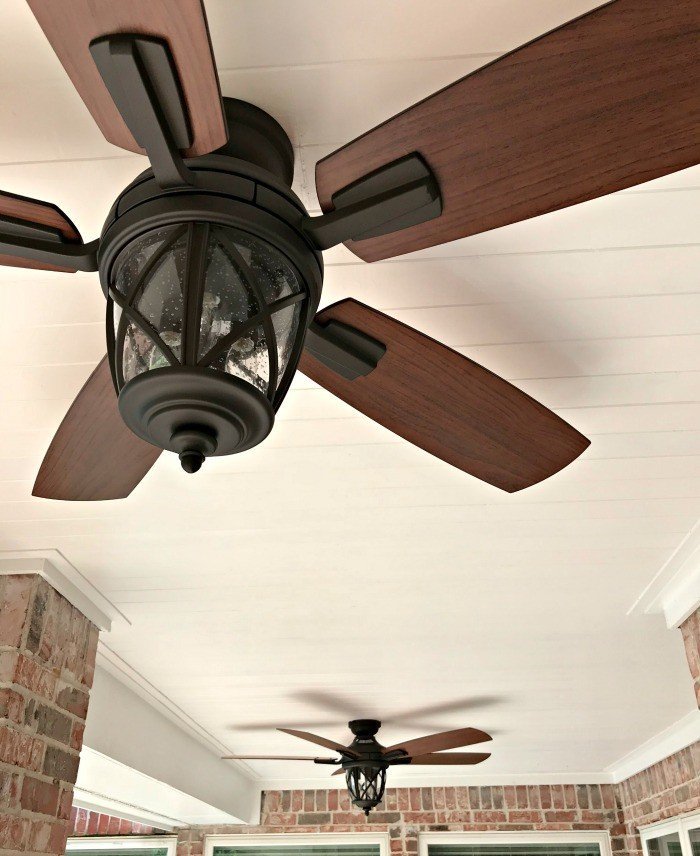
They look incredible whether they are stained or painted. I went with a white tongue and groove porch ceiling for my house.
Adding wainscoting, molding, crown, and v-groove board is one of my favorite, big impact ways to add value to my home. And, since I DIY these projects, I can do them without spending much money.
Now, let’s get this DIY Wood Board Outdoor Ceiling Tutorial!
What Kind of Wood Planks Do You Use for a Porch Ceiling?
I like classic bead board planks too, but for this house, the tongue and groove design fits better with the existing molding and style.
You can usually find this tongue in groove in a few different styles at Home Depot, Lowes, or your local lumber yard.
Pick the style the works best for your home. This tutorial will work for almost any style tongue and groove planks that are a bit more than 1/4″ thick and about 4″ wide.
I would install 3/4″ Tongue and Groove Pine or Cedar Planks a little differently. They are heavier and can be nailed differently.
So, only use the steps in this DIY Outdoor Wood Ceiling Planks Makeover with this thinner version of tongue and groove planks. And, good news, these are easier to install and a lot more affordable.
How to Install Pine Tongue and Groove Panels on a Porch Ceiling?
Materials Needed
- Brad Nailer with Brad Nails
- Miter Saw or Circular Saw and Jigsaw – to cut around light fixtures
- Power Sander -to smooth rough some spots and edges
- Pine Tongue and Groove Planks (sold in 6 packs – about 1/4″ x 4″ x 8′) – feel free to use the same size planks sold by different brands at Home Depot and other Lumber Stores too
- Latex Primer and Exterior Quality Latex Paint with brushes
- Dropcloth, Paint Brushes, Ladders, and Sawhorses
- 1 1/2″ Lattice Boards to Frame the Ceiling
- Wood Filler and a good exterior caulk with silicone

Design Notes
You can run your boards along the shortest or longest walls. It’s up to you. Running along the longest wall will usually require less cuts. But, you will have seams whenever a new board starts.
For this porch ceiling, I ran mine along the short wall, since it is less than 8′ long.
That meant that each row of plank was just 1 board. I knew I would have more scrap this way, but the install would be quicker (at just 1 board/row) and I like the clean look of no seams.
DIY Install Notes
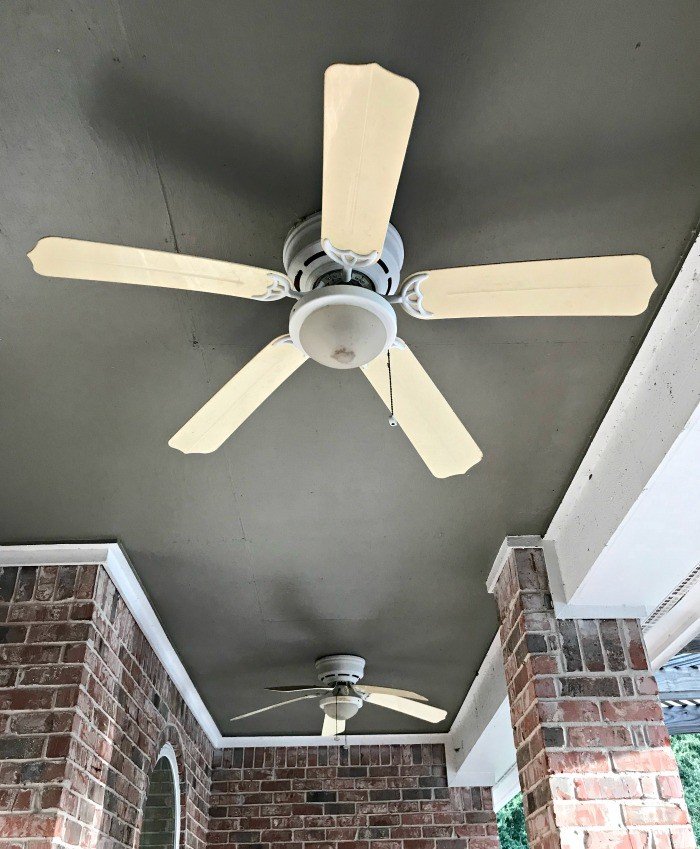
This DIY v-groove wood ceiling plank tutorial works best with a smooth plywood or similar board base. If you have a warped, or rotting old ceiling, it should be removed first.
If you have exposed joists, I recommend using the thicker 3/4″ tongue and groove. They will provide more insulation and are less likely to warp without a base.
DIY Tongue & Groove Plank Install Steps
Step 1
Start by removing any molding that might need to be removed. I didn’t need to do this for my ceiling.
But, if you have molding that won’t look right after installing this plank AND the border lattice around the edges, go ahead and remove it.
You want to keep the original plywood up, if you have it. See Build Note above about the plywood base.
Step 2
Also, remove anything like light fixtures or outlet covers that are on the ceiling. Be sure to shut off the power supply first and follow all standard electrical safety precautions.
Step 3
Now, clean off any dirt, dust, bugs, or debris that could get in the way or mess up your paint.
I used a little Dawn dish soap in warm water with a scrub brush and old rag to remove stubborn wasp nests. Put a drop cloth down to protect the ground from paint.
Step 4
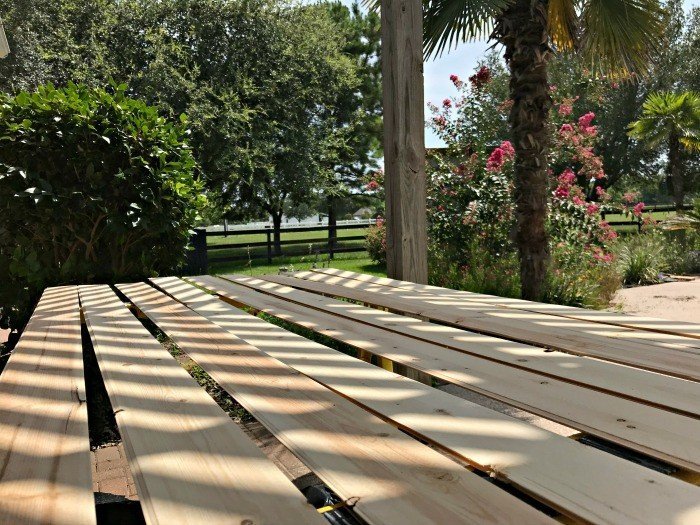
Over your dropcloth, prepare your boards by priming each side and the ends with a good primer, like the Zinsser 123 Latex I used. Since I was running my rows along the short wall, I measured and cut my boards before priming.
Priming each side is important. This will block water and humidity. If one side or the ends of the board aren’t treated, the board might swell and warp.
DIY Tip: Prime the ceiling (rough) side of the board first. That’ll prevent the side that will show from accidentally being messed up when you flip the boards when painting.
Step 5
Once the boards are fully primed and dry, you can start putting them up. You’ll probably need a partner.
My husband and I each had a ladder at each end of the board. The groove of the first board should be along the edge of the ceiling.
The tongue will face out, towards the next row. Also, leave a 1/4″ gap around the edge of the ceiling to allow for any expansion that might happen in extreme weather. This gap will be covered by the lattice trim board later.
Step 6
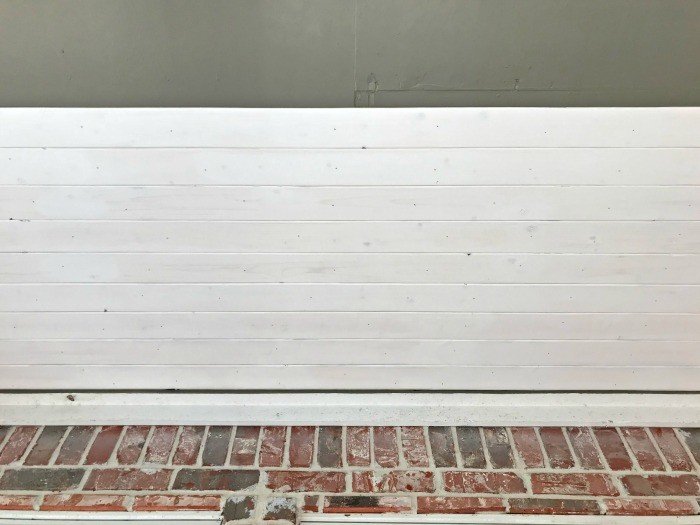
Use a brad nailer to attach the plank to the plywood. I nailed every 12″ to 18″ along the plank. Since these boards are so light, nailing into the plywood will be more than enough to hold these up.
Make sure each end has a nail about 1″ in from the end. This will help keep the end from warping.
Step 7
Each rows groove should fit snuggly with the tongue of the last board. Make sure you hold the boards tightly together while nailing. Use a jigsaw to cut out for any light fixture or outlets.
Step 8
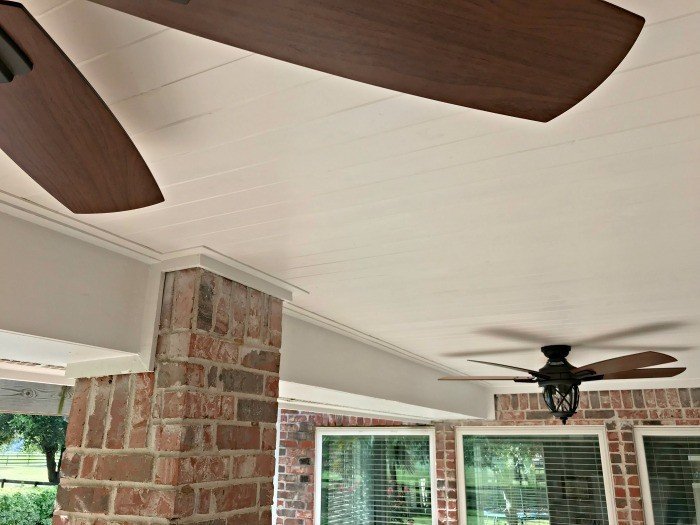
Once the ceiling is completely planked, frame the ceiling with the 1 1/2″ lattice boards. I used pre-primed boards, just to make life easier. 🙂 I nailed these into the planks, every 3 planks should do the trick.
Step 9
Then, fill all nail holes and knots in the wood with a wood filler, like my favorite. And run a bead of caulk along each groove to get a more finished and beautiful look.
Make sure you wipe away all excess caulk with a damp rag before it dries. The wood filler can be sanded smooth, but caulk can’t.
If you’re new to DIY wood trim check out this post for tips on where to use caulk or wood filler on wood trim.

Step 10
Once you’ve finished caulking and filling the planks. You can paint with 1 or 2 coats of your favorite paint. I used Sherwin Williams’ Snowfall.
Step 11
Install the light fixtures again and you are finished. Time to grab your favorite drink and admire that gorgeous new wood plank porch ceiling, guys!
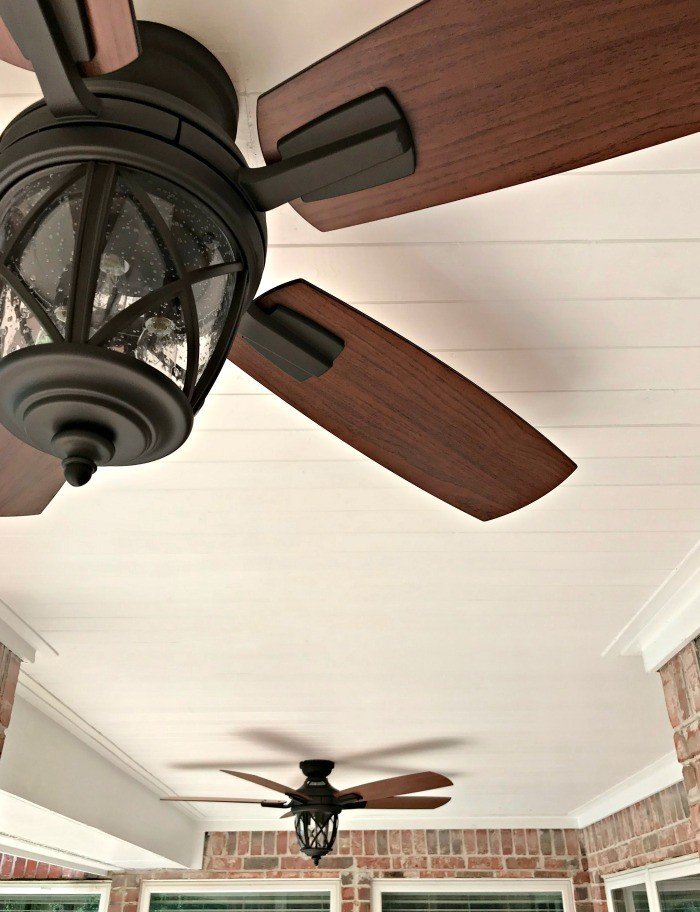
Add a beautiful, authentic-looking gas light flame effect with this post – Do Light Bulbs That Flicker Like Gas Flame Look Real.
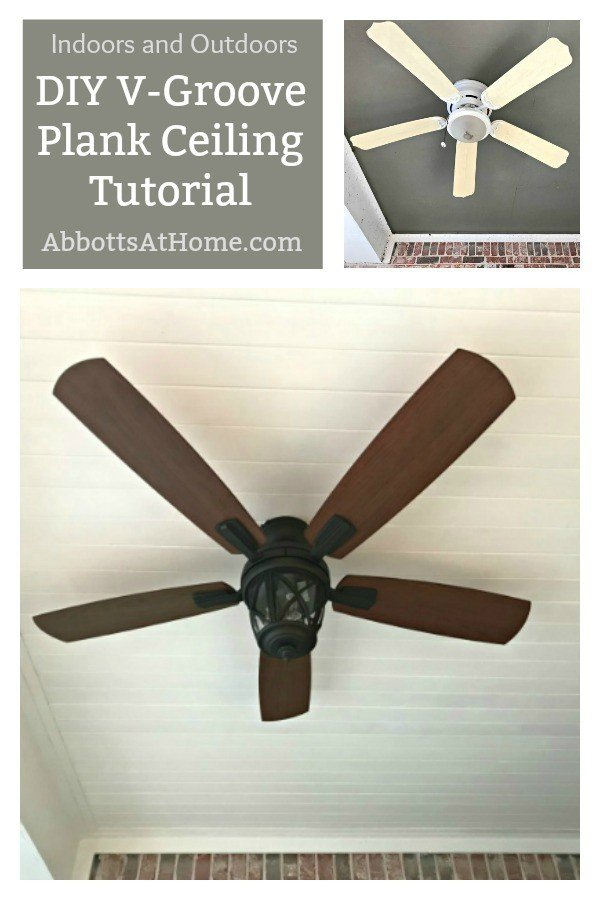
RECOMMENDED: 36 Great DIY Ceiling Makeover Ideas: Designs From Easy To Just WOW!
DIY Wood Plank Porch Ceiling
Materials
- Pine or Cedar Tongue and Groove Wood Planks
- Brad Nailer
- Caulk
- Primer
- Paint
Instructions
How to Install A Wood Plank Porch Ceiling
Design Note: You can run your boards along the shortest or longest walls. It’s up to you. Running along the longest wall will usually require less cuts. But, you will have seams whenever a new board starts.
For this DIY Wood Plank Porch Ceiling, I ran mine along the short wall, since they were less than 8′ long. That meant that each row of plank was just 1 board. I knew I would have more scrap this way, but the install would be quicker (at just 1 board/row) and I like the clean look of no seams.
Build Note: This DIY Wood Plank Porch Ceiling Tutorial works best with a smooth plywood or similar board base. If you have a warped, or rotting old ceiling, it should be removed first. If you have exposed joists, I recommend using the thicker 3/4″ tongue and groove. They will provide more insulation and are less likely to warp without a base.
Step 1
- Start by removing any molding that might need to be removed. I didn’t need to do this for my ceiling. But, if you have molding that won’t look right after installing this plank AND the border lattice around the edges, go ahead and remove it. You want to keep the original plywood up, if you have it. See Build Note above about the plywood base.
Step 2
- Also, remove anything like light fixtures or outlet covers that are on the ceiling. Be sure to shut off the power supply first and follow all standard electrical safety precautions.
Step 3
- Now, clean off any dirt, dust, bugs, or debris that could get in the way or mess up your paint. I used a little Dawn dish soap in warm water with a scrub brush and old rag to remove stubborn wasp nests. Put a dropcloth down to protect the ground from paint.
Step 4
- Over your dropcloth, prepare your boards by priming each side and the ends with a good primer, like the Zinsser 123 Latex I used. Since I was running my rows along the short wall, I measured and cut my boards before priming.
- Priming each side is important. This will block water and humidity. If one side or the ends of the board aren’t treated, the board might swell and warp.
- DIY Tip: Prime the ceiling (rough) side of the board first. That’ll prevent the side that will show from accidentally being messed up when you flip the boards when painting.
Step 5
- Once the boards are fully primed and dry, you can start putting them up. You’ll probably need a partner. My husband and I each had a ladder at each end of the board. The groove of the first board should be along the edge of the ceiling.
- The tongue will face out, towards the next row. Also, leave a 1/4″ gap around the edge of the ceiling to allow for any expansion that might happen in extreme weather. This gap will be covered by the lattice trim board later.
Step 6
- Use a brad nailer to attach the plank to the plywood. I nailed every 12″ to 18″ along the plank. Since these boards are so light, nailing into the plywood will be more than enough to hold these up. Make sure each end has a nail about 1″ in from the end. This will help keep the end from warping.
Step 7
- Each rows groove should fit snuggly with the tongue of the last board. Make sure you hold the boards tightly together while nailing. Use a jigsaw to cut out for any light fixture or outlets.
Step 8
- Once the ceiling is completely planked, frame the ceiling with the 1 1/2″ lattice boards. I used pre-primed boards, just to make life easier. 🙂 I nailed these into the planks, every 3 planks should do the trick.
Step 9
- Then, fill all nail holes and knots in the wood with a wood filler, like my favorite. And run a bead of caulk along each groove to get a more finished and beautiful look.
- Make sure you wipe away all excess caulk with a damp rag before it dries. The wood filler can be sanded smooth, but caulk can’t. If you’re new to DIY wood trim check out this post for tips on where to use caulk or wood filler on wood trim.
Step 10
- Once you’ve finished caulking and filling the planks. You can paint with 1 or 2 coats of your favorite paint. I used Sherwin Williams’ Snowfall.
Step 11
- Install the light fixtures again and you are finished. Time to grab your favorite drink and admire that gorgeous new DIY wood plank porch ceiling, guys!
Notes
What Kind of Wood Planks Do You Use for a Porch Ceiling?
I like classic bead board planks too, but for this house, the v-groove design fits better with the existing molding and style. You can usually find this tongue in groove in a few different styles at Home Depot, Lowes, or your local lumber yard.
Pick the style the works best for your home. This tutorial will work for almost any style tongue and groove planks that are a bit more than 1/4″ thick and about 4″ wide.
I would install 3/4″ Tongue and Groove Pine or Cedar Planks a little differently. They are heavier and can be nailed differently. So, just use this DIY Wood Plank Porch Ceiling Tutorial for this thinner version of tongue and groove planks. And, good new, these are easier to install and a lot more affordable.
More DIY Finish Carpentry and Molding on this Blog
For more DIY wainscoting and finish carpentry inspiration, check out my DIY Simple Coffered Ceiling Makeover or the DIY Plywood Plank Ceiling I used in my Master Bathroom Remodel.
You can also see new trim in our 2 Story Foyer Makeover, a beautiful Board and Batten Wall and the Tray Ceiling Paneling and Molding Makeover in our Master Bedroom on this blog.
And, you can see how I used full 4×8 sheets of v-groove in my Modern Farmhouse Laundry Room reveal and above my DIY Mudroom Bench.
Check out the 14 Best Ways to Renovate A Living Room on a Budget!

See all of the pictures for the Before & After DIY Home Living Room Makeover too!

This DIY Before and After Small Powder Room Makeover is a MUST SEE change.

You might also like this DIY for Board and Batten Walls. This wall is just beautiful and would fit with so many home styles.
See my full Laundry Room Makeover for more home inspiration and DIY tutorials.
Feeling inspired? Get out there and follow this Cheap DIY Tongue and Groove Porch Ceiling Makeover. Have fun and let me know if you have questions.
Don’t forget to sign up for the Abbotts At Home email newsletter to get DIY, Remodeling, and Crafty ideas in your inbox.

Stephanie Abbott has been remodeling homes, updating & building furniture, and working on DIY home maintenance and cleaning tips for over 20 years. Her remodeling has been featured in Better Homes and Gardens Magazine. And, her DIY YouTube channel has had more than 8 million views.
Most of the DIY tutorials and videos on this site focus on beginner to intermediate level DIY Projects that can be done in an affordable way without high-end, expensive tools. All of the cleaning tips on this website have been tested in her home.

