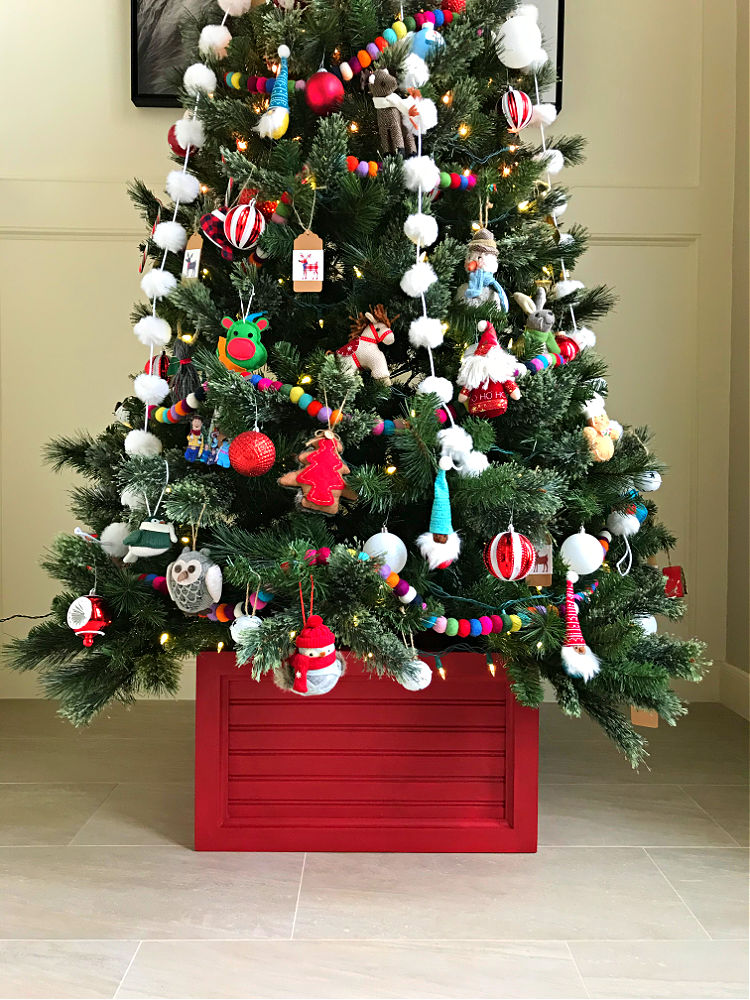
This DIY Christmas Tree Box Stand is beautiful under any tree. AND, you can store ornaments in it after Christmas! With Free PDF build plans.
DIY Christmas Tree Box Stand Plans
Today, I’ve got a quick build for you that pulls double-duty. Last week, I decided it was time to build the Christmas Tree Stand I’ve wanted for years.
So, I spent a couple days just trying to decide how to build it and make it collapsible.
See, I hate storing big things that only get used once a year. But, then I finally realized, it doesn’t have to sit empty the rest of the year!
I happy danced all around the Living Room when I realized I could use that same Christmas Tree Box to store all of my Christmas ornaments and decorations once the tree came down. Yay!
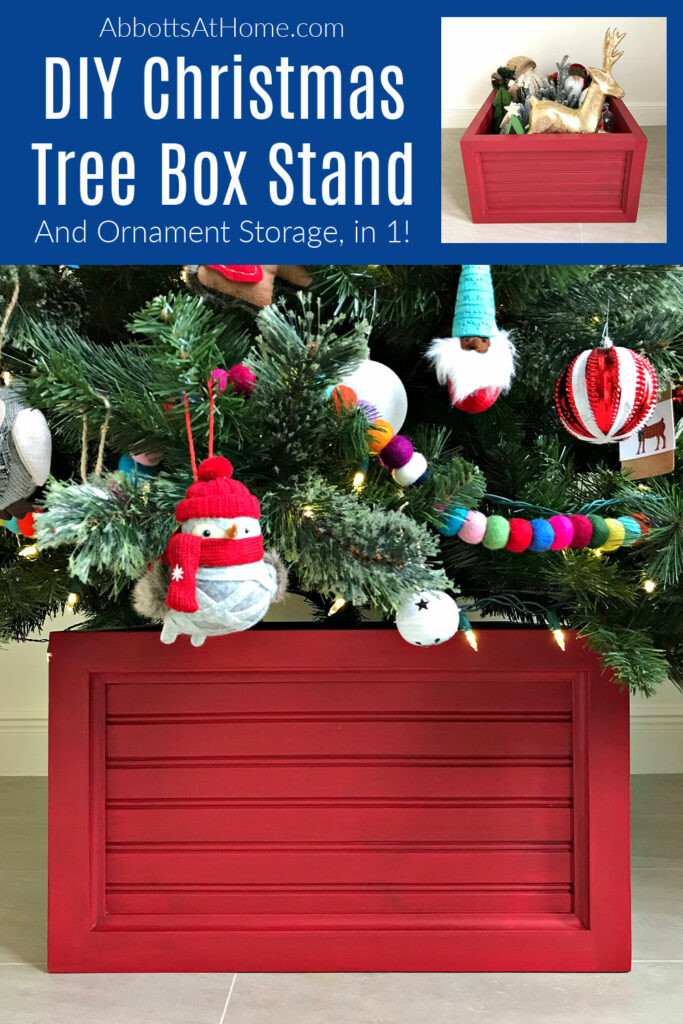
This wooden Christmas Tree Box is a pretty easy build for beginner woodworkers. I have the build steps and a short how-to video in this post.
RECOMMENDED: 13 Best FREE PDF Furniture Build Plans And 12 Popular Woodworking Projects
What You Need for this Build
Quick Note: I deigned this DIY Christmas Tree Box Stand to sit under my artificial tree. Your tree may have less or more clearance between the limbs and the floor. You may need to adjust the design to fit your tree.
ALSO, when using a live tree, you should line the inside with a waterproof, heavy duty bag or liner to protect the wood.
- 4 – 13 1/4″ long 2″ x 2″ Select Pine Boards, for the corners
- 8 – 20 1/2″ long 2″ x 2″ Select Pine Boards, 2 for each side frame
- 4 – 6″ long 2″ x 2″ Select Pine Boards, to support the base
- 1 – 20 1/2″ x 20 1/2″ x 1/2″ thick MDF or Plywood, for the base
- 4 – 20 1/4″ x 13″ X 1/4″ thick Beadboard, MDF, or Plywood, for the side panel
- 8 – 20 1/2″ long 1/2″ x 3/4″ Pine Molding
- 8 – 8 3/4″ long 1/2″ x 3/4″ Pine Molding
- 8 – 20 1/2″ long Cove Molding with a 45-degree Miter
- 8 – 8 3/4″ long Cove Molding with a 45-degree Miter
Tools Needed
- Kreg Jig, Screws and Drill
- Wood Glue
- Brad Nailer and Nails
- Miter Saw
- Sander and Sandpaper
Watch the Wooden Christmas Tree Stand Build Video Here
If any of the written steps are confusing, watch this video for a build overview.
How to Build a Christmas Tree Box
You can find the Printable Build Plans available at the end of this post.
Step One
Cut your 2″ x 2″ boards to size.
Step Two
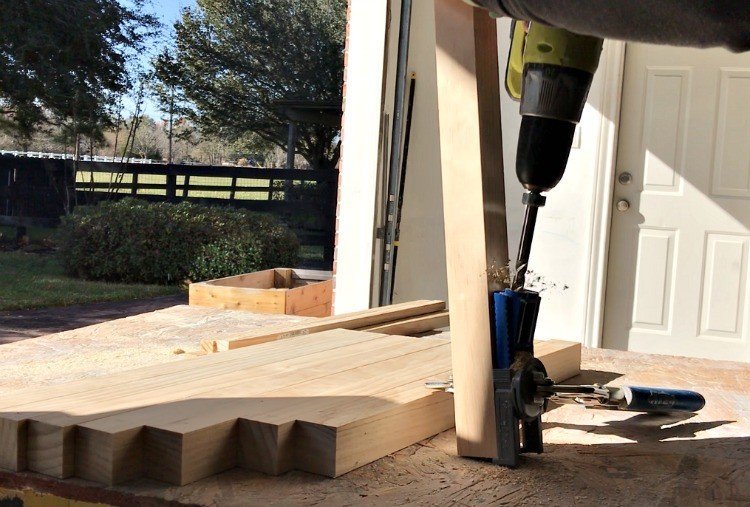
Put 1 pocket hole on each end of the 8 – 20 1/2″ long 2″ x 2″ boards. Should be 16 holes total.
Step Three
Cut your 1/2″ x 3/4″ Pine Molding to size.
Step Four
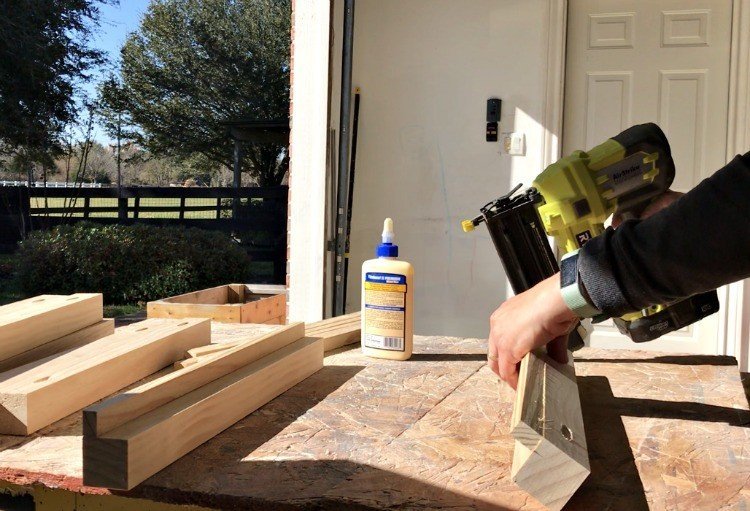
Use Glue and your Brad Nailer to attach the 20 1/2″ long 1/2″ x 3/4″ Pine Molding to the 20 1/2″ long 2×2’s.
Be careful, you want to attach the 1/2″ wide side to the 2×2, so that there is still room for the 1/4″ thick board and the Cove Molding.
Make sure the Molding is flush with the pocket hole side of the 20 1/2″ long boards.
Step Five
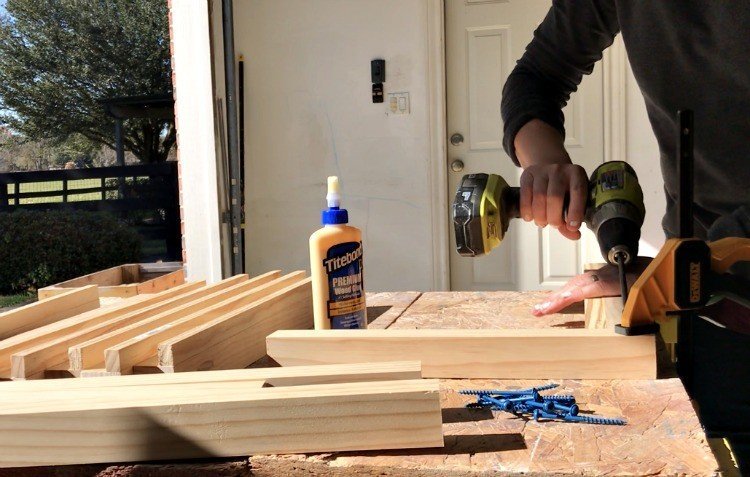
Once all 8 – 20 1/2″ long 2×2’s have Molding attached, you can assemble the sides. Build 1 full side with 2 – 20 1/2″ long 2×2’s and 2 – 13 1/4″ long 2×2’s. Use glue and screws to assemble 2 full sides.
Step Six
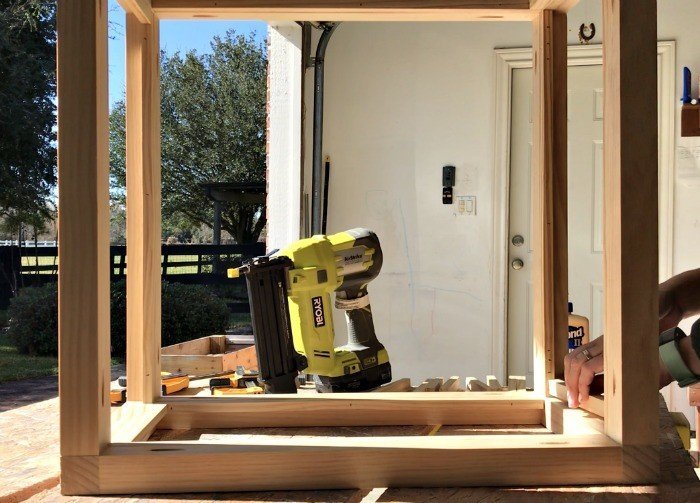
Now, use glue and screws to connect the 2 full sides with 2 – 20 1/2 long 2×2’s. Make sure that all of the pocket holes are facing the inside of the box. Finish the final side with the last 2 – 2×2’s, glue and screws.
Step Seven
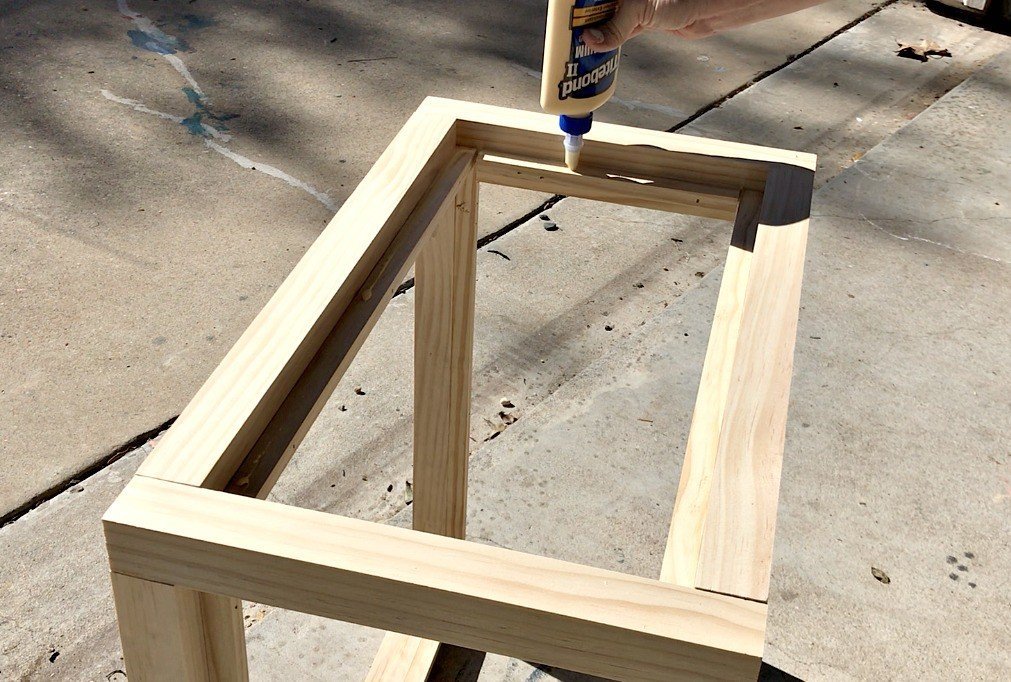
Use Glue and Brad Nails to attach the 8 – 8 3/4″ long 1/2″ x 3/4″ Pine Moulding pieces to the short sides of the frame.
Make sure they are flush with the back of the 2×2 and even with the longer 1/2″ x 3/4″ Molding you attached earlier.
Step Eight
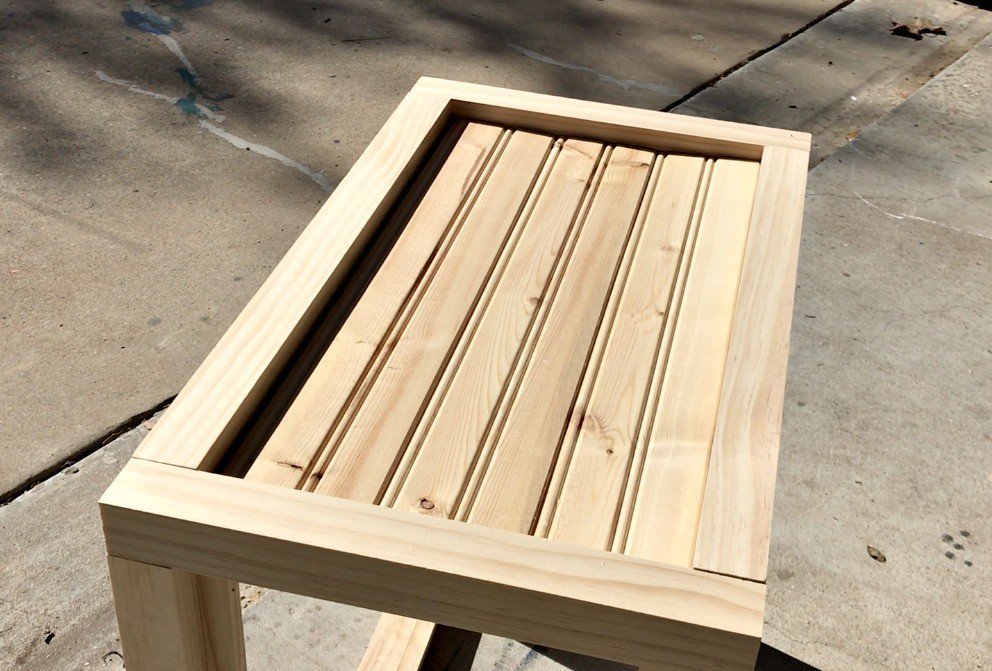
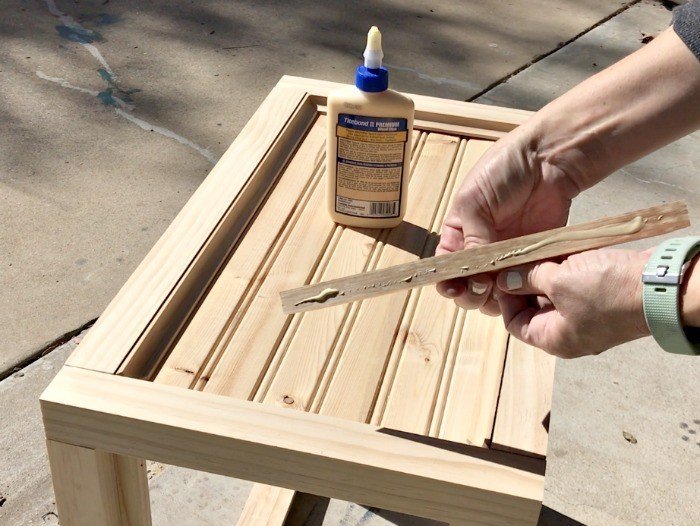
Now the frame is assembled and the backing for your panel is in place. Just glue the beadboard, MDF, or plywood panel to your backing.
Then frame the top of the panel with Cove Molding that has a 45-degree angle in the corners. Glue and Brad Nail the Cove Molding to the 2×2.
Step Nine
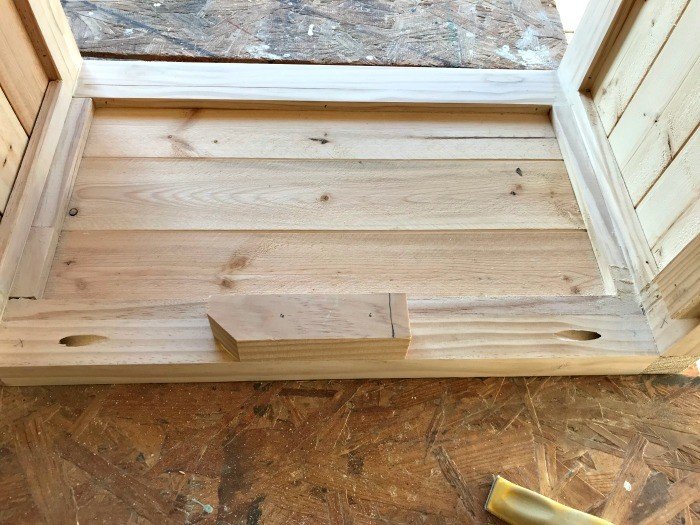
For the base, I attached 1 – 6″ long 2×2 to the middle of each side, with Glue and Screws.
Make sure it is flush with the rest of the bottom of the frame, so that they sit directly on your floor and don’t have to support any weight.
This is especially important with live trees with water that are so much heavier.
Step Ten
Glue and Nail your 1/2″ Base to the top of those 6″ supports.
Step Eleven
Fill the pocket holes and nail holes with wood filler. I used Dap’s Plastic Wood-X. Once the wood filler is dry, sand the frame and the wood filler smooth.
Clean off all dust with a tack cloth or scrap cloth. You might want to start with a shop vac or brush might be needed on the beadboard first. 🙂
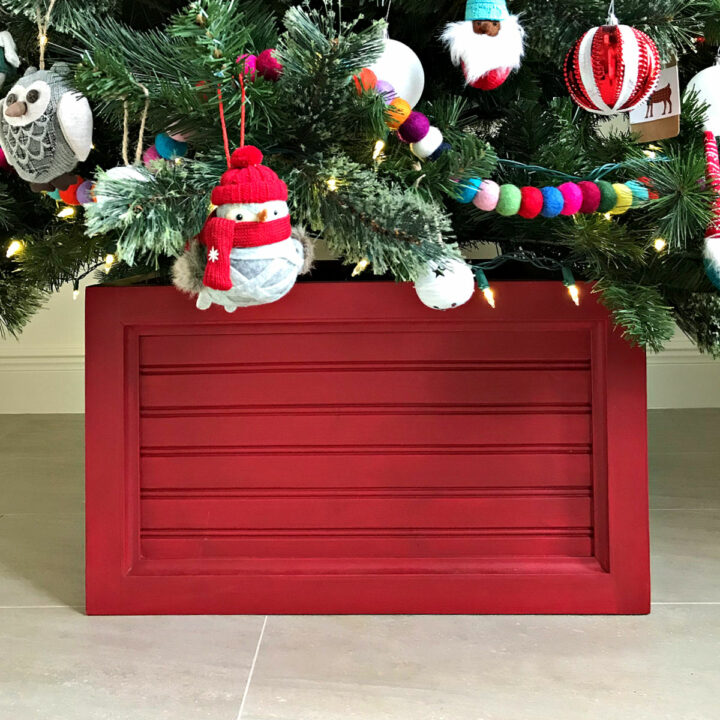
Hello, DIY friends! You can find the printable PDF DIY Christmas Tree Box Stand plans here. These plans are for personal use only. They cannot be shared or sold without my permission. Please let me know if you have any questions and enjoy your build! 🙂
Now you’re ready to apply the finish to your wood Christmas Tree Stand. 🙂
Christmas Tree Stand – Finishing Steps
You can stain, paint, or just poly this box, to match your style or Christmas decorations. Here’s how I finished mine.
I’ve been using Magnolia Home Paint by Kilz to paint furniture lately. I used to always mix my favorite Latex Paint into chalk paint. But I’ve figured out that the standard Magnolia Home Wall Paint actually dries and cures like a chalk paint.
So, it’s perfect on furniture. I used it on my DIY Farmhouse Console Table, DIY Laundry Table, and even my Laundry Room Cabinets.
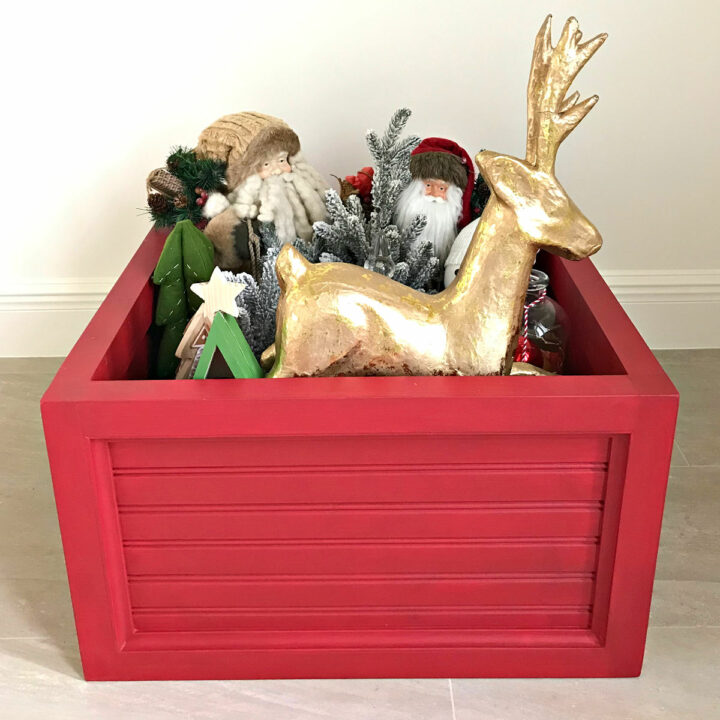
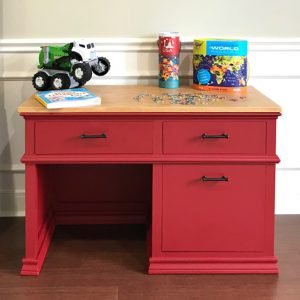
I had Magnolia Homes by Kilz custom matched to DecoArt Chalk Paint color Rouge. The color is great. I used it on the DIY Childrens Desk Plans I built too.
But with the DecoArt chalk paint it took 5 or 6 coats to get full saturation. Red notoriously takes a lot more coats for an even color. I hoped the Kilz paint would get full coverage, in less coats.
Long story short, the Kilz paint was a bit faster and easier to work with. But, both were great.
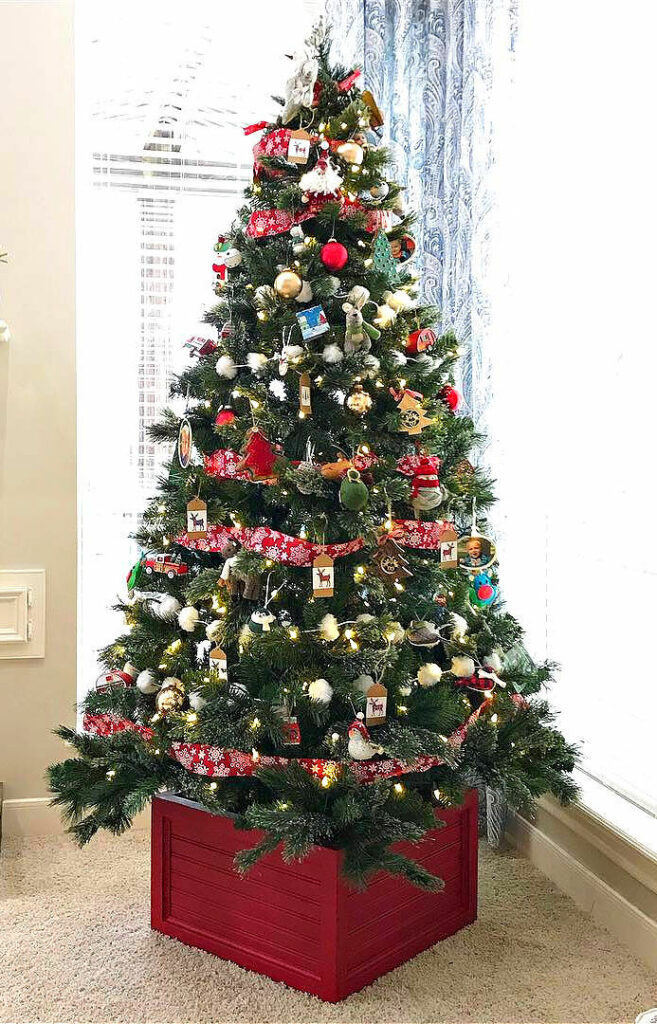
For both paints, I skipped primer and just painted directly on the wood. I also skipped a clear coat with the Kilz Paint. That stuff is pretty stinkin’ easy to use, guys.
That’s it! You’re done. Enjoy you’re new DIY Christmas Tree Stand and ornament storage. 🙂
Thanks for checking out my DIY Christmas Tree Box Stand tutorial. Have fun building and Merry Christmas!
More DIY Christmas Projects For You
Looking for more of my DIY Christmas Project Videos? Check out this DIY Christmas Ideas and Decor playlist on YouTube.
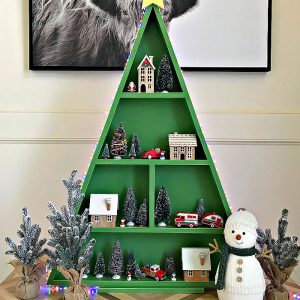
You might also like this great DIY Wood Christmas Tree Shelf! It’s a fun way to display all of your favorite Christmas decorations or to set up a Hot Chocolate Bar on. 🙂
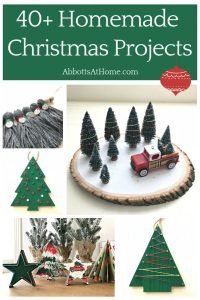
Looking for more homemade Christmas Inspiration? I have 40+ DIY Christmas Projects, Crafts, and Home Decor Ideas in one big Christmas-y post.
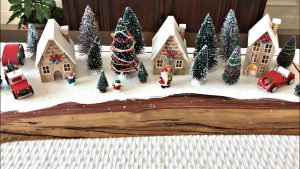
You might also like this great DIY Red Truck Christmas Table Centerpiece.
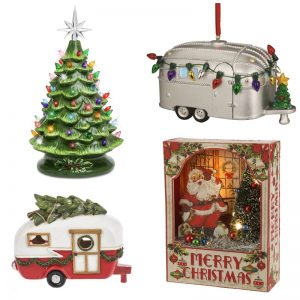
Check out my favorite Vintage Christmas decoration ideas on Amazon too.
Here’s how to wrap a picture frame with wrapping paper for an easy Christmas update.
And, this DIY Table Over Washer and Dryer is one of my favorite builds.
If you need a great little desk for your elementary age kids. Check out this DIY Childrens Desk with Storage Drawers.
Feeling inspired? Now you’re ready to build your own DIY Christmas Tree Box Stand. Let me know if you have questions.
Don’t forget to sign up for the Abbotts At Home email newsletter to get DIY, Remodeling, and Crafty ideas in your inbox.

Stephanie Abbott has been remodeling homes, updating & building furniture, and working on DIY home maintenance and cleaning tips for over 20 years. Her remodeling has been featured in Better Homes and Gardens Magazine. And, her DIY YouTube channel has had more than 8 million views.
Most of the DIY tutorials and videos on this site focus on beginner to intermediate level DIY Projects that can be done in an affordable way without high-end, expensive tools. All of the cleaning tips on this website have been tested in her home.


