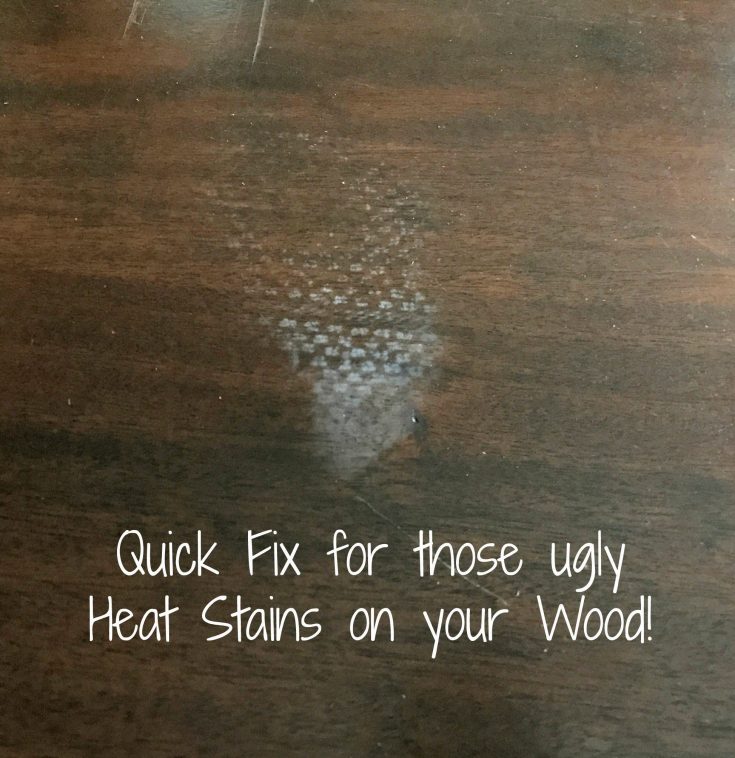
Try this EASY 1-minute fix to Remove Heat Stains from Wood furniture. You really can get rid of heat marks on wood with this quick DIY!
How to Remove Heat Stains From Wood Furniture
I know, I know. Most of my posts are full of pretty pictures. I usually show you how to remodel your house, build furniture, and clean everything.
But sometimes we need to fix things too. Like my steps to Fix Your Rusty Dishwasher Rack or How to Fix Water Stains from Ceiling Leaks. Today’s fix is How to Remove Heat Stains from Wood Furniture.
We’ve all seen those heat marks on wood. Some people think that white heat mark is permanent and they’ll need to replace that furniture or paint over it.
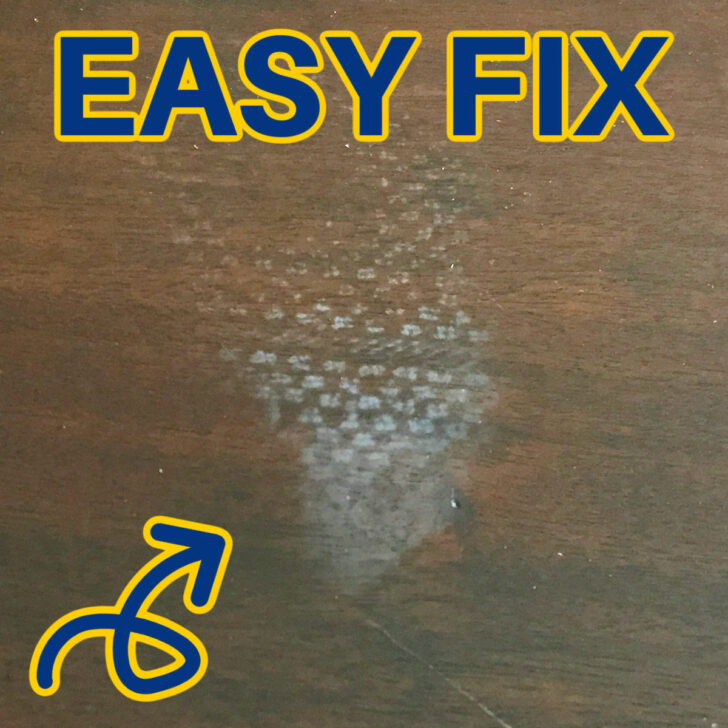
But, there’s an easy fix that works for most of these marks. And, strange as it sounds, that fix is steam!
Seems like that would only make things worse. But, watch my video below and you’ll see exactly how it worked on the pizza box mark that was left on my Dining Room table.
What You’ll Need
Good news, you probably already have everything you need to remove heat stains on wood tables.
- A Tea Towel or Similar Cloth (old pillowcase or sheets with out texture)
- An Iron Filled and Set to Steam
Please Note: I cannot guarantee that this DIY will work to remove heat marks on wood, in every case.
It will work for most, but use your best judgement. This is an attempt to save your furniture.

If you have a soft, thick varnish finish: Be sure to not use a textured towel, only apply the iron for a few seconds at a time, start without steam to see if that works.
Those older soft finishes take on texture and imprints easily. So, use caution and your best judgement.
How to Remove Heat Marks from Wood
Step One
Start by filling your iron with tap water. Then turn it on and set to Steam. Wait a few minutes for it to heat up.
Step Two
Find a clean dry tea towel or similar fabric. Make sure that it doesn’t have any vinyl decals, scratchy embroidery or embellishments, or bleeding colors.
Step Three
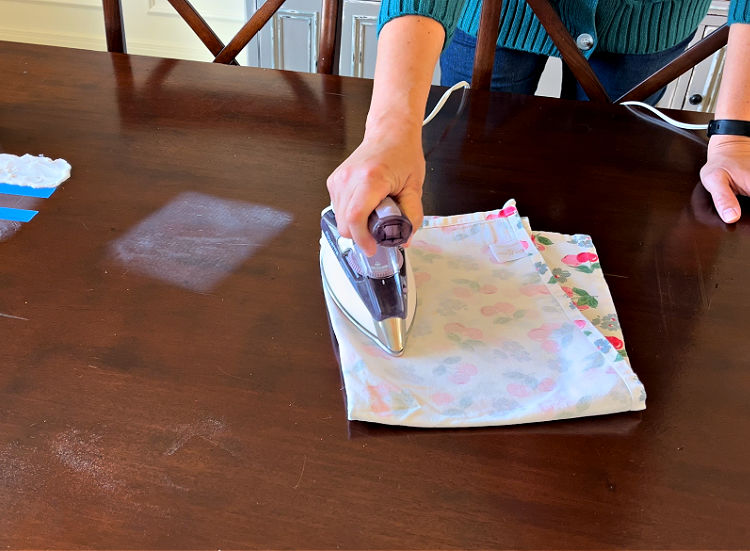
Fold the towel up and set it on the mark. You can see how I do all of the steps for how to remove heat stains from wood furniture in the video below.
Step Four
Apply the iron and press the steam button while slightly moving around on the mark for about 10 seconds.
Step Five
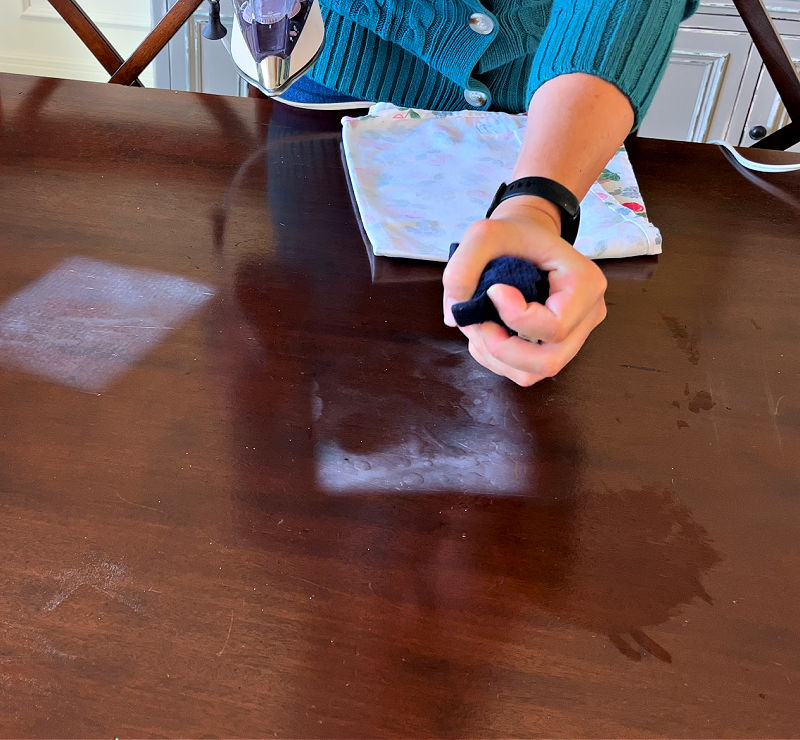
Pull iron away and wipe the spot dry to check your progress.
Step Six
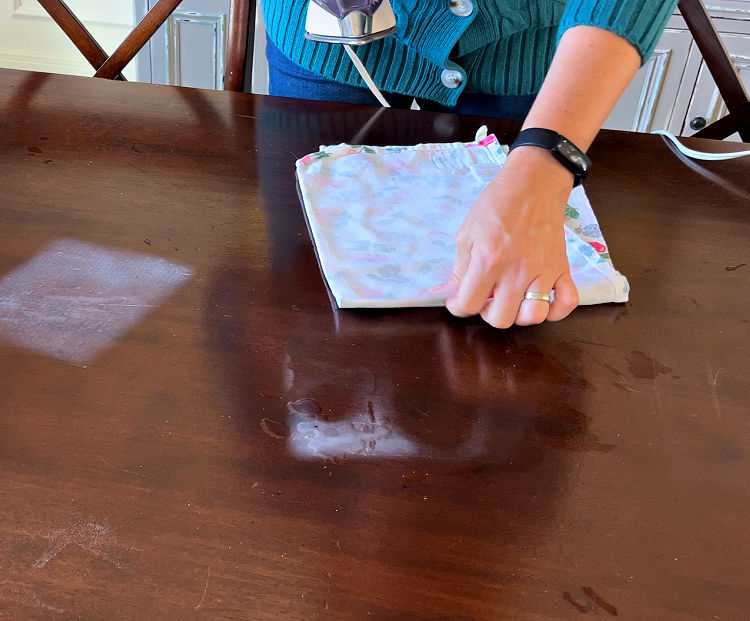
As long as it’s not getting worse (which I’ve never seen or heard of, but there’s probably a situation where it might) keep repeating steps 4 and 5 until the mark is gone. Will likely take 10-15 sets.
Are Heat Stains On Wood Permanent?
Most heat stains on wood aren’t permanent. There are a few popular ways to remove heat marks (aka heat stains).
Check out this video to see how easy it is to use an iron, a blow dryer and five more ways to get rid of a heat stain.
That’s it for how to remove heat stains from wood furniture! Time to throw that holiday or dinner party to show off that table! Check out Testing 7 Easy Ways To Get A Heat Stain Out Of Wood for more options.
More Popular Posts You Might Like
- How Do I Get Rid of Cable And Still Watch TV: Easy Guide
- Easy Steps for Using Easy Off Oven Cleaner Fume Free: Video and Best Tips
- 15 Best Ways To Make An Old Ceiling Look Better: Easy, Cheap And Pretty Ideas
- 50 Yummy Ways To Make Smores At Home – EASY & QUICK Desserts
- 50 Great DIY Kids Room Ideas: Awesome Bedroom Furniture and Décor
Looking for another Easy Home Maintenance Project? You can Restore your Grout to Like New and this product seals grout too. Yay! Just click here to see the Grout Restoring Tutorial.
Or, this amazingly easy DIY for how to clean your car seats at home.
And, if it is time to Stain your Front Door, check out these steps for how I restain a front door without stripping it or removing it. 🙂
And, here’s the 30 Best Amazon Coffee Tables on any budget!
Feeling inspired? Now that you’ve read my steps for how to remove heat stains from wood furniture, have fun and let me know if you have questions.
Or post pictures of your work and tag Abbotts At Home on FB, I’d love to see it!
How to Remove Heat Stains from Wood Furniture
Tools
- Steam Iron
Instructions
Please Note: I cannot guarantee that this DIY will work to remove heat stains from wood furniture, in every case. It will work for most, but use your best judgement. This is an attempt to save your furniture. You accept the responsibility for this fix. Read the full disclaimer for my DIY here.
If you have a soft, thick varnish finish: Be sure to not use a textured towel, only apply the iron for a few seconds at a time, start without steam to see if that works. Those older soft finishes take on texture and imprints easily. So, use caution and your best judgement.
- Start by filling your iron with tap water. Then turn it on and set to Steam. Wait a few minutes for it to heat up.
- Find a clean dry tea towel or similar fabric. Make sure that it doesn’t have any vinyl decals, scratchy embroidery or embellishments, or bleeding colors.
- Fold the towel up and set it on the mark. You can see how I do all of the steps for how to remove heat stains from wood furniture in the video below.
- Apply the iron and press the steam button while slightly moving around on the mark for about 10 seconds.
- Pull iron away and wipe the spot dry to check your progress.
- As long as it’s not getting worse (which I’ve never seen or heard of, but there’s probably a situation where it might) keep repeating steps 4 and 5 until the mark is gone. Will likely take 10-15 sets.
Notes
We’ve all seen those heat marks on wood. Some people think that mark is permanent and they’ll need to replace that furniture or paint over it. But, there’s an easy fix that works for most of these marks. And, strange as it sounds, that fix is steam!
Seems like that would only make things worse. But, watch my video below and you’ll see exactly how it worked on the pizza box mark that was left on my Dining Room Table.

Stephanie Abbott has been remodeling homes, updating & building furniture, and working on DIY home maintenance and cleaning tips for over 20 years. Her remodeling has been featured in Better Homes and Gardens Magazine. And, her DIY YouTube channel has had more than 8 million views.
Most of the DIY tutorials and videos on this site focus on beginner to intermediate level DIY Projects that can be done in an affordable way without high-end, expensive tools. All of the cleaning tips on this website have been tested in her home.

