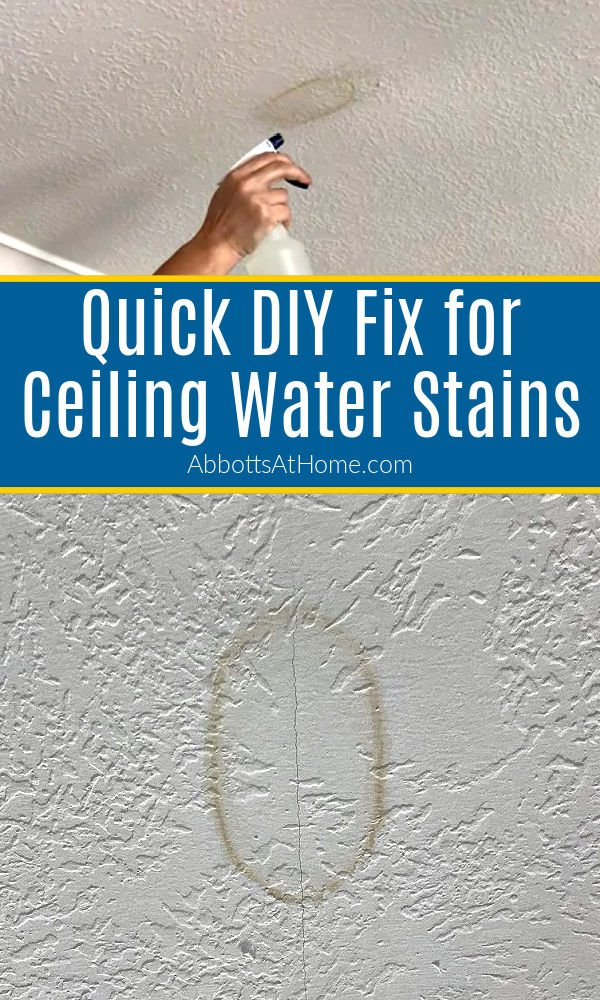
Here’s a DIY fix that seems like magic, it works so well. At least, that’s what my neighbor called it when she used this bleach mixture to fix water stains on ceiling leaks in her house.
How to Fix Water Stains on Ceiling Leaks
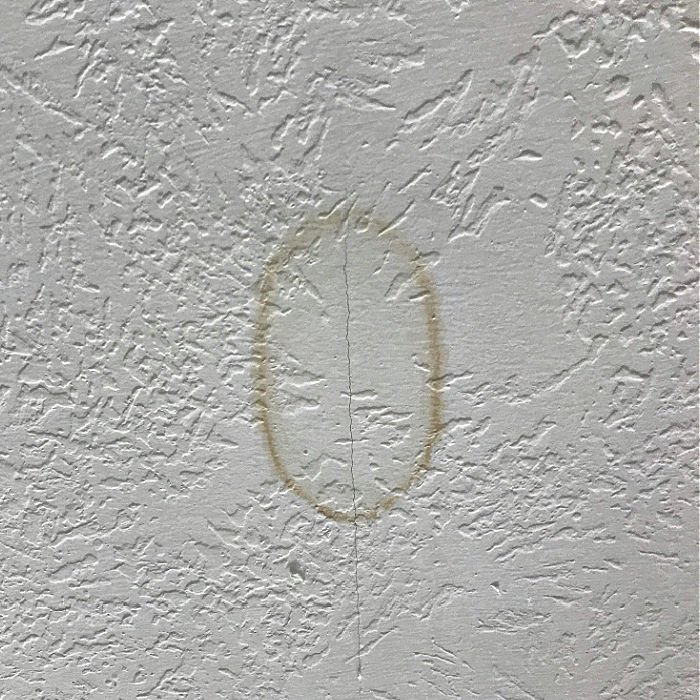
This easy DIY is really the easiest way to get rid of ugly water stains and damage on ceilings and walls.
Just make sure you follow the easy steps and are careful to protect the rest of the house, and your clothes, from the bleach.
And, remember bleach can even strip the color from non-white paint colors.
So, if you use this on a non-white paint, it will lighten the paint. You’ll have to paint over it to get the color even again.
If you love easy DIY home improvements, like this one, check out some of my other home hack tutorials.
Like these, how to paint rusty metal furniture, how to remove heat stains from wood furniture, stripping paint from wood furniture, how to whiten grout, and how to stain furniture without stripping old stain.
Those are just a few of my favorite DIY home improvement tutorials.
Alright, let’s get to How to Fix Water Stains on Ceiling Leaks.
Table of contents
Can you Paint over Water Stains or Damage?
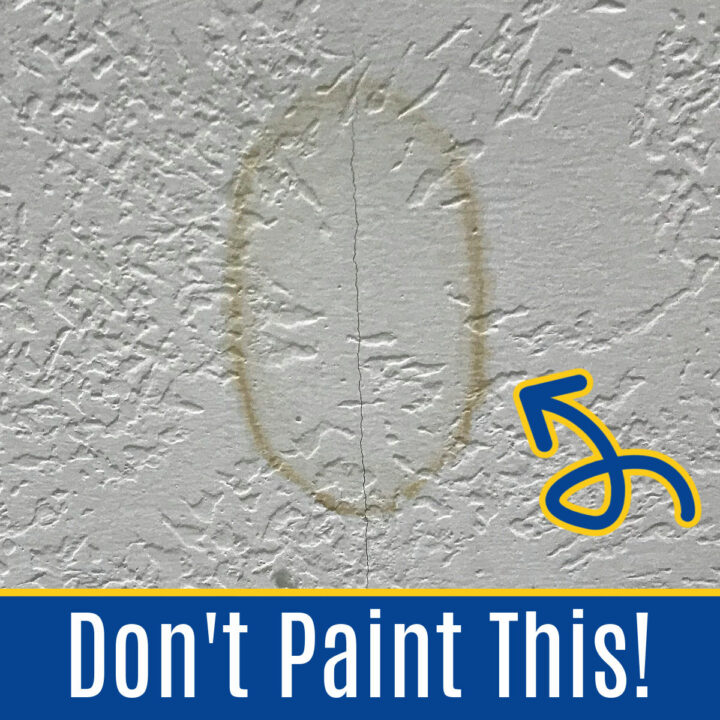
You can, but you will almost always have to paint the whole ceiling. You’d probably be shocked to know just how many shades of white there are in the stores. And, picking the matching sheen just adds to the guess work.
Unless you know the exact paint color and sheen that was used on the ceiling, you probably won’t be able to find an exact match.
And, to complicate things further, the different paint manufacturers are all using a unique base to mix those colors. So, if you ask Behr to mix up a batch of a Benjamin Moore color, it can still look slightly different.
If you decide to paint over water stains on ceiling leaks, make sure to use a good interior latex primer on the water stain first.
I like Kilz and Zinsser. Then, follow that primer with 2 coats of a good latex paint. I generally use Behr Ultra, but most latex paints are great.
Watch this Video to See How Quick this Fix for Water Damage Is!
If any of the steps for How to Fix Water Stains on Ceiling Leaks are confusing, I highly recommend watching the short video. Hopefully seeing it done can help clear up any confusion.
Keep scrolling for the written steps.
How to Fix Water Stains on Ceiling Leaks
MAKE SURE that the whatever caused the leak or stain on the ceiling has been found and fixed before fixing the stain on the ceiling.
Sometimes the stains come from a larger problem, like flood damage in a home, roof leaks, or sweating duct work after an HVAC problem.
I know it’s hard to wait, but make sure the problem is addressed before spraying on the bleach solution.
You’ll also want the drywall, plaster, or ceiling tile to be completely dry and structurally sound before getting rid of the water stain on the ceiling.
It’s so easy to fix water stains on ceiling leaks with a quick and easy bleach water mix. BUT FIRST, let’s prep the area.
What You Need
- Regular Bleach
- Spray Bottle with a Mist Setting
- Tap Water
- Drop Cloth
- Safety Glasses
- Kitchen Gloves
- Optional Safety Mask
How to Prep the Area
Start by removing or covering any furniture and flooring that might accidentally be sprayed. Even watered down bleach will strip color from most things.
If the water damage on your ceiling is near a wall, keep the bleach off of the wall.
If bleach gets on the wall, be sure to wipe the it off the wall as soon as possible, with a wet rag. That bleach water will lighten non-white paint.

Protect your wall art or other decor by covering it or removing it. Now that prep is done, let me mention one more thing. This bleach water fix is JUST for Water Stains, rings, brown marks, etc.
If the drywall or plaster on your ceiling has started to crumble, buckle, fall off, chip, or anything like that, you really need to repair the ceiling. Read how to cut drywall and hang drywall for some beginner tips.
How to Protect Yourself
Also, the larger your water stain, the more the room will smell like bleach. PLAN AHEAD for this smell.
If you are treating a bedroom, maybe do it in the morning so that it has all day to air out. And, if you can stay out of the room for 24 hours, even better.
Some people are effected by bleach smells more than others. You might want to wear a mask if you have breathing problems.
If you have sensitive skin, you should wear kitchen gloves too. I skipped the gloves, but I did wash my hands with soap immediately after using the bleach.
Wear safety goggles to protect your eyes. You’ll be spraying above your head, so bleach mist might fall into your face. I forgot to wear goggles in the video, but I should have.
And, don’t forget to wear old clothes that you don’t mind getting bleach on, just in case. I didn’t get bleach on my clothes, but accidents can happen.
OK, time for those DIY steps.
Steps to Get Rid of Water Stains
- Prep the surrounding area to protect it from the bleach water.
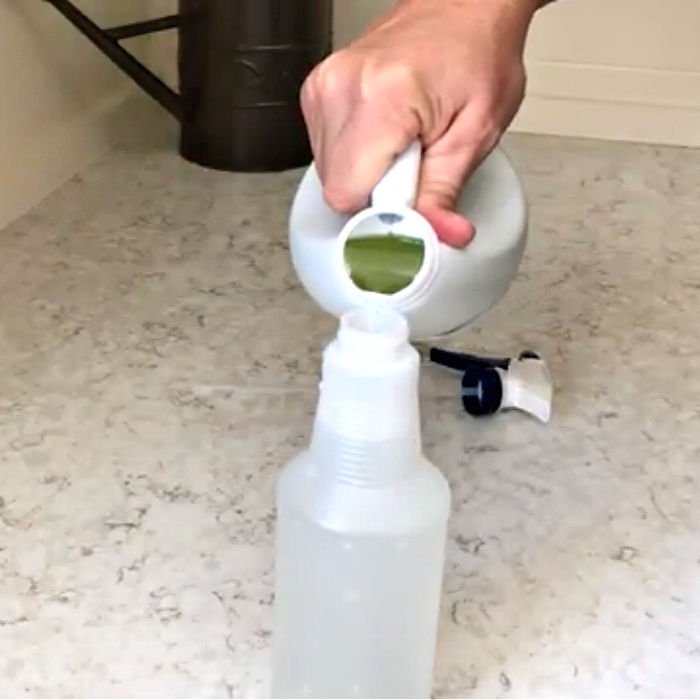
- Mix the bleach solution in a clean spray bottle that has a mist setting. I used 1/3rd bleach, 2/3rds water. I have heard you can use 1/2 bleach, 1/2 water, but I haven’t tried it.
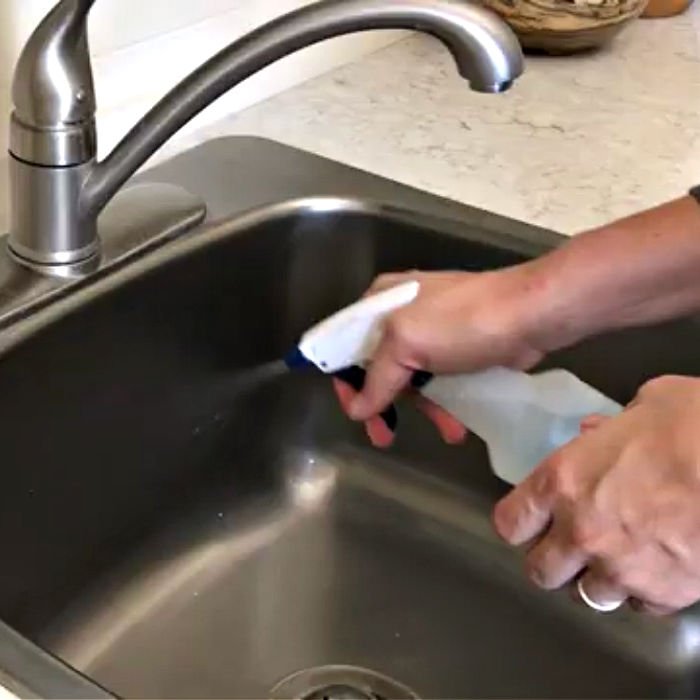
- Set the sprayer to mist before spraying the ceiling. You can see in the video above that I tested the spray in my sink to be sure it was on mist.
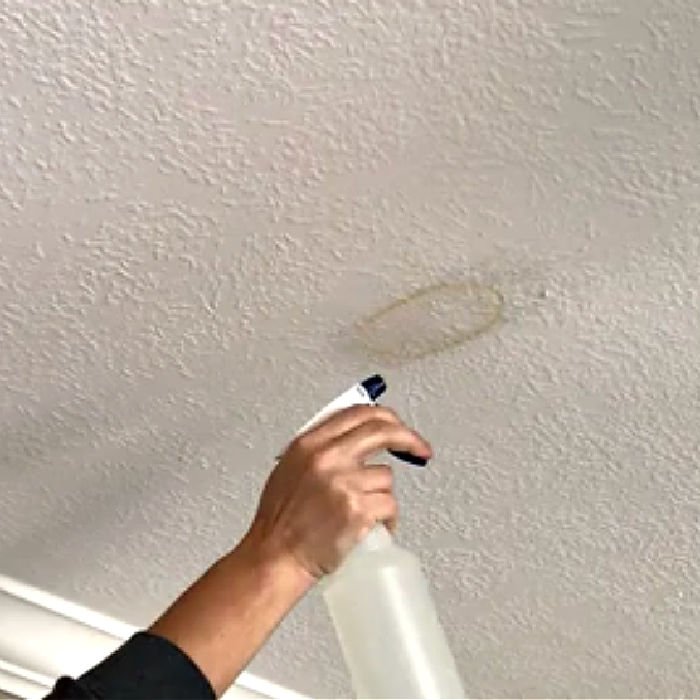
- Mist the bleach water onto the water stain. I usually cover the stain with a light mist, then let it work and soak in for 30 seconds or so. Then lightly mist again.
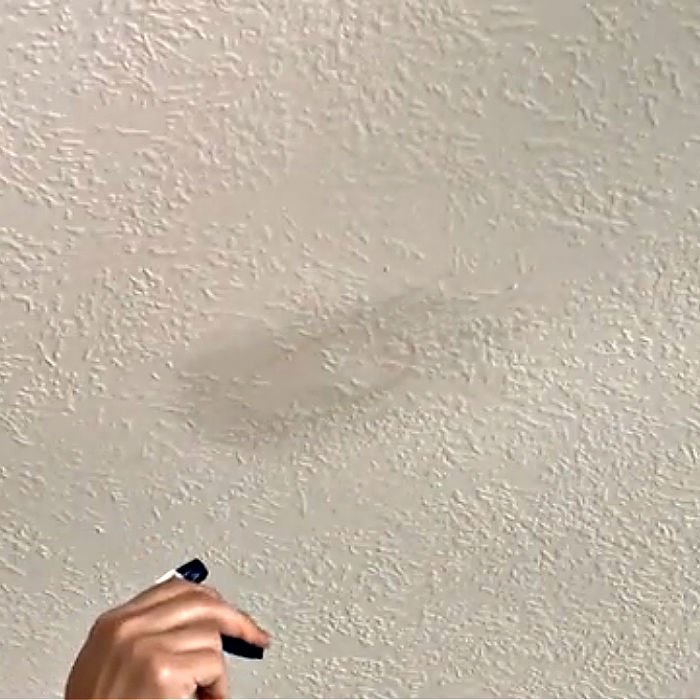
- After letting the first treatment dry for a few hours, or even overnight, you can decide if you need to treat any of the water stains again. I usually just need to do darker spots twice. Follow the same steps of misting the stain and letting it dry until the stains are gone.
That’s pretty much it for how to fix water stains on ceiling leaks, guys. It’s incredibly easy, right?!!
This bleach mixture will work on 9 out of 10 water stains. If it doesn’t work on your water stains, check out Can You Paint Over Water Stains for the exact steps and products I use to paint over stains.
Keep scrolling for answers to common questions and a printable version of these steps.
How to Fix Water Stains on Popcorn Ceilings
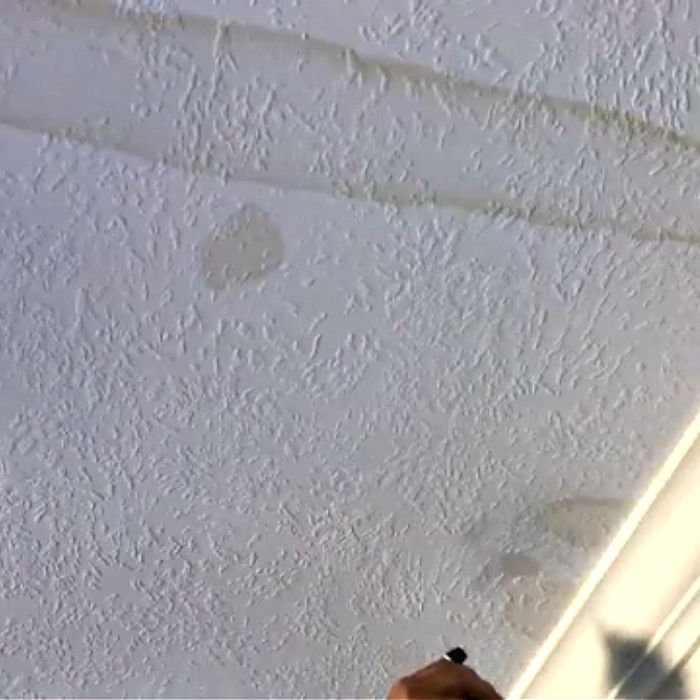
You can fix water stains on popcorn ceilings with the same bleach and water mixture. You just need to be careful to not accidentally remove the popcorn texture after getting it wet.
Mix your spray bottle with the same mix of 1/3rd to 1/2 bleach with water. Adjust the spray to a mist, then mist the water stain on the popcorn ceiling with a light layer of the bleach water mix.
DO NOT TOUCH it, don’t dab it, don’t even lightly touch a wet spot. It can be pretty easy to accidentally remove the texture, once it is wet. So, just let it dry completely. Then decide if it needs a second treatment with the bleach water.
Of course, be sure to follow all of the safety recommendations to protect your walls, floors, furniture, clothes, basically everything from the bleach.
That’s it, guys. Here’s a printable version of this tutorial, if you need it.
How to Fix Water Stains on Ceiling Leaks
Quick and easy written steps and video for How to Fix Water Stains on Ceiling Leaks without paint. In just a few minutes, get rid of most water stains.
Materials
- Bleach
- Spray Bottle with Mist Setting
- Drop Cloth
Instructions
How to Fix Water Stains on Ceiling Leaks
Here's how to prep and fix your water stains on drywall, plaster, and ceiling tiles.
How to Prep the Area
Start by removing or covering any furniture and flooring that might accidentally be sprayed. Even watered down bleach will strip color from most things.
If the water damage on your ceiling is near a wall, keep the bleach off of the wall.
If bleach gets on the wall, be sure to wipe the it off the wall as soon as possible, with a wet rag. That bleach water will lighten non-white paint.
Protect your wall art or other decor by covering it or removing it. Now that prep is done, let me mention one more thing. This bleach water fix is JUST for Water Stains, rings, brown marks, etc.
If the drywall or plaster on your ceiling has started to crumble, buckle, fall off, chip, or anything like that, you really need to repair the ceiling. Read how to cut drywall and hang drywall for some beginner tips.
How to Protect Yourself
Also, the larger your water stain, the more the room will smell like bleach. PLAN AHEAD for this smell.
If you are treating a bedroom, maybe do it in the morning so that it has all day to air out. And, if you can stay out of the room for 24 hours, even better.
Some people are effected by bleach smells more than others. You might want to wear a mask if you have breathing problems.
If you have sensitive skin, you should wear kitchen gloves too. I skipped the gloves, but I did wash my hands with soap immediately after using the bleach.
Wear safety goggles to protect your eyes. You'll be spraying above your head, so bleach mist might fall into your face. I forgot to wear goggles in the video, but I should have.
And, don't forget to wear old clothes that you don't mind getting bleach on, just in case. I didn't get bleach on my clothes, but accidents can happen.
OK, time for those DIY steps.
Follow these Steps to Get Rid of Water Stains
- Prep the surrounding area to protect it from the bleach water.
- Mix the bleach solution in a clean spray bottle that has a mist setting. I used 1/3rd bleach, 2/3rds water. I have heard you can use 1/2 bleach, 1/2 water, but I haven't tried it.
- Set the sprayer to mist before spraying the ceiling. You can see in the video above that I tested the spray in my sink to be sure it was on mist.
- Mist the bleach water onto the water stain. I usually cover the stain with a light mist, then let it work and soak in for 30 seconds or so. Then lightly mist again.
- After letting the first treatment dry for a few hours, or even overnight, you can decide if you need to treat any of the water stains again. I usually just need to do darker spots twice. Follow the same steps of misting the stain and letting it dry until the stains are gone.
Notes
How to Fix Water Stains on Popcorn Ceilings
You can fix water stains on popcorn ceilings with the same bleach and water mixture. You just need to be careful to not accidentally remove the popcorn texture after getting it wet.
Mix your spray bottle with the same mix of 1/3rd to 1/2 bleach with water. Adjust the spray to a mist, then mist the water stain on the popcorn ceiling with a light layer of the bleach water mix.
DO NOT TOUCH it, don't dab it, don't even lightly touch a wet spot. It can be pretty easy to accidentally remove the texture, once it is wet. So, just let it dry completely. Then decide if it needs a second treatment with the bleach water.
Of course, be sure to follow all of the safety recommendations to protect your walls, floors, furniture, clothes, basically everything from the bleach.
Looking for more of my Home Improvement Videos? Check out this DIY Home Improvement playlist on YouTube.
You might also like this DIY for How to Whiten Tile Grout. It’s a Game Changer!
And, if it is time to Stain your Front Door, check out these steps for how I restain a front door without stripping it or removing it.
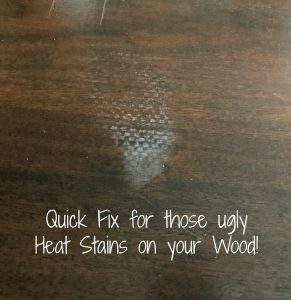
Here’s How to Remove White Heat Stains on Wood Furniture and Table Tops.
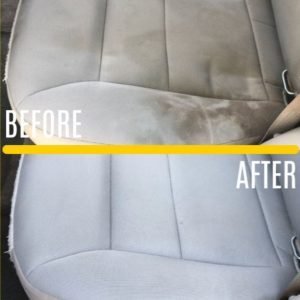
And, this super popular post for How to Clean Car Seats At Home, the Easy Way.
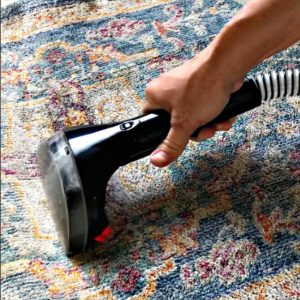
Or, maybe you have some dingy rugs that could use a clean, here’s How to Clean Area Rugs at Home.
Feeling inspired? Now that you’ve read these tips for How to Fix Water Stains on Ceiling Leaks, you can do it too.
Let me know if you have questions. Don’t forget to sign up for the Abbotts At Home email newsletter to get DIY, Remodeling, and Crafty ideas in your inbox.
Stephanie Abbott has been remodeling homes, updating & building furniture, and working on DIY home maintenance and cleaning tips for over 20 years. Her remodeling has been featured in Better Homes and Gardens Magazine. And, her DIY YouTube channel has had more than 8 million views.
Most of the DIY tutorials and videos on this site focus on beginner to intermediate level DIY Projects that can be done in an affordable way without high-end, expensive tools. All of the cleaning tips on this website have been tested in her home.





********************************************************
Thank you for sharing at #OverTheMoon. Pinned and shared. Have a lovely week. I hope to see you at next week’s party too! Please stay safe and healthy. Come party with us at Over The Moon! Catapult your content Over The Moon! @marilyn_lesniak @EclecticRedBarn
********************************************************
Thanks, Marilyn!