Try this Easy DIY Rust Paint Effect to give your old Home Decor and Furniture a beautiful new look!
Easy DIY Rust Paint Effect
Ready to give your tired old home decor or furniture a beautiful new look? I’m a huge fan of this Easy DIY Rust Paint Effect. I’ve been using it for home decor makeovers for years.
I have 11 step by step examples of how I’ve used this rust patina paint finish on décor, mirrors, and wall art in my home. It’s super easy, guys. You just need to know a few tricks to get the look you love.
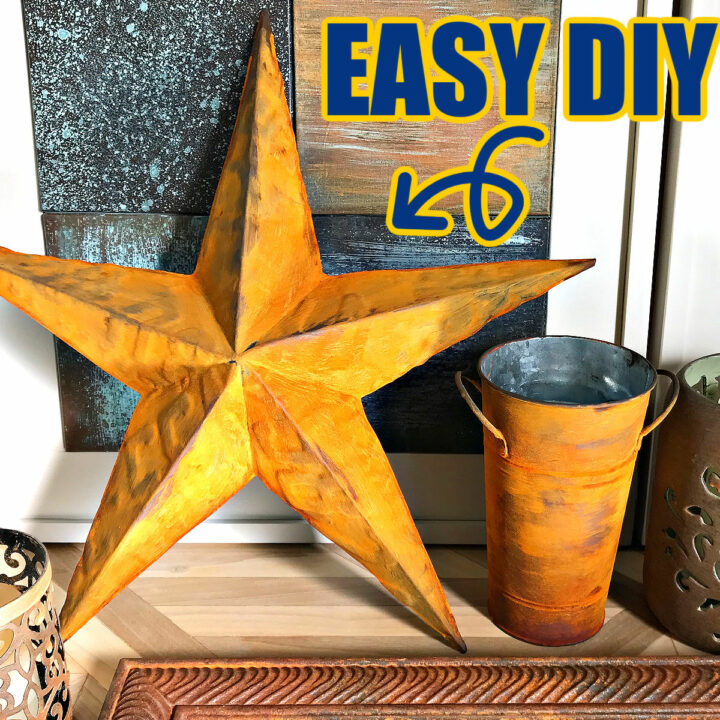
And, you can absolutely use this on wood decor and furniture too. Just be sure to apply 2 coats of your favorite chalk paint as a base.
This DIY Rust Paint is a rich, beautiful neutral color that works in almost any room and style. You can go for a light patina for more greys and browns or go bold with a deep orangey rust patina effect.
A while back, I shared how to DIY 20 Faux Metal Paint techniques. I used Copper, Iron (Rust), and Bronze Patina Paints for that post.
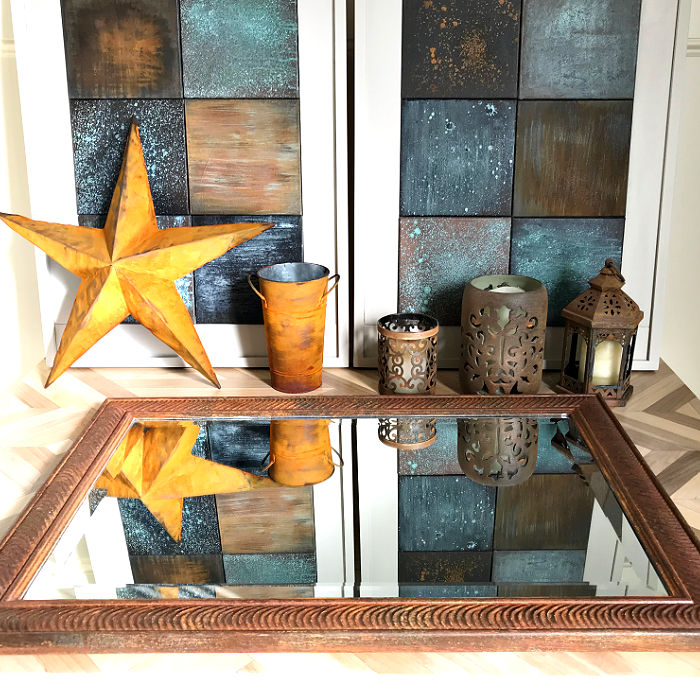
After all of that testing, the rust look was surprisingly my favorite. I’m so excited to show you how gorgeous this looks on some decor I was ready to give up on.
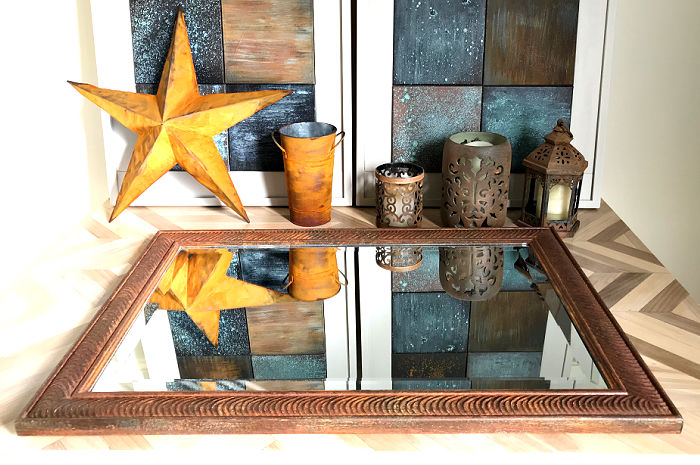
Check out how a-mazing this decor looks now!
I tried 3 different paint looks on that mirror in our powder room that just didn’t look right.
This easy DIY Rust Paint Effect gave that mirror a high end look that I never get tired of seeing. Even 3 years after doing it, I’m happy.
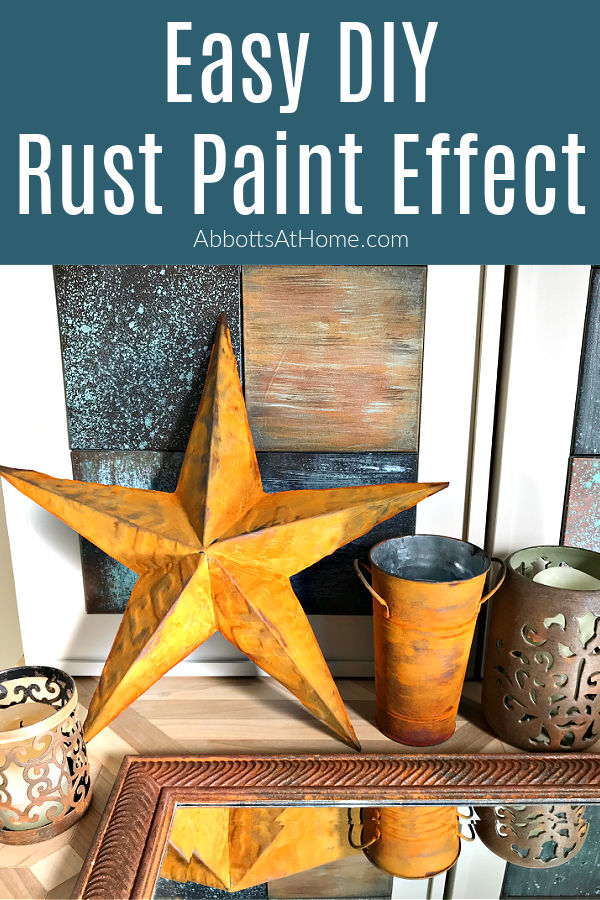
Now, let’s get to this Easy DIY Rust Paint Effect!
What You Need for this DIY
I’ve used 2 brands of Rust Patina Paint for this Easy DIY Rust Paint Effect. They work exactly the same. I’m sure most brands that use Iron Paint with an oxidizing spray will work the same.
So, If you find another brand that uses the same paint and spray, it’ll probably work the same as these.
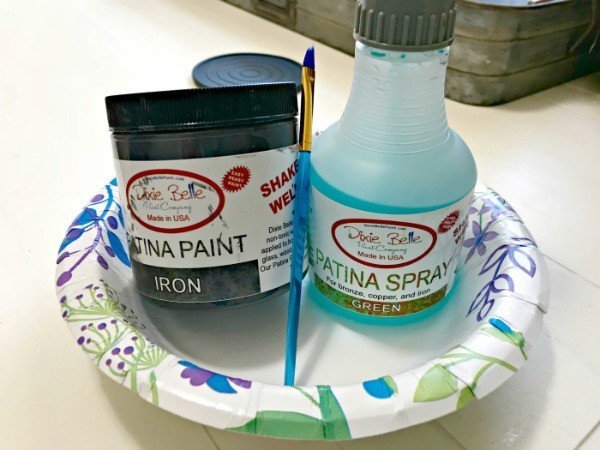
First, the Dixie Bell Paint Company kindly sent me their metal patina paint kit 3 years ago. I’ve had a great time experimenting with different faux metal looks.
You can find the Patina Paints, base chalk paint or primer, and oxidizing spray on the Dixie Belle Paint Company site.
- Iron Paint by Dixie Belle
- Dixie Belle Green Patina Spray
- Dixie Belle Chalk Paint or Metal Primer to use as a base coat
The Second Option I tried is the Modern Masters Rust Finish Kit and it’s easy to buy on Amazon and your local hardware stores might have it in the paint department too.
This comes as a kit, so you don’t have to buy all the bits separately. I wish Dixie Belle would put together a kit on their site too.
The Modern Masters Rust Finish Kit comes with the Iron Paint, Patina Spray, and a Primer. That primer is meant to PROTECT any metal that you want to use this on from the RUST.
You don’t want that rust paint on bare metal. The rust could start to breakdown the metal without a primer.
If you aren’t painting metal, you can actually use chalk paint as the base under the iron paint. Chalk Paint sticks to almost any type of surface, even glass and ceramics, so it’s a great primer on it’s own.
You’ll also need a foam brush to apply the paints and possibly a water-based poly (this is my favorite), if you want to seal it after.
I haven’t sealed mine, but since it is actually rust, it can leave a little bit of rust residue marks when it is rubbed against something.
It doesn’t rub off on skin or flake off like bad rust. It only transfers when rubbed against something hard. So, depending on what it is and how it’s used, you might want to seal it. 🙂
How Do You Make Paint Look Like Rusty Metal
This DIY Rust Paint Effect is the easiest way to get that beautiful rust look, at home! You just paint and spray, no artistic talent required. And, it looks so realistic. That’s because it is REAL RUST.
Iron Paint is basically a grey paint with powdered IRON mixed in. That IRON is what is actually rusting. So, every time you use Iron Paint with the Oxidizing Spray you get a natural, beautiful rust paint finish.
This rust paint looks so beautiful and it gives anything you paint a soft, subtle texture. And, don’t worry, unlike real rust, this paint isn’t sharp or flaky.
I’m swooning over this look so much, that I’m declaring rust is the new black in this house. 😉

How to Make Paint Look Rusty – Video
Watch the Easy DIY Rust Paint Effect video to see how I apply the Iron rust paint and and oxidizing patina spray. If any of the steps are confusing or you just want to see more of the decor I painted, watch this video. 🙂
Steps for this Easy DIY Rust Paint Effect
A quick note first, I played around with this Iron Paint to try to get different levels of rust with different patterns and looks. But, it’s not a science. Each piece will have it’s own unique look.
Go light with the spray and slowly layer more to try to get the look you love. The full reaction can take 2-6 hours to fully develop. And the more spray you use, the more rust you will get.
And, whether or not the Iron Paint is wet seems to change the rust color too. You’ll see in the examples below.
Here’s the 10 Easy DIY Rust Paint Finishes I Came Up With!
Orangey Rust Patina Paint Finish!
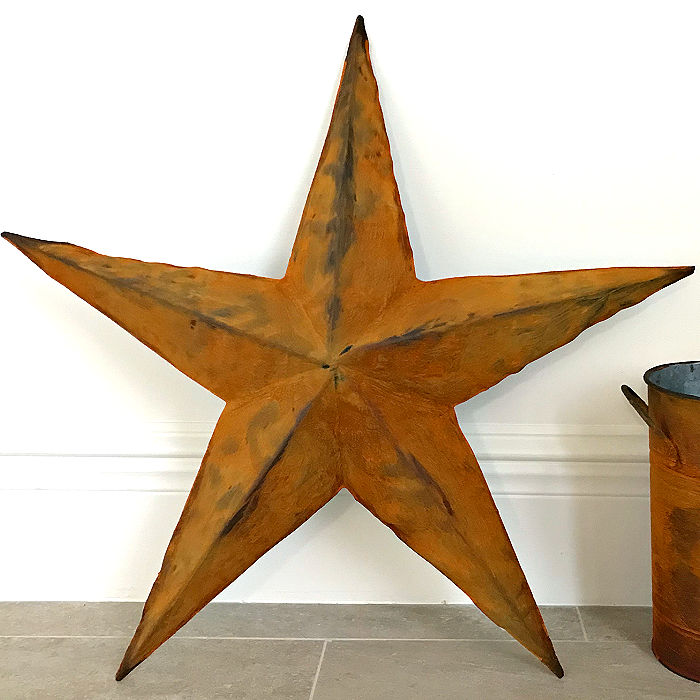
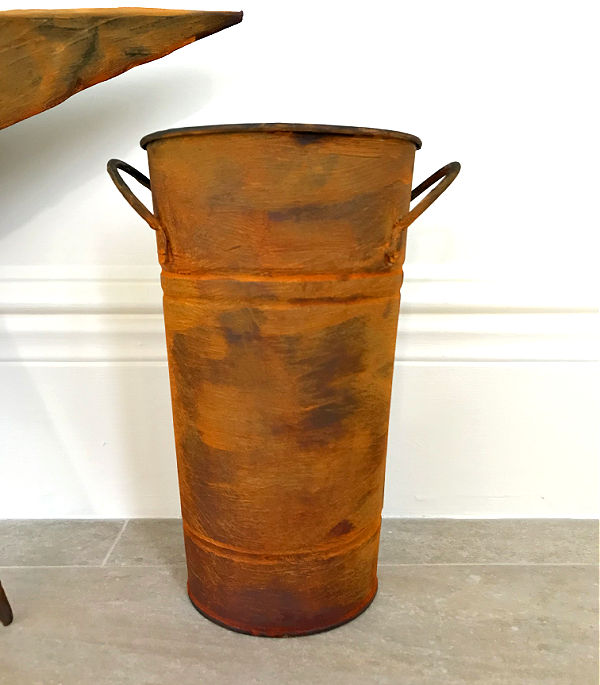
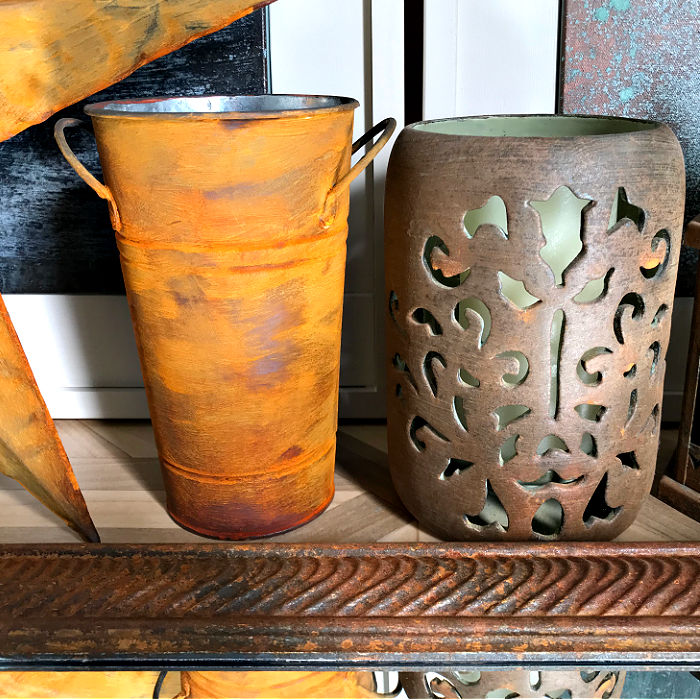
The first 2 examples are the newest. You can see these in the video above. It’s the first time I got a this bright orangey rust finish across the whole piece.
But, it’s still full of beautiful variations on color and patina, varying from light orange to browns. I love this!
For these 2 projects, I used 2 coats of metal primer on one and 2 coats of blue chalk paint on the other. They both work great. Just follow the directions on the container to apply it.
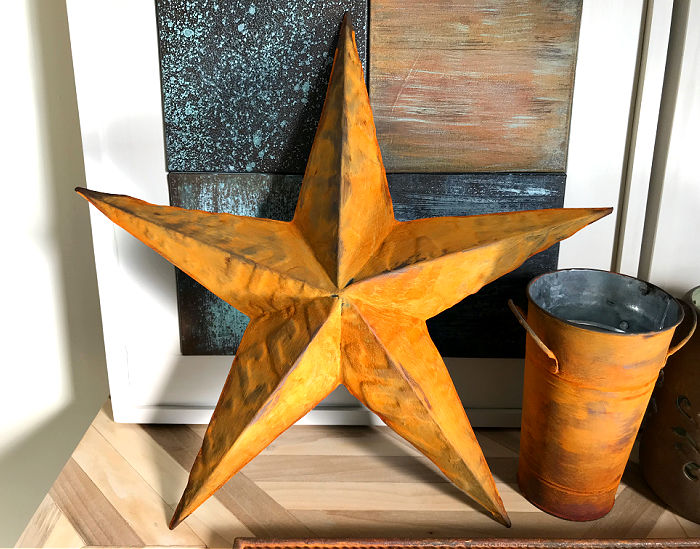
Once that dried, I applied 2 coats of Iron Paint. Again, follow the directions that come with your paint. BEFORE THE SECOND COAT DRIED, I sprayed on a light layer of the Patina Spray.
THEN, I came back 2 hours later and sprayed on another much thicker layer of the patina. You can see it in the video.
Both pieces were dry by this point. I’m not sure if this caused the orangey rust paint look that I wasn’t getting before. Like I said, it’s not a science. But hopefully this helps you recreate the look. 🙂
Rustic Looking Brown Rust Finish
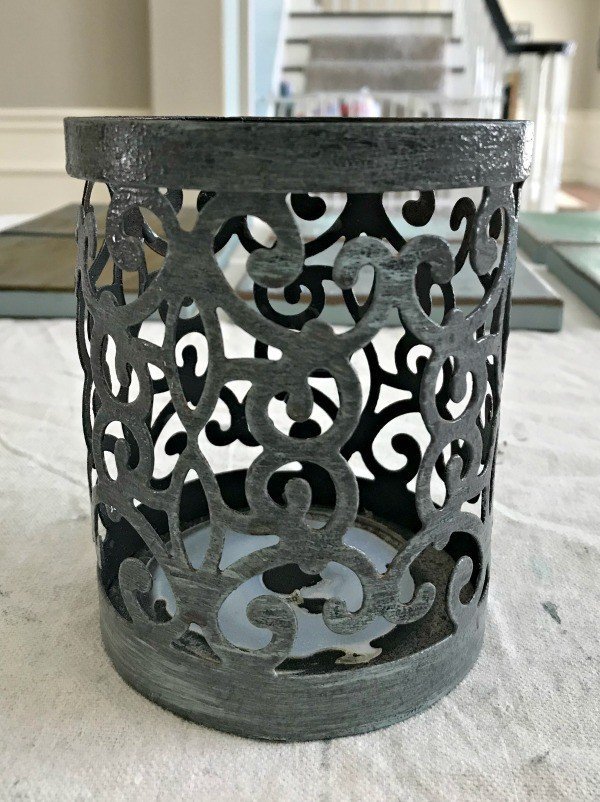
For the next 2 examples, I used a chip brush to apply a light, dry-brushed layer of a medium blue chalk paint as the base.
As you can see, I didn’t fully cover the original black color the decor had. But, it was mostly covered, providing a great surface for the paint to stick too.
If you are painting a slick, non-porous surface like glass or ceramics, I’d cover the surface with 2 full coats of chalk paint as a primer. That’ll make sure that the rust paint sticks to your project.
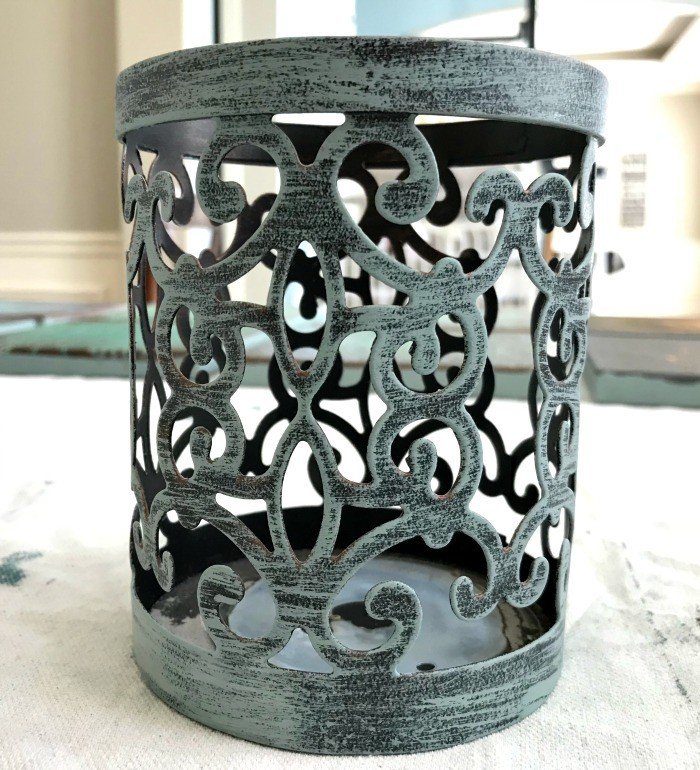
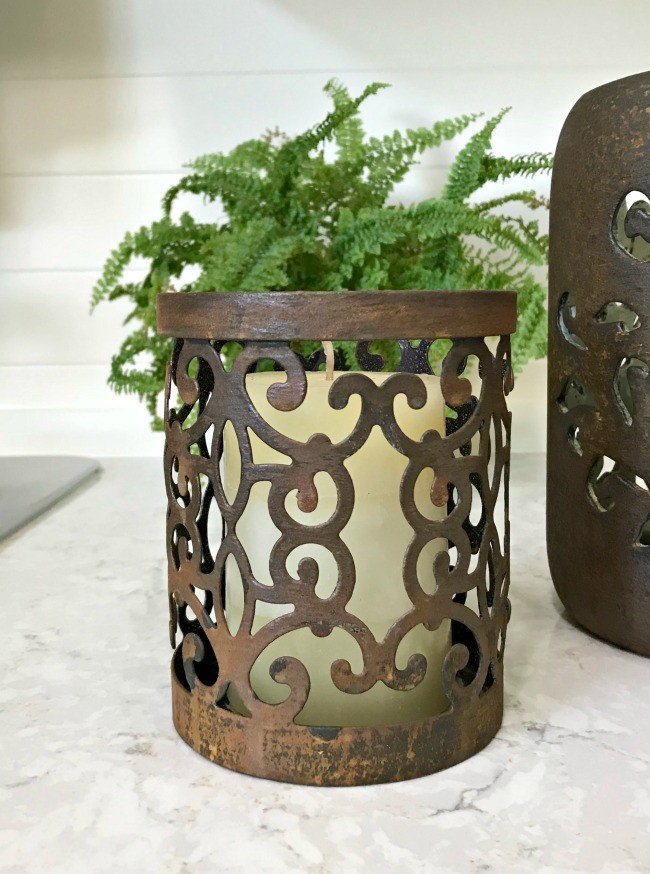
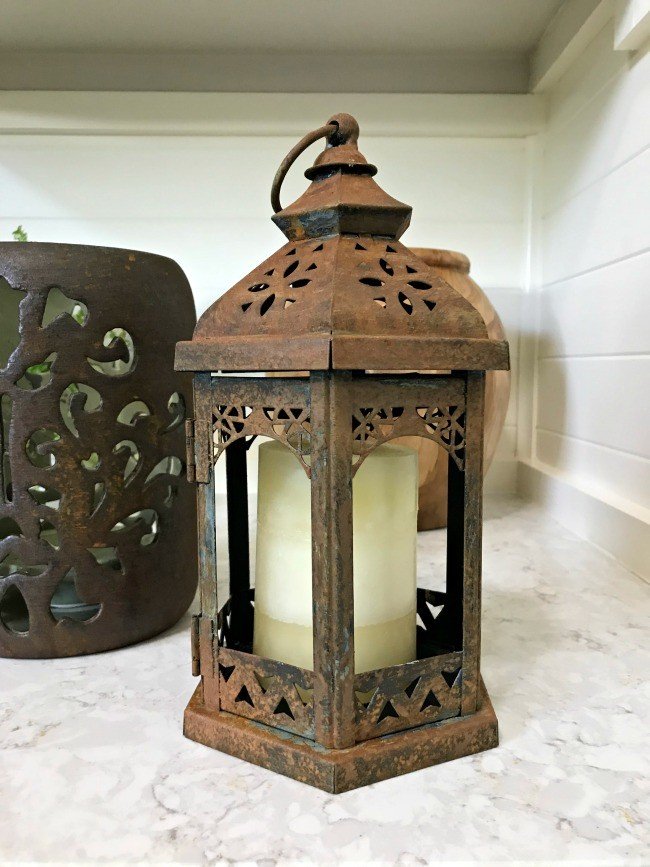
Once the chalk paint is dry, use the chippy brush to dry brush an uneven layer of the iron paint.
Again, the Iron Paint wasn’t completely covering the piece either. Probably just 90% of the blue and black was covered.
Spray on the green patina while the iron paint is still wet. A few light sprays will provide a slight rust look, more sprays will make the rust stronger.
All Over Rich Brown Rust Finish
These next pieces pretty much follow the steps that come with the Iron Paint and Patina Spray. I covered them completely with 2 coats of a dark grey chalk paint.
Then I applied 2 coats of the Iron Paint. Let the first dry, then spray the oxidizing patina spray when the 2nd coat is still wet.
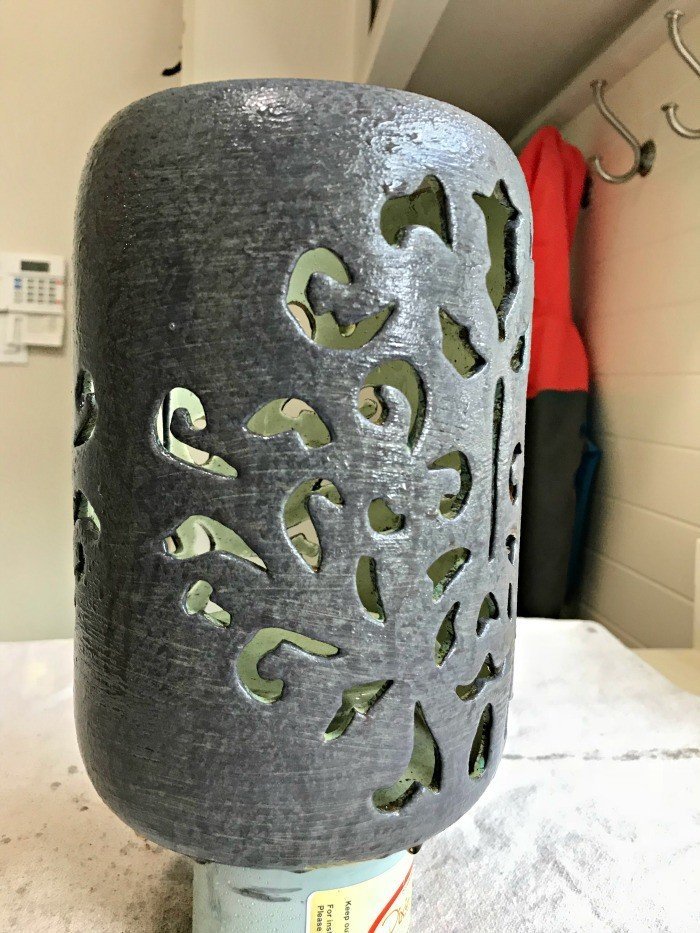
I followed those same steps on this gorgeous mirror too. I struggled with finding the right look for this mirror in our Powder Room for a couple years.
It always looked cheap, for lack of a better word, before I tried this rust look. It came silver, was blue at one point, and a creamy white. None of it look right until I tried this Easy DIY Rust Paint Effect on it.
Using Iron – Rust Paint on Canvas
You can find the full tutorial for the 20 different canvases I made in the How to Faux Patina Metal Finishes post.
You’ll see the steps for the Copper and Bronze versions in that post. Now let’s check out how I did the easy DIY Rust Paint Effect on those Rust canvas beauties.
And remember, you can totally do this on furniture too.
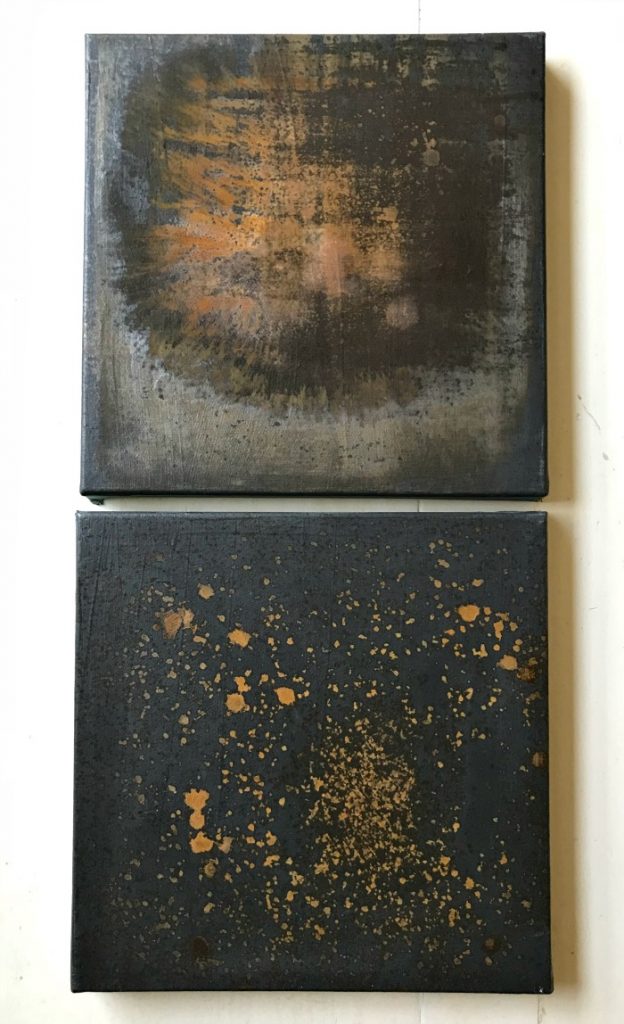
On the top canvas above, I applied a thick coat of Iron, then sprayed the top with enough green patina to make it pool up in that area that has that great rust explosion look.
Just make sure it isn’t so wet that it won’t dry. I probably sprayed 8 times on the lowest setting.
The bottom canvas above has a thick coat of Iron Paint with just a few light sprays of Dixie Belle Green Patina.
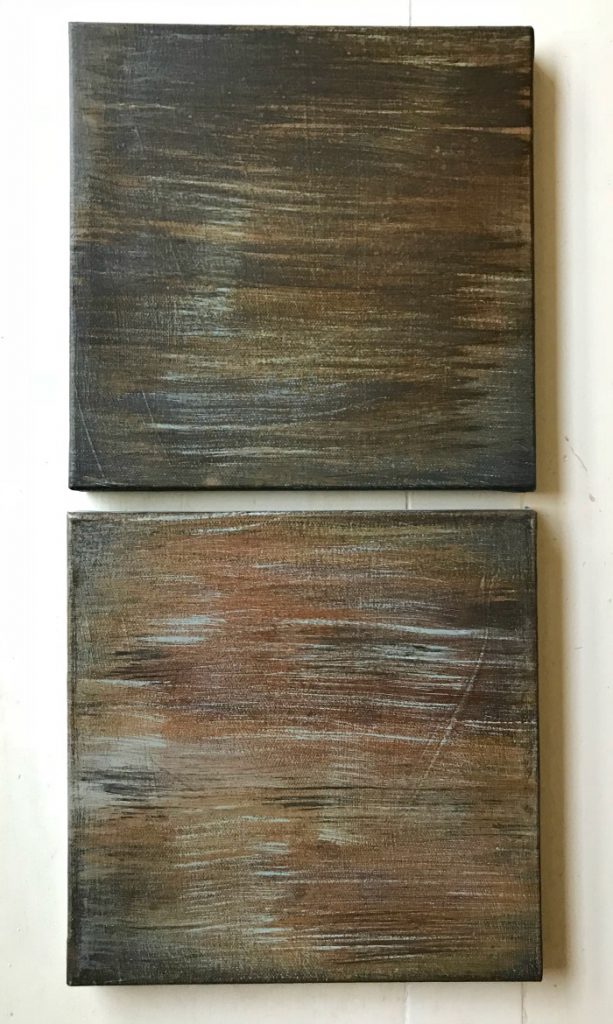
On the top canvas above, I started with a wet layer of Iron, then sprayed Green Patina on that and lightly spread it across the surface with a foam brush.
Once that reacted and dried, I used a cheap Chip Brush to dry brush fine lines of the Iron Paint and just a little Dixie Belle Vintage Duck Egg Chalk Paint over the rust patina.
Chip Brushes are great for dry brushing since the bristles tend to be a little uneven. Just barely dab the end in paint and lightly blot on a paper towel before brushing it on your DIY Faux Patina Paint look.
On the bottom canvas, I followed the exact same steps, but this time I used less dry brushed Iron Paint over it and more Vintage Duck Egg.
Steps to Update Small Areas with this DIY Rust Paint Technique

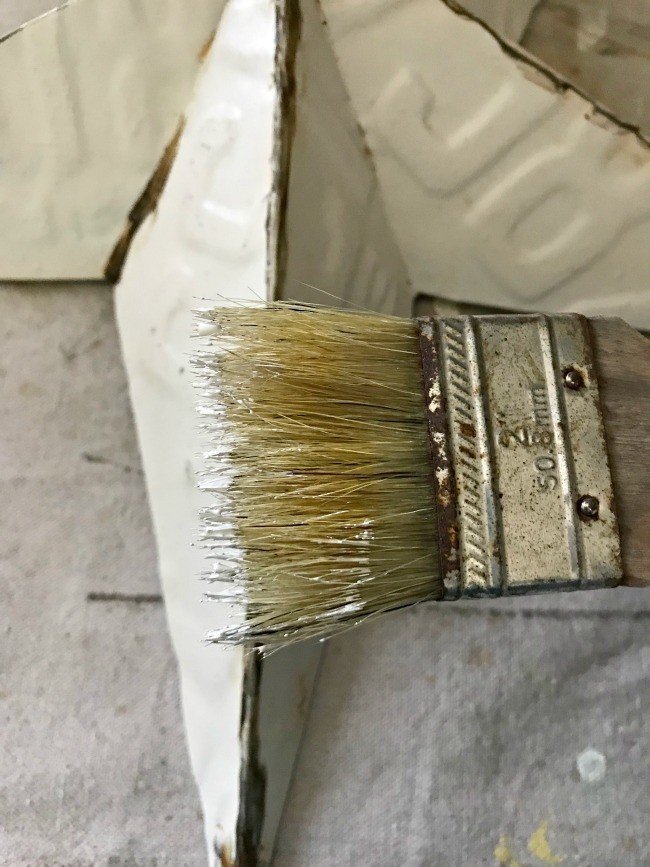
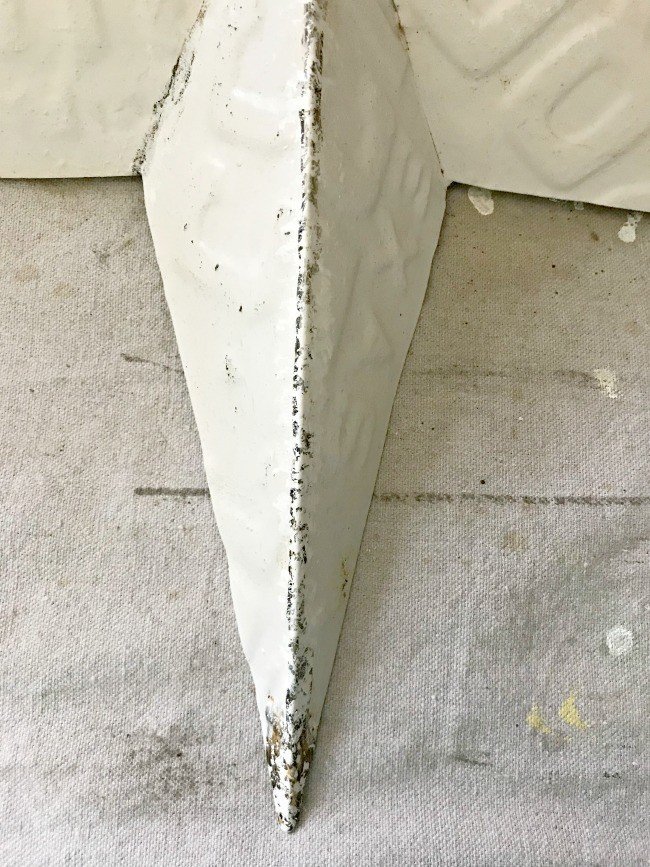
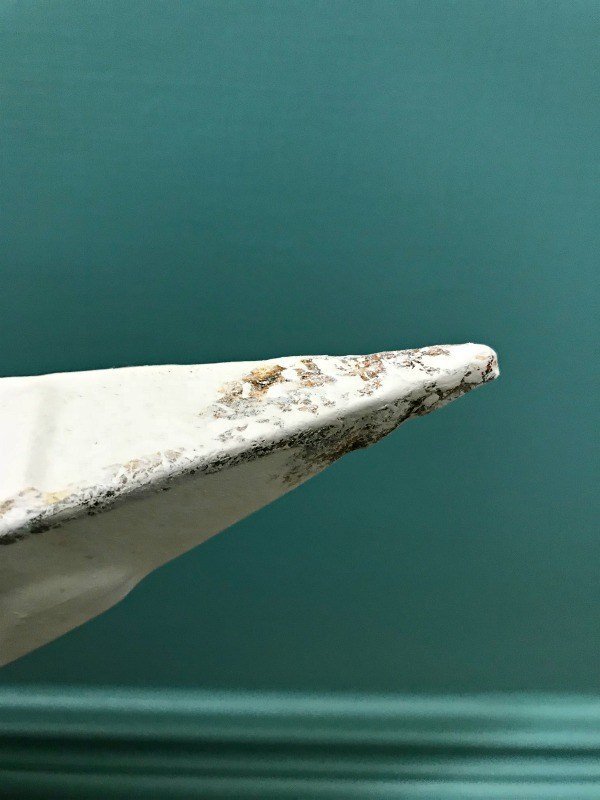
That’s it, for this Easy DIY Rust Paint Effect. What do you think? Are you a fan of this rust patina paint look?? Let me know if you have any questions! I’m always happy to help. 🙂
More DIY Projects I LOVE
Looking for more easy DIY paint project ideas? You can see the video tutorials in this YouTube Playlist.
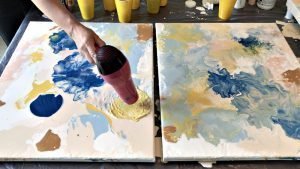
And, I love, love, love this DIY Acrylic Paint Pouring Wall Art tutorial.
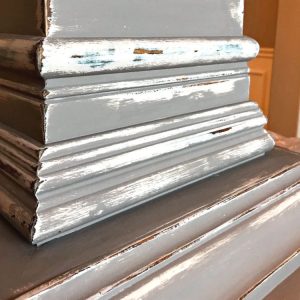
This DIY White and Grey Distressed Paint Makeover is so pretty and pretty easy too.
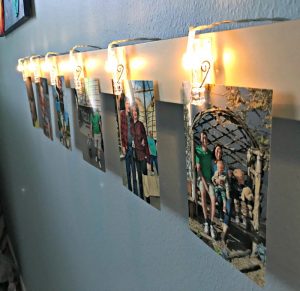
Or, this fun DIY Light Clip display board. Works great with photos, notes, school papers, and kid’s artwork!
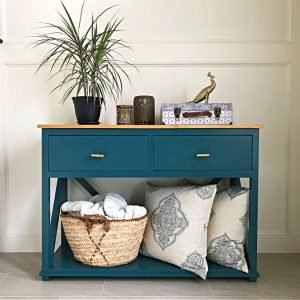
And, finally, for my woodworking friends, check out the build plans for this DIY Console Table Plan with Drawers. It’s one of my favorite builds.
Feeling inspired? Have fun with this Easy DIY Rust Paint Effect and let me know if you have questions. Don’t forget to sign up for the Abbotts At Home email newsletter to get DIY, Remodeling, and Crafty ideas in your inbox.

Stephanie Abbott has been remodeling homes, updating & building furniture, and working on DIY home maintenance and cleaning tips for over 20 years. Her remodeling has been featured in Better Homes and Gardens Magazine. And, her DIY YouTube channel has had more than 8 million views.
Most of the DIY tutorials and videos on this site focus on beginner to intermediate level DIY Projects that can be done in an affordable way without high-end, expensive tools. All of the cleaning tips on this website have been tested in her home.

