Make this beautiful and simple scrap wood wall art with these easy to follow DIY steps and a short video to help you get started.
How to Make Simple Scrap Wood Wall Art
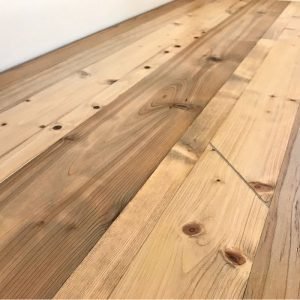
I shared the original design and build steps for this Simple Scrap Wood Wall Art in a previous post. But, when I decided to move it, I wanted to update the paint colors to match the new room.
So, today I’m sharing how to build and paint simple scrap wood wall art. AND how to paint it again later, if you want to refresh the style. 🙂
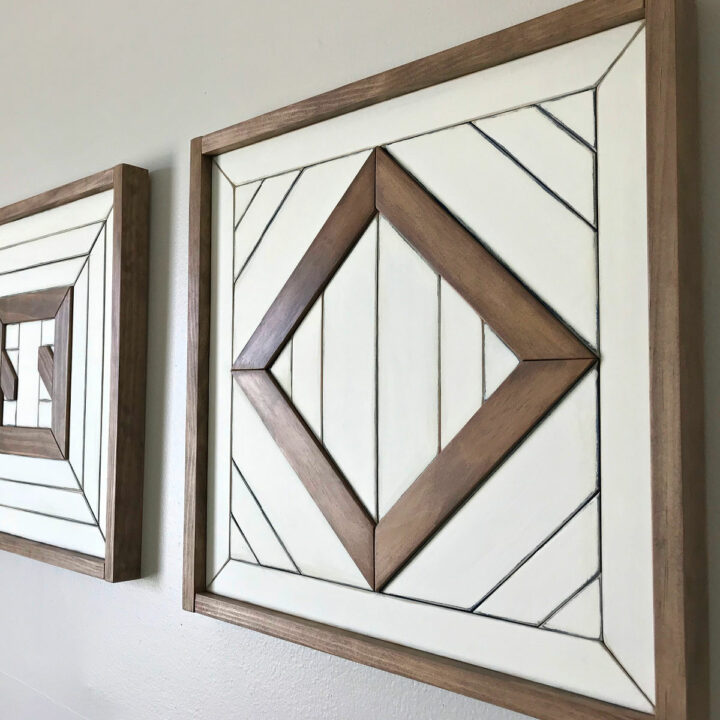
I loved the original colors of this scrap wood wall art, but they just didn’t fit in any of the rooms I wanted to use them in. I needed to figure out a way to update the look without filling in the beautiful lines between the pieces.
Those lines are half the character and beauty of wood wall art, right? I was worried, but this simple scrap wood wall art paint makeover was pretty easy, guys.
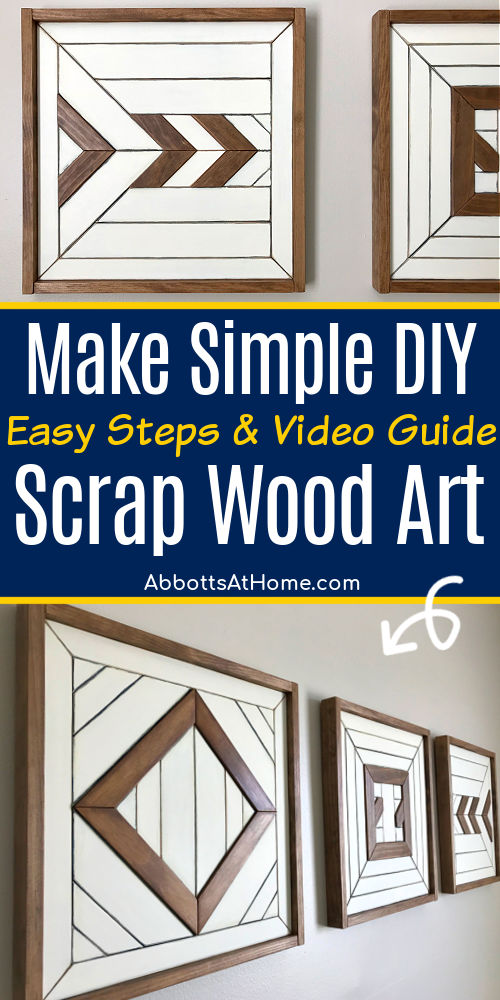
How To Build DIY Wood Wall Art – Video
If any of the written steps are confusing, you can see the all of the steps in the video below.
You can find more design inspiration for geometric wood art and table tops in some of my other tutorials. Check out this beautiful Poplar DIY Geometric Wood Table Top.
And, the amazing variation in Cedar designs in this DIY Wood Mosaic Table Top or this DIY Chevron Wood Wall Art Tutorial.
Step by Step Guide
Building and painting your own scrap wood wall art is kinda addictive. It’s a fun way to be creative and try new woodworking designs and techniques. And, it’s a great way to use up those wood scraps we all hoard. 😉
Step One
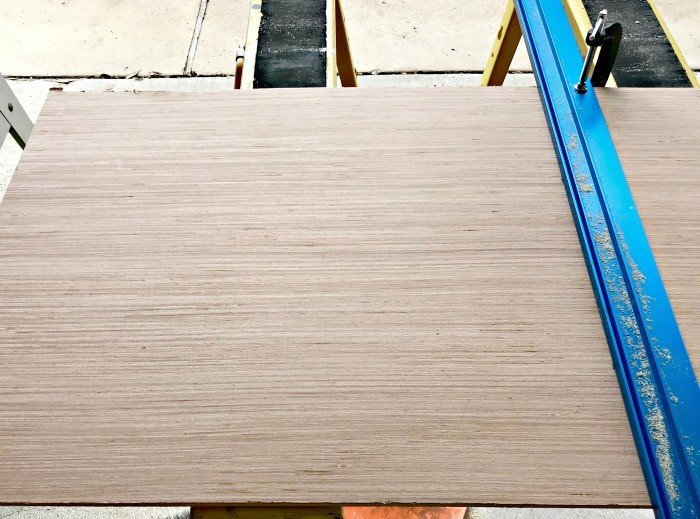
Decide on the best size DIY Scrap Wood Wall Art for your space. I went for 3 – 18″ x 18″ pieces for a large wall. Cut your plywood base to size. Remember, the outside frame should be 1/2″ wider than the plywood base.
Keeping the plywood smaller will keep it out of sight when you hang it on a wall.
Step Two
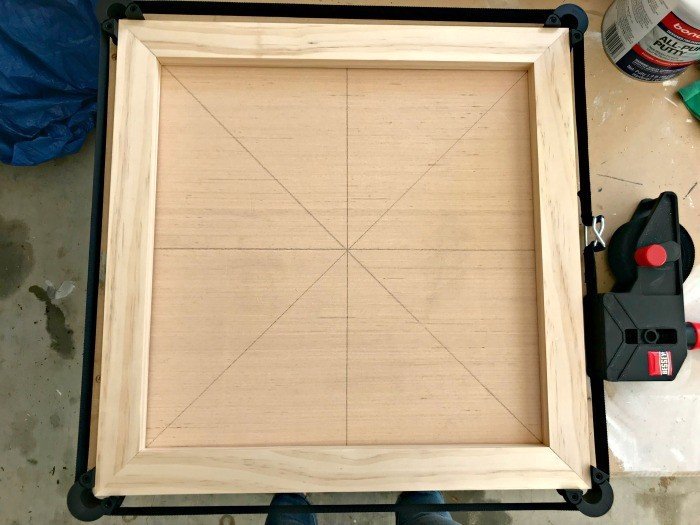
Next, I used a straight-edge to mark corner to corner and across the middles. Those marks just helped me make sure the design stayed centered.
Step Three
Each of my 3 Simple Scrap Wood Wall Art designs, started with an outside frame. Clamping those together made it easier to hold the inner pieces in place while I worked on the design.
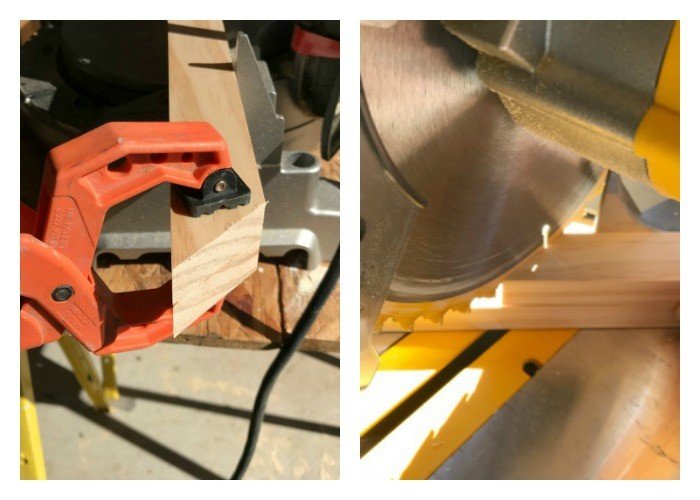
Each piece has to be cut to the exact same length to get a perfect square. I usually use the first piece as a cutting guide for the rest. Just clamp the piece to the top and line the blade up with the edge on the top piece before cutting the bottom piece.
Step Four
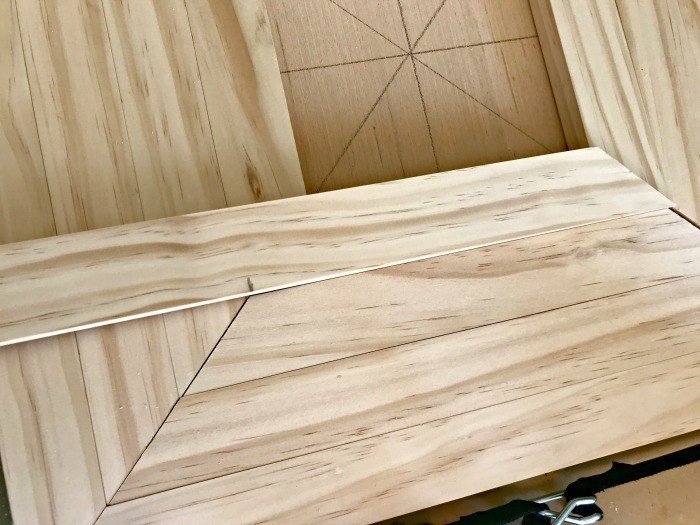
Once the outside frame is cut and clamped in place, you can start cutting the inner pieces for your Simple Scrap Wood Wall Art. You can use my designs as a guide or pick your own. Instagram and Pinterest are full of inspiration.
I decided that I didn’t want to make cuts along the length of any boards, to avoid using my table saw. So I worked my way from the outside to the inside, using 2″ or 3″ wide boards to give more variation and interest to the design. I also stuck with just 45-degree angle cuts.
Use as many full width pieces as possible. My small triangles in each piece are the pieces that needed cutting on the width and length of the design. The last couple of pieces may need to be cut carefully with whichever saw you are comfortable using for the job.
Be sure to follow safety rules for the saw. For pieces that are just a bit too long for the space, only shave small amounts off until you get a tight fit. I’ve wasted too many boards over-cutting pieces in the past.
Do not get your hands anywhere near the blade. Start with a long enough piece of lumber to keep your hands away. Cut the angle you need on one end of the board. Then cut off the end to complete the cut.
You can find 4 Tips for How to Safely Cut Small Wood Pieces on a Miter Saw in another post.
Step Five
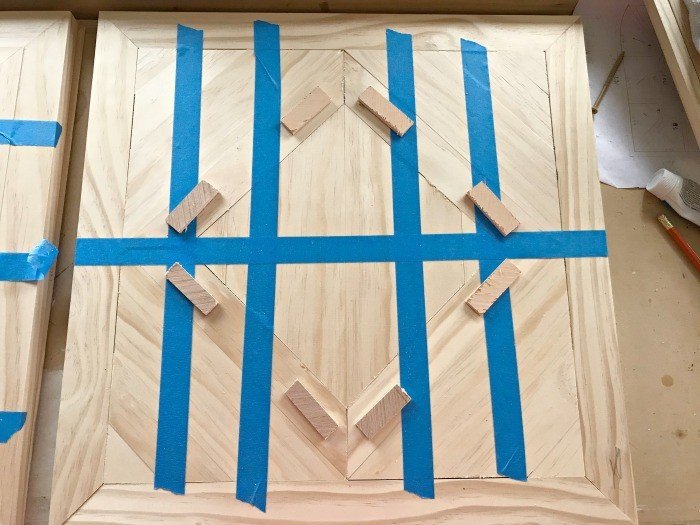
When you have the whole design finished and set in place to make sure you have nice tight miters, pick a few boards to raise with 1/4″ scraps, biscuits, mdf, etc. I went with 1 pattern in each piece to raise.
Step Six
Now you can sand the boards with a medium grit sandpaper, like 150-grit. But make sure you remember where each piece goes. I sanded the top and sides of each board. I also sand down all corners a bit to give it a rounded, finished look.
You can see what I’m talking about in the close up. It’s a bit like creating a Chamfer edge with sandpaper. So, it’s not perfect but I love the look.

Staining and Painting Your NEW Wood Wall Art
Now, before assembling all these pieces, I apply the finish. Pick whichever acrylic paints, chalk paints, latex, and/or stains will work with your design. You should use a good nylon paint brush or foam sponge brushes to get a smooth finish on the pieces.
If you have a latex paint you want to use, I highly recommend using this DIY Chalk Paint Recipe from Latex Paint to turn latex paint into quick drying and easy to use chalk paint. Chalk paint is easier to sand and dries harder than latex.
Dust the pieces clean. Then, apply the stain or paint to each piece and let dry. Sand the edges for a pretty distressed look. Dust again. Finish by applying a matte poly top coat over each board.
What You Need
- 1″ Foam brush or Smaller, depending on the width of your boards
- Chalk Paint will work best, this set of 9 from Folk Art is beautiful
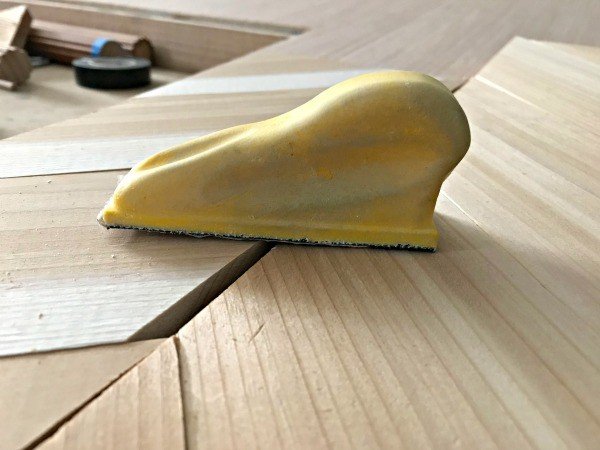
- A Small Detail Sander, like the finger-sized Micro Zip I used
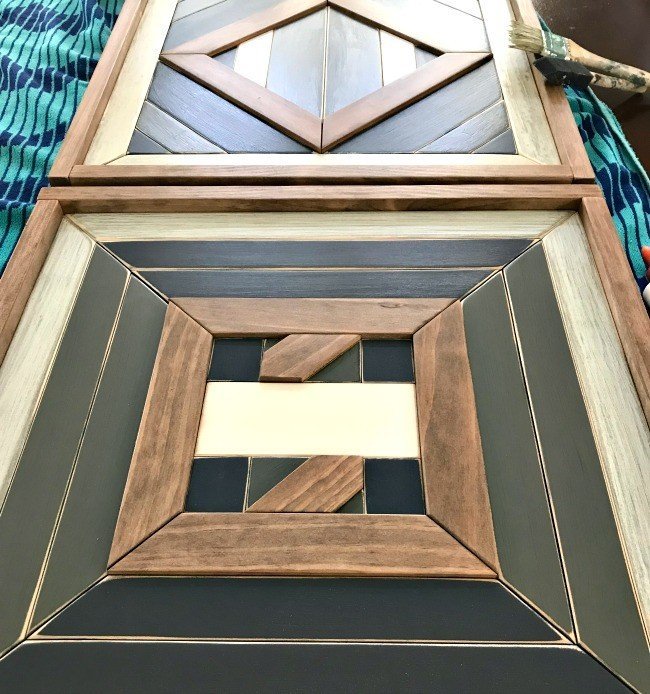
How To Re-Paint your DIY Wood Art
The key to this makeover is time really. Take your time repainting each piece and avoiding the lines between the pieces, as much as possible. A small foam brush works perfectly here.
The paint can be applied exactly where you want it and without brush lines with a foam brush. They’re really great at getting into corners and angled spots too.
I went with chalk paint for this DIY scrap wood wall art paint makeover for 3 reasons. First, it dries so quickly, you can apply another coat in less than an hour. Sometimes faster.
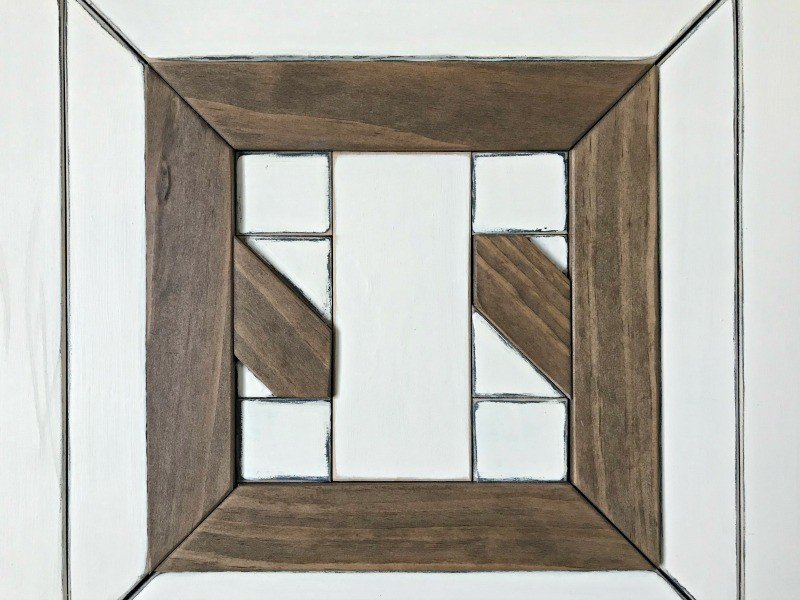
Second, chalk paint sands really well. It’s easy to distress with chalk paint and keep a nice smooth, pretty finish. Plus, it comes in so many great colors now or you can mix your own from the Latex Paint in your garage. Win!
Third, chalk paint sticks to most finishes without a primer. So, it will stick to the poly top coat on these pieces without a primer.
After Painting
After you’ve got each piece repainted and it’s dry, you can sand the lines again. I used my little Micro Zip to distress all of the lines between the pieces.
This just smooths out those sharp paint lines and adds a bit of extra detail and character to the paint finish.
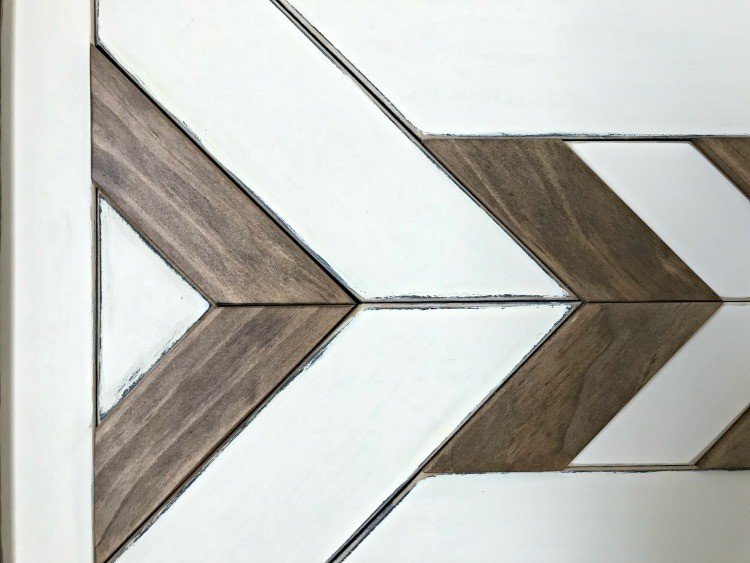
I love the hints of blue and grey from the original colors peeking through around those distressed edges.
Dust the pieces clean of all sanding dust. Then finish by applying a matte poly top coat over each piece. Keep it light so that it doesn’t settle in the gaps between the pieces.
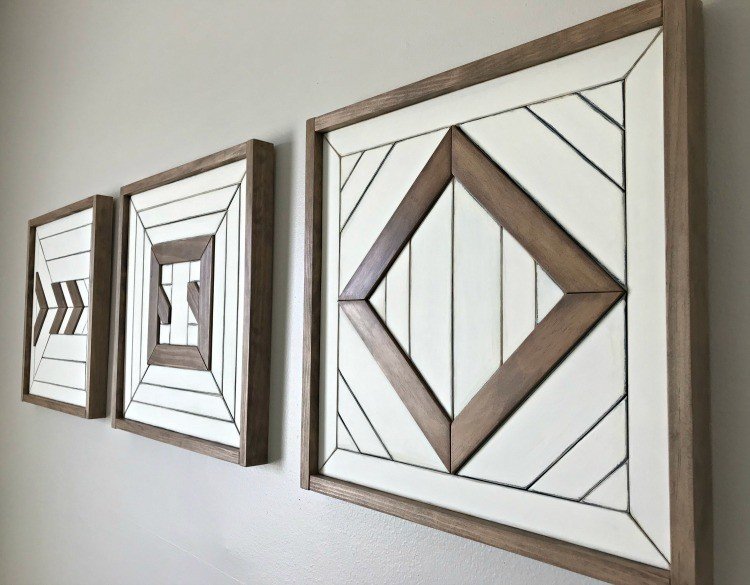
That’s it. This wood wall art makeover is easy, peasy. Right? I’m so glad I went for it. No need to build new scrap wood wall art when the original can be updated. 🙂
More DIY Projects For You
If you’re ready for another wood art project, you can see all of my Geometric and Scrap Wood Videos in this Playlist on YouTube.
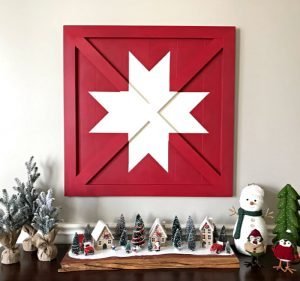
Looking for more DIY Wall Art Ideas? Try this Wooden DIY Barn Star Art for your next build.
Here’s another great way to use Scrap Wood. Check out this DIY Scrap Wood Table Top Tutorial.
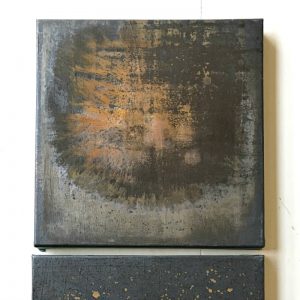
Give furniture or old decor a great new look with this Easy DIY Rust Paint Effect.
Check out how easy it is to use Metal Patina Paints.
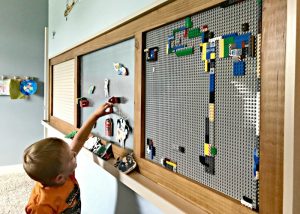
Or build your kids this great DIY Farmhouse Activity Board.
I love this beautiful DIY Acrylic Paint Pouring Wall Art tutorial.
Feeling inspired? Now you know how to do this Simple Scrap Wood Wall Art Paint Makeover. Have fun and let me know if you have questions.
Don’t forget to sign up for the Abbotts At Home email newsletter to get DIY, Remodeling, and Crafty ideas in your inbox.

Stephanie Abbott has been remodeling homes, updating & building furniture, and working on DIY home maintenance and cleaning tips for over 20 years. Her remodeling has been featured in Better Homes and Gardens Magazine. And, her DIY YouTube channel has had more than 8 million views.
Most of the DIY tutorials and videos on this site focus on beginner to intermediate level DIY Projects that can be done in an affordable way without high-end, expensive tools. All of the cleaning tips on this website have been tested in her home.

