
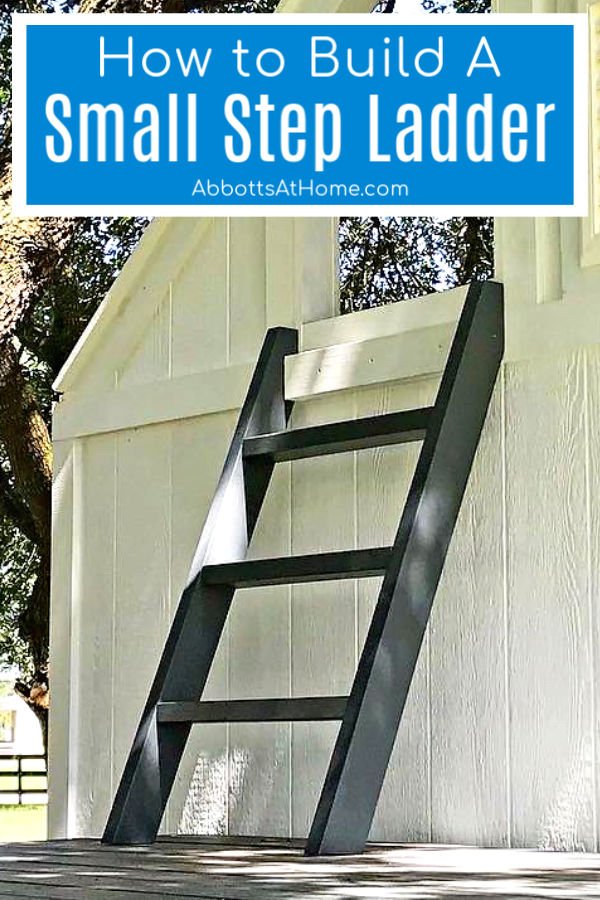
EASY DIY guide for how to make a Wooden Step Ladder from 2×4’s. Build a ladder any size. Perfect for a playhouse, loft bunk bed & tiny house.
How To Build A Wooden Step Ladder
Hi guys! I’m back with another DIY project from that big Kids Backyard Playhouse I’ve been working on. And, I have to say, DIY Step Ladder was way easier to build than I expected.
But, there are a few tricks to it. So, if anything in the written steps to build a wooden ladder are confusing, watch the short video for another explanation for getting your angles right.
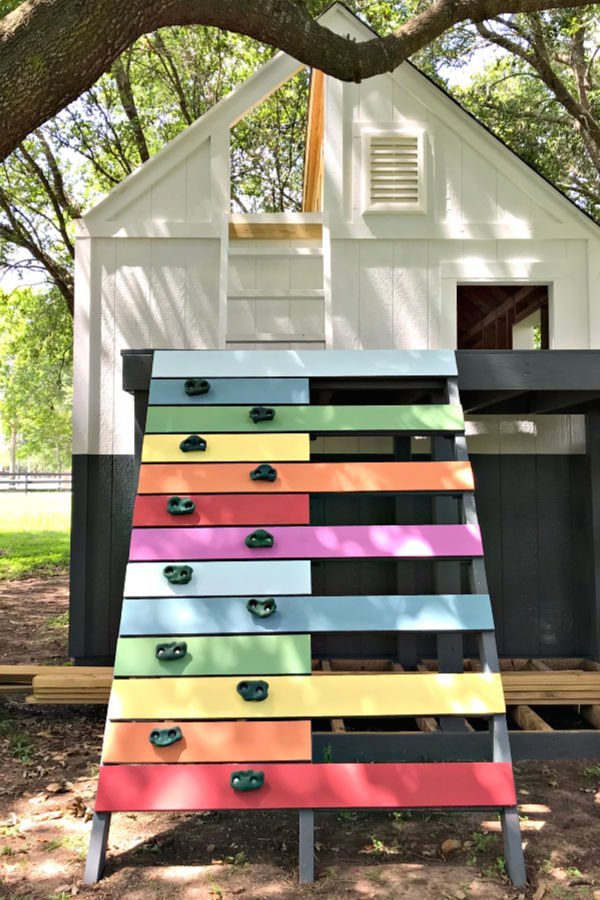
If you want to see more DIY’s from our backyard, check out this easy, cute, and colorful DIY Kids Climbing Rock Wall or this DIY Swing Set Frame From 4×4’s.
But, don’t worry, this DIY 2×4 ladder isn’t just for backyard builds!
You can follow these steps to build a wooden step ladder for your bunk bed, loft, backyard play set, fort, tiny house or playhouse.
With a little wood filler and paint, this DIY ladder is super cute in a kids room. Let’s start with a quick look at the video.
Easy DIY 2×4 Ladder – Video Steps
I always think it’s easier to understand a project if I can see someone doing it. Here’s a quick, step by step walk through for how to build a ladder.
OK, now let’s get to those written steps!
How To Build A Ladder
What You’ll Need
Here’s a list of what you’ll need to make a leaning wooden Ladder.
- Tools: Power Drill and Miter Saw or Circular Saw
- For Exterior Ladders
- Pressure-Treated 2×4’s
- 3 1/2″ to 4″ Exterior Deck Screws
- Exterior Deck Paint or Stain
- For Interior Ladders
- Untreated 2×4’s, framing studs
- 3 1/2″ to 4″ Self-Tapping Wood Screws
- Chalk Paint, Wood Stain, or Latex Paint would all work
Step One
Note: You can see exactly how I mark and cut these angles in the video above.
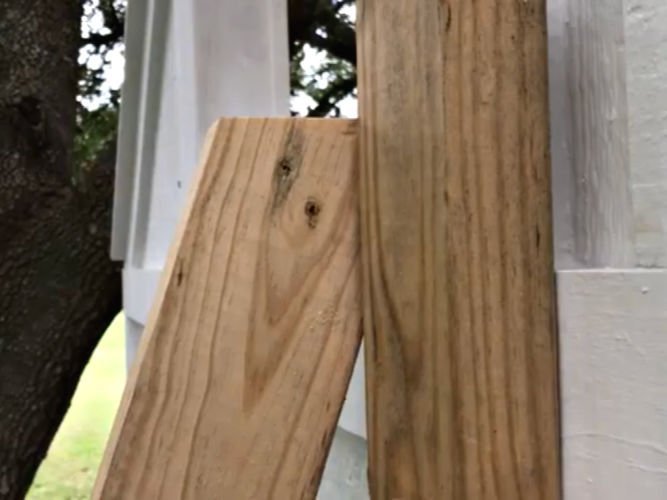
Start by leaning a 2×4 against the wall where you want to lean your wooden step ladder. I think that makes it easier to decide what angle will be most comfortable for that spot.
Once you have the lean right, put another 2×4 on it’s side, on the floor, against the leaning 2×4. Use a pencil to mark the angle you’ll need to cut on your miter saw.
After marking the angle, line up the cut on your Miter Saw so that the blade will cut along the pencil mark. Be sure to follow safe usage rules for your Miter Saw when making the cut.
If you don’t have a Miter Saw, you can build a small step ladder with a circular saw instead. You’ll have to use a Speed Square to mark your angles.
Step Two
Once the bottom of the ladder is cut, cut the length of that 2×4 so that it’s even with the top of whatever it’s leaning against.
Use another 2×4 laying across the top of the playhouse, loft, bed, or whatever it is to mark that angle cut. You want the top of the ladder even with the top of where it will be installed.
That top angle should be the same as the angle you cut on the bottom too. But, it’s always worth a double-check.
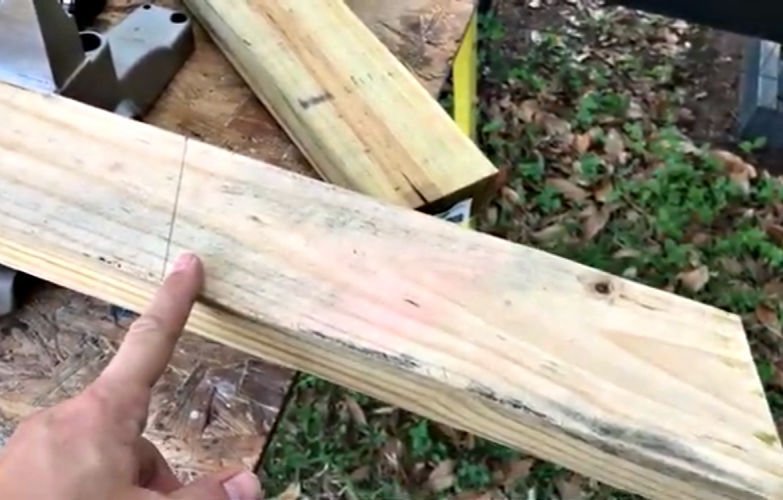
Now that the height is right on your DIY wooden ladder, you need to cut the back of the ladder to get more contact against the wall it leans on.
To do this, I hold a board flat against the spot, then use that board to draw a straight cut line on the side of the 2×4.
Now that you have the first side of your ladder cut and you’ve checked to make sure it’s perfect, you can use that as your template for your cuts to make the other side of the ladder.
Step Three
Use the same angle you used for the bottom of the ladder to mark the steps on your ladder. That will make your steps perfectly level with the floor or ground beneath the DIY ladder.
For a kids ladder keep the steps 9 to 12″ apart, depending on the age of the kids. To build a small step ladder for grown ups, I’d stick with 11 to 13″ spacing.
You can see an explanation of how I picked the spacing for my ladder steps in the video above.
Basically, I measured the length of my sides and picked a spacing that didn’t leave me with an awkwardly short or long top step.
Step Four
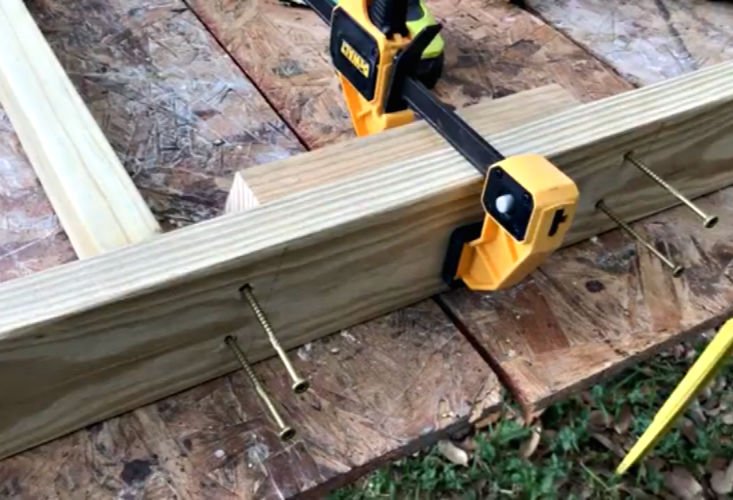
Cut your ladder steps. Around 18″ is a comfortable width for climbing, but you can adjust that for your space. Then screw the steps into place using the marks you made as a guide to keep the steps level.
You can also use 2 scrap blocks cut with your angle to stop the steps from moving while you’re screwing them into place.
Step Five
Paint, stain or seal your ladder, then attach it to the playhouse, fort, loft, or bunk bed you built it for. To attach the ladder, you can carefully screw through the top, front of the ladder sides.
Be sure to pick a screw length that goes deep enough into the wood you are attaching the ladder to to make it secure and sturdy. I’d use 2 screws on each side for this
OR, you can do what I did, and attach a 2×4 between the 2 sides, then screw the sides into that 2×4. I thought that would provide the strongest connection for me. But, if done correctly, either way can work. 🙂

That’s it for how to make a ladder with 2×4’s, keep scrolling for a printable version of these instructions.
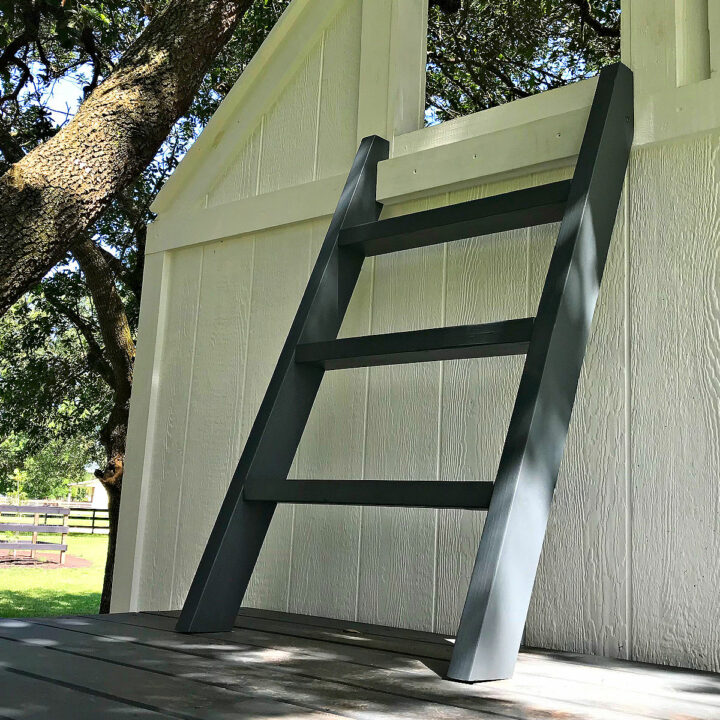
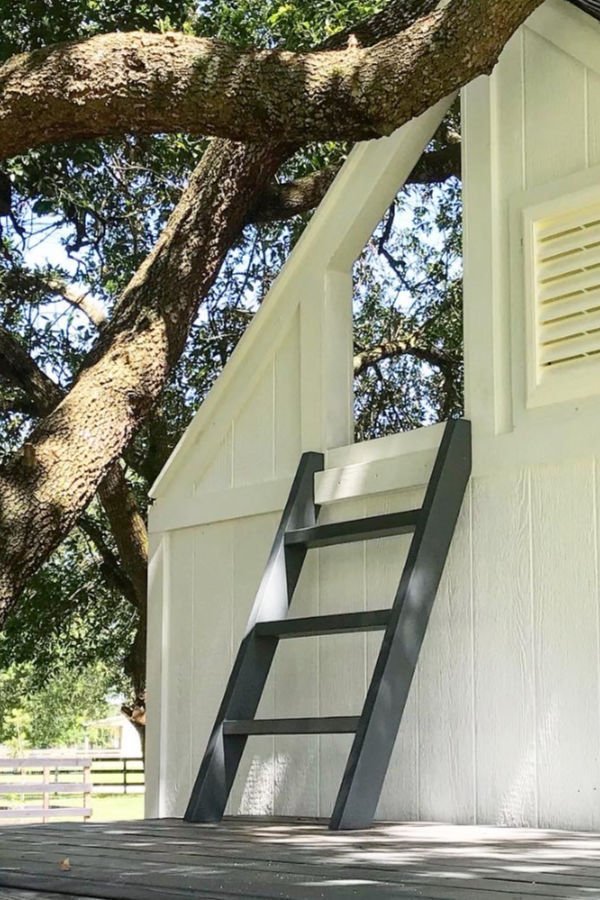
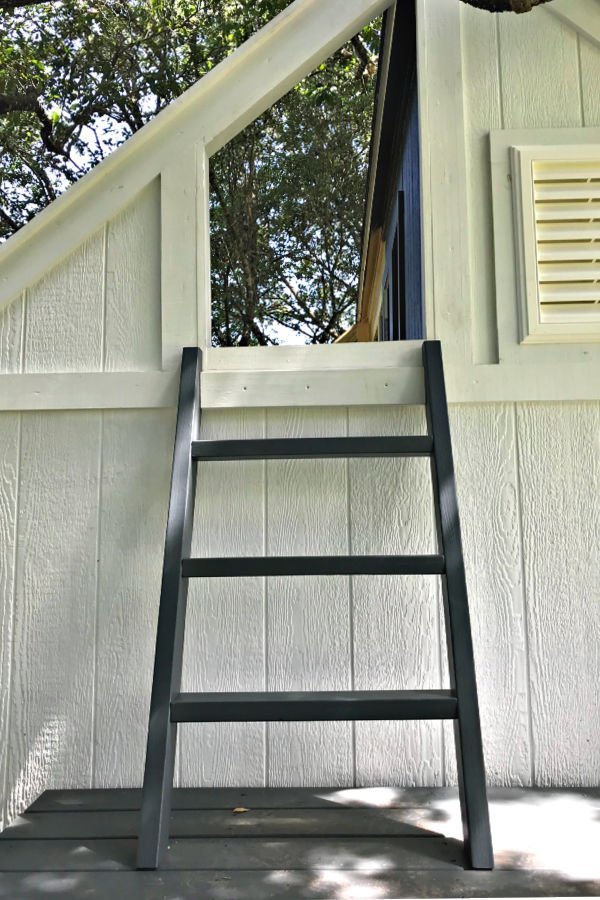
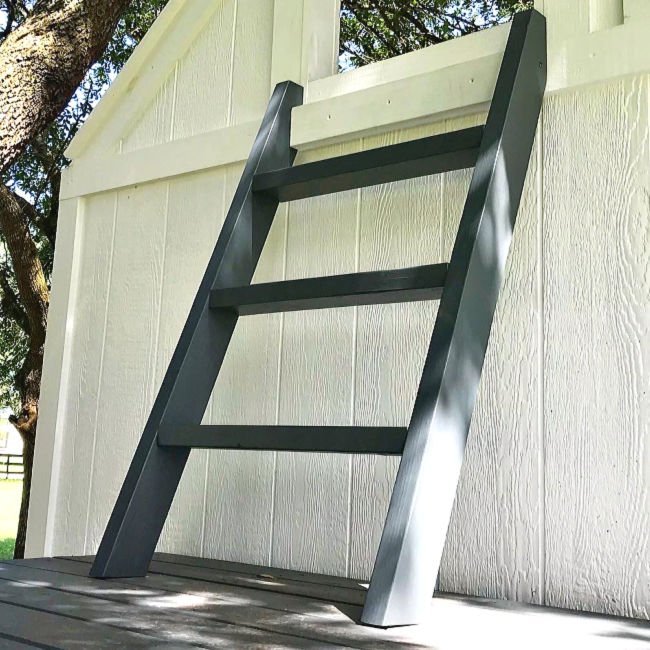
More Pics from this Build
Some more finished pictures the DIY wooden step ladder I made for our playhouse.

That’s it for how to build a wooden step ladder from 2×4’s. Here’s a printable version of these steps.
How To Build A Ladder, from 2x4's
Tools
- Power Drill
- Miter Saw
- Or Circular Saw
- 3 1/2" Self-Tapping Screws
Instructions
- If possible, lean the 2×4 against the spot where you need to build a small step ladder. I think that makes it easier to decide what angle will be most comfortable for that spot. Then, you can use a triangle calculator to find the angle for your miter saw. Use the height you need the ladder for one length. The distance across the floor or ground you picked for your incline. AND, lastly, 90 degrees as the angle between those 2 lengths. Then the triangle calculator will tell you what the angle of your cuts will be. Yay, for online calculators!!!
- Use a Miter Saw to carefully cut the bottom angle. Then you can put that board back in the spot you’re building it for to mark the spot to make the top cut with the same angle. If you don’t have a Miter Saw, you can build a small step ladder with a circular saw instead. You’ll have to use a Speed Square to mark your angles. The next step I use to build a small step ladder is cutting the back of the ladder so that it leans against the spot I’m building it for. To do this, I hold a board flat against the spot, then use that board to draw a straight cut line on the ladder side. You can make that cut with a Miter Saw or Circular Saw. Once you have the first side of your ladder cut and you’ve checked to make sure it’s perfect, you can use that as your template for your cuts on the other side of the ladder.
- Use the same angle you used for the cuts to mark the steps on your ladder. That will make your steps perfectly level with the floor or ground beneath the ladder. For a kids ladder keep the steps 9 to 12″ apart, depending on the age of the kids. To build a small step ladder for grown ups, I’d stick with 11 to 13″ spacing. You can see an explanation of how I picked the spacing for my ladder steps in the video above. Basically, I measured the length of my sides and picked a spacing that didn’t leave me with an awkwardly short or long top step.
- Cut your ladder steps. Around 18″ is a comfortable width for climbing, but you can adjust that for your space. Then screw the steps into place using the marks you made as a guide to keep the steps level. You can also use 2 scrap blocks cut with your angle to stop the steps from moving while you’re screwing them into place.
- Paint, stain or seal your ladder, then attach it to the playhouse, fort, loft, or bunk bed you built it for. To attach the ladder, you can carefully screw through the top, front of the ladder sides. Be sure to pick a screw length that goes deep enough into the wood you are attaching the ladder to to make it secure and sturdy. I’d use 2 screws on each side for this. OR, you can do what I did, and attach a 2×4 between the 2 sides, then screw the sides into that 2×4. I thought that would provide the strongest connection for me. But, if done correctly, either way can work.
Notes
I always think it’s easier to understand a project if I can see someone doing it. Here’s a quick step by step walk through of how I built this small step ladder from 2×4’s that I think will help you build your own.
More DIY Projects For You
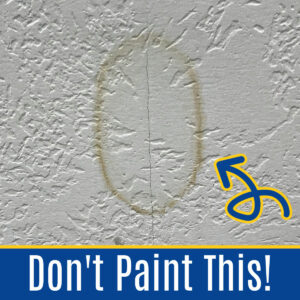
You might also like the Super Easy Way To Remove Water Stain from Ceiling Without Paint (1 Step).
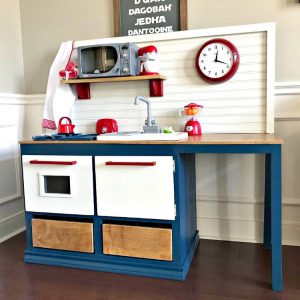
Or this step by step DIY Kids Play Kitchen tutorial with printable build plans.
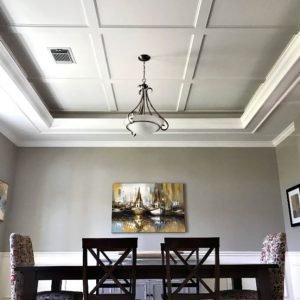
You might also like this Simple DIY Coffered Ceiling Design makeover.
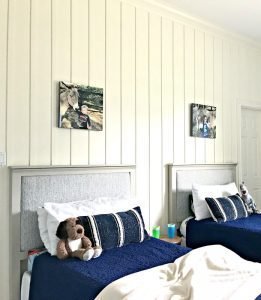
Or this beautiful DIY Board and Batten Wall tutorial.
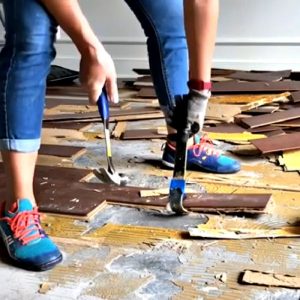
Check out How to Removed Glued Wood Flooring on Concrete.
That’s it for how to make a wooden step ladder from 2×4’s. Let me know if you have questions. Don’t forget to sign up for the Abbotts At Home email newsletter to get DIY, Remodeling, and Crafty ideas in your inbox.

Stephanie Abbott has been remodeling homes, updating & building furniture, and working on DIY home maintenance and cleaning tips for over 20 years. Her remodeling has been featured in Better Homes and Gardens Magazine. And, her DIY YouTube channel has had more than 8 million views.
Most of the DIY tutorials and videos on this site focus on beginner to intermediate level DIY Projects that can be done in an affordable way without high-end, expensive tools. All of the cleaning tips on this website have been tested in her home.