Every DIYer should know how to stain wood furniture without sanding or stripping off the old stain. It makes furniture, table top, or cabinet makeovers SO MUCH EASIER.
Furniture takes a beating over the years. The stain finish can get worn down, dinged, scratched and chipped. But, thankfully, you can give stained furniture a quick refresh in just one day.
Using most gel stains, you can darken wood furniture, or stay the same color, without sanding off the old stain. But, I usually use General Finishes Gel Stain because the finish always looks beautiful.
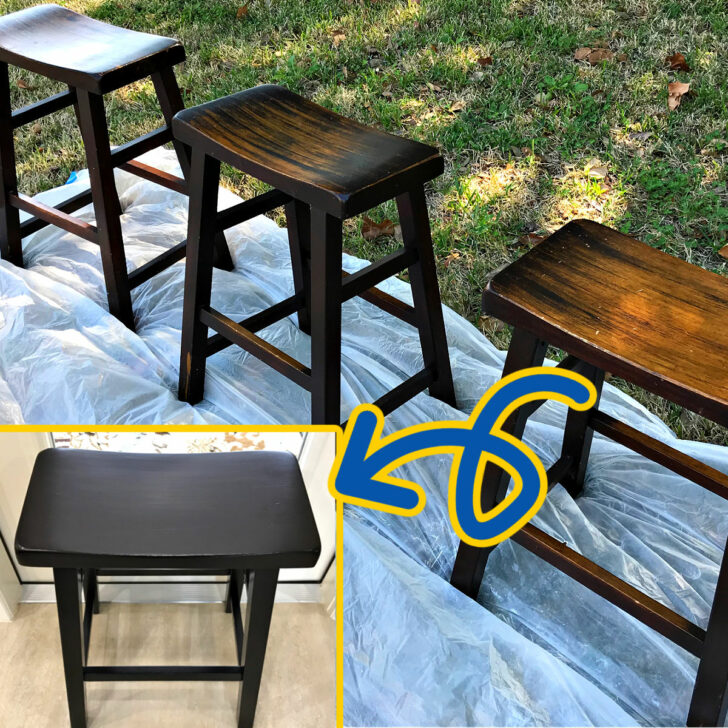
AND, if you have that old-fashioned orange tinted stain on any furniture, doors, stair railing, or any wood in your home, you can use these exact steps to cover that orange wood look with a darker wood stain.
So, the big question I always get about restaining wood furniture is “Can you stain wood without sanding”. You can, AS LONG AS you still prep the surface properly.
Now, let’s get to the steps to Stain Furniture Without Stripping or Sanding Off the old finish.
Table of contents
How To Restain Wood Furniture – Video
Seeing someone do something always helps me understand the DIY better. Watch this 3-minute video for a better look at each of the written steps below.
How To Stain Wood Furniture Without Sanding
Here’s What You’ll Need
- Fine Grit Sanding Block
- Medium Grit Sanding Block – for rough finishes (see step 1)
- General Finishes Java Gel Stain
- Foam Brushes
- Minwax Water Based Wipe On Poly in Satin Sheen
- OR General Finishes High Performance Top Coat
These steps are only for previously stained wood – painted and bare wood would have a few different steps. Always follow safety directions on any product you use.
If you want to stain bare wood a deep rich brown stain color, check out my Steps to Stain Wood post. Those steps will work on any bare wood.
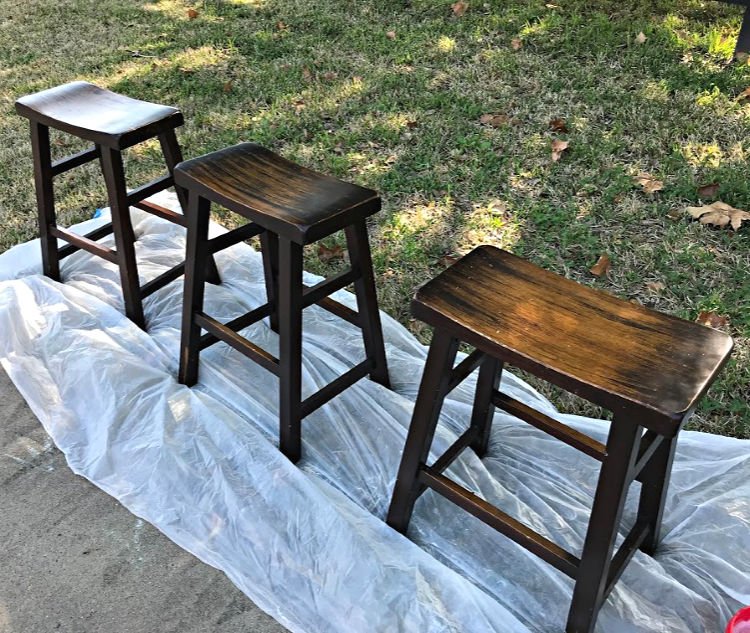
Step One – Clean The Surface
Use a little dawn and warm water or TSP to clean your furniture. Follow the directions on the container to get the best result.
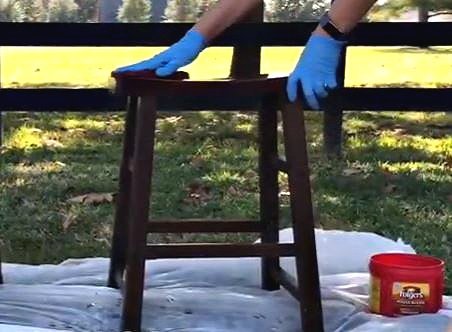
Step Two – Scuff Sand Or Apply Liquid
If you’re old finish is smooth enough for you to leave it alone, then lightly scuff sand with a fine grit sanding block. That will rough up the old finish enough for the new finish to bond to it.
If you don’t want to scuff sand, you could apply Klean-Strip Sander Deglosser instead.
If the old finish is rough to the touch, chipped, or uneven, then start by sanding it smooth with a medium grit sanding block.
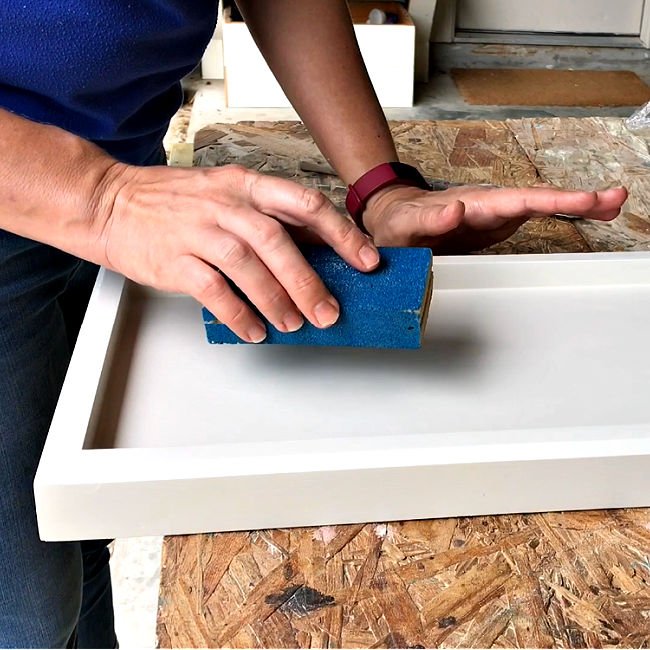
You don’t need to completely sand off the old finish, just sand the finish smooth so that it looks nice.
Then lightly sand the entire surface with a fine grit sanding block. That will rough up the old finish enough for the new finish to bond to it.
Step Three – Apply Gel Stain
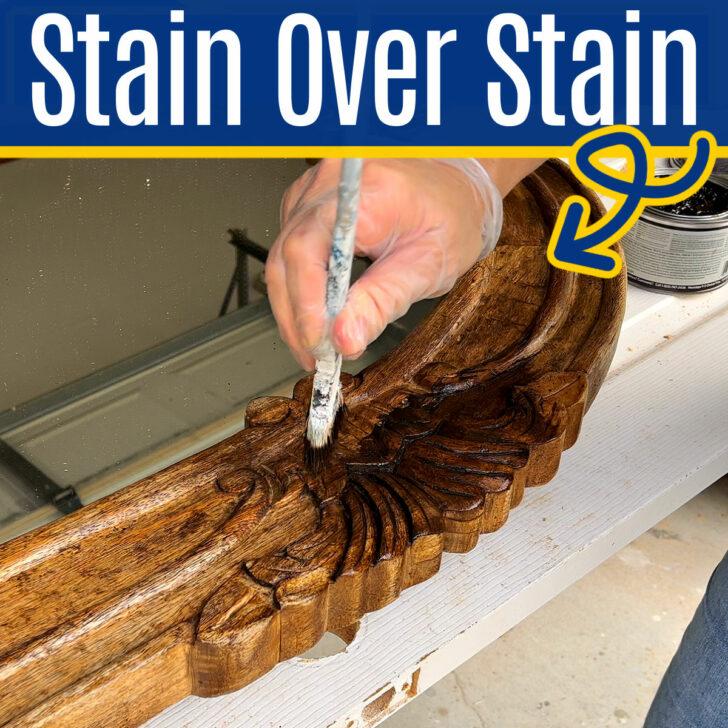
Next up, apply the Gel Stain with a foam brush. Apply a light even coat. Gel Stain can stay gummy and not dry completely if applied too thick. I used 2 coats to cover the original stain.

Step Four – Protect The New Stain
Let the stain dry according to the directions on the container. Then, seal and protect with 6 coats of Matte Finish Wipe On Poly. Or, if you prefer thicker, use your favorite brush on poly top coat.

RECOMMENDED: See how I turned an old 1980’s two-tier end table into a beauty with this DIY Coffee Table Makeover.
Can You Stain Wood Without Sanding?
Good news, you can stain wood without sanding the old finish off! But you’ll still have to do some prep to make the new gel stain bond properly with the old stain.
Start by always cleaning the old finish with a good cleaner and degreaser, like TSP. Be sure to rinse all of that cleaner off before moving on.
After that, there are two good ways to prep before you restain wood.

The first option is to apply Klean-Strip Sander Deglosser to the entire surface. Sander Deglosser doesn’t remove the old finish. It just makes the surface rough enough for a new coat of gel stain to stick.
The second option is to scuff sand the piece. Now, don’t worry, I said SAND but scuff sanding it’s not hard at all. You just lightly rub the entire surface with a fine grit sandpaper or sanding block.
With scuff sanding, you DO NOT have to sand off the old finish. You just want to make the old stain slightly rough so that the new stain can bond properly.
Check out the full steps for how to restain wood furniture above this question.
How To Restain Furniture Darker Without Sanding
You can restain furniture darker without sanding with these simple steps. First, clean the furniture with a cleaner & degreaser, like TSP.
Then apply Klean-Strip Sander Deglosser or scuff sand the surface with a fine grit sandpaper to make the surface rough enough for the gel stain to stick.
Next up, if you want to darken wood furniture, apply 2 or 3 coats of a darker gel stain over the old finish. Finish up with 2 coats of your favorite water-based top coat.
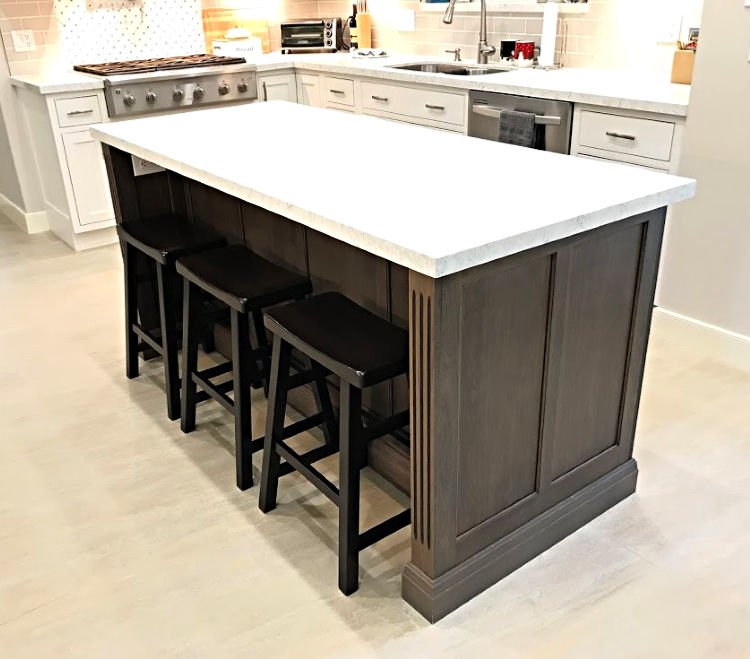
These steps work when you want to darken finished wood. You can also follow these steps if you want to stick with the original stain color.
This won’t really work if you want to lighten wood stain without sanding or stripping. If you want to go lighter, you’ll need to strip off the old finish somehow.
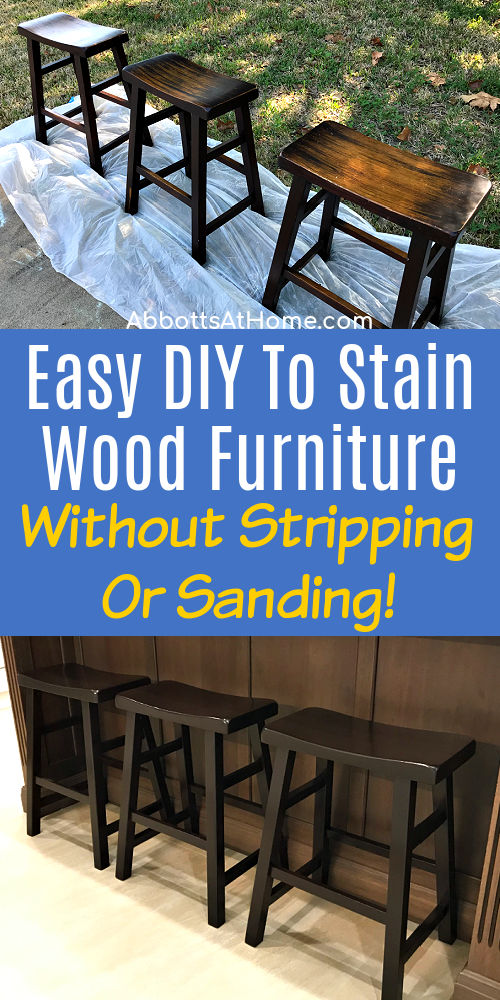
That’s it for how to stain wood furniture without sanding or stripping off the old finish! Easy, right? It just takes a little time to get this beautiful stained wood look on your furniture. 🙂
More DIY’s For You
- Stripping Paint from Wood Furniture With Citristrip: Easy Steps & Video
- 5 Best Ways to Remove Dried Citristrip on Furniture and Wood: Easy DIY
- How To Get a Smooth Finish with Chalk Paint (Easy Guide & Video)
- Easy Steps To Restain a Door without Removing It (One Day DIY)
- 8 EASY Ways To DRY OUT Paint Cans For Disposal (How To Harden Paint)
You might also like Testing 7 Easy Ways To Get Heat Stains Out Of Wood (With Video And Tips).

Here’s another distressed furniture painting project you might like, here’s the steps for the DIY White and Grey Distressed Paint Finish I used on my DIY Pedestal Dining Table.
Or, check out this classic Dark Blue with Dark Wax Cabinet Makeover.
You can also find a beautiful DIY Weathered Paint Effect Tutorial, on this blog.
Feeling inspired? Now that you’ve seen this Stain Wood Furniture Without Sanding tutorial, you can do it too.
Let me know if you have questions. Don’t forget to sign up for the Abbotts At Home email newsletter to get DIY, Remodeling, and Crafty ideas in your inbox.

Stephanie Abbott has been remodeling homes, updating & building furniture, and working on DIY home maintenance and cleaning tips for over 20 years. Her remodeling has been featured in Better Homes and Gardens Magazine. And, her DIY YouTube channel has had more than 8 million views.
Most of the DIY tutorials and videos on this site focus on beginner to intermediate level DIY Projects that can be done in an affordable way without high-end, expensive tools. All of the cleaning tips on this website have been tested in her home.


