I LOVE this quick and easy home décor project! Here’s How to Make a Pretty and Easy DIY Wood Towel Rack or towel holder to match any room.
Make a Pretty and Easy DIY Wood Towel Rack or Towel Holder
This easy DIY project was definitely a quick win. I recently replaced the wood counter tops I made for our laundry room with quartz.
Those wood counter tops worked great and I loved them when I made them, but we were putting quartz in the kitchen, so we decided to splurge for matching counter tops in the laundry.
The counter top installers were able to get a large piece of the old wood counter top out intact. Yay!
That wood counter top was just laying in my garage calling out to me. So, I decided to turn it into a pretty and easy DIY wood towel rack to hang all of our pool towels on.
Using a large piece of wood as a towel holder would let us spread the pool towels and swimsuits out a bit to let them dry better. And a nice, big piece of beautifully finished wood looks like wall art, right?!
You can easily make your own custom beautiful wood towel holder or hanger with the instructions below.
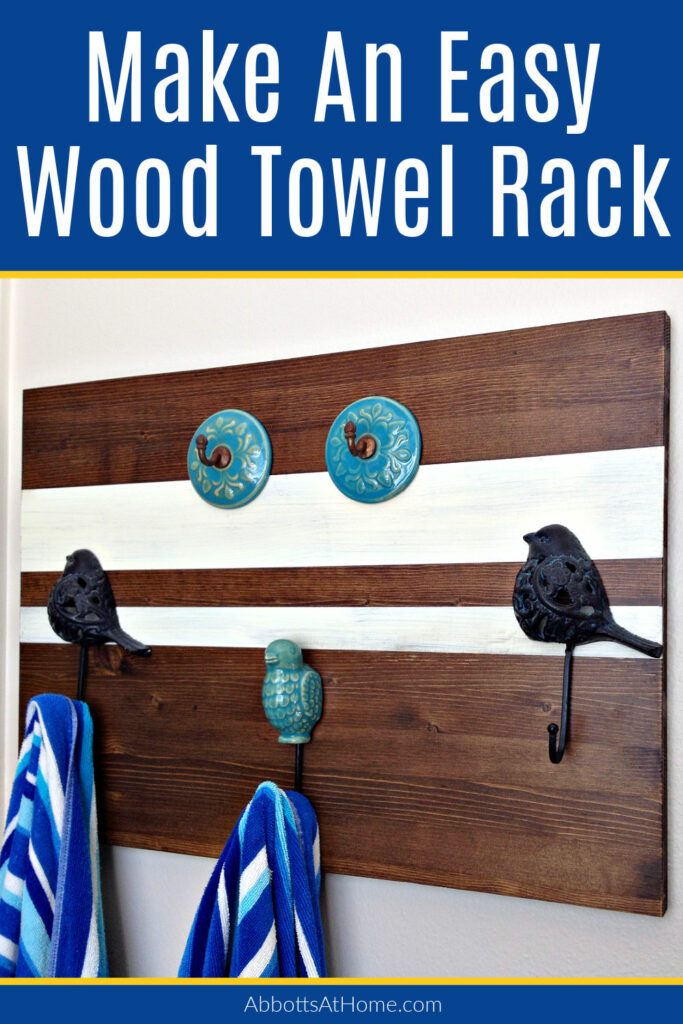
Now, let’s get to how to make this easy DIY wood towel rack.
How to Make a Wood Towel Holder
Materials Needed
- Unfinished 1″ x 18″ x 24″ Pine Board – Lowes Has These – Home Depot Usually Does Too
- Or any size board to fit your space
- Wood Stain or Chalk Paint and Primer
- Wood Conditioner
- Water-Based Polyurethane Matte Finish
- Your Favorite Coat Hooks
- 3M Command Strips OR Drywall Screws with Anchors
Tools Needed
- Sandpaper or Sanding Block – 120 grit and 180 grit
- Power Drill
- Screwdriver
- Optional: Circular Saw or JigSaw – If you need to cut your board to size
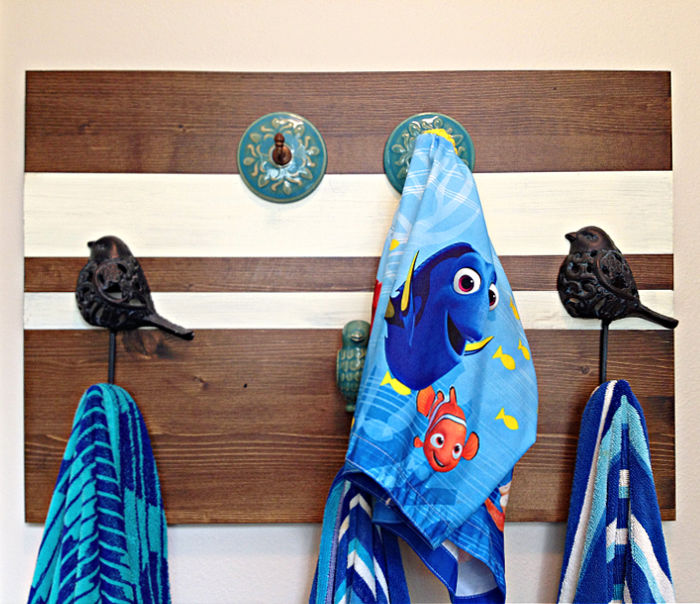
Quick DIY Steps
- Prep The Board
- Stain and/or Paint and Top Coat
- Install Your Hooks
- Hang Wood Towel Holder
Prep The Board
If you need to cut your board to size, do that with your Circular Saw, Jigsaw, or Table Saw.
Sand the front and edges of your board smooth with 120-grit sandpaper. You can use a power sander or a sanding block for this.
If you are only painting your wood towel holder, then you can actually stop sanding at just 120-grit. BUT, if you want to stain your wood board, I’d sand with 180-grit also.
To get an even stain, sanding a third time with 220-grit, or similar, might be necessary on some types of wood.
Dust the board clean with a tack cloth.
Stain and/or Paint and Top Coat
Time to get creative. You can paint and/or stain your handmade towel holder to match any room or style.
Staining
If you’re staining your DIY wood towel hanger, then you should apply wood conditioner first. Wood Conditioner moisturizes the wood, helping it accept stain more evenly.
Be sure to follow the directions on the wood conditioner for the best results.
Then you can apply your favorite stain to the front and sides of the board.
Painting
The type of wood I suggested for this project can have knots that might leak tannins. So, it’s best to start with primer that can block stains.
Then apply your paint on top. I prefer chalk paint when I paint furniture or home decor. It dries quickly, sands nicely, and cures harder than latex wall paint.
You can turn latex paint into cheap and easy chalk paint with plaster of Paris.
Apply Top Coat
After painting or staining your towel rack, protect the finish with a couple of coats of your favorite top coat. I used this Matte Rust-Oleum Polyurethane.
I love, love, love their matte finish poly. Matte just seems to make things look more high-end and it’s much better at hiding little imperfections.
The Finish I Used
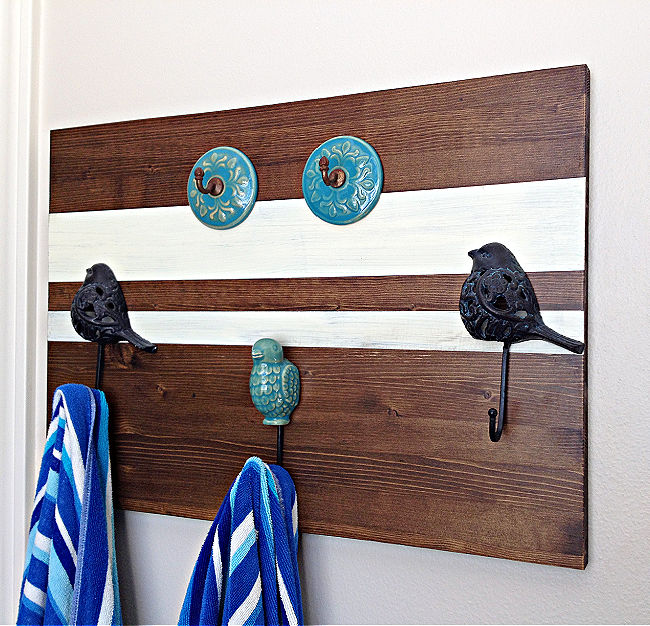
I used Minwax’s Jacobean Stain, on my DIY wood towel hanger. It’s a pretty, neutral dark stain color that isn’t too orange or red.
I use this color in my home a lot. Like on my stair tread makeover and this mudroom bench top.
After the stain dried, I applied a Matte Top Coat. Let that dry, then applied 1 layer of a cream chalk paint I made. I only used 1 layer because I wanted that rustic look that you get when the paint is a bit see-through.
Once that paint dried, I applied another layer of the top coat for a nice even sheen and durability.
If you need some pretty ideas for how to paint your easy DIY Towel Rack, check out my post for 25+ beginner furniture painting tutorials.
Install Your Hooks
You can find so many beautiful, cute, or fun towel hooks for this DIY towel hanger project.
I tend to buy my towel hooks on Amazon. But, you can usually find great options at World Market, Hobby Lobby, and sometimes Target too.
Make sure you space them evenly across the board and keep them level.
Check out these fun animal themed coat hooks for some design inspiration.
Hang The Wood Towel Holder
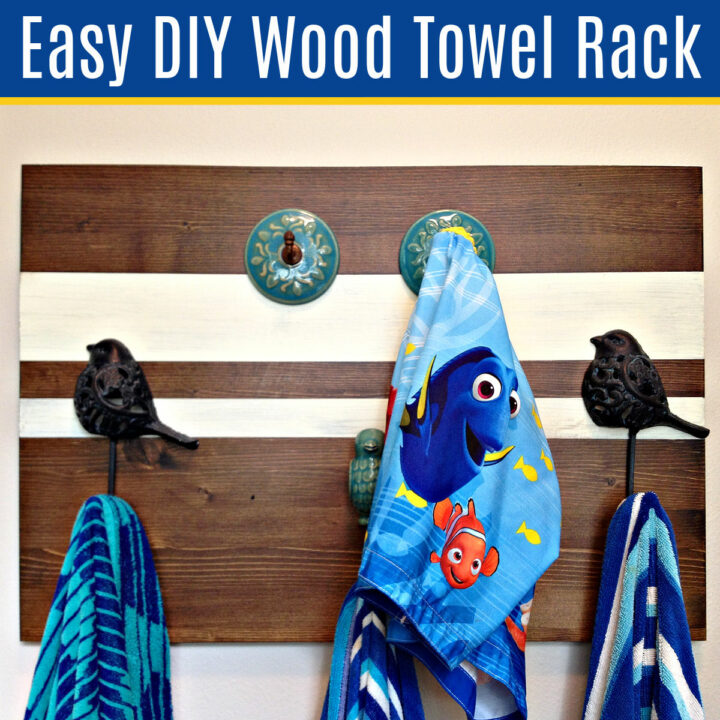
I drilled 2 holes in my towel rack to mount it to the wall. I hid those holes under 2 of the towel hooks. Then I used plastic anchors in the drywall to hold the mounting screws securely in place.
Just be sure to pick screws long enough to go through the board into the wall anchors.
IF YOUR towel holder isn’t very big AND won’t be used to hold tons of weight, you might be able to safely use just 4 – 3M command strips to hang your towel holder on the wall.
I use command strips to hang most of my wall art and it’s never failed once. The only worry I have about using them for a towel rack is the constant adding and removing of weight.
OK, now, let’s have a little fun. Check out how much the Laundry Room this towel holder is in has changed over the last 6 years.
Check Out This Dramatic Change in Our Laundry Room
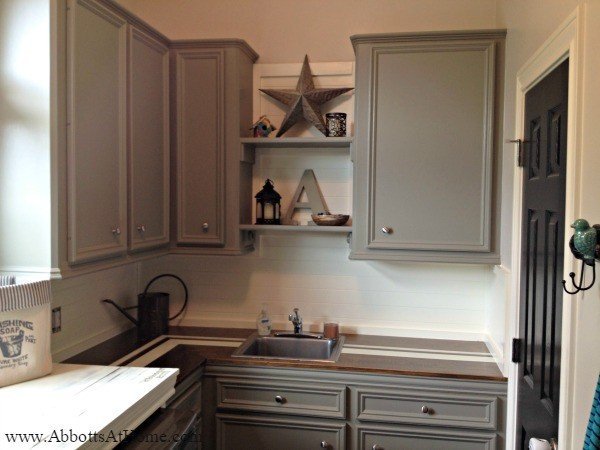
Here’s a look at our Laundry Room in 2015 or 2016. A rustic Farmhouse style was super popular at the time. Can you tell? 😉
It seems like everything back then was painted grey. I’ve lightened everything up in this house since then.
I made my easy DIY Towel Rack from the wood counters you see in this picture.
Our 2021 Laundry Room
Now, here’s a look at my Laundry Room now. I painted those cabinets with a lighter color on top and a fun teal on the bottom. You can see more of that colorful Laundry Room Makeover in another post.
And, check out how I built that DIY Over Washer and Dryer Laundry Table too. It’s a great beginner build that also hides those big machines. 🙂
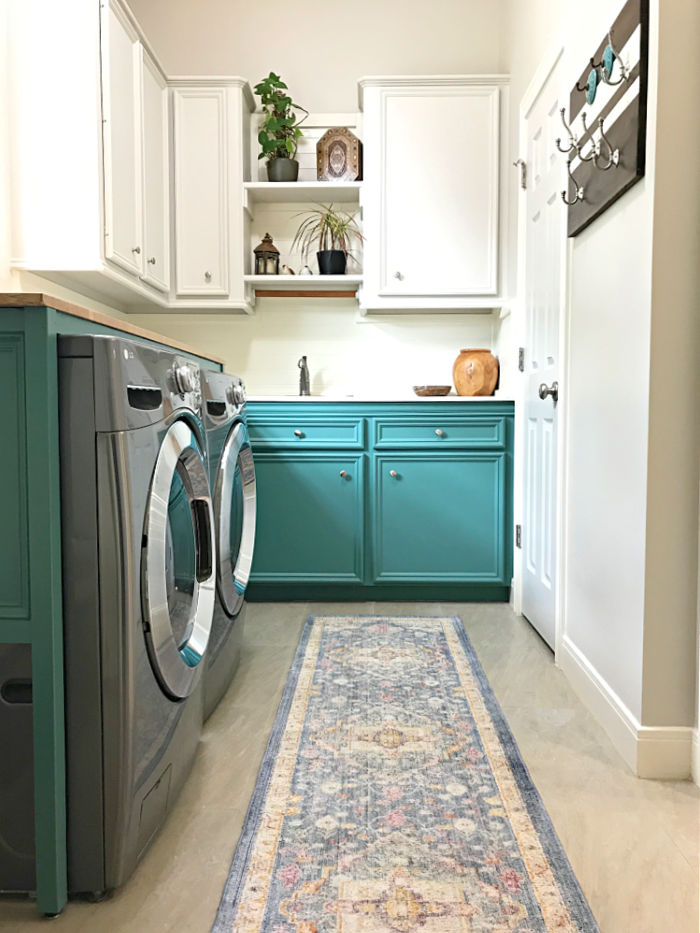
You can see that DIY Towel Rack in the upper right of this picture. It’s been a great place to hang all of our pool towels inside.
Although, you might notice I switched out some of the hooks because I realized I needed more hooks than I originally had. There is never enough storage and never enough hooks. Right?!
That’s it for this Easy DIY Wood Towel Rack, guys. Be sure to check out my Easy DIY and Home Makeover Videos on my YouTube Channel.
And, here’s a few more DIY projects you might like!
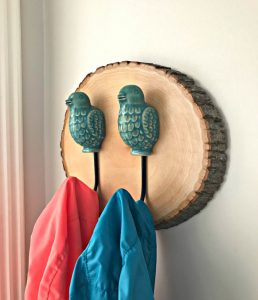
How about another easy wall decor project? Check out this Easy DIY Wood Slice Coat Hook.
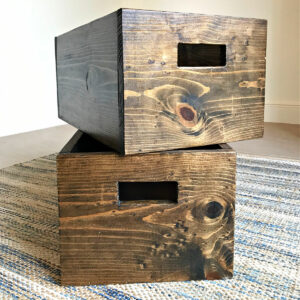
And, here’s how to make an easy DIY Wood Storage Bin for Beginners.
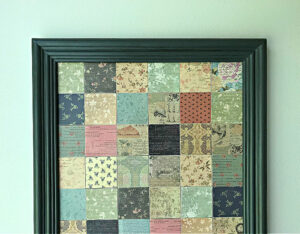
Here’s How to make your own beautiful DIY Scrapbook Paper Wall Art.
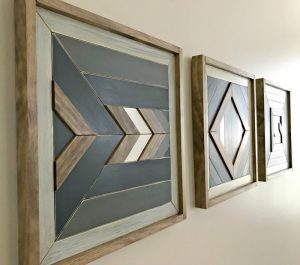
You might also like this popular tutorial for DIY Scrap Wood Wall Art.
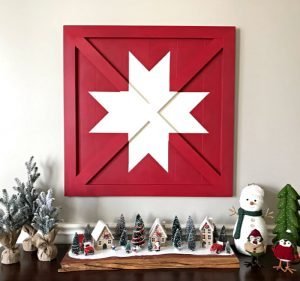
Or, this great Wooden DIY Barn Star Art. It’s a Pottery Barn Knock Off at a fraction of the price!
Feeling inspired? Now that you know how to make this Easy DIY Wood Towel Rack, have fun and let me know if you have questions. Or post pictures of your work and tag Abbotts At Home on FB, I’d love to see it!

Stephanie Abbott has been remodeling homes, updating & building furniture, and working on DIY home maintenance and cleaning tips for over 20 years. Her remodeling has been featured in Better Homes and Gardens Magazine. And, her DIY YouTube channel has had more than 8 million views.
Most of the DIY tutorials and videos on this site focus on beginner to intermediate level DIY Projects that can be done in an affordable way without high-end, expensive tools. All of the cleaning tips on this website have been tested in her home.
