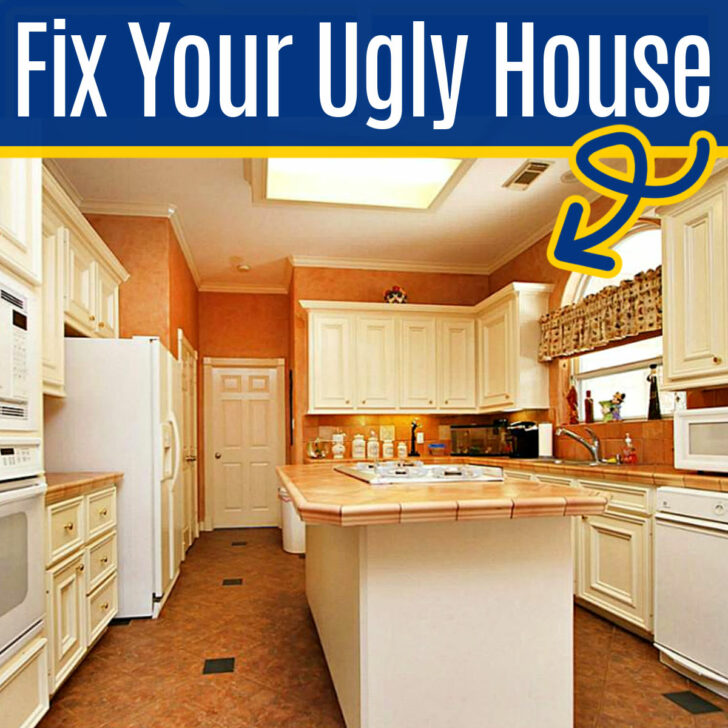
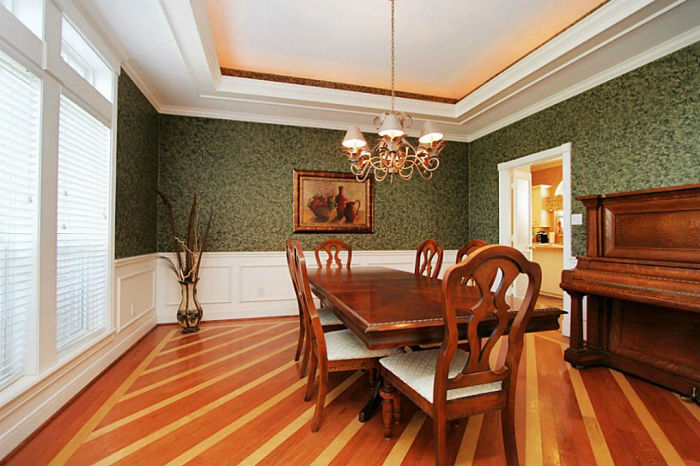
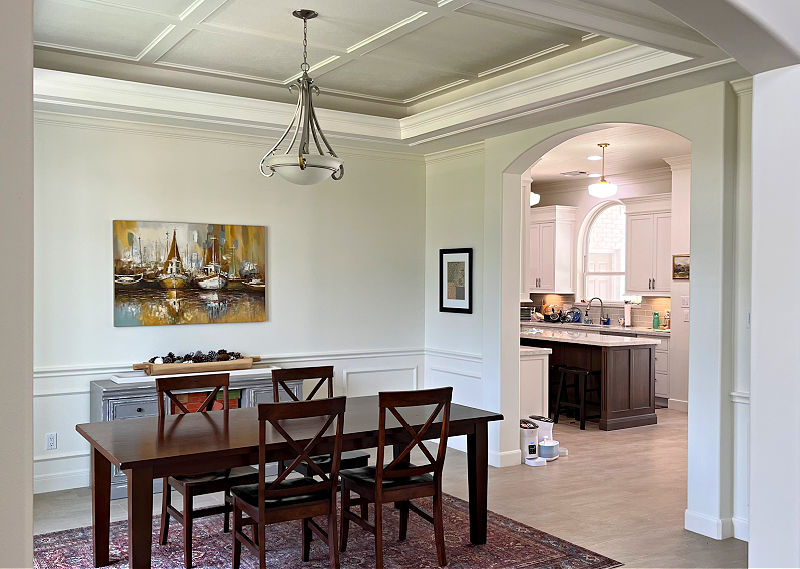
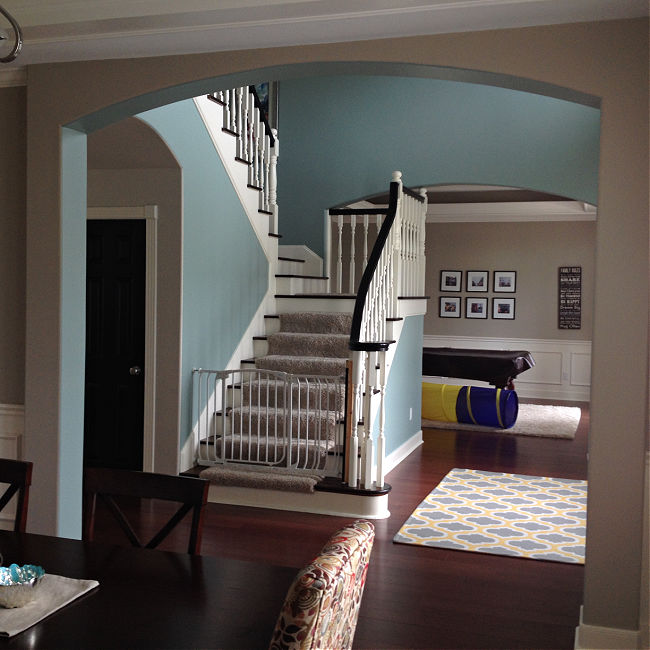
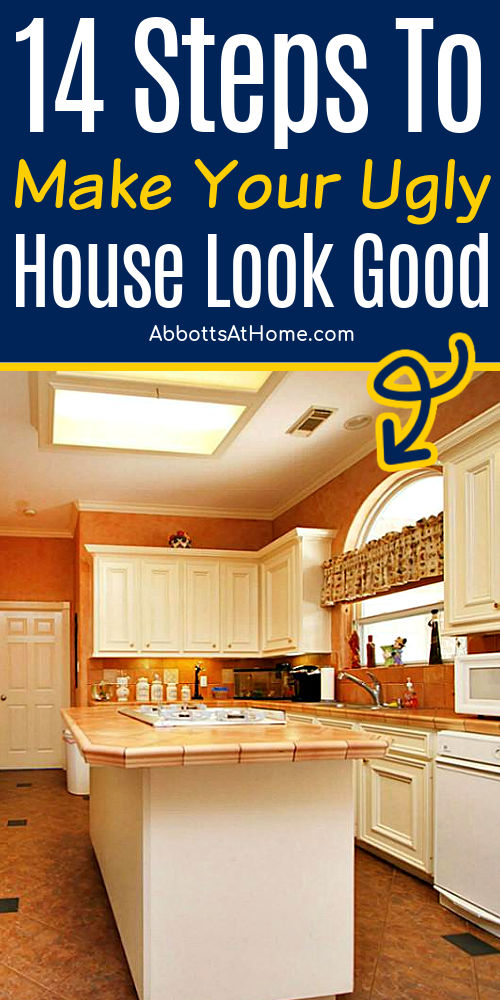
Did you buy an ugly house & don’t know where to start? Here’s 14 affordable DIY’s I do in the 1st year to make an UGLY HOUSE LOOK GOOD.
Ready To Make Your Ugly House Look Good?
I just binge-watched every season of HGTV’s The Ugliest House in America. It got me thinking about what my house looked like when we moved in and the first changes I made to make this house livable!
The most fascinating thing about the Ugliest House In America, for me, is how long some people will live in a crazy-looking house without changing anything.
Most of the home owners on that show repeatedly said they thought they’d be able to fix their house, but they just didn’t know where to start.
So, this list is what I do first to make an ugly house look good! Or, at least a lot better. Including, what can be done fast, easy, OR cheaply by DIYers.
Table of contents
Should You Buy An Ugly House?
You can often find a great deal on ugly homes in any area. But, should you buy an ugly house that needs a lot of work? Here’s what I think.
There are 2 types of people that probably can buy an ugly house. The first kind is an experienced DIYer that also has time to work on their house. The second kind has enough money to hire someone else.
Those are the 2 types of people that can actually make an ugly house look better within a reasonable timeframe. I personally wouldn’t want to live in a dirty, ugly house too long.
An ugly, outdated house isn’t a great place to learn how to DIY. A middle of the road house is a better place to get started with DIY.
That way you don’t get overwhelmed by the amount of work the house needs.
So, I wouldn’t buy the ugliest house on the street, even if it is super cheap, if I didn’t have the time, skill or money to make it livable within a year.
When I talk about making an ugly house livable, I don’t mean perfect. To me, livable means getting it to a place where it’s clean inside and basic updates have been done.
This list doesn’t include big projects like full kitchen and bath remodels. But, it does have ways to make those rooms MUCH BETTER until you can remodel those rooms.
Keep reading for my list of basic updates.
What Should You Avoid Doing When You Buy An Ugly House
Don’t start DEMO on anything until you are ready to remodel the room! Yep, that means, NO DEMO until you have a plan for that space, the materials you need, the know-how, and the time to rebuild.
I often see DIY shows on HGTV where a family partially removed drywall on a wall, then left it for a year.
Or, they started to remove tile in a bathroom before they realized they didn’t have the know-how to do a bathroom remodel. Then, they have an unusable bathroom for months, if not years.
You don’t want to live in a DEMO zone. So, wait until you can do the job or hire a contractor!
Now that I’ve said that. I’m going to go over the 13 things I do in the first year that can make your ugly house look good that are pretty cheap, pretty quick to do, AND OR pretty easy to DIY.
13 Best Ways To Make An Ugly House Look Good
I’m going to start this list with the changes I would make inside an ugly house within 12 months of buying it. The faster, the better you’ll feel about living there.
Then I have a few changes I would make outside the home too.
The point of this list is to remove all of the ugly, repair everything you want to keep, and then make the ugly house look good enough to live in until you can remodel each room into your dream home.
So, here’s how to turn that ugly house into a nice, blank slate you’ll enjoy living in while you slowly turn it into your dream home.
1. Throw Out Everything Ugly And Removable
Before moving in, remove any trash, old décor, wall art, furniture, curtains, and anything else that is easily removable that was left in the house.
You might want some heavy-duty trash bags for this job. They’re thicker and better with large, heavy, or sharp objects. Be sure to wear gloves and any other protective gear you might need.
Of course, if you find something worthy of a makeover, keep it in the garage until you’re ready. Or, put it in a place you don’t use, so that you don’t have to keep looking at it everyday.
2. Clean Everything
If you’re moving in right away, then you should clean the whole house from top to bottom before moving in. You want to sterilize those bathrooms and the kitchen, for sure.
Wipe down the dirty doors, walls, and trim with a cleaner and degreaser that is safe on those things. Dawn dish soap in warm water with some clean rags might be all you need.
Don’t forget to dust the light fixtures and clean the windows, inside and out. Some of the work you’ll do next will make the house dirty again. But, you want to start with a livable space.
For items 3, 4, 5, 6, 7, and 8 you can finish the whole house at once. Or, do all 6 steps in one room before moving onto the next. Whichever you prefer.
3. Remove All Of The Ugly Wallpaper
Next up, remove any wallpaper you want to get rid of around the house. Don’t forget to strip those wallpaper borders along the top of the walls too. Then clean all of the wallpaper residue off the walls.
Some people might want to do one room first, so that they have a nice room to sleep in while they work on the rest of the house. That’s generally what I do.
4. Patch And Paint Your Walls & Ceilings
First, test for lead paint in any house built before 1978. Once you know it’s safe, patch any holes and damage in the walls and ceilings. Then lightly sand the walls and ceiling to prep for paint.
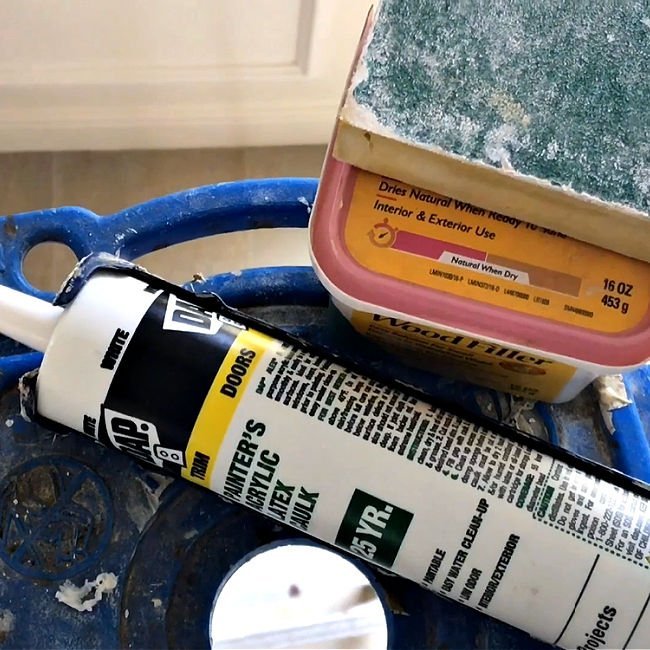
I use spackling on holes and dents smaller than a quarter. Depending on your wall type, you’ll need drywall patch or plaster for anything larger.
I also caulk any gaps along the baseboards, crown molding, trim, and door frames. Trust me, it makes a huge difference in improving the whole look of the room.
Once the walls and ceiling are ready, give them a fresh paint job. For the last few years, I’ve been using the same white paint color and sheen on the ceilings, walls, and trim.
I highly recommend using white paint anywhere and everywhere. It always looks fresh and clean. And, it helps any color you decorate with really stand out.
And, using the same paint color and sheen on everything makes painting much faster and easier. Just stick with Satin or Eggshell so that the paint is not too shiny or flat.
Fresh paint on the walls, ceiling, and trim goes a long way when you want to make your ugly house look good!
RECOMMENDED: 15 Best Ways To Make An Old Ceiling Look Better: Easy, Cheap And Pretty Ideas
5. Patch And Paint Your Trim & Doors Too
Don’t forget to patch and paint your trim and doors too! I’ve toured so many homes for sale. I ALWAYS notice when someone painted the walls but skipped the trim.
The dents, dings, and dirt on the doors and trim will just stand out even more next to freshly painted walls. So, give them a fresh coat of primer (in case they were last painted with oil paint) and paint.
BUT, if you plan on getting rid of any damaged or ugly doors, don’t waste time painting those. We’ll handle those in item 7.
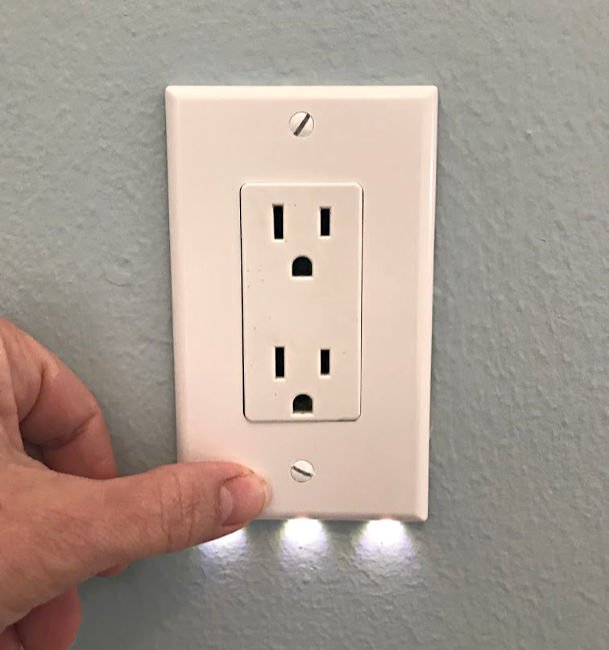
6. Replace All Ugly or Dingy Outlets and Switches
While you have the outlet covers off for painting, might as well replace all yellowed, outdated, and dingy outlets, switches, and outlet covers with new ones.
The covers are easy enough for anyone to replace. But, replacing the switches and outlets is a bit harder. You’ll either need enough DIY skill to safely replace them yourselves.
Or, you could get a few quotes to see if you can afford to hire someone to replace any that need it.
Updating out-of-style outlets and getting rid of yellowed and dingy looking switches seems like a small thing, but it makes a big difference in any room.
7. Replace Damaged Doors, Ugly Hinges, Door Knobs and Stops
Next up, I go a bit further on the doors. If I have any doors that are damaged beyond repair or too ugly to keep, I remove them and replace them.
In this case, I try to buy doors that match the existing doors, so that everything goes together. Any new doors should be painted or stained to match the rest of the doors.
AND, I also remove and replace any ugly hinges, door knobs, and door stops. It’s an easy enough job. You’ll typically just need a couple screwdrivers and some time.
We replaced all of our old-fashioned yellow gold door handles and painted hinges pretty quickly after moving in. It made a world of difference!
8. Paint Or Replace Ugly Grills And Vent Covers Too
The style of HVAC grills and vent covers has changed a lot over the years too. Some of them can look really dated, dusty, or yellow. So, replace any ugly or damaged covers.
Then paint any worth saving with a fresh coat of whichever paint color would look best. If you used white on the walls, I’d probably use the same color.
Now, you should have most of the basics updated. You’ve created a nice, blank slate you can decorate and enjoy while you work on bigger updates or full renovations of rooms.
Next up, I have three more changes that will make your ugly house look better. These cover areas that can be a bit more expensive. But, if you can DIY them, that can save A LOT of money.
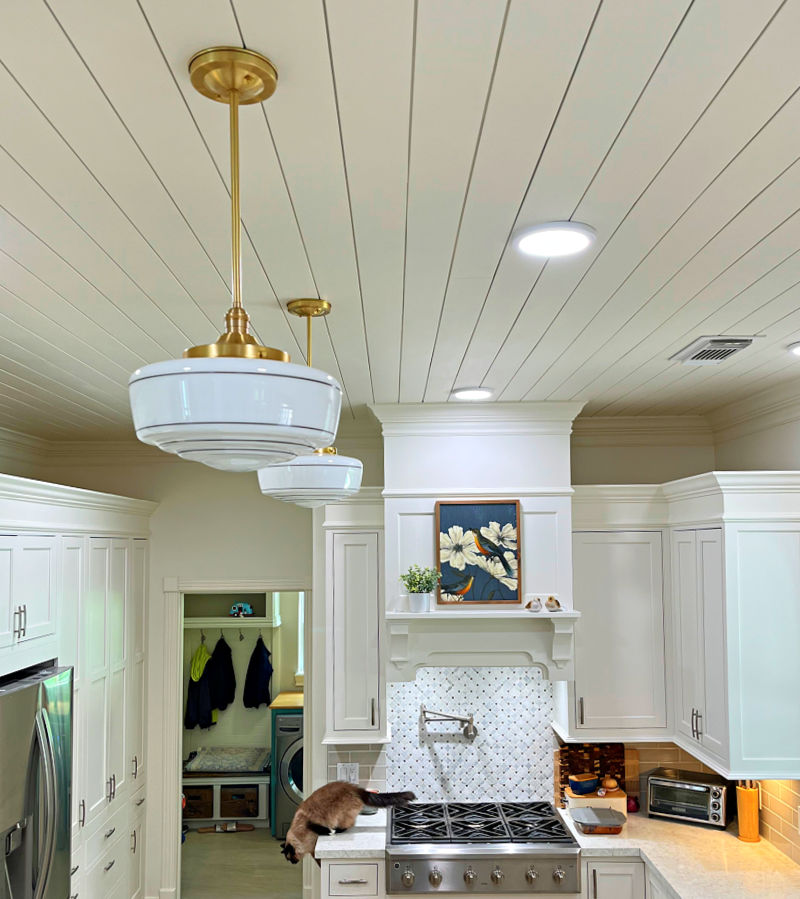
9. Replace Old Fashioned Light Fixtures or Ceiling Fans
After patching and getting everything freshly painted, you’re probably noticing any ugly light fixtures more than ever. So, it’s time to replace them.
I move room to room replacing outdated light fixtures and ugly ceiling fans with new ones. Be sure to pick something you’ll like for the next 10 to 15 years.
Don’t forget to replace or paint yellowed can light rings. Since you just painted the ceiling, you can paint the ring around the light with the same paint.
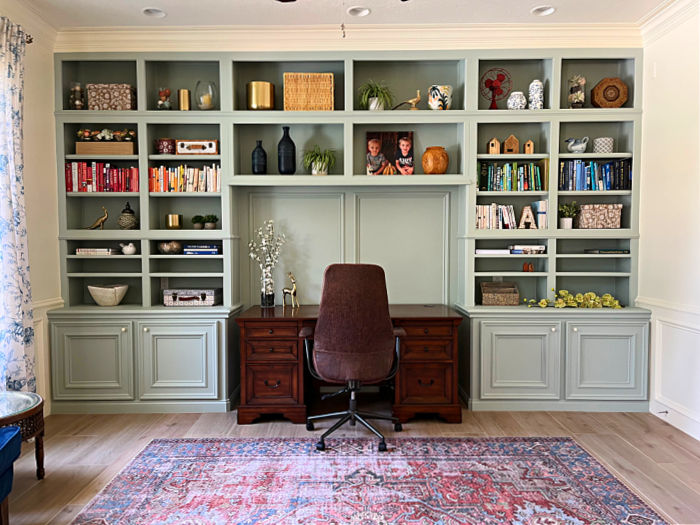
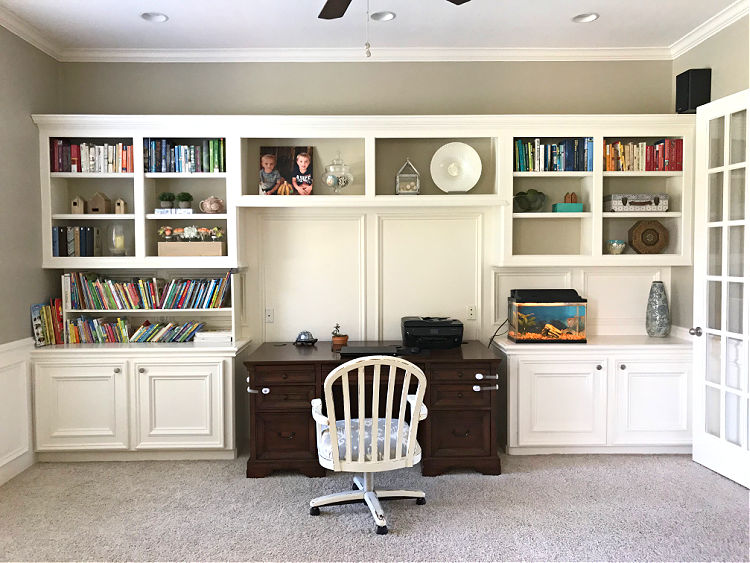
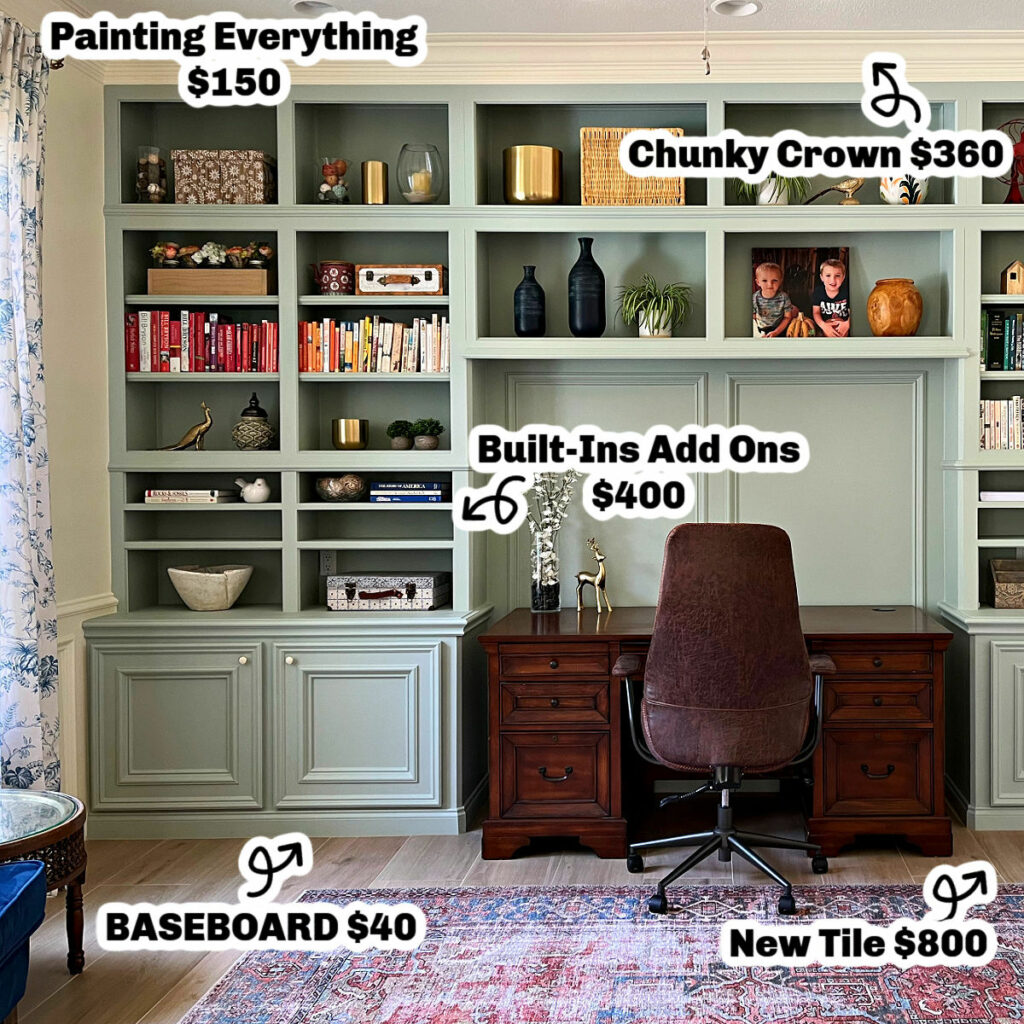
10. Update Any Cabinets And Built Ins You’ll Keep
Now that 80% of the home improvements are finished, it’s time to focus on adding style and custom details. One of my favorite ways to do this is by updating cabinets and built ins.
If you have cabinets you like enough to keep, check out my tips for the 10 Best Ways To Make Cabinets Look Like Built In Furniture.
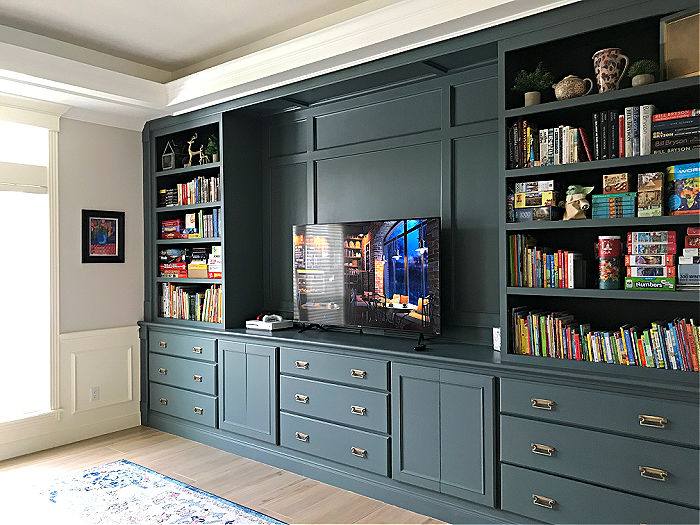
I used those tips to turn my boring office cabinets into a stunning wall to wall, floor to ceiling set of home office built ins.
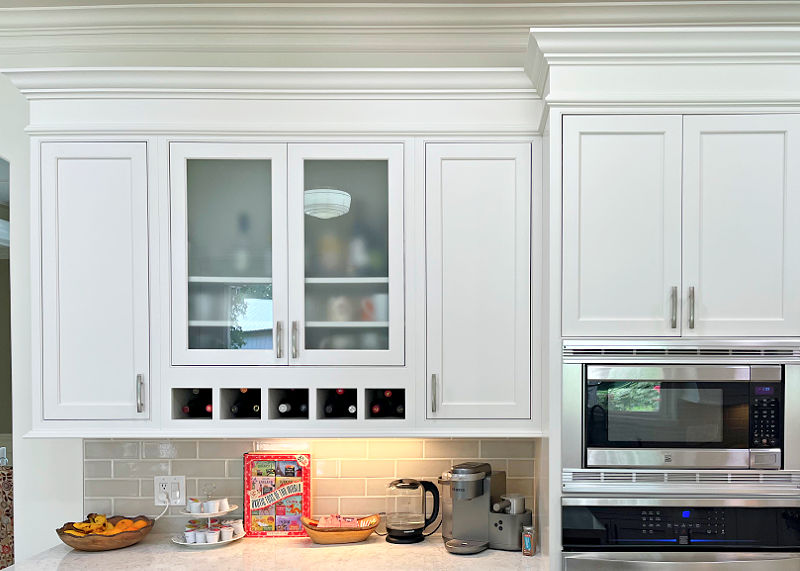
You might also find ideas in this post showing the 10 BEST Ways To Add Height To Kitchen Cabinets.
Of course, any cabinet makeover needs to include patching, sanding, and painting too. If you prefer a wood look, gel stains are a good option.
If you plan on replacing the cabinets in a room in the next year or two, it might not be worth your time to spend too much time or money on them. Especially if other parts of the house still need work.
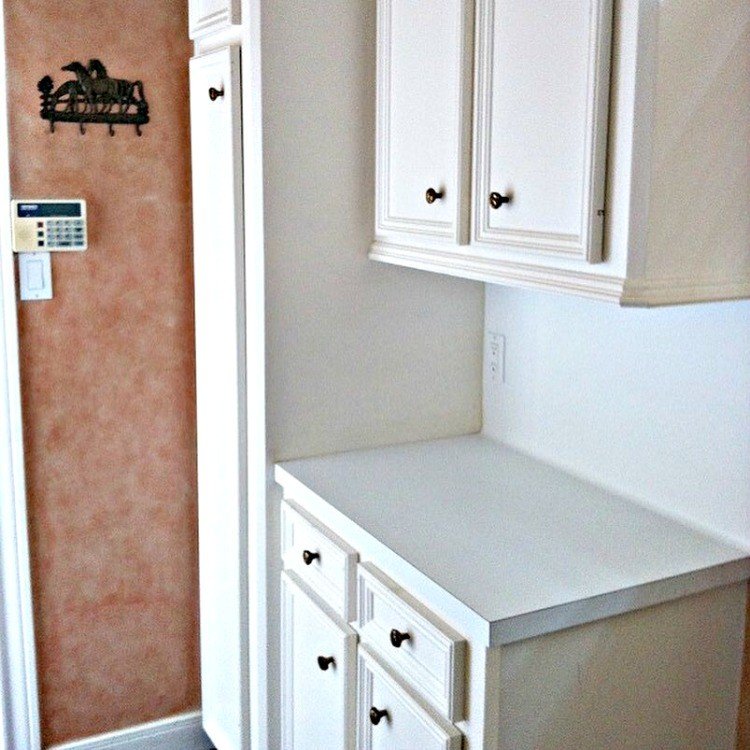
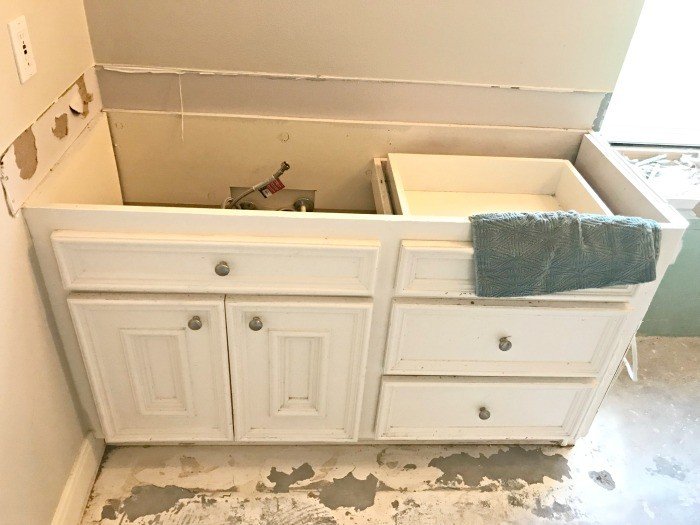
The cabinets in my Laundry Room were really beaten up when we bought this house. Here’s a look at what the cabinets in this house looked like when we moved in.
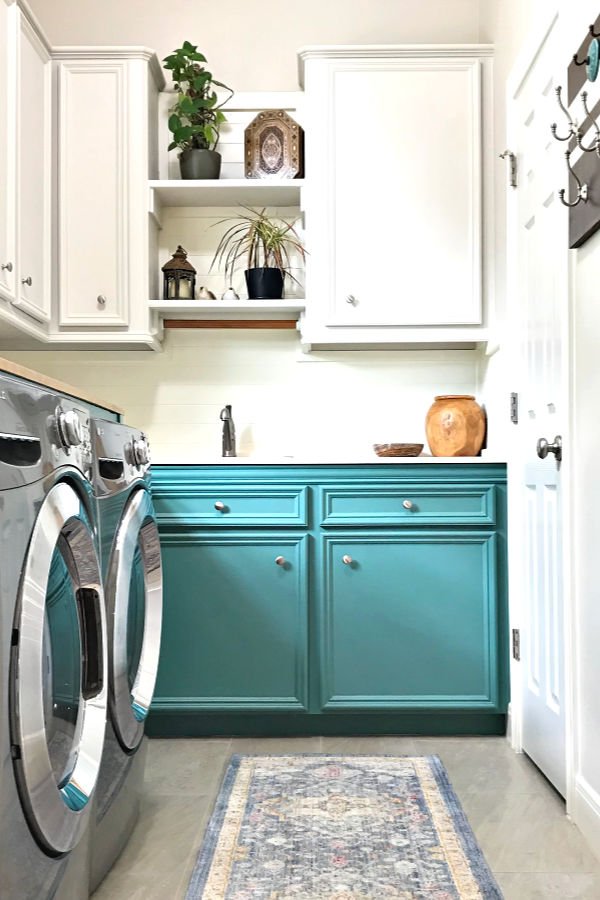
A good sanding, fresh paint, and pretty new knobs were a cheap and easy way to make the Laundry Room in this ugly house look good.
11. Deep Clean Or Replace Flooring
I mentioned cleaning everything, especially the kitchens and bathrooms, near the beginning of this list. But, a normal cleaning of flooring doesn’t mean it’s looking great, right?!
So, it’s time to decide which floors need a good, deep clean and which floors need to be replaced.
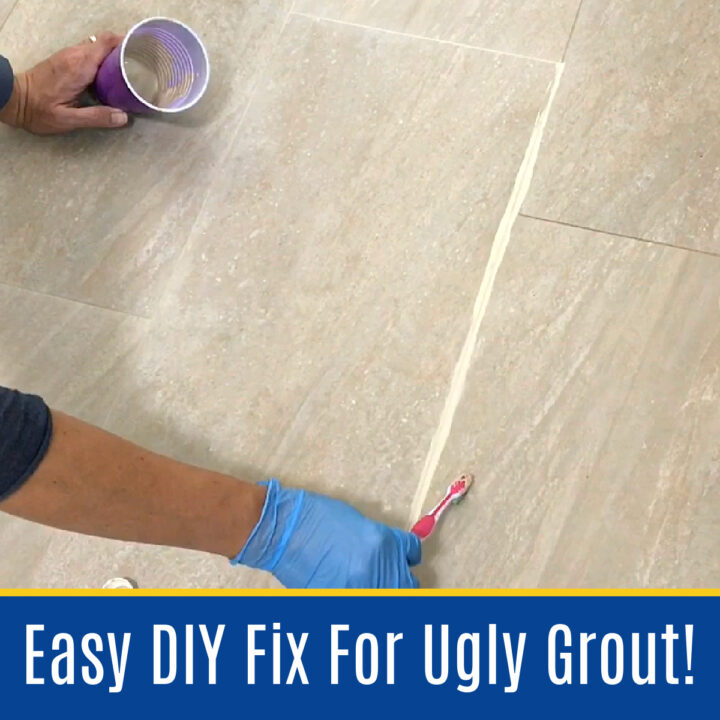
If you have tile that can be saved, give them a good steam cleaning and grout cleaning. I always follow that up by using Grout Renew to make the grout look new, while sealing it at the same time.
Any carpet you plan to keep should get a professional cleaning now that you’ve done most of the updates and dirty work.
If you need to install new flooring, you might like my tips in 10 Beginner DIY Tips for Installing Floor Tile. Or this tutorial for How to Remove Glued Wood Flooring (Easy DIY Steps, FAQs and Video).
Now, let’s move to what you can do to make your yard and landscaping look SO MUCH better, in the first year. These are the easiest tricks to make your ugly house look good outside too.
12. Remove Overdone And Overgrown Landscaping
Once the inside of the house is looking good, it’s time to take care of the landscaping.
One of my favorite tips is too turn flower beds into lawn, if you have too many. It’s a lot easier to mow and maintain lawn than it is to keep flower beds weeded and mulched.
Try to replace high maintenance plants with native plants that grow easily in your area. If your in Zone 9, like us, check out my picks for the 16 Best Perennials For Zone 9.
13. Remove Trees And Bushes Too Close To The House
I also highly recommend removing overgrown bushes and any trees that are too close to the house.
The trees that were too close to our house were rubbing against our roof and damaging the gutters. And, their roots could have damaged our foundation. They had to go.
14. Power Wash Everything Outside
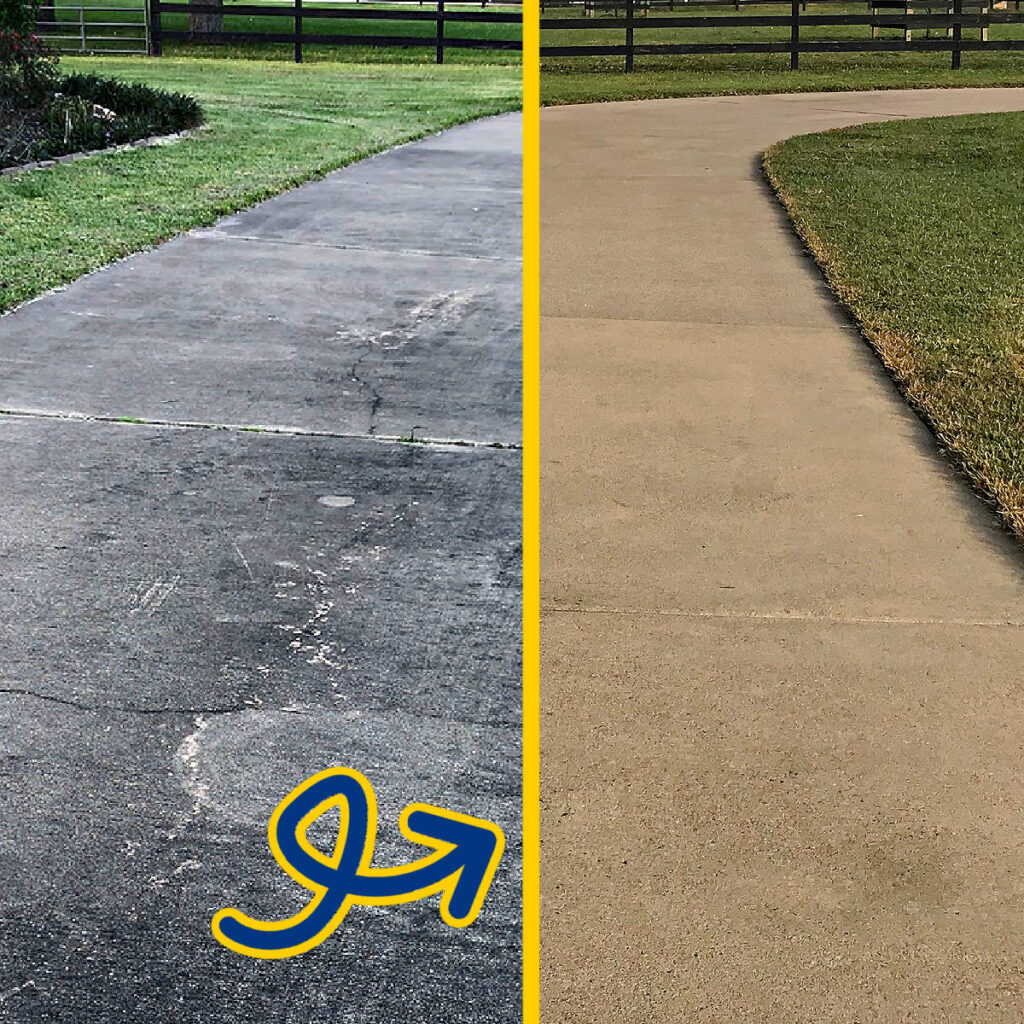
One last tip is to power wash or soft wash everything outside. It 100% improves the look of everything from driveways to siding, to sidewalks and your roof.
Check out the 12 Best Reasons To Pressure Wash Your Driveway And Walkways to read all of the pros for keeping those areas clean.
That’s it for 14 ways to make an ugly house look good! You might also like:
- 16 Ways to Repurpose an Open Formal Living Room
- 23 Beautiful & Shocking Before And After Room Makeover Photos
- How To Cover A Textured Ceiling With Beautiful Shiplap (With Easy Steps & Video)
- 15 Best Ways To Make An Old Ceiling Look Better: Easy, Cheap And Pretty Ideas
More Home DIY Projects and Posts For You!
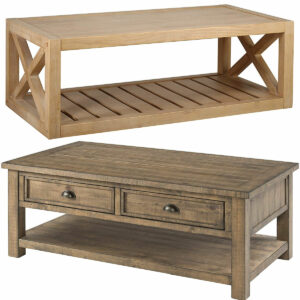
Need a new coffee table for your Living Room? Check out the Best Amazon Coffee Tables for any Living Room.
You might also like What To Use In A Bissell Spot Cleaner: 6 Best Alternatives.
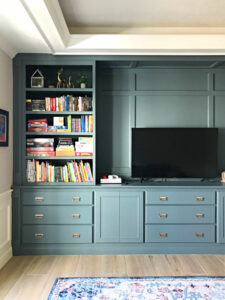
Check out How to Paint Built In Bookshelves and Cabinets for steps to give yours a makeover.
And, check out How to Repaint a Door without Removing It.
Feeling inspired? Now you know my tips for a How to Make An Ugly House Look Good. Let me know if you have questions.
Don’t forget to sign up for the Abbotts At Home email newsletter to get DIY, Remodeling, and Crafty ideas in your inbox.
Stephanie Abbott has been remodeling homes, updating & building furniture, and working on DIY home maintenance and cleaning tips for over 20 years. Her remodeling has been featured in Better Homes and Gardens Magazine. And, her DIY YouTube channel has had more than 8 million views.
Most of the DIY tutorials and videos on this site focus on beginner to intermediate level DIY Projects that can be done in an affordable way without high-end, expensive tools. All of the cleaning tips on this website have been tested in her home.

