
EASY DIY Steps, Video, and Helpful Tips to waterproof a plywood deck with Liquid Rubber Deck Coating. Works for balcony waterproofing too!
How To Waterproof A Plywood Roof Deck Or Balcony
In the Spring of 2020, I was busy, busy building a big playhouse for my kids. I designed it to look like a mini version of our barn.
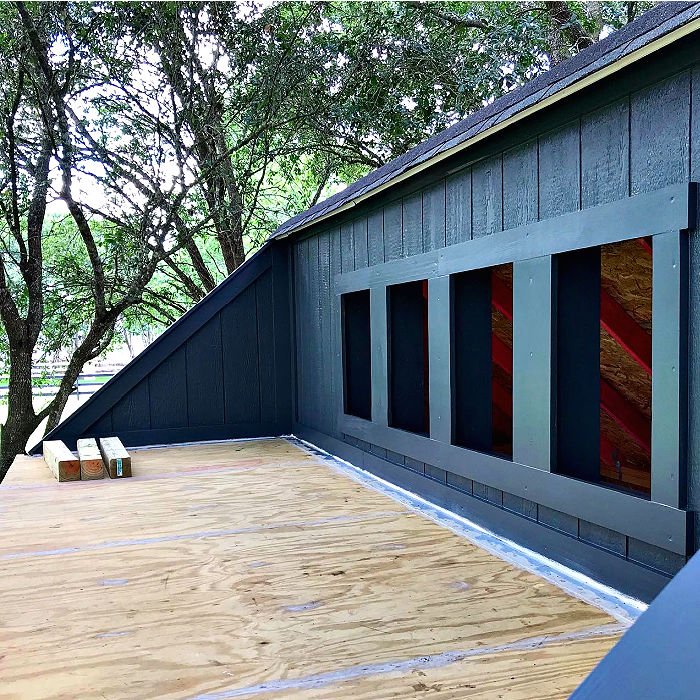
But, unlike the barn, the playhouse has a recessed upper deck on one half of the roof. So, part of the build was spent trying to figure out how to waterproof a plywood roof deck.
That’s when I found an easy to use, do it yourself waterproof deck membrane, called Liquid Rubber. Using this waterproof plywood deck coating is as easy as painting a wall, guys!
This post goes over how to waterproof plywood decking with Liquid Rubber Deck Coating. And, these steps also work for balcony deck waterproofing.
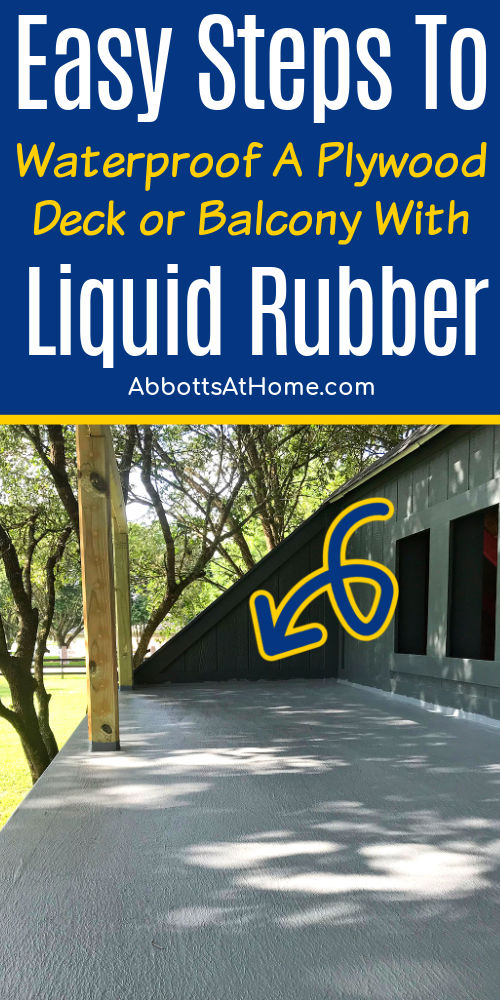
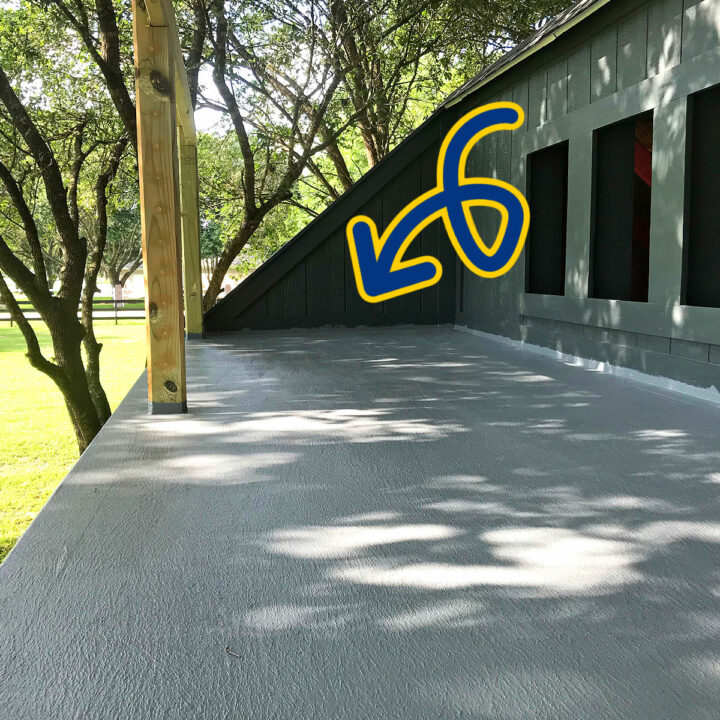
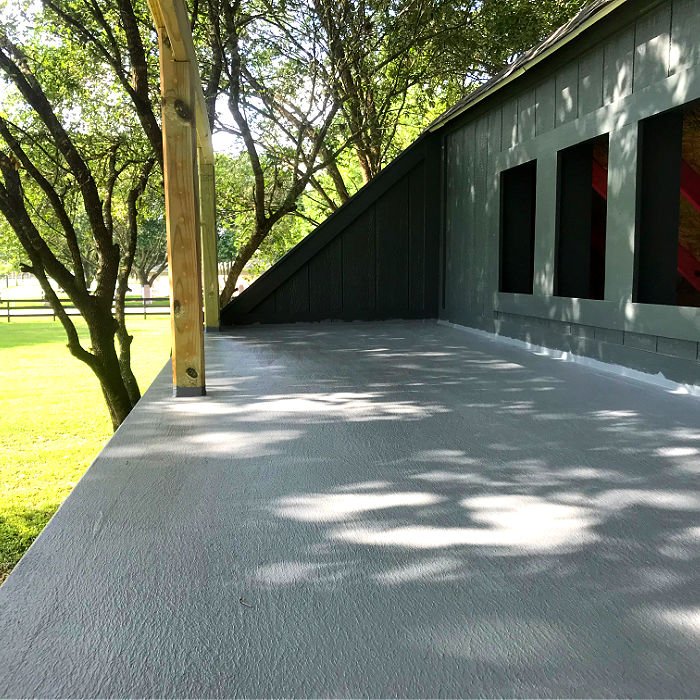
Spoiler Alert, I love this stuff! In fact, it looks just like it did 2 years ago when I used the Liquid Rubber waterproof deck coating on this roof top balcony.
And, for the last 2 years, the rubber deck coating has worked great at stopping the rainwater from penetrating into the plywood deck. It really does make a watertight barrier!
Liquid Rubber Deck Coating can even be used to waterproof the inside of wooden planters. It is a clever way to keep water in your soil while protecting the wood planter from water damage.
See The Current Price for Liquid Rubber Deck Coating On Amazon.
OK, let’s get to those steps for how to waterproof plywood deck, balconies, and roofs.
Table of contents
- How To Waterproof A Plywood Roof Deck Or Balcony
- How To Waterproof Plywood – Video
- How Much Liquid Rubber Deck Coating Do You Need?
- DIY Steps to Use Liquid Rubber Deck Coating
- Does Liquid Rubber Work on Flat Plywood Decks?
- Is Liquid Rubber Waterproof?
- What If It Rains On Liquid Rubber Deck Coating Before It Dries?
How To Waterproof Plywood – Video
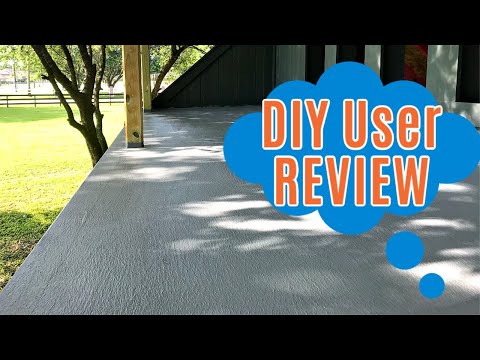
If any of the written steps below are confusing, watch this video to see the easy steps for applying Liquid Rubber deck coating.
How Much Liquid Rubber Deck Coating Do You Need?
So, how much Liquid Rubber Deck Coating do you need? It depends on how big your plywood deck, roof deck, or balcony is, really.
I used 5 gallons of the Liquid Rubber on my 75 square foot deck. I applied 5 thick coats at about 1 gallon per coat.
Liquid Rubber recommends 3 to 4 coats for waterproofing areas. They say you can cover about 100 square feet per gallon.
That’s probably right, my coats were probably thicker than they needed to be. And I applied extra coats on the edges just to be extra safe.
I ended up applying more than the recommended 4 coats because I wanted to use up the full 5 gallon bucket and extra waterproofing never hurts, right. 🙂
Also, just so you know what to expect, I used maybe a quarter of a gallon of the Liquid Rubber Primer on my 75 square foot deck.
I would recommend measuring the length of all of the edges and seams between pieces of plywood to get an exact measurement for how much geo-textile you need.
DIY Steps to Use Liquid Rubber Deck Coating
Materials Needed
- Liquid Rubber Smooth Poly UV Resistant Deck Coating, color Stone Gray
- A Roll of Liquid Rubber Geo-Textile
- Liquid Rubber Primer
- Minwax Wood Filler
- 40 Grit Sandpaper and a power sander to prep the surface
Be sure to always read the directions on the containers to be sure you know how to use this waterproof deck coating before you get started.
They could always change a formulation or the instructions after I write these steps. Or, maybe you’re plywood deck, roof or balcony might have special circumstances I don’t cover in this tutorial.
AND, one last note, you can pick a smooth or textured version of Liquid Rubber, depending on what you want to use it for.
A textured surface might be best if you’ll be walking on it with wet feet. Like near a pool.
Step One
Start by patching any gaps in the plywood with Minwax Exterior Wood Filler or similar. Let dry and sand smooth.
Step Two
Then sand the plywood and any sheet metal that will also have the Liquid Rubber Deck Coating applied to it. I used 40 grit sanding discs.
Step Three
Clean off the dust, then apply the primer to the entire surface with a large paint brush.
Step Four
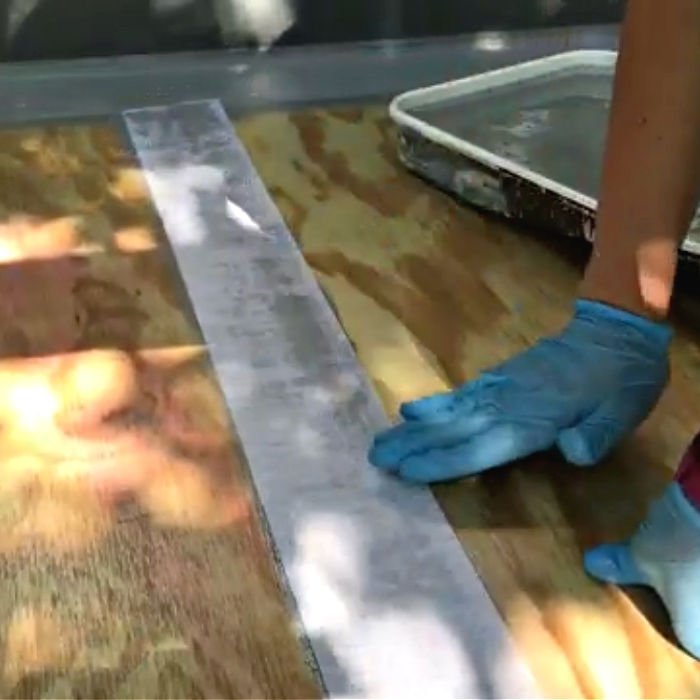
Once the primer dries, apply the geo-textile on all edges and seams on the plywood deck, roof or balcony. Use the Liquid Rubber Deck Coating under the textile to stick it to all seams.

Once the coating under the geo-textile mostly dries, you can apply a coat over the geo-textile. You can see how I do that in the video above.

Step Five
Let that dry before applying the full first coat of Liquid Rubber Deck Coating on the surface.
Use a paint brush along all edges and a roller to apply the waterproof deck coating to the surface and partially up the wall to waterproof those areas. Let each coat dry completely in between.
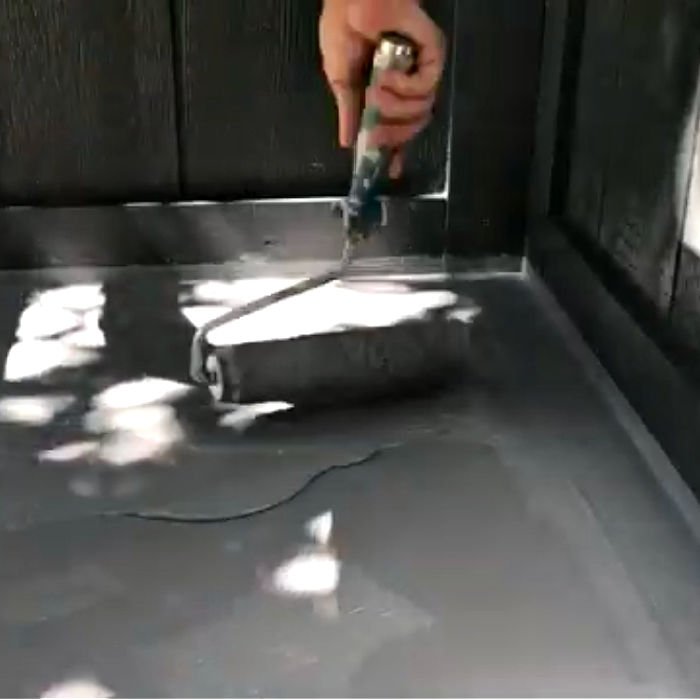
I used a roller to quickly apply the Liquid Rubber to the middle. I used a brush on the edges. You might notice that I also applied the Liquid Rubber 1″ up the walls.
Don’t worry, you can paint over that part with an exterior grade paint and primer in one (like Behr’s).
That’s it! Easy, right? I love how this rubberized deck coating looks and it feels soft on bare feet. It feels like walking on linoleum.
It’s been 2 years since I applied this balcony deck waterproofing and it’s still looking great and keeping the water out of the playhouse. Nice!
See The Current Price for Liquid Rubber Deck Coating On Amazon.
Here’s some answers to common questions about using Liquid Rubber.
Does Liquid Rubber Work on Flat Plywood Decks?
There are a few ways to make plywood waterproof outdoors. But, most of them only work on vertical surfaces or flat plywood surfaces that won’t be walked on.
But, after 2 days or research, I decided that using Liquid Rubber Deck Coating would be the best way to waterproof my plywood roof deck.
I used Liquid Rubber to waterproof my plywood deck because of how easy it is to use, it’s durable enough for foot traffic, it comes in lots of nice colors, and because of all of the great reviews it has on Amazon.
Is Liquid Rubber Waterproof?
Yes! Liquid Rubber Deck Coating is a brush on liquid coating that hardens into a durable, waterproof membrane.
What If It Rains On Liquid Rubber Deck Coating Before It Dries?
Try to pick a few dry days in a row to waterproof your plywood deck, if possible. I tried doing that, but when you live in a humid part of the south, unexpected showers pop up all the time.
My first coat of the Liquid Rubber Deck Coating was only about 70% dry when it was lightly rained on. Luckily, it didn’t ruin my deck. You can see what happened in the video above.
All of the Liquid Rubber that was dry before the rain stayed dry. And, the spots that were still wet mixed with rain water. They were not drying.
I used paper towels to gently wipe up that wet mixture of the Liquid Rubber Deck Coating mixed with rain.
Once I removed all of that wet deck coating, I let the surface dry, then I applied another full coat of the Liquid Rubber Deck Coating.
Everything dried fine after that. I applied 5 coats in total with a couple extra coats on the edges and around the posts, to be extra safe.

That’s it for how to waterproof a plywood deck, roof or balcony with Liquid Rubber Deck Coating.
Looking for more of my Easy DIY Home Improvement videos? You can see them here, on my YouTube channel. 🙂
More DIY Posts You Might Like
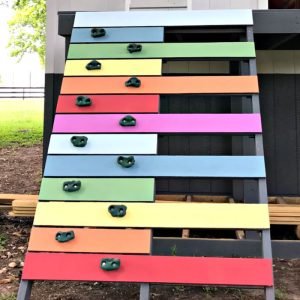
Here’s how I built that fun DIY Kids Climbing Ramp or Wall for our playhouse.
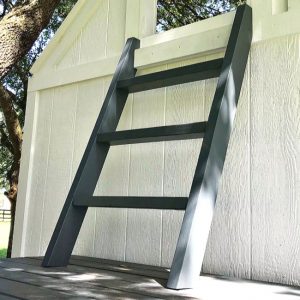
And, here’s How to Build a Small Step Ladder for your playhouse or bunk beds.
If you’re tired of having a dry looking, sun damaged front door, check out this quick 1 step fix for a dry wood front door.

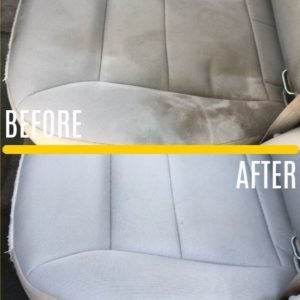
Or, this easy DIY for how to clean car seats at home.
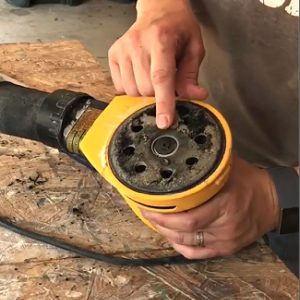
Did you know you can replace the sanding pad on orbital sanders? It’s a quick and easy fix for a worn out pad that sanding discs won’t stick to anymore.
And, here’s how to sharpen a chain saw with a Dremel.
Feeling inspired? Now that you know How to Waterproof A Plywood Roof Deck with Liquid Rubber Deck Coating, you can do it too.
Let me know if you have questions. Don’t forget to sign up for the Abbotts At Home email newsletter to get DIY, Remodeling, and Crafty ideas in your inbox.

Stephanie Abbott has been remodeling homes, updating & building furniture, and working on DIY home maintenance and cleaning tips for over 20 years. Her remodeling has been featured in Better Homes and Gardens Magazine. And, her DIY YouTube channel has had more than 8 million views.
Most of the DIY tutorials and videos on this site focus on beginner to intermediate level DIY Projects that can be done in an affordable way without high-end, expensive tools. All of the cleaning tips on this website have been tested in her home.