Can you can stain over stain without sanding or stripping? YES!! Here’s the easy steps & must-do’s for how to restain wood or change stain color without sanding.
Can You Stain Over Stain?
Yes, you can stain over stain without sanding or stripping off the old finish. But, you have to use the right products and steps to be sure that the new stain will stick to the old finish.
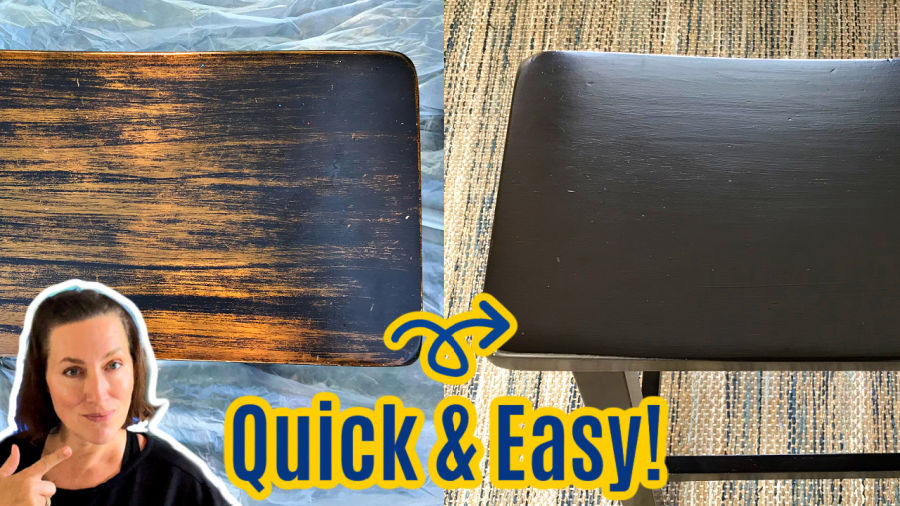
I am a huge fan of using gel stain over stain. It’s the fastest and easiest way I’ve found to restore my stained furniture. In fact, I’ve used gel stain on my kitchen stools a couple of times.
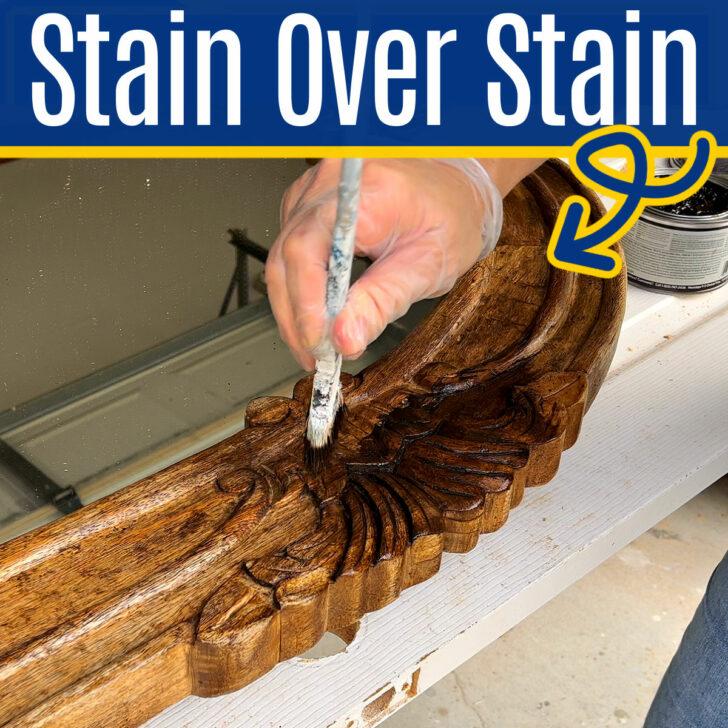
The first time was when I bought the stools. They were already stained, but the color was all wrong for my kitchen. So, I applied gel stain over the stain to change the wood color to something darker.
The second time was about 4 years later. After 4 years of daily use and abuse by toddlers and little kids, they needed a little refresh. So, I grabbed that gel stain again so that I could restain the wood.
But, today’s tutorial is all about applying stain over stain on my beautiful bathroom mirrors that were looking a little shabby lately. After this quick gel stain update, I still can’t believe how great they look!
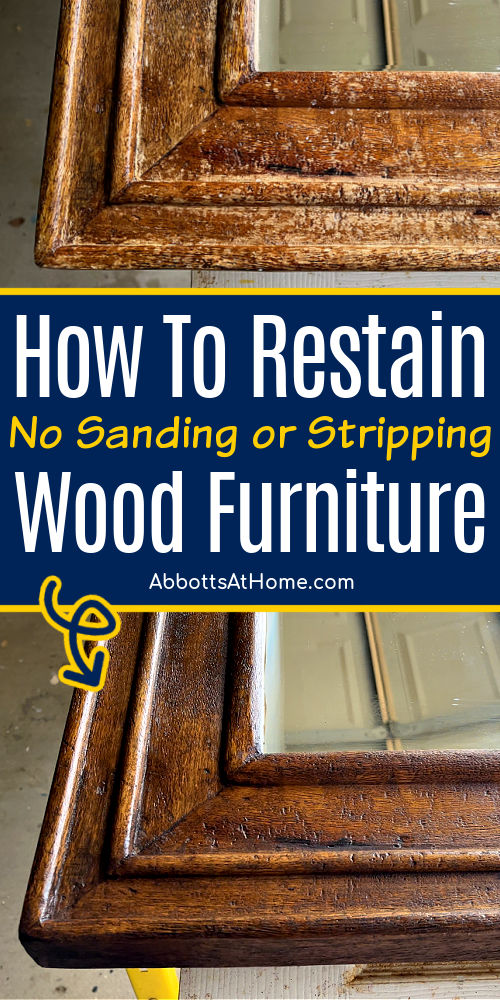
Instead of babbling on, let’s get to how to stain over stain without stripping or sanding off the old finish.
Table of contents
How To Stain Over Stain Without Sanding or Stripping
Let’s start this tutorial off with what you’ll need to restain wood furniture.
What You’ll Need
- Sanding Blocks Or Sanding Paper
- Old Masters Gel Stain (I used the gel stain color Provincial)
- A Good Synthetic Brush Or Clean, Lint-Free Rag
- A Good Top Coat, Like
Before we get to the written steps, if you want to see how to stain over stain without sanding, watch this video. Sometimes seeing something done can really help to give me confidence and motivation. 🙂
Please Note: These steps are only for previously stained wood – painted and bare wood would have a few different steps. Always follow safety directions on any product you use.
1. Degrease And Clean
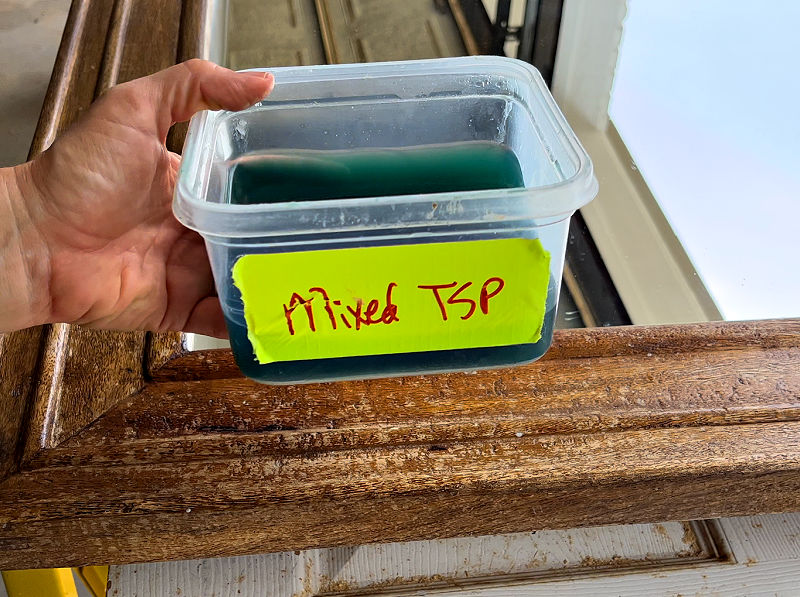
Lately, I’ve been using TSP to clean and degrease furniture before painting or staining it. Just be sure to follow the directions on the container to mix and use TSP correctly.
There are other cleaners that work well too. Including, Dawn dish soap mixed with warm water, a 50/50 mix of vinegar and water, and tons of store-bought cleaners that clean without leaving residue behind.
2. Lightly Scuff Sand
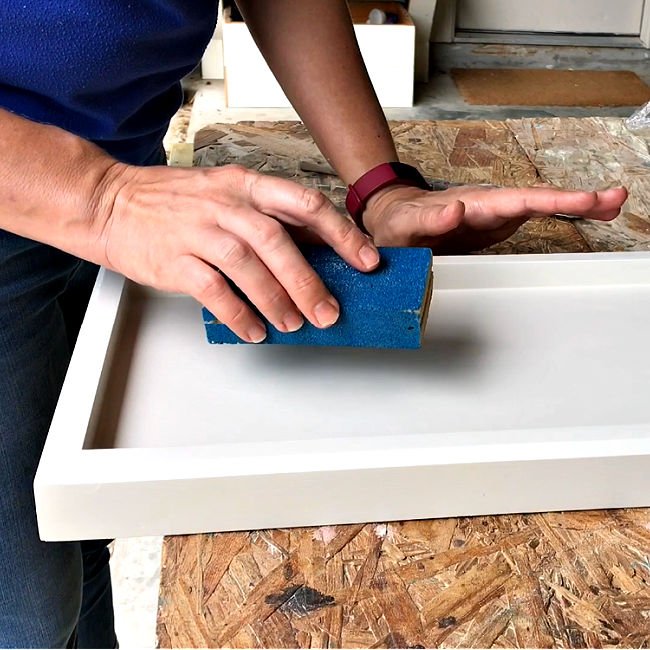
After cleaning the wood and letting it dry, you should scuff sand the entire surface to make sure that the new stain sticks to the old stain. I use 180 or 200 grit sandpaper for scuff sanding.
DON’T WORRY, this is just a quick, light sanding. You aren’t sanding off the old finish.
BUT, if the old finish is rough to the touch, chipped, or uneven, then I recommend sanding it smooth with a medium grit sanding block. Again, you aren’t sanding off the old finish, just smoothing it.
3. Apply Old Masters Gel Stain
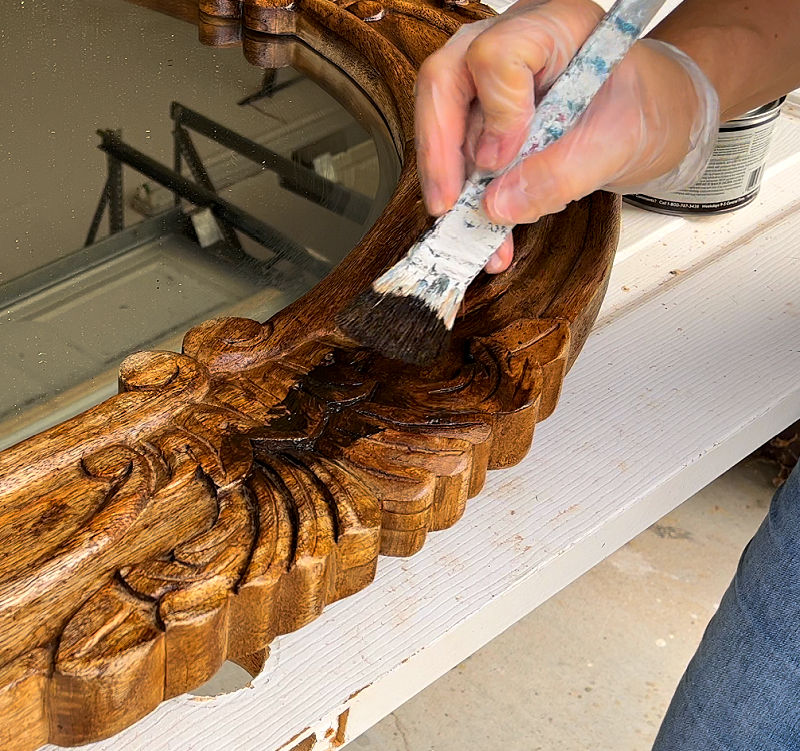
Next up, apply the Gel Stain with a clean, lint-free rag or quality nylon brush. You only need a little dab of product on your brush or rag to get started. In this case, a little does go a long way.
When you refinish wood furniture, be sure to apply a light, even coat. Gel Stain can stay gummy and not dry completely if applied too thick.
Keep spreading it out evenly across the wood until you remove all brush marks. You can also use a rag to remove excess gel stain, in case you use too much.
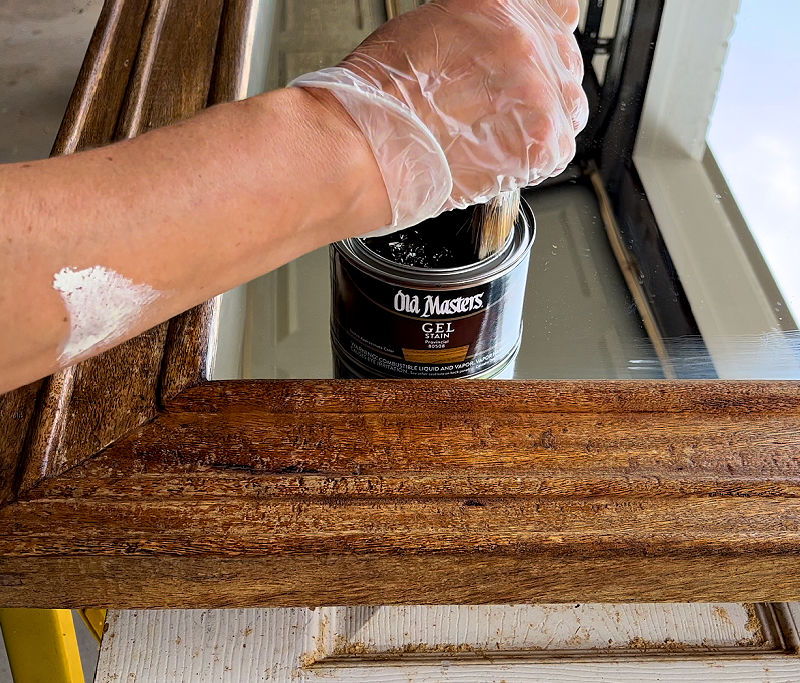
Once you’ve fully applied the gel stain on the entire piece, let it dry according to the directions on the container. Old Masters recommends 6 to 8 hours for each coat to dry.
I actually waited 24 hours for my gel stain to dry, due to the 100% humidity in Houston. Always add more dry time in humid areas. You can apply a second coat if needed. Or, move onto the top coat.
Always follow directions on the container for application, dry time, and safe use.
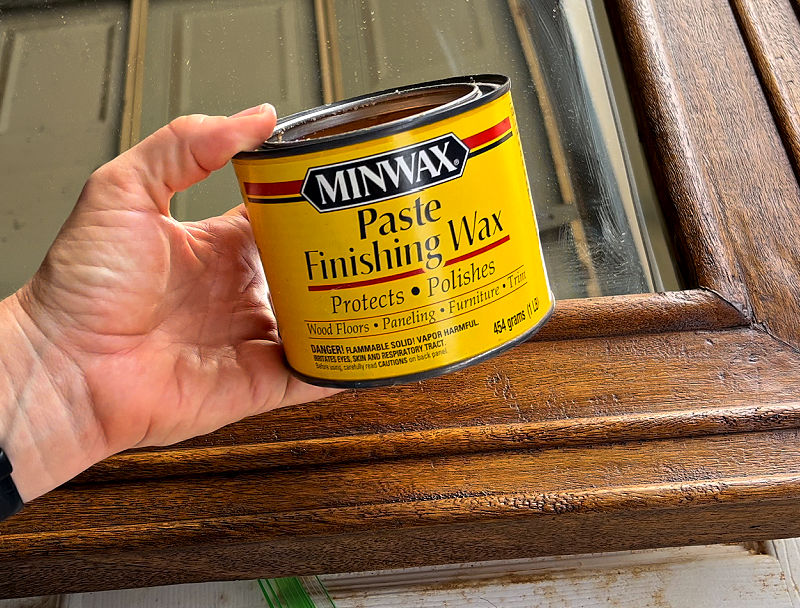
4. Apply A Top Coat Over The Gel Stain
I listed 4 possible top coats in the materials list above. I ended up using a clear furniture wax on my mirrors. But, clear poly’s would provide a tougher top coat.
Old Master’s recommends using one of their top coats with their gel stain. But, you can also use your favorite clear coat.
If you use a water-based top coat over this gel stain, Old Master’s technical data sheet says that you should let the gel stain dry for a full 48 hours to be sure the water-based top coat will stick.
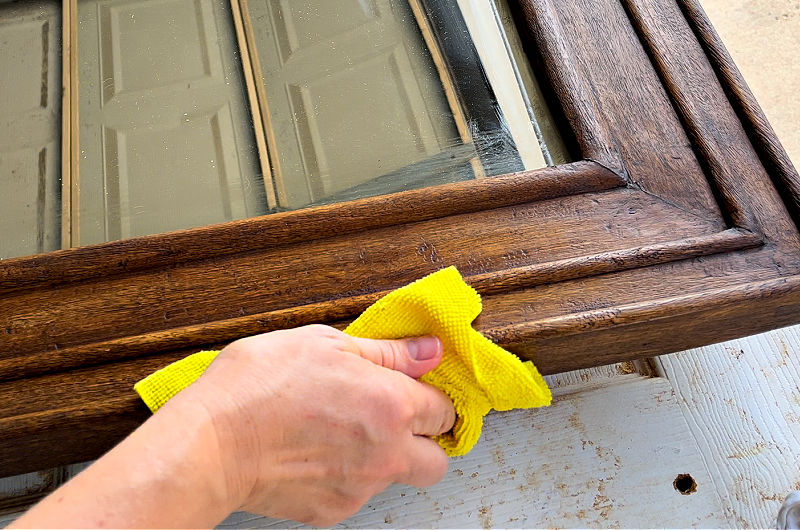
I recommend having at least half of that dry time be indoors. In a cool, low humidity environment. Follow the directions on the top coat to get the best results.
That’s it for how to refinish wood furniture without sanding or stripping off the old finish! Easy, right?! Now, here’s answers to a couple common questions I get about this.
Can You Restain Wood Without Sanding?
Yes, you can restain wood without sanding! I do it all the time, usually with Old Masters Gel Stain or General Finishes Gel Stain. But, there are plenty of great gel stains that work well.
Before you can restain over stain, you’ll need to clean the old finish and lightly scuff stain the surface. Read the steps or watch the video above to see how I do it!
How To Change Wood Color Without Sanding
Gel stains can change wood color without sanding. Gel stain cannot make the stain lighter. But, it can change the tone, or color, of the stain.
In fact, gel stain is great when you want to get rid of yellow or orange tones in stain. Just be sure to pick a gel stain with a neutral, brown tone. You can also make wood a darker color with gel stain.
I used a dark brown gel stain, General Finishes Java Gel Stain, to turn a medium orangey, brown stool into a color that matched our kitchen island. It was easy and looks great!
That’s it for these steps for restaining wood furniture. Good luck with your project!
More DIY’s For You
- 5 Best Ways to Remove Dried Citristrip on Furniture and Wood: Easy DIY
- How To Make Stain Darker Without Sanding (Easy Gel Stain Before And After)
- Easy Ways To Get A Heat Stain Out Of Wood (With Video And Tips)
- Easy Steps To Restain a Door without Removing It (One Day DIY)
You might also like 8 EASY Ways To DRY Paint Cans For Disposal (How To Harden Paint).
Or this post on the Top 12 Reasons I Use Danish Oil On New Wood And To Restore Old Dry Wood.

And, check out the Super Easy Way To Remove Water Stain from Ceiling Without Paint (1 Step).
Feeling inspired? Now that you’ve seen How To Restain Wood Without Sanding, you can do it too.
Let me know if you have questions. Don’t forget to sign up for the Abbotts At Home email newsletter to get DIY, Remodeling, and Crafty ideas in your inbox.

Stephanie Abbott has been remodeling homes, updating & building furniture, and working on DIY home maintenance and cleaning tips for over 20 years. Her remodeling has been featured in Better Homes and Gardens Magazine. And, her DIY YouTube channel has had more than 8 million views.
Most of the DIY tutorials and videos on this site focus on beginner to intermediate level DIY Projects that can be done in an affordable way without high-end, expensive tools. All of the cleaning tips on this website have been tested in her home.
