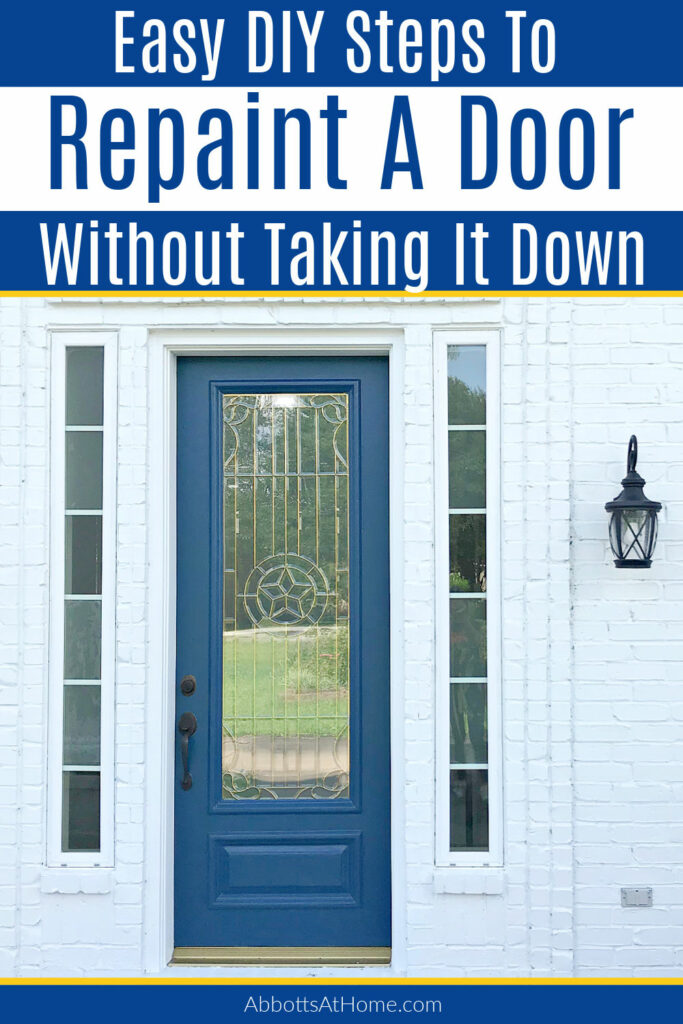
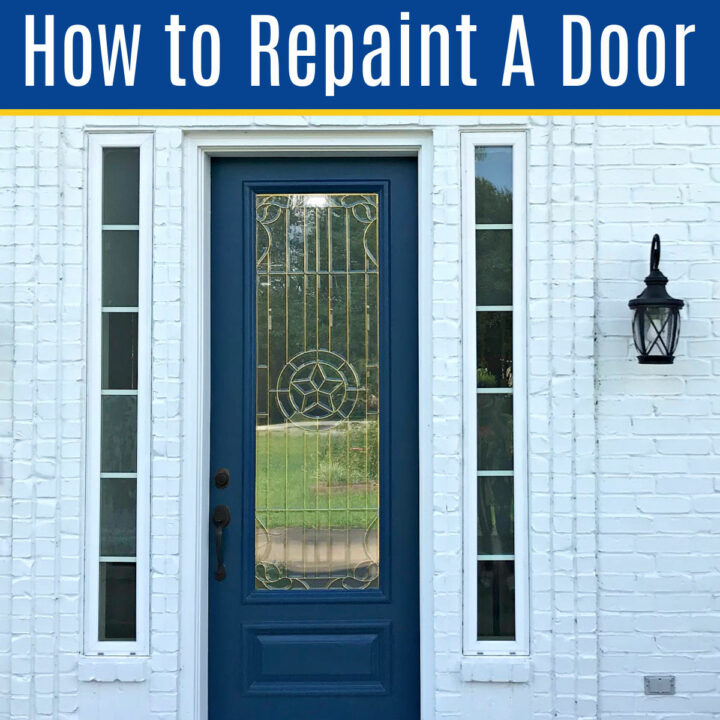
Can you repaint a door without removing it? Yes! But you need the right weather & paint. Here’s the steps to get huge curb appeal in 1 day!
Can you Paint a Door without Taking It Down?
Taking a front door off it’s hinges to paint it may be the ideal way. But, it’s not always practical OR necessary.
Removing the hinge pins and lifting a large heavy door can be a giant pain. Especially, if you’re like me and you do most of your home maintenance projects alone.
So, if your door is in pretty good shape, you can absolutely paint your front door without taking it down.
This post is full of the tips and steps you need to paint your door without removing it. Let’s get to them!
You Need the Right Weather
First, let’s talk about what you need to know before you repaint a door without taking it down.
Avoid Moisture
If you are going to leave the door on the hinges, make sure it’s not going to rain on your door while the paint is still wet.
Avoid painting your door on a humid day too. Humidity can extend the dry and cure time.
That humidity will leave you with tacky paint longer than you’d like.
Avoid Sunshine and Heat
If the sun is shining directly on the door, or if it is hot outside, the paint will dry faster than you can apply it. That can cause streaks and unevenness in the sheen or look of the paint.
So, I recommend painting your front door ONLY when shade is on the door.
And if it’s a really hot day, you’ll have to be careful and work quickly. I’d avoid painting the door if the temperature is above the products recommended temperature range.
Avoid Windy or Cold Days
Well, I’ve already talked about rain and sunshine, we might as well add warnings about windy or cold days too, right?
Every exterior paint I’ve used recommends applying the paint above a certain temperature and below a certain temperature.
Check your paint for the products recommendations on the safe temperature range for best results.
And, when it comes to wind, it’s really just about making sure that dust, leaves, and other particles outside won’t be blown into your wet paint before it has a chance to dry.
OK, now let’s get to the steps for painting your door while it’s still hanging.
How to Repaint a Front Door without Removing It
What You Need
- TSP
- Drop Cloth
- Painters Tape
- Exterior Grade Wood Filler or Wood Putty
- 120 Grit Sanding Block
- Exterior Grade Primer – I LOVE this exterior water-based primer that sticks to anything!
- Tack Cloth
- Exterior Grade Paint
- 1 1/2″ to 2″ angled synthetic paint brush
Quick Step Guide
Here’s a quick look at the steps to repaint a front door while it’s still on it’s hinges. You can find a detailed look at each step below.
- Prep and Clean your Door
- Patch any Damage with Exterior Wood Filler
- Lightly Scuff Sand your Door
- Optional – Apply an Exterior Grade Primer
- Apply 2 Coats of Exterior Paint
These are general instructions for repainting a front door. Be sure to follow the directions on the products you use for best results!
Different products have different recommendations for dry time and cure time. It’s always important to follow those times.
Now, here’s a more detailed look at each step for how to paint a front door without taking it down.
Detailed Steps to Repaint a Door
Step One – Prep and Clean Your Door
Start by opening your door wide enough to be able to apply the paint to the entire door. I put a heavy chair behind my front door to keep it from moving while I worked on the door.
If the sun is shining on your door, you may want to wait until it passes or open the door wide enough to get it out of the sun. The sun will dry the product much faster.
As I mentioned above, I wouldn’t paint a door without taking it down on days that are too humid, rainy, too cold, too hot, or too windy either. Check above for my reasons for avoiding each one.
You should pick a nice spring or fall day to repaint your front door, if you can.
You’ll also want to put a plastic drop cloth down to protect your floors while you work.
Then clean the door with TSP or a similar degreaser to remove any dirt, oils, and stains on the door. After cleaning the door, let it dry completely.
Finally, tape off your hardware, glass inserts, and edges with a good painter’s tape.
Step Two – Patch any Damage with Exterior Wood Filler
If you have any dents and dings that need repair, use an exterior grade wood filler or putty on the door.
Apply and sand that wood filler or putty according to the directions on the product you are using.
Step Three – Lightly Scuff Sand your Door
For most doors, you’ll need to lightly sand the surface, known as scuff sanding. Scuff sanding the old finish gives the new paint a good surface to stick to.
I usually use a 120-grit sanding block for a scuff sanding.
If your old paint finish is chipped or uneven, it may need more sanding, with various grits, and possibly an exterior wood filler to get back to a smooth door.
If you followed all of the steps above, your door should be sanded smooth at this point. Clean all dust off your door with a tack cloth.
Step Four – Optional – Apply an Exterior Grade Primer
Keep your door out of the sun when painting and drying. So, if it’s hanging keep it open and in the shade. Or, if it’s off the hinges, just keep it in the shade.
If your top coat recommends a primer, apply an exterior grade primer to the door.
Use a quick drying water-based primer, if possible. You can also have your primer tinted to save time painting.
Step Five – Apply 2 Coats of Exterior Paint
Apply 2 coats of exterior paint to your door. Again, be sure to follow the products recommendations for dry time between coats.
Ignoring the recommendations for dry time and cure time can make it easier for your paint to bubble or remain tacky for too long.
Check out Why Is My Front Door Paint Bubbling & Blistering to see the story behind the bubbling paint on my door.
I also recommend that you use a fast-drying water-based exterior paint. I LOVE Sherwin Williams SnapDry paint. It is what the painter’s used the 3rd time they painted my door.
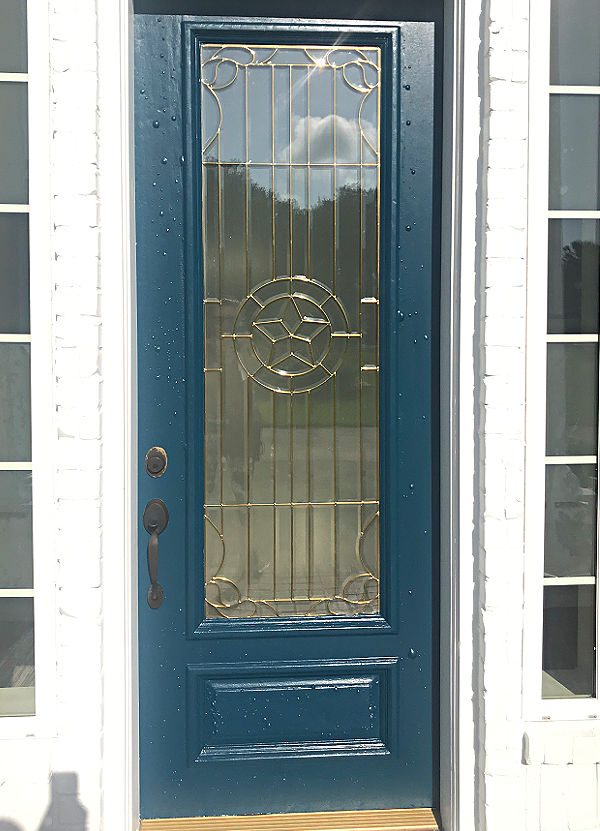
That fast-drying paint made all the difference! It meant my door had time to fully dry and cure before the sun hit it the next day.
Paint the recessed areas and raised details of your door first. Then paint the flat areas. Be sure to use a high quality nylon brush to reduce the look of brush strokes.
And, don’t paint over areas that have already started to dry. It will mess up the paint sheen on those spots.
If you’re a slow painter, it’s probably best to paint the recessed and raised details, let them completely dry. Then paint the flat areas separately.
Frequently Asked Questions
What is the Best Paint for a Front Door?
I love Sherwin Williams SnapDry. It’s my new pick for the best paint for a front door.
Sherwin Williams always makes great paints. I prefer SnapDry because it dries so much faster than most exterior paints.
That faster dry time is a huge advantage outdoors, when weather can play a big part in getting a good result.
Can I Just Paint Over Old Paint on a Door?
Yes, you can paint over old paint on a door. Painting over old paint is pretty easy.
Just be sure to clean the old paint with a good degreaser, like TSP. And prep the surface by scuff sanding, before you paint.
This is all covered in the instructions for repainting a door above.
Can I Paint Over Old Stain on a Door?
Yes, you can paint over old stain on a door. Just follow the exact same steps above.
Cleaning the door with a degreaser like TSP and scuff sanding the old stain will give the paint a great surface to stick to.
BUT, if you’d rather stain over an old stain finish, check out Can you Stain A Door Without Taking It Down for all of the tips and my recommendation for the easiest to use exterior gel stain.
Do You Need to Sand a Door Before Repainting It?
I recommend at least scuff sanding a door before repainting it. If the old stain or paint finish is in good shape, a scuff sanding is all you need.
Scuff sanding is just a light pressure sanding across the entire surface. I use a 120-grit sanding block to do this.
That will scratch the old finish enough to give the new paint a good surface to stick to.
That’s it for How to Repaint a Door without Removing It. Be sure to check out my Most Popular posts for home owners OR head over to my YouTube channel for more DIY videos.
You might also like, this step by step guide for the Best Way to Stain Exterior Wood Door or this post on Can You Stain a Door Without Taking it Down.
And, here’s the Best Way To Paint Vinyl Shutters.
Check out the Best Outdoor Door Mats for your Home to get great curb appeal.
Check out What Happens If Your AC Filter Is Dirty? for everything you need to know about how changing your AC filter can save you big money! And, I also have a must-see list of the Best AC Filter Replacement for Cleaner Air in a Home.
See how easy it is to Fix Water Stains on Ceiling Leaks or How to Remove Water Stain from Ceiling Without Paint.
Thanks for reading How to Repaint a Door without Removing It. I hope that helped you figure out why your exterior paint is bubbling too.
Don’t forget to sign up for the Abbotts At Home email newsletter to get DIY, Remodeling, and Crafty ideas in your inbox.
Stephanie Abbott has been remodeling homes, updating & building furniture, and working on DIY home maintenance and cleaning tips for over 20 years. Her remodeling has been featured in Better Homes and Gardens Magazine. And, her DIY YouTube channel has had more than 8 million views.
Most of the DIY tutorials and videos on this site focus on beginner to intermediate level DIY Projects that can be done in an affordable way without high-end, expensive tools. All of the cleaning tips on this website have been tested in her home.


