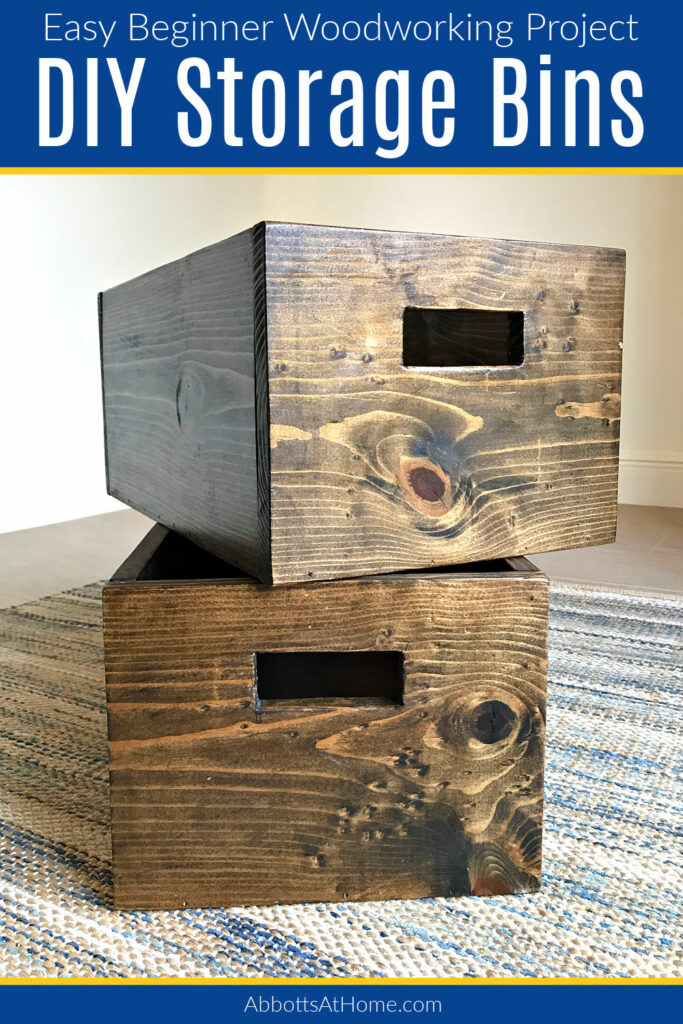
I LOVE this easy DIY Wood Storage Bin for Beginners! You can make this box any size AND it’s a great starting project for new woodworkers.
Easy DIY Wood Storage Bin for Beginners
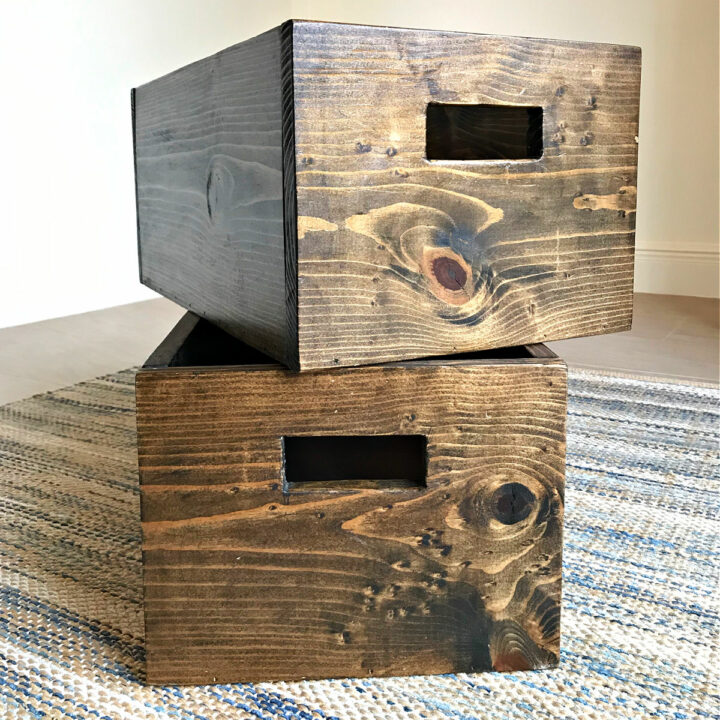
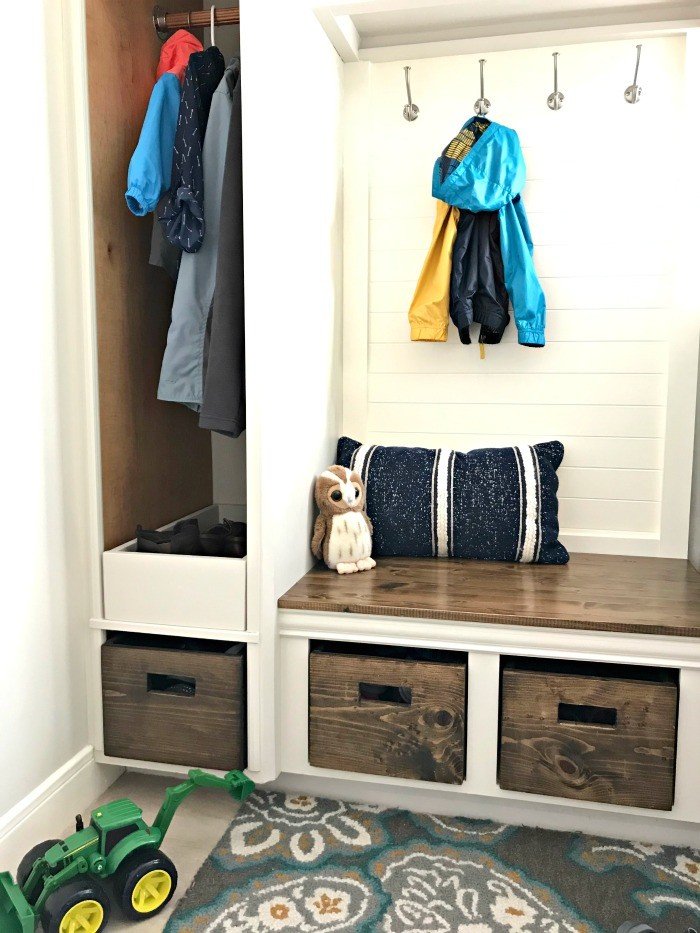
The laundry room makeover is moving right along with the addition of these custom wooden storage bins to hide away all of our shoes.
The storage bins turned out great and give the whole mudroom bench area a more polished look than those fabric bins ever did.
And, since I could build these bins to the exact size I needed for the openings, they doubled our shoe storage. And, they only cost around $12 each for a custom look. Yay!
Making these DIY Wooden Sorage Bins turned out to be easier and quicker than expected.
This project was the perfect opportunity to use my new Kreg Jig R3. I was a bit intimidated at first, but the directions are really clear and simple.
I think the 3 important keys are to have clamps to hold the wood in place, use Kreg’s screws, and to know where to place the pocket holes for the most secure build.
If you are new to Kreg Jig Pocket Hole joinery, check out this great Kreg video that explains all of the types of joints and how to do them.
OK, let’s get to the build!
How Do You Make A Wood Storage Bin
Materials Needed
- Dimensional Lumber
- 3/4″ or 1/2″ Plywood
- Kreg Jig kit, clamp,
and screws
- Drill
- Power Sander & Sandpaper
- Wood Glue
- Nail Gun
with 1 1/4″ Brad Nails
- Circular Saw or Jigsaw
- Wood Conditioner, Stain, and Polyurethane
Quick Step Guide
- Measure and Size Your Bins
- Cut Your Boards To Size
- OPTIONAL STEP – Rustic Handle
- Drill Your Kreg Pocket Holes
- Sand All 4 Box Sides
- Join The Storage Bin Sides
- Cut and Attach the Bin Bottom
How to Measure and Size Your Storage Bins
I started the build for this DIY wood bin by measuring the openings in the mudroom bench. This will vary depending on how big you need your bins to be. Here’s how I figured out how big to make mine.
The height of the opening is about 12 inches, so I decided that a 1″ X 10″ dimensional board would work perfectly in the opening.
Picking a standard dimensional lumber size will make building these bins easier. And, you won’t have to cut across the length of the board, which can be a pain for beginner woodworkers.
The opening is about 21 inches deep and 12 1/2 inches wide too. I decided to make the box 12″ wide X 20″ deep to take advantage of the space, but not make the fit too tight.
Based on those measurements, each box would need about 61″ of 10″ board for the sides, front and back.
I decided to use 3/4″ plywood for the bottom of the bin, since I already had that on hand. 1/2″ plywood would work for the base too.
Don’t forget, you can adjust these measurements to make your own custom DIY wood storage bin. You can use these bins for extra storage in so many spots in your home or garage.
Cut Your Boards To Size
Use your circular saw or jigsaw to cut the 1 X 10 wood and plywood to the lengths you need.
The easiest way to get straight cuts is by first marking the straight line across the board with a square. Be sure to use a pencil, pens can leave marks that will show through paint and stain.
You can see how I do this in this video showing how I build easy DIY Drawer Boxes. It’s a very similar build.
OPTIONAL STEP – Rustic Handle
I wanted a rustic farmhouse look on these DIY Wood Storage Bins. So, I went with a rustic handle cut into the front on each wooden bin.
For a more polished look, you can skip cutting this rustic handle. Check out my big list of unique drawer pulls for great pulls that can be attached to these bins instead.
Or, I have a great, chunky DIY wooden drawer pull that can be used on these storage bins too.
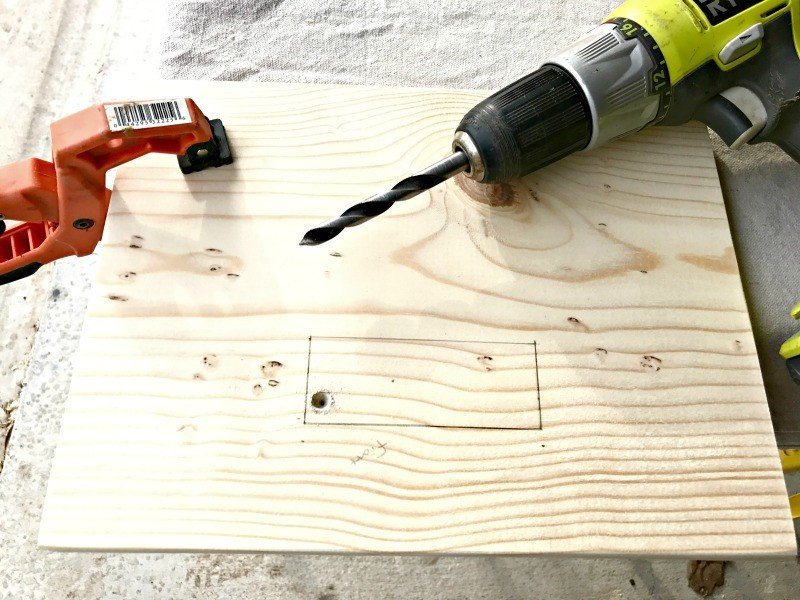
I used a jigsaw to cut the rustic handle into the front board of each wooden storage bin.
To cut the handle, I used the Kreg drill bit to create a pilot hole that the jigsaw blade could fit in. That drill bit is amazingly fast at creating pilot holes!
Drill Your Kreg Pocket Holes
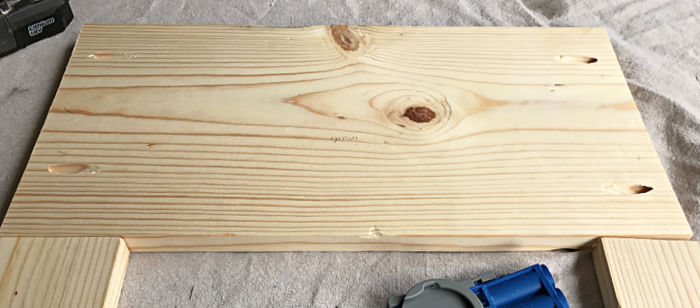
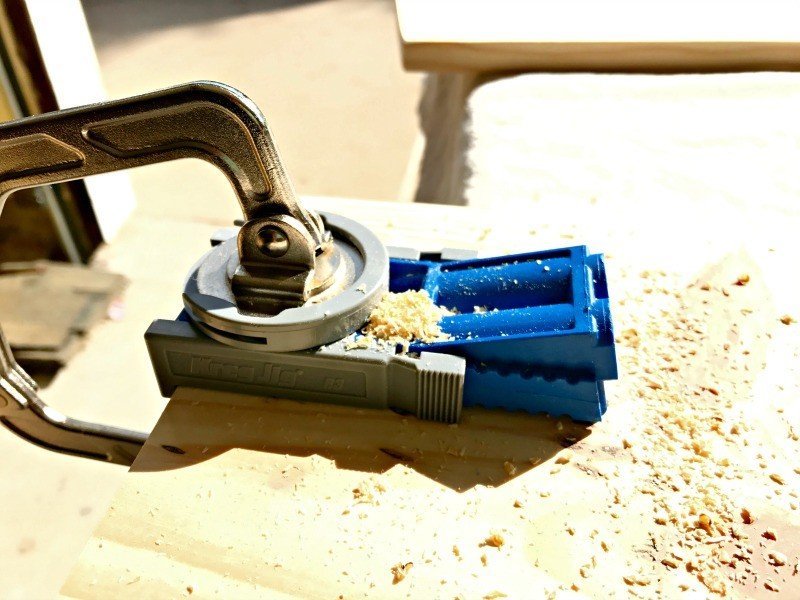
I set up my Kreg Jig for 3/4″ thick wood. Then I drilled 2 holes on each end of one side of each of my 18 1/2″ long boards.
Make sure the Kreg Jig is clamped in place while drilling the holes. And, be sure to keep your pocket holes a couple inches away from the end, or corners of the boards.
Sand All 4 Sides
Now sand each side to prep for stain and to smooth the sharp edges on both sides of each board. I used 120 grit sandpaper first. Then followed that with 180 grit sandpaper.
The fastest way to sand the board sides, corners, and edges smooth is by using a power sander. But, you can use a sanding block, if needed.
Join The Storage Bin Sides
Start by joining the front board to the 2 side boards. Apply wood glue to the end of the board before screwing it in place. Using wood glue and screws together makes an extra strong connection.
Just be sure to completely wipe away all excess glue before it dries.
You can use a Kreg 90-degree clamp to hold the pieces together. Or you can set the front piece on a flat surface, then line the side up on it while screwing.
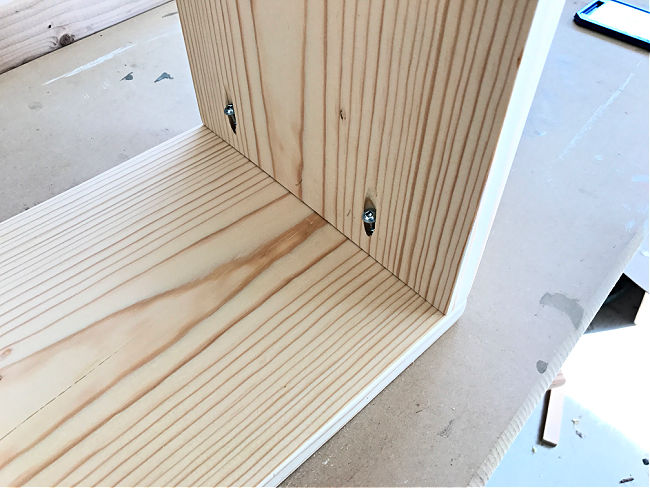
Insert the screws into the holes before using your drill and Kreg bit to screw them in place. Repeat this process for each hole, always making sure to verify alignment and check that the joint is square.
After the front is connected to both sides, apply glue to the back ends, then screw the back of the box into place.
You can put the back piece on the flat surface, then flip the 3 pieces over to line the sides up with the back.
Cut And Nail Bottom Into Place
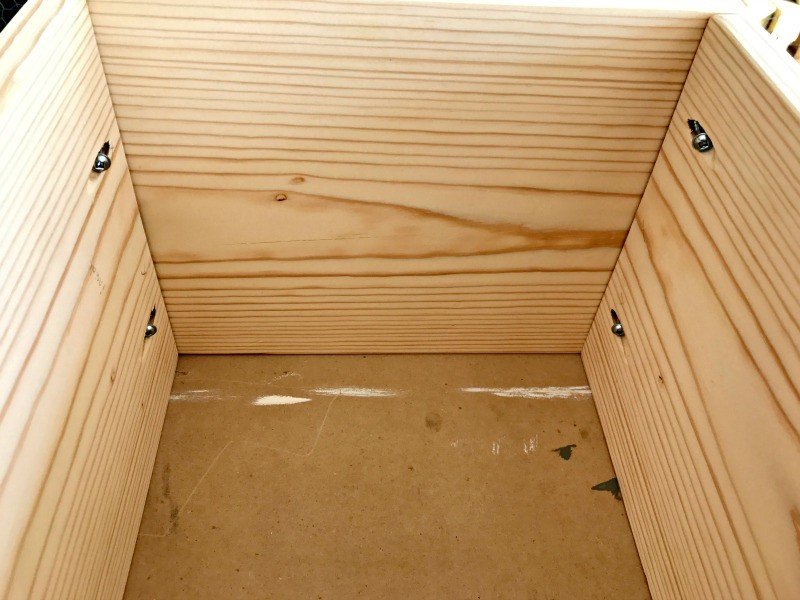
With the 4 sides were assembled, I put the sides on top of my plywood to mark and cut the bottom for the box.
The best way to do this and avoid wasted plywood, is to line up 2 sides with the corner of the plywood. Then you’ll only have 2 sides left to mark and cut.
Once the 2 inside sides of the box are lined up with the plywood, use a pencil to mark the 2 sides that need to be cut. Then use your circular saw or jigsaw to carefully cut along that line.
After cutting, pop the sides over the bottom to be sure it fits. Cut or sand any spots that are still to big to fit snuggly inside the sides.
When it fits well, apply a little wood glue along all 4 plywood edges. Put the plywood on a flat surface, then slide the sides over it.
I used my brad nailer on the 2 long sides to hold the plywood bottom in place while the wood glue dried. You can also use brad nails on the back of the box. But, skip the front so you won’t have visible nail holes.
Side Note: I could have used pocket holes to attach the bottom too. But brad nails are so much easier and just as strong with wood glue.
That was pretty easy, right? That’s it for how to build the storage bin.
Finishing The Box
You might need to sand around the edges of the bins again where wood glue might have gotten on the wood.
Wood glue will effect the way the stain you use will soak in, changing the look on those spots. So sand again, if necessary.
Then apply Wood Conditioner to the entire storage bin. Wood conditioner will moisturize the wood, helping it absorb the stain more evenly. Let that set for 5 minutes before applying your stain.
Be sure to follow the directions on the wood conditioner and stain to get the best result.
A few hours later, my stain was dry. I applied 2 coats of a matte finish polyurethane. Be sure to allow the first coat to dry completely before applying the second.
Now your wood storage bin is complete and ready for use. Yea!
Optional: Make a Replaceable Liner
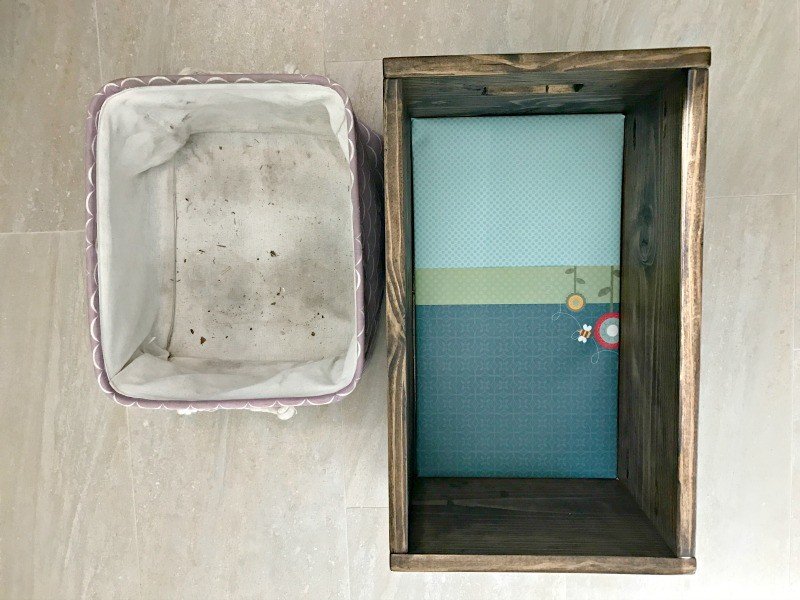
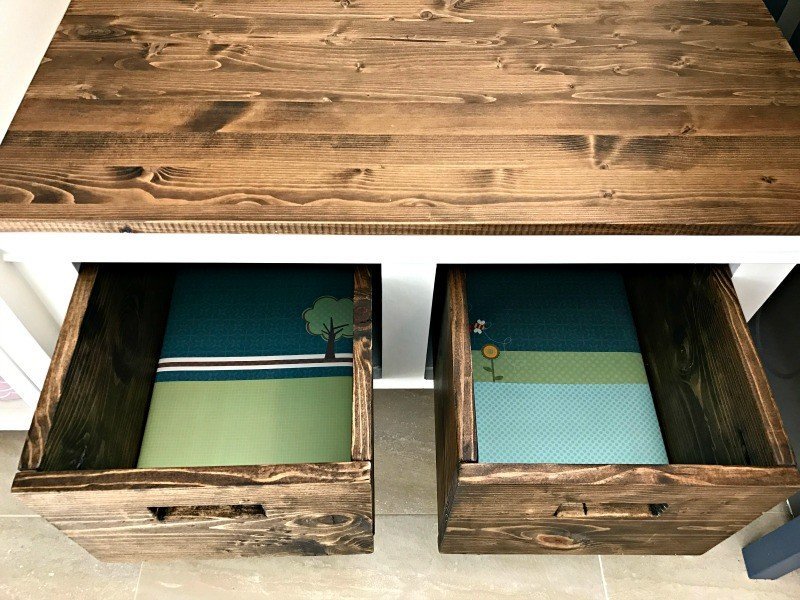
I did add an optional liner to the bottom of my Easy DIY Wood Storage Bins. This was just as a pop of color that I can easily replace when the box gets dirty.
I made this removable insert liner using 1/4″ MDF board that I covered in thick scrapbook paper. It’s almost too pretty to cover in shoes now. 😉
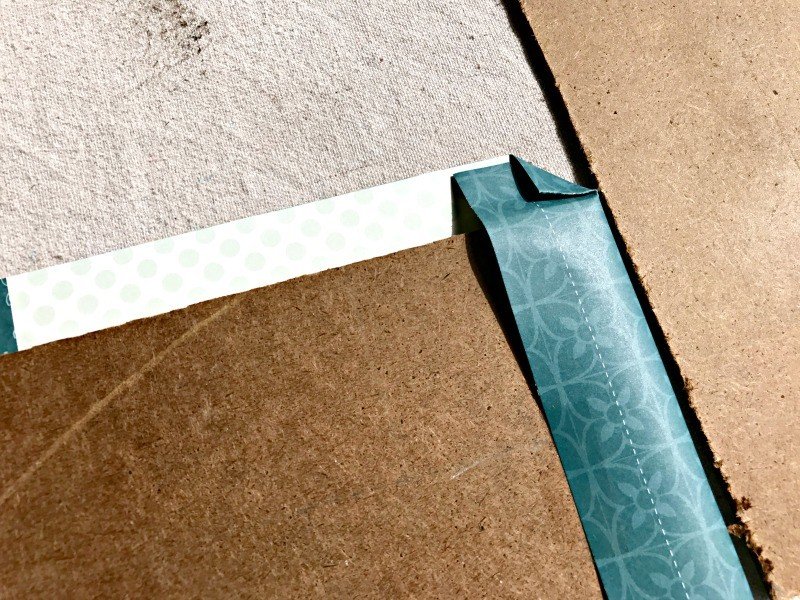
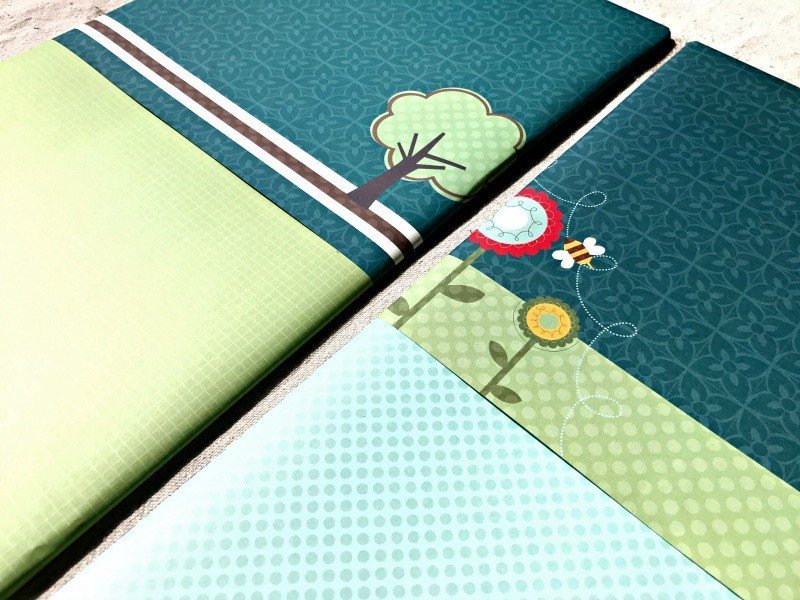
UPDATE 2021: I made these bins and liners 5 years ago now and I have only just now replaced the scrapbook paper liners. That scrapbook paper is so thick, it’s held up amazingly against dirt. It’s so much better than absorbent cloth bins.
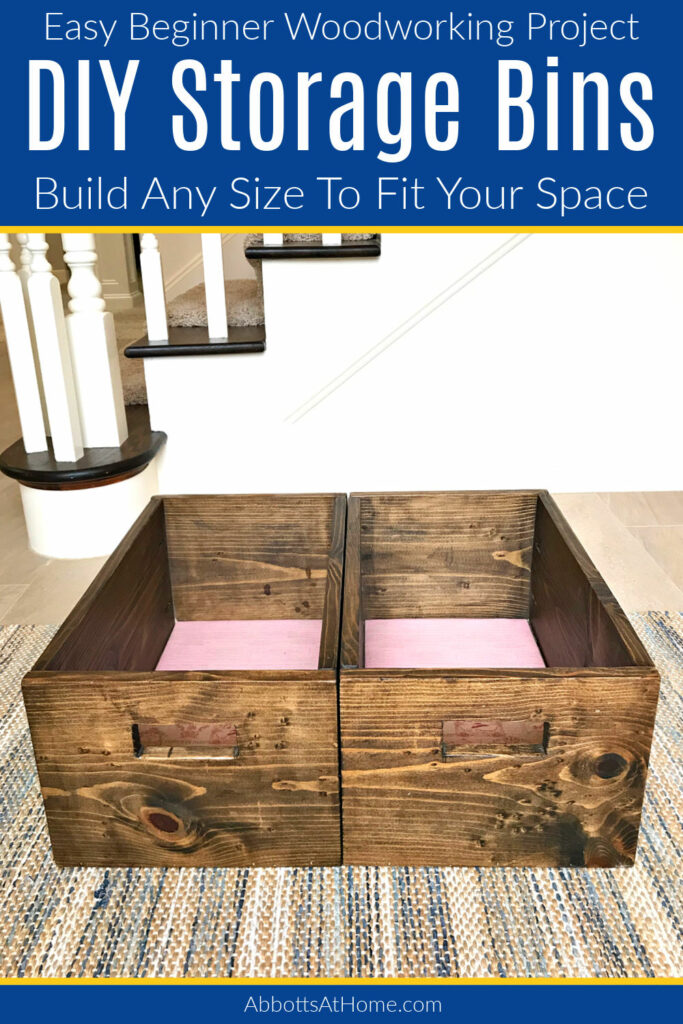
That’s it for the wooden storage bins, guys. Here’s a few more DIY projects you might like!
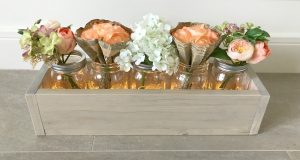
How about another DIY box? This great 5 Mason Jar Planter Box is an easy build. You can even make a bunch at once for gifts.
Here’s How to Make Painted and Chalkboard DIY Signs on Old Cabinet Doors.

Check out How to Hide a Kitty Litter Box in a Cabinet. I have 5 easy DIY ways!
You might also need to know How to Set Wooden Fence Posts in Concrete.
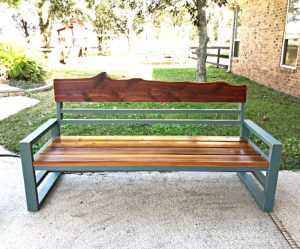
And, when you’re ready for a bigger build, check out this DIY Outdoor Sofa from 2×4‘s.
Feeling inspired? Want to build your own easy DIY Wood Storage Bins for beginners? Have fun and let me know if you have questions. Or post pictures of your work and tag Abbotts At Home on FB, I’d love to see it!

Stephanie Abbott has been remodeling homes, updating & building furniture, and working on DIY home maintenance and cleaning tips for over 20 years. Her remodeling has been featured in Better Homes and Gardens Magazine. And, her DIY YouTube channel has had more than 8 million views.
Most of the DIY tutorials and videos on this site focus on beginner to intermediate level DIY Projects that can be done in an affordable way without high-end, expensive tools. All of the cleaning tips on this website have been tested in her home.

