Wondering how to fix paint bubbles on front doors & trim? Here’s 6 causes for exterior trim and front door paint bubbling. And how to fix it!
Why Does Paint Bubble on Exterior Doors
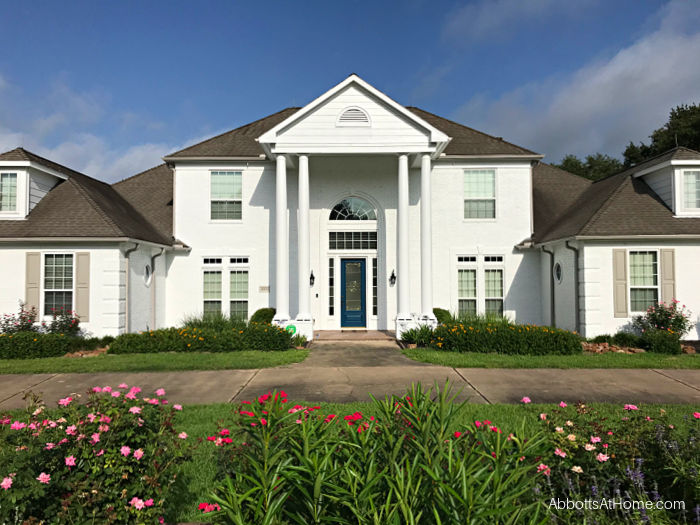
After years of wanting to paint our brick house white, we finally had it done this year. *Happy Dancing*
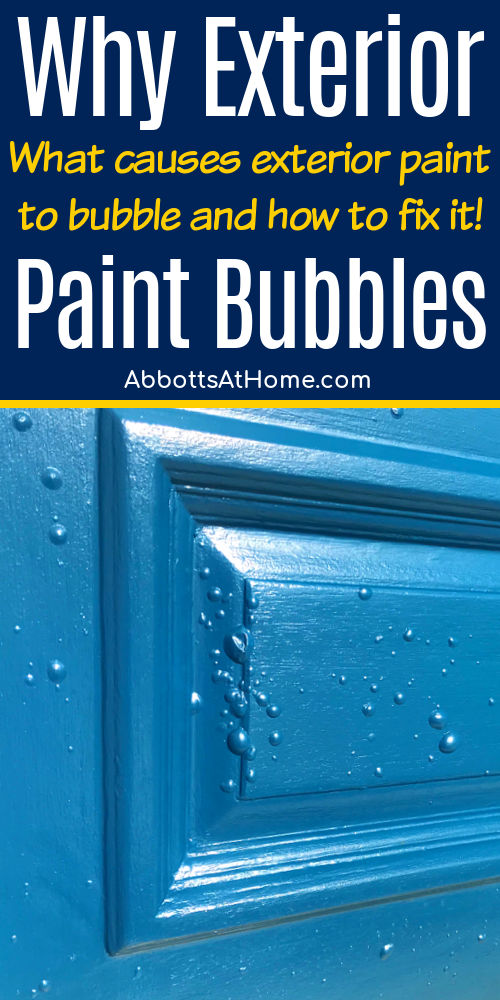
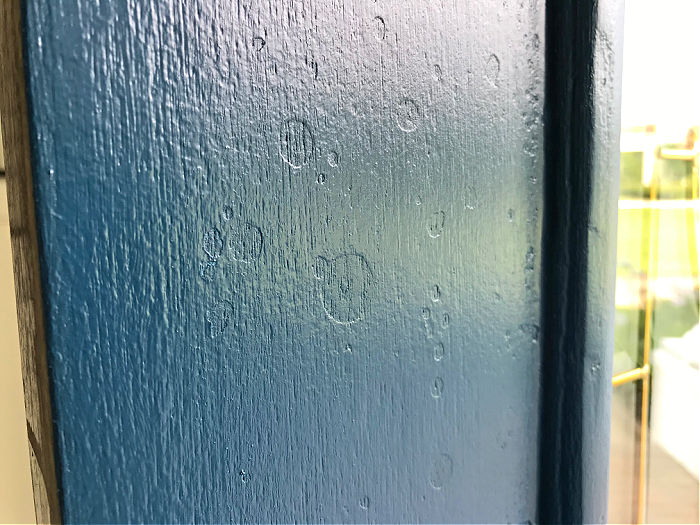
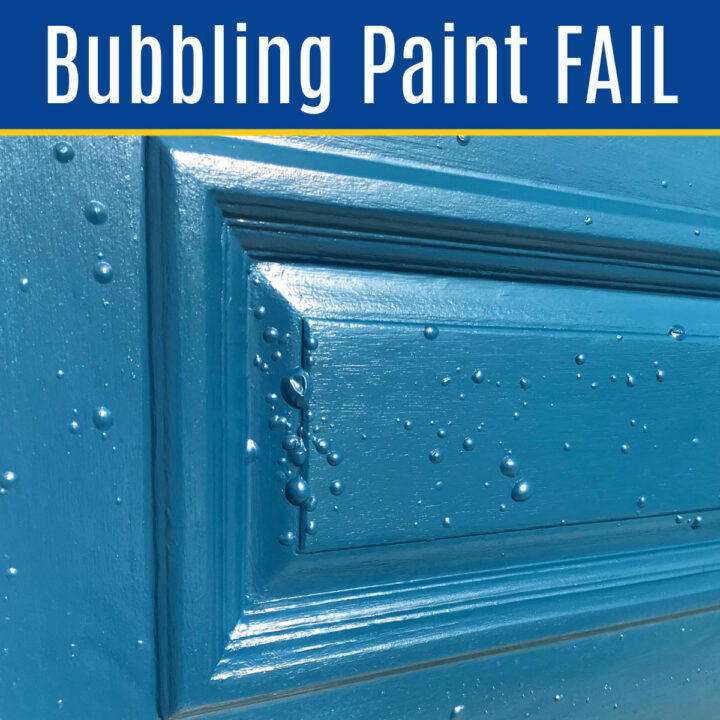
But, with every big home makeover, there’s always some problems. This time the problem was paint bubbling, aka paint blistering, on our front door.
And, I mean huge, gigantic paint bubbles all over our front door, guys. It looked crazy.
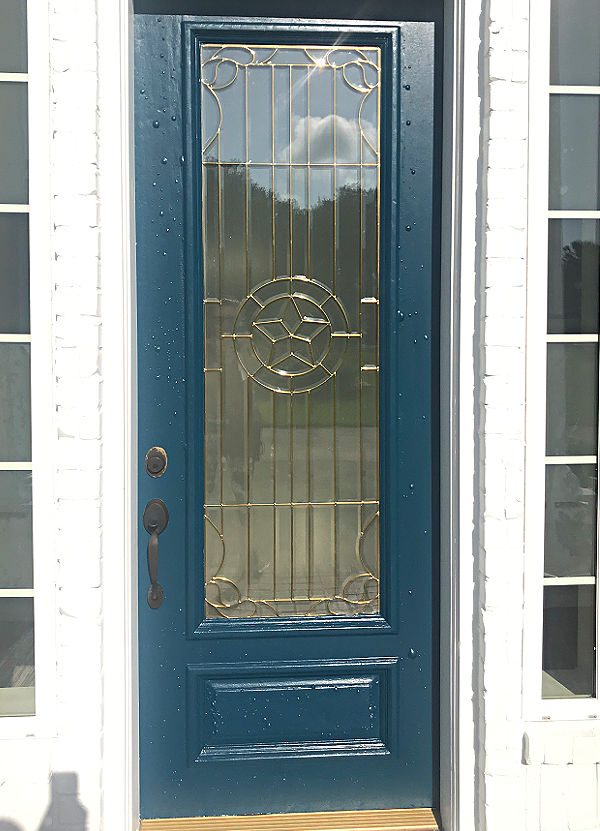
Our front door has long been a problem spot. We live in Texas, so it’s hot & humid here for probably 9 months of the year.
And, our front door gets direct sunlight on it for about 5 to 6 hours a day. That sunlight heats up our wood front door enough to be too hot to touch in the summer. Yikes!
That sunlight overheated our paint before the paint had fully cured. Causing huge paint bubbles to form where the paint lifted off of the layer of primer under it.
But there are 6 main reasons why exterior door paint blisters or bubbles. Let’s get to those different causes for paint bubbling on front doors.
Table of contents
What Causes Paint Bubbling on a Front Door
When you have paint bubbling on an exterior door, or exterior wood trim paint, that means that the paint in those spots isn’t bonded to the door or a layer of the paint beneath it.
Something caused the paint to lift from the door in those spots. Here are handful of possible causes of paint bubbling on a door that has been recently painted.
6 Possible Causes for Exterior Paint Bubbling
- Moisture in the Door
- Oils or Dirt on the Door
- Direct Sun on Paint Before the Paint Cures
- The Weather Outside is too Hot or Cold
- Rain on Fresh Paint
- Using Oil-Based Paint over Water-Based Paint
If you’re trying to figure out which one of these 6 reasons caused your front door paint to bubble, start by crossing off the causes that you know for sure don’t apply to your door paint.
So, if you know you used water-based paint over water-based paint, cross that option of the list of possible causes.
If you know that it didn’t rain OR that the weather was nice and mild, cross those possibilities off the list.
Why Is My Front Door Paint Bubbling – Video
The painter’s I hired to paint my house didn’t realize how much sun my door gets. So, they struggled to paint this door without causing it to bubble.
Watch this video to see my front door paint bubbling after the sun hit it. And, why the painters had to redo my front door 3 times.
Before painting this door, I struggled for 8 years to keep the old stain finish on that door looking nice.
Check out How to Fix A Sun Damaged Dry Wood Front Door or How to Restain a Door without Removing It to see my tips for a stained front door that gets a lot of sun.
Once you know what caused your paint to fail, you still have to fix it. So, let’s get into what to do if paint bubbles on exterior doors and trim.
How Do You Fix Paint Bubbles or Paint Blisters
There are 2 main ways to fix your front door paint bubbles and blisters; either patch and fix the paint bubbles OR strip and repaint the door. Stripping is the easiest way to guarantee good results.
But, let’s go into the steps for how to fix paint bubbles on front doors both ways, so you can decide for yourself.
Patch and Fix Paint Bubbles
If you only have a few paint bubbles on your door, the easiest option is probably just a peel, patch and paint approach.
The painter’s that worked on my door used this option as part of the last attempt to fix my door. The peel, patch an paint fix worked for them on my door.
But, I have to say, I had so many bubbles on my door it probably would have been easier and better to just strip my door to start over.
If you decide to go with this option, it’s important to use a exterior grade wood filler.
Here’s a quick look at the steps to peel, patch, and paint your front door bubbles. You can do these with the door still hanging, if you prefer.
- Carefully peel all of the paint bubbles off with a putty knife. Or, if you’re really careful, you can use a utility knife. Just be sure to not gouge your front door.
- Clean the entire door with TSP to remove any dirt or oils that may be on the existing finish. This will help the new coat bond to this coat of paint.
- Then use an exterior grade wood filler or wood putty to fill those spots left after removing the paint bubbles. Follow the directions on your wood filler to get the best results.
- Let the wood filler dry before sanding the spots flush with the area around it. Clean dust off of door.
- Then apply another coat of your exterior paint to the entire door.
Strip and Repaint your Front Door
If you have front door paint bubbling on wood doors, like mine, you’ll get the best result by stripping the paint off.
I prefer stripping the finish over sanding the old finish off. It’s too easy to over sand shallow dents into old wood doors and the mess up the molding on them. Stripping will help to preserve the door and it’s details.
Here’s the steps for stripping and repainting your door. You’ll have an easier time if you can remove the door for this DIY Project.
How to Strip Paint on a Front Door
Here’s the steps I use to strip paint or stain off of exterior doors.
What You Need
- Plastic Drop Cloth
- Plastic Putty Knives
- Paint Stripping Stripping Pad
- Paint Stripping Brush
- Citristrip
- Saran Wrap or Kitchen Plastic Wrap
- Painters Tape
- Heavy Duty Gloves or Nitrile Gloves
- Protective Eyewear
- Sandpaper – various grits
- Optional Exterior Wood Filler
Steps
- Remove your door. Try to start as early in the day as possible, so you have time. Hang plastic in the door to keep heating or cooling in.
- Lay your door flat in a cool, shaded area. A garage or covered area would be best. Protect the area under the door with a plastic drop cloth.
- Remove or tape off your hardware with painters tape. You can tape off the door edges too, unless you need to repaint them.
- Apply a nice thick layer of Citristrip to the door with an old paint brush or Chip Brush. Wear gloves and protective eyewear.
- Then immediately cover that with plastic wrap. That will keep the Citristrip wet longer, which let’s it penetrate deeper into the paint. Watch this video to see fantastic this worked on 3 layers of Latex Paint on a chair.
- Let that Citristrip Paint Stripper work for about 1 1/2 hours.
- Wearing gloves and protective eyewear again, peel the plastic wrap off the door. Throw that away.
- Use a plastic putty knife to scrape the layers of paint off the door. For curves and molding, use a small putty knife, heavy duty stripping pad, or a paint stripping brush to scrape away the paint.
- If any paint is too hard to scrape away, it needs another pass with the Citristrip. Follow steps 4 to 8 again. You only need to apply it to the spots that still have paint.
- After the paint has been stripped away, you’ll be left with some paint residue. You can gently scrub that off with Mineral Spirits and a paint stripping pad. Be sure to wear gloves and protective eyewear.
- Let the door dry. Patch any necessary spots with an exterior grade wood filler. Then lightly sand the door smooth.
How to Repaint a Front Door
OK, now that your door has been stripped, you can repaint your front door. These are general instructions. Be sure to follow the directions on the products you use for best results!
What You Need
- Exterior Grade Primer – I LOVE this exterior water-based primer that sticks to anything!
- Tack Cloth
- Exterior Grade Paint
- 1 1/2″ to 2″ angled synthetic paint brush
Steps
- If you followed all of the steps above, your door should be sanded smooth at this point. Clean all dust off your door with a tack cloth.
- Remove the painters tape that might have paint stripper on it. Replace it with new painters tape on the hardware and door edges.
- Apply exterior grade primer to the door. Use a quick drying water-based primer, if possible. Have your primer tinted to save time painting.
- Once the primer dries AND is safe to touch, you can rehang your door. If it’s late in the day and you need to get your door rehung, this is a good point to do it. Just be sure to follow the dry time directions on the primer.
- Apply 2 coats of exterior paint to your door. Again, be sure to follow the products recommendations for dry time between coats. Ignoring these recommendations can make it easier for your paint to bubble again.
More Tips To Repair Bubbling Paint
That’s pretty much it. Just a few more tips for getting the best result when painting your front door.
- Use a fast-drying water-based exterior paint. I LOVE Sherwin Williams SnapDry paint. It is what the painter’s used the 3rd time they painted my door. That fast-drying paint made all the difference! It meant my door had time to fully dry and cure before the sun hit it the next day.
- Keep your door out of the sun when painting and drying. So, if it’s hanging keep it open and in the shade. Or, if it’s off the hinges, just keep it in the shade.
- Paint the recessed areas of your door first.
- Don’t paint over areas that have already started to dry. It will mess up the paint sheen on those spots.
IF YOU DON’T have paint bubbles, or paint blistering on wood, and you want to paint your door, check out the easy steps in How to Repaint a Door without Removing It.
That’s it for Why Is My Front Door Paint Bubbling & Blistering. Be sure to check out my Most Popular posts for home owners OR head over to my YouTube channel for more DIY videos.
More DIY Projects For You
You might also like, this step by step guide for the Best Way to Stain Exterior Wood Door or this post on Can You Stain a Door Without Taking it Down.
And, here’s the Best Way To Paint Vinyl Shutters.
Check out the Best Outdoor Door Mats for your Home to get great curb appeal.
If you haven’t quit cable yet, what are you waiting for?? I’m saving $100 a month. Here’s How Do I Get Rid of Cable And Still Watch TV.
See how easy it is to Fix Water Stains on Ceiling Leaks or How to Remove Water Stain from Ceiling Without Paint.
Thanks for reading this post on paint bubbling on front doors. I hope that helped you figure out why your exterior paint is bubbling too.
Don’t forget to sign up for the Abbotts At Home email newsletter to get DIY, Remodeling, and Crafty ideas in your inbox.
Stephanie Abbott has been remodeling homes, updating & building furniture, and working on DIY home maintenance and cleaning tips for over 20 years. Her remodeling has been featured in Better Homes and Gardens Magazine. And, her DIY YouTube channel has had more than 8 million views.
Most of the DIY tutorials and videos on this site focus on beginner to intermediate level DIY Projects that can be done in an affordable way without high-end, expensive tools. All of the cleaning tips on this website have been tested in her home.

