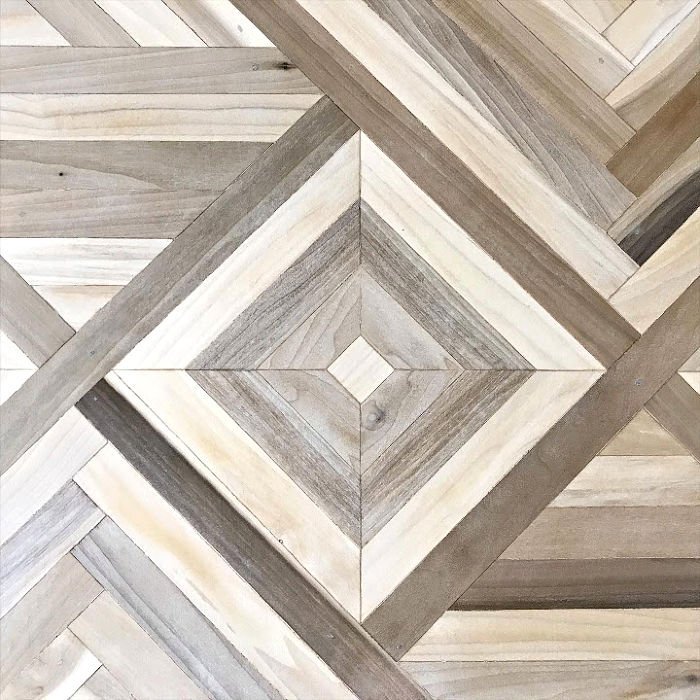
This beautiful DIY Wood Mosaic Table Top design idea is easy enough for beginner woodworkers and such a fun build! With video & build steps.
DIY Wood Mosaic Table Top
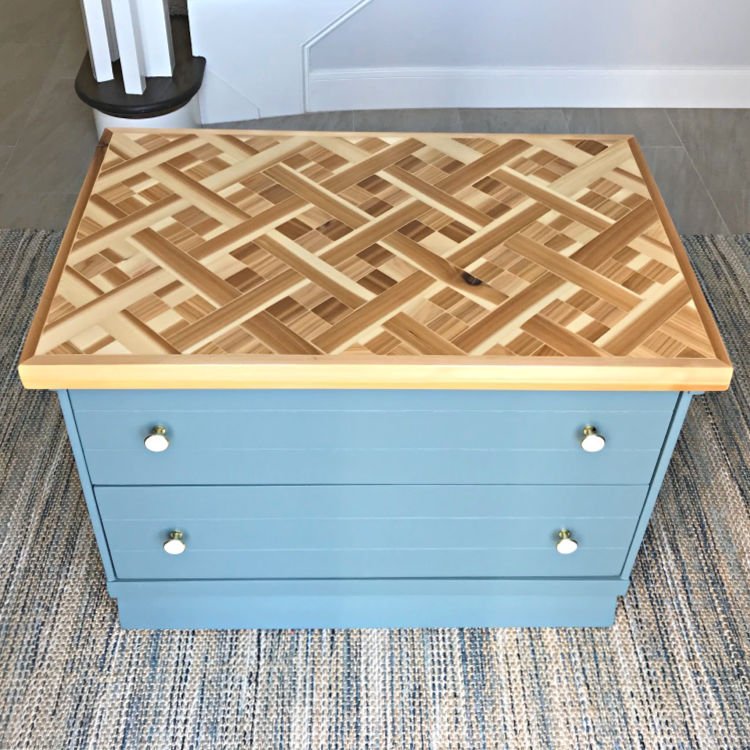
I love a good mosaic or scrap wood art project. This Cedar DIY Wood Mosaic Table Top turned out even more beautiful than I’d hoped.
But, hey, I’m a sucker for Cedar. I always think it looks beautiful. And, this woodworking project is easy enough for beginner woodworkers.
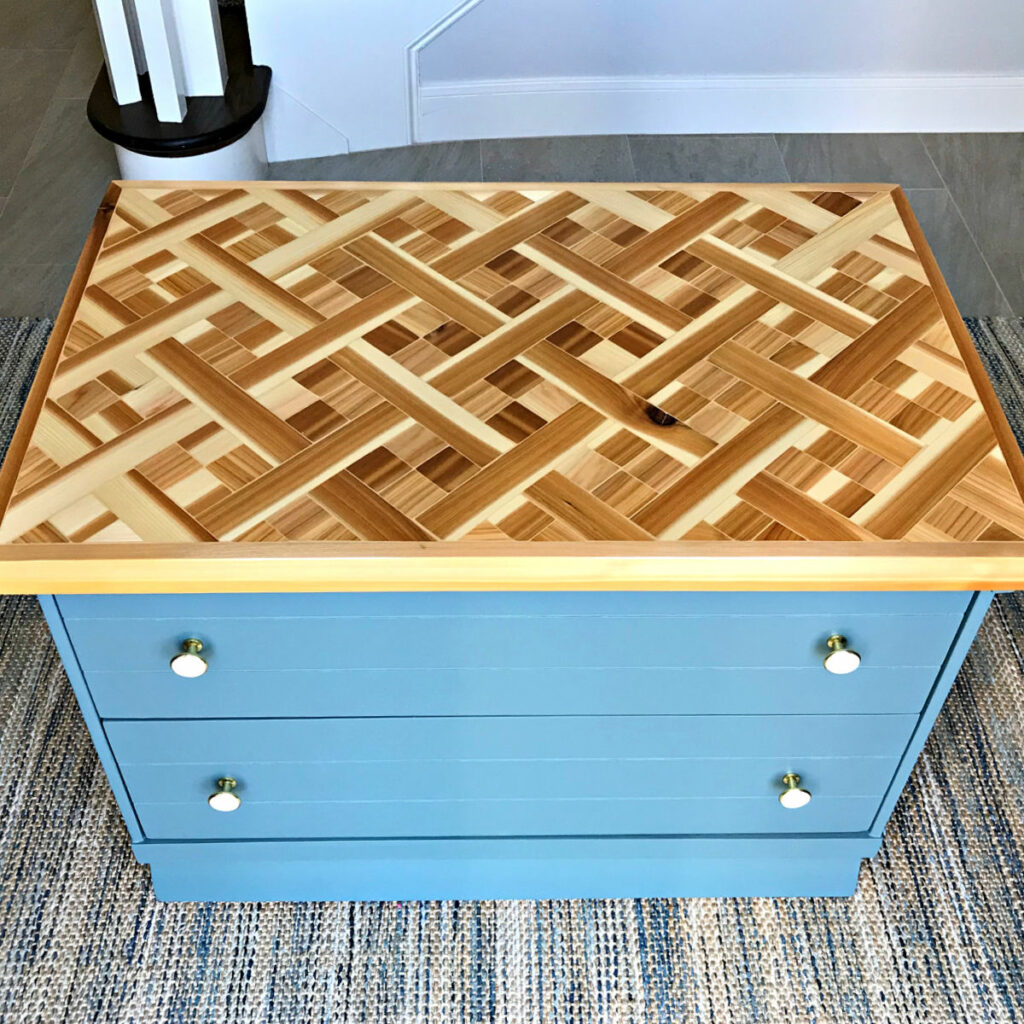
Just be sure to follow the steps in the video and my tips below to get the best result.
If you don’t have a table, you can follow these exact steps on a 1/4″ to 3/4″ plywood board to make pretty mosaic wall art too.
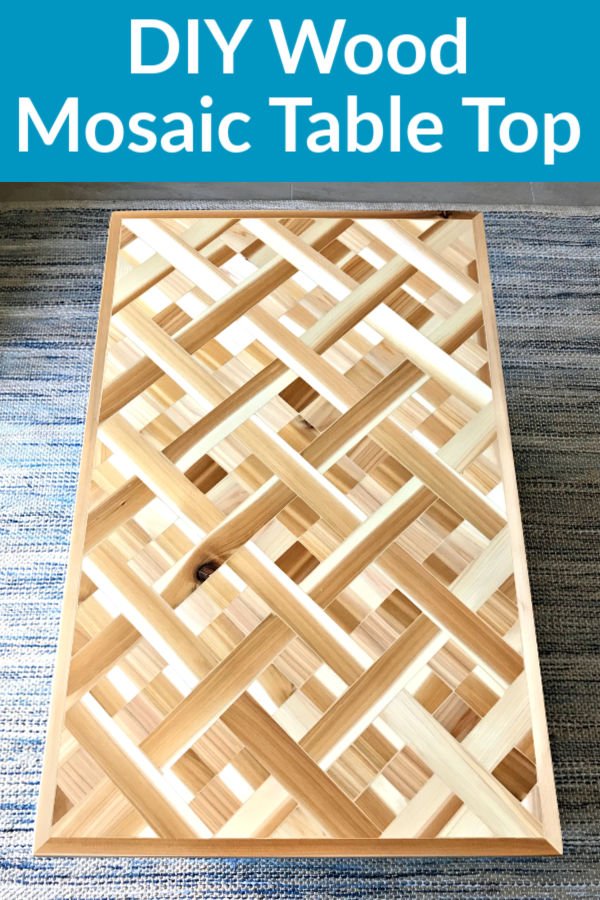
DIY Wood Mosaic Table Top Steps
Watch this video to see the exact steps to make your own wood mosaic table top or geometric wall art. You can find 4 Tips for How to Safely Cut Small Wood Pieces on a Miter Saw in another post.
Here’s What You’ll Need
- 1×2 Cedar Dimensional Lumber
- A Miter Saw and a Power Sander with 120 and 180 grit sandpaper
- Titebond 2 Wood Glue or similar
- Water-Based Wipe On Poly in Satin
- Famowood Latex Wood Filler in Fir/Maple color
3 DIY Tips for this Mosaic Wood Project
Tip One
You can find 1×2 Cedar Dimensional Lumber at Home Depot or Lowes. But, it can be in a rough state compared to mostly perfect Select Pine or Poplar boards.
Pick straight pieces with the least amount of knots (so you have less waste).
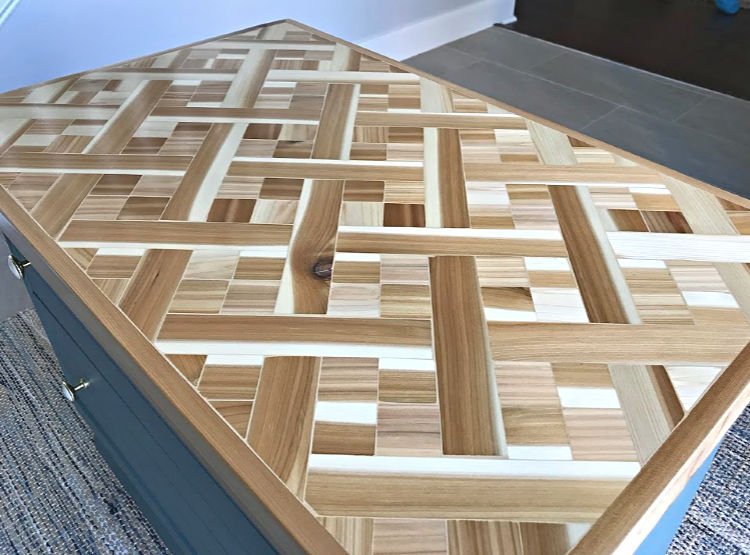
I also try to get pieces with lots of light and darker variations in color and grain. That contrast of light and dark cedar is the real reason why this DIY Wood Mosaic Table Top looks so pretty.
Tip Two
I used a brad nailer and wood glue to attach the frame and most of the pieces to this table top. If you want to use just glue, you can.
But, if your top is painted, I would strip the paint first so that glue can stick to the wood instead of the paint. Just using glue on paint could cause separation issues later.
Tip Three
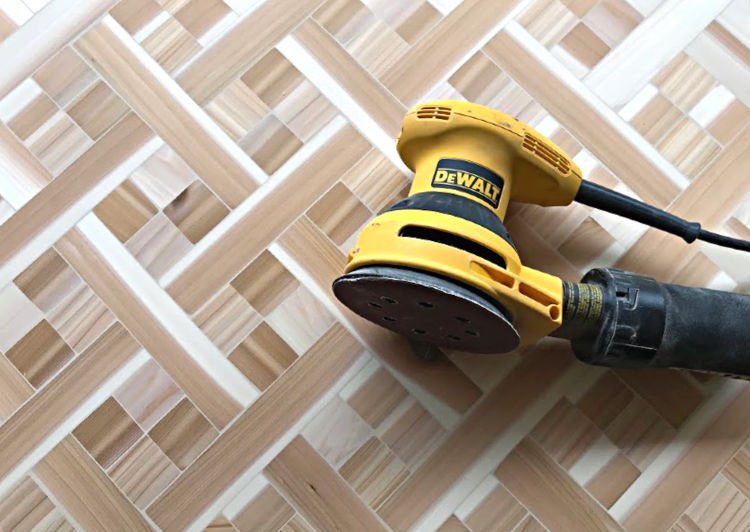
I started with a new sheet of 120 Grit Sandpaper to smooth the top. I didn’t want to go too low in grit since I was sanding against the grain.
So, I was worried that it would leave grooves or swirls in my wood. After, the top was smooth, I switched to 180 Grit to take that smooth finish to the next level.
Now let’s talk sanders. Not all sanders are the same. An Orbital Sander, like my Dewalt, is more powerful than a non-orbiting power sander. And, a belt sander is typically more powerful than an orbital sander.
So, if you’re using a belt sander, you’ll be able to sand the top smooth, faster. Just be careful to keep the sander moving and to not go to deep.
If you’re using an orbital sander. It will take a bit longer to sand the top smooth, but it’s really not that long as long as you are using new sandpaper.
Something like a Palm or Mouse Sander will take just a bit longer and probably a bit more sandpaper. But, all power sanders will get the top smooth. Just take your time and have fun with your build! 🙂
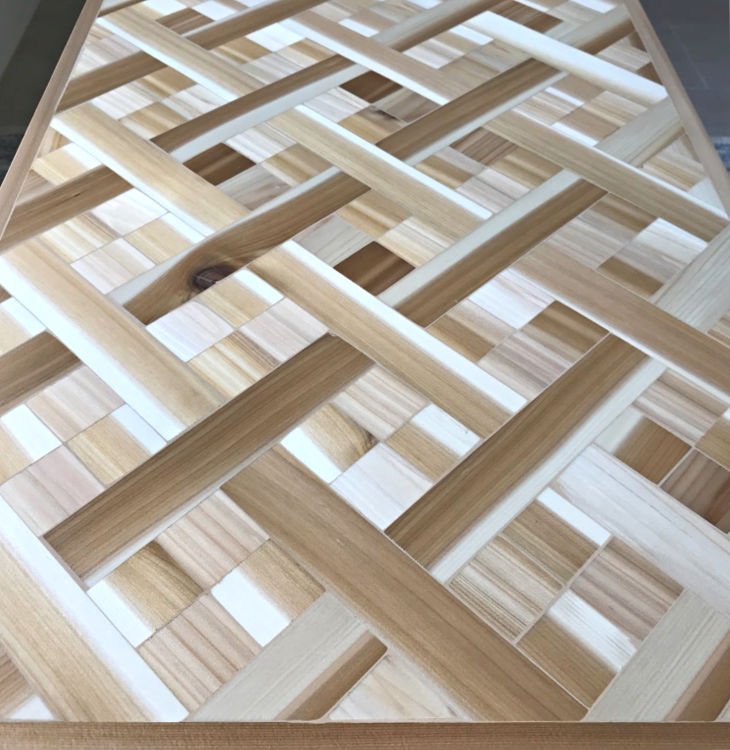
More Pictures of this DIY Wood Mosaic Table Top
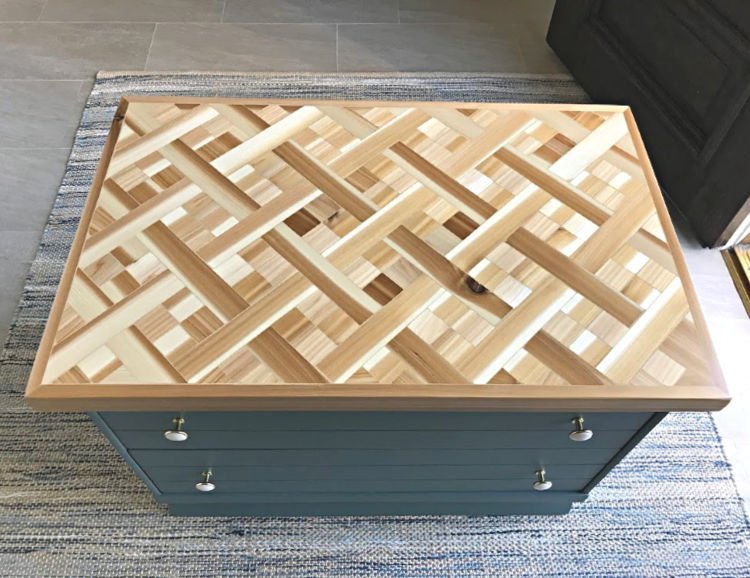
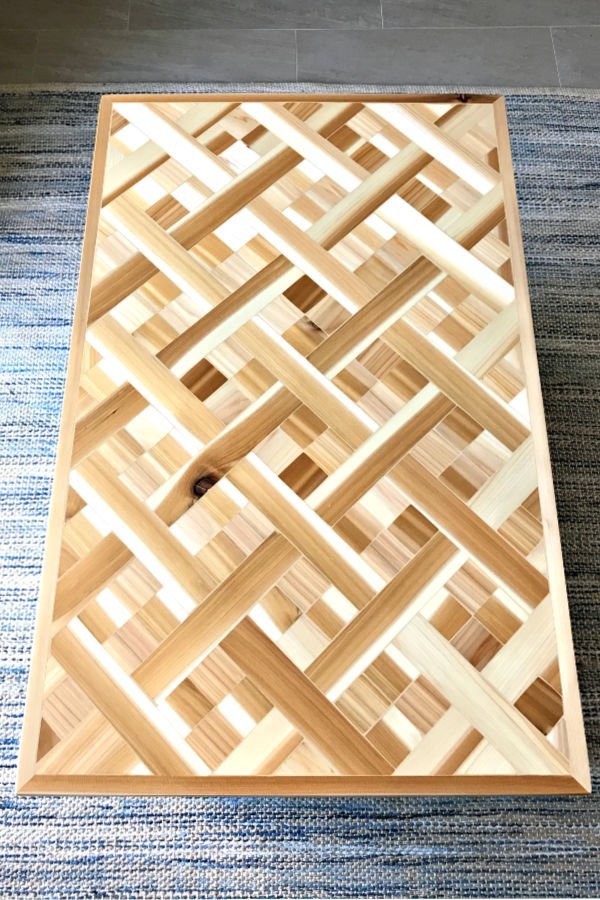
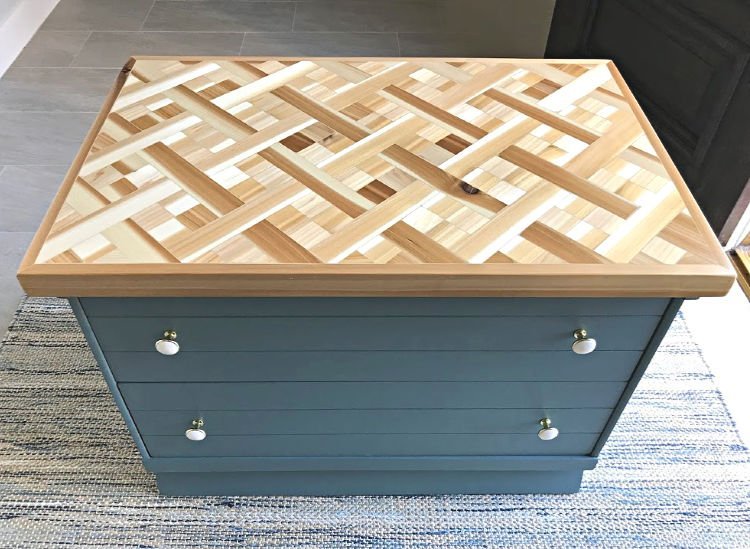
Looking for another pretty table top idea? Check out this DIY Geometric Wood Table Top.
More DIY Projects You Might Like
You can find more of my DIY Furniture Makeover videos here, on my YouTube channel. 🙂
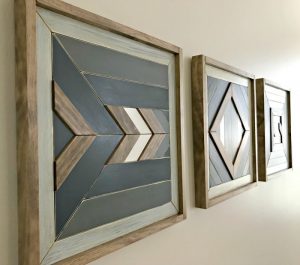
You might also like this DIY Scrap Wood Wall Art project. It’s one of my favorites.
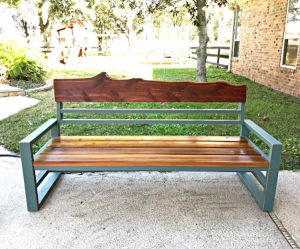
Or, another Cedar wood project that I’m all heart-eyes about. This DIY Outdoor Sofa from 2×4 and Cedar is beautiful!
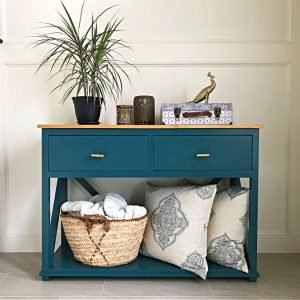
I love these DIY Console Table Plans. Looks great in a Living Room or Entry!
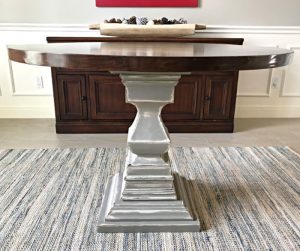
This DIY Round Kitchen Table Pedestal with it’s DIY Round Plywood Table Top is a beautiful looking woodworking project.
And, this DIY Table Over Washer and Dryer – Laundry Table is one of my favorites.

Feeling inspired? Now that you’ve seen this DIY Wood Mosaic Table Top tutorial, you can do it too. Let me know if you have questions.
Don’t forget to sign up for the Abbotts At Home email newsletter to get DIY, Remodeling, and Crafty ideas in your inbox.

Stephanie Abbott has been remodeling homes, updating & building furniture, and working on DIY home maintenance and cleaning tips for over 20 years. Her remodeling has been featured in Better Homes and Gardens Magazine. And, her DIY YouTube channel has had more than 8 million views.
Most of the DIY tutorials and videos on this site focus on beginner to intermediate level DIY Projects that can be done in an affordable way without high-end, expensive tools. All of the cleaning tips on this website have been tested in her home.

