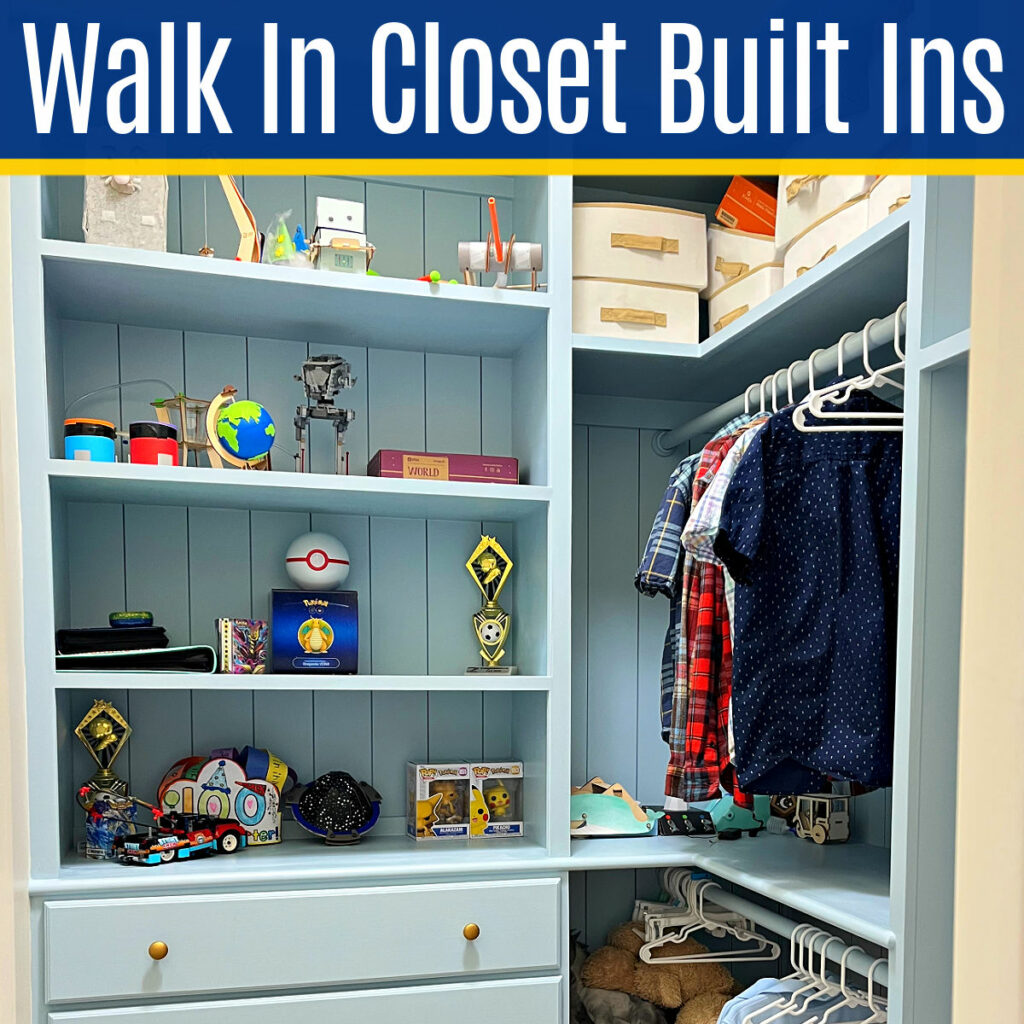
Ready to build your own DIY Small Walk In Closet Built Ins? Here’s 10 Must-See Tips to help you layout, design and build beautiful and an easy to organize DIY Built In Dresser & Closet Shelves.
DIY Small Walk In Closet Design Ideas
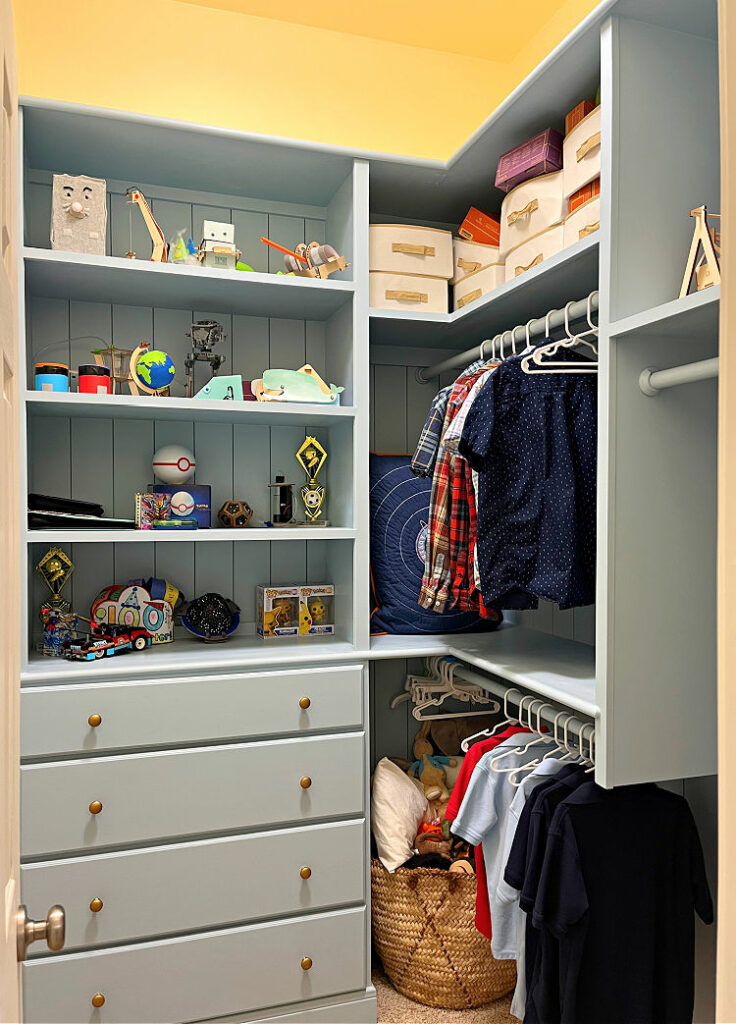
One of my latest DIY projects was designing and building new built ins for the small walk in closet in our boys bedroom. I’ve built a lot of built ins over the years.
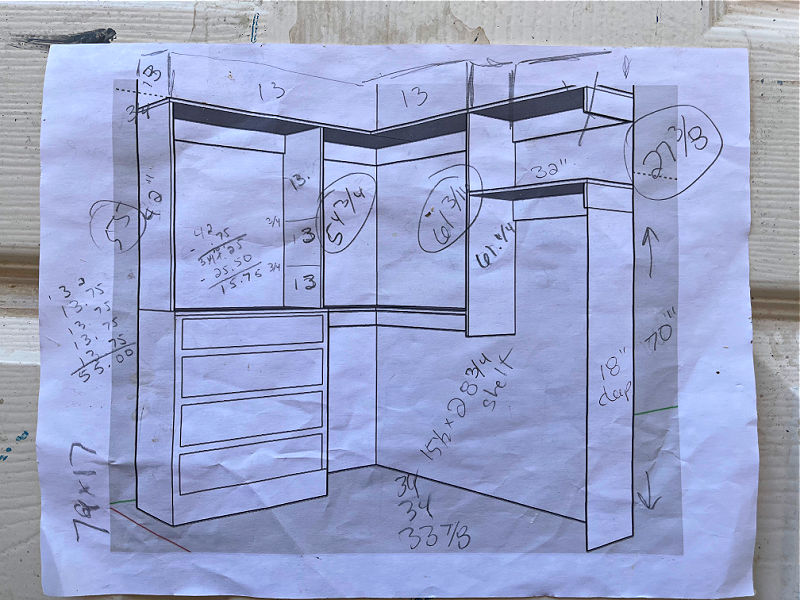
But, walk in closet built ins have their own design rules. Working in a small space means that you have to carefully think about the layout to maximize storage AND get a beautiful look.
Don’t worry though, with these small walk in closet ideas and tips, you can make beautiful built ins that will WOW you every time you open the door!
And, I have tons of pictures to inspire you. Let’s get started with those tips for designing and building DIY closet built ins.
How To Design Small Walk In Closet Built Ins
Here’s my 10 best tips to help you build and design DIY Small Walk In Closet Built Ins.
1. Build A Closet Dresser Or Modify A Dresser?
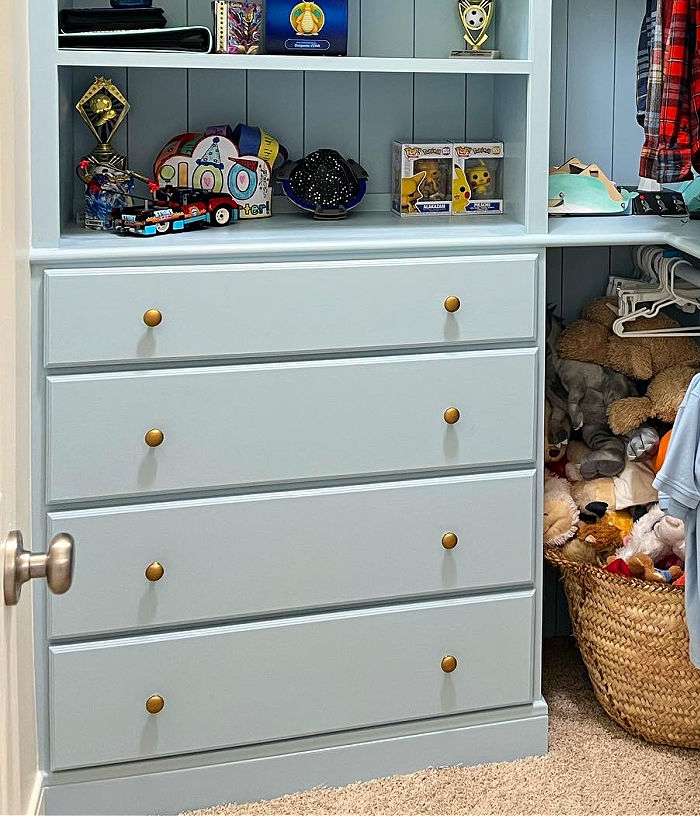
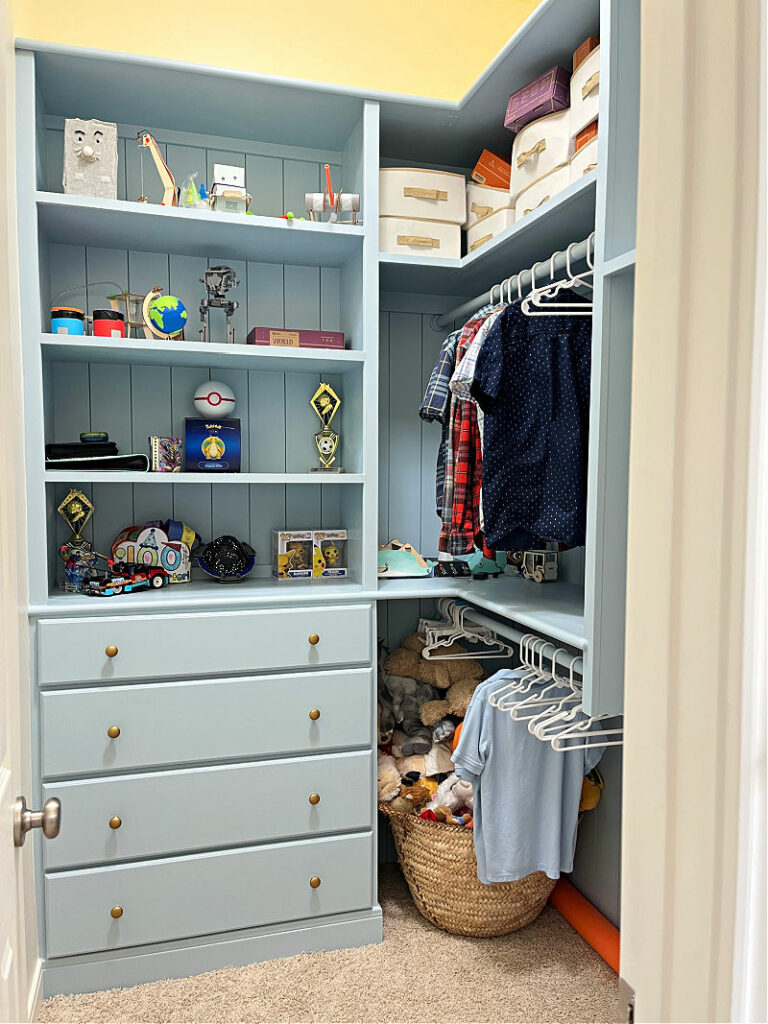
If you have the space, I highly recommend adding some drawer space into your closet. Most of the clothes in this walk in closet are folded and tucked into the drawers.
You can build a closet dresser or modify an existing dresser so that it fits with whatever shelves and hanging storage you add in.
If I had all of the clothes in these drawers just folded up and stacked on shelves, this closet wouldn’t look as organized and neat as it does now.
2. Think About How The Closet Will Look
When you design a small walk in closet, storage is always at the top of your mind. BUT, don’t forget how it will look too. You can design a beautiful WOW factor into your closet built ins, too.
Center the most attractive, organized, or detailed design on the door. You want that to be the first thing someone sees when they open the closet.
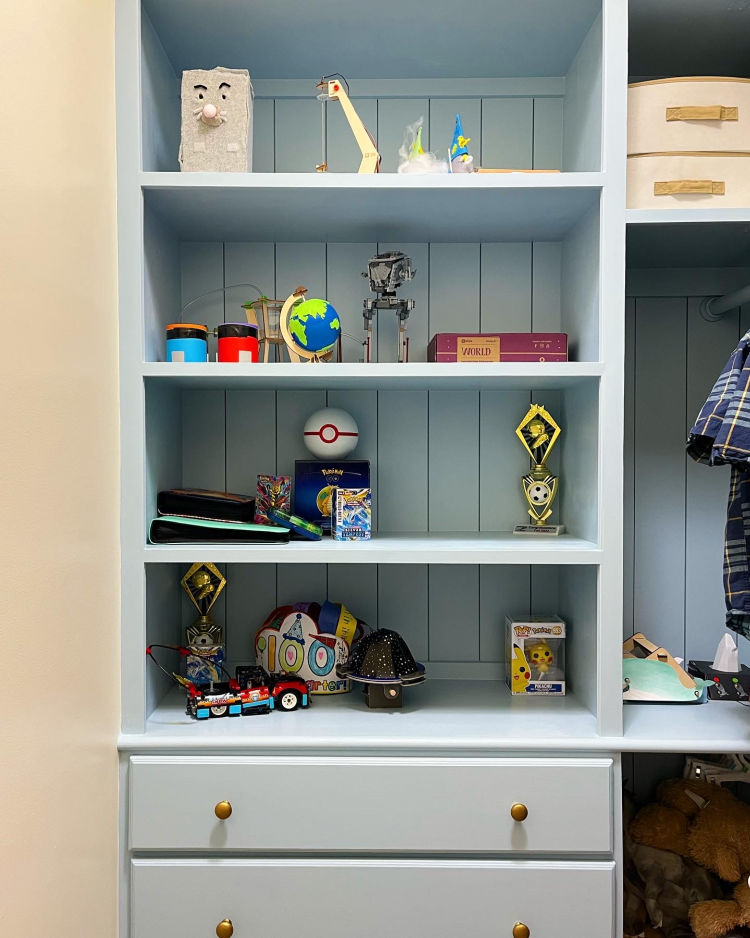
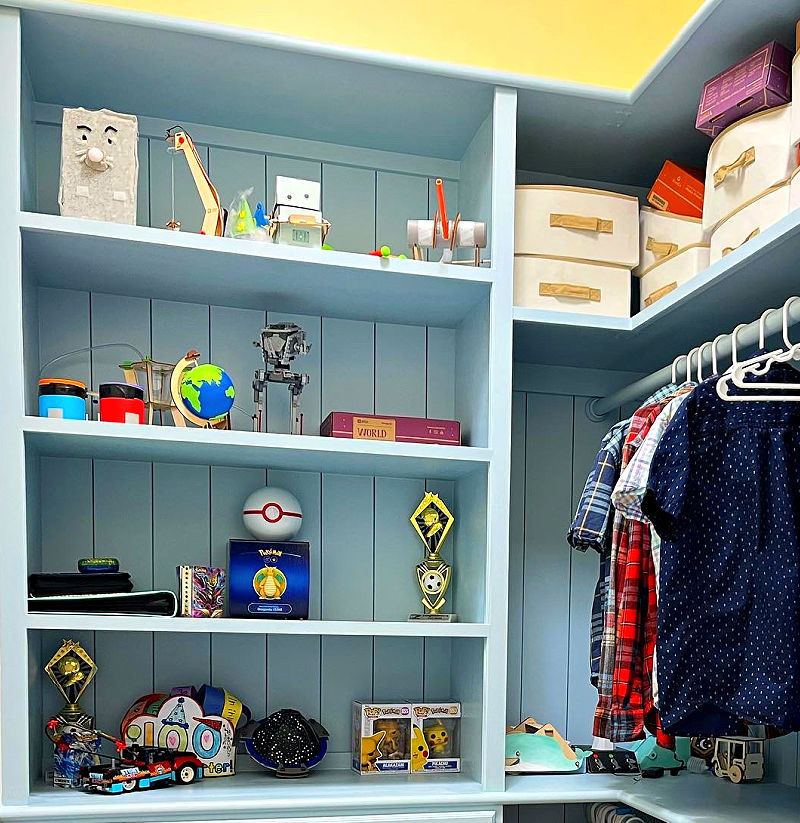
I centered my closet dresser and the pretty shelves above it so that it was the first thing someone sees as they open the door. That dresser is the unexpected beauty, or WOW, in this closet.
3. Draw Up A Plan Before You Build
Whether you draw everything up with pencil and rulers or use a drafting program like SketchUp, seeing your closet plans drawn up to scale helps!
It will help you see if you have the dimensions and spacing right. It will help you see if you have too much hanging space or not enough shelves.
I drew up at least 4 different versions of this closet before I settled on the best plan for this small walk in closet.
Seeing plans for built ins and furniture has saved me so much time and money over the years. That’s because I make less mistakes and changes during the building process.
4. Maximize Storage
Think about how much storage you’ll need over the next 10 years. I built this closet for 2 grade-school boys. But, they’ll soon be teenagers with different storage needs.
And, this closet will eventually be used for a guest room or for an adult that lives here. So, it needs to be able to store A LOT more eventually.
Dividing the shelves into a bunch of smaller sections with just a few larger gives up more areas that can be used in tons of different ways.
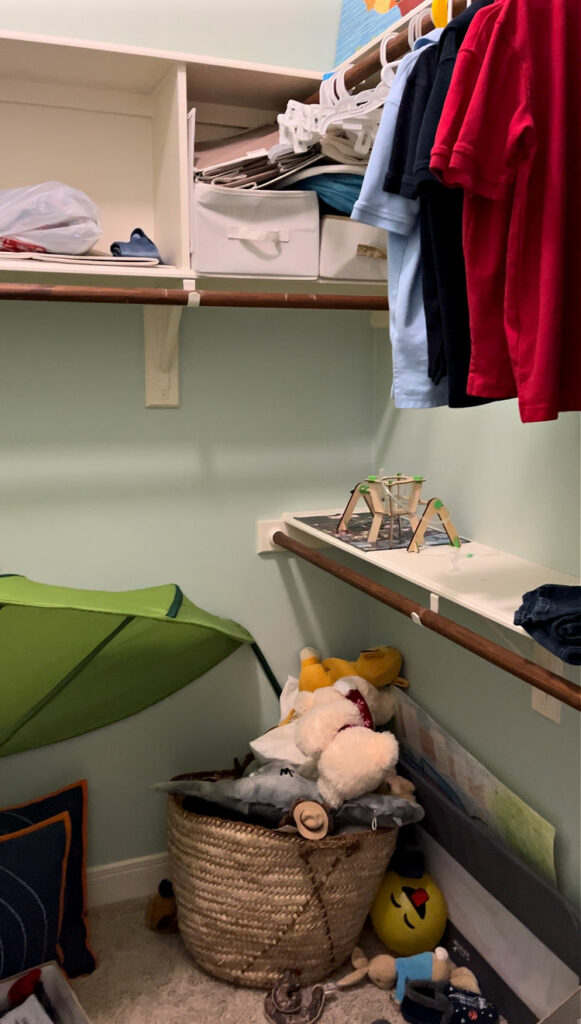
The original closet storage was just BIG, open shelves. That much big storage is great for big things. But, it’s just wasted space for smaller things.
Make sure you include enough space for full-length hanging clothes and double hanging (1 hanging section over another) to maximize space too.
5. Layout A Small Walk-in Closet
Here’s another thing I’ve learned as a homeowner, don’t just put things in the same place the last homeowner had it.
Changing the layout in bedrooms, a living room, and even closets can be a HUGE improvement! I almost kept the layout of the original closet when I designed these built ins.
But, that original layout was all wrong. It didn’t look great. And, it didn’t maximize the space. Try to reimagine the layout of spaces to get better flow, better style, and a better use of the space.
6. Combine Easy Access With Organization
I just went over how having shelves of different sizes helps to maximize closet storage and organization. You’ll also want to make sure that you’re keeping all of those storage areas easy to access.
Putting cabinet doors onto shelves in a walk in closet can hide the mess, but it also makes it a little harder to get to what you need.
Cabinet doors can also make it harder to find what you’re looking for. So, use cabinet doors in a closet sparingly.
Corner shelves can also be a pain point too. If you include corner shelves in your design, make sure you can actually fit things inside that awkward corner opening. And, make sure it’s wide enough to access.
7. Use Trim And Paint To Add Style
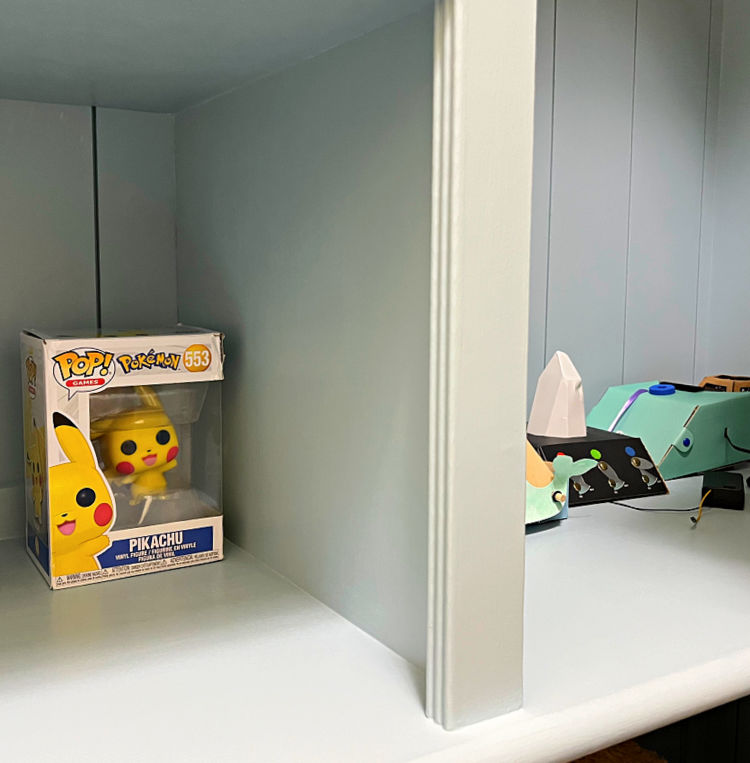
I’m a HUGE FAN of adding different types of trim or routed edges to any of the built ins I make. Check out 8 Best Ways To Finish Plywood Edges With Trim to see some options.
When I build a closet dresser, I’ll put trim on the face of drawer fronts or add a routed edge to the drawers. I also like to install baseboard on DIY closet dressers.
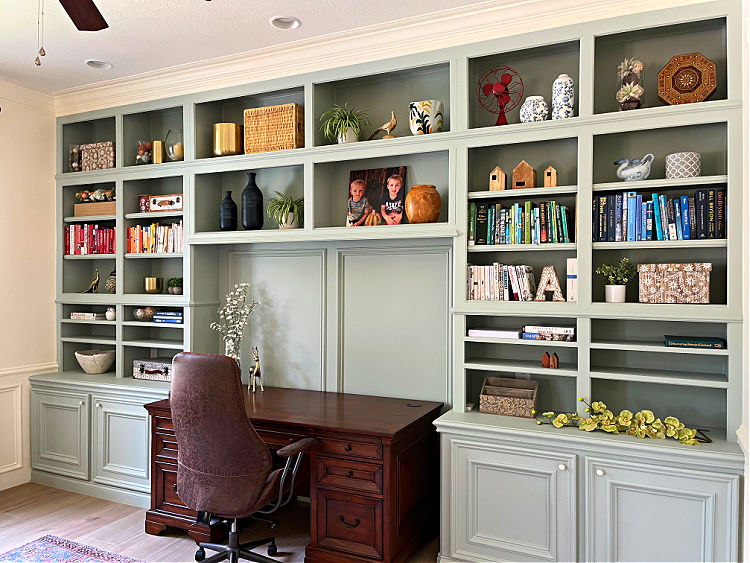
And, while I like to use white or light paint colors on walls, painting built ins a fun color always makes them really stand out. Check out my blue Family Room built ins or green office built ins for examples.
8. Think About Closet Corners
I originally thought that I’d build shelves for the corner of my closet. But, I realized that taking the hanging space all the way back into the corner was a better idea.
I LOVE to have hanging clothes in closet corners because it’s easier to fill that corner space with hanging clothes. Awkward corner shelves can be hard to access and fill.
Hanging space in closet corners can also be used to store large items, like big suitcases, basket storage, large boxes, and moveable storage on wheels.
It’s also faster and cheaper to build a hanging section for closet corners than it is to build a shelves for closet corners.
9. Double Your Closet Hanging Space
The best DIY small walk in closet designs include double hanging. Double hanging means you have one set of hanging clothes over top of another.
To get the spacing right, you’ll need 84″ or higher to fit double hanging space into a closet. My closet is 10′ high, so that means I was able to include open shelves above my double hanging space too.
10. Upgrade Closet Lighting
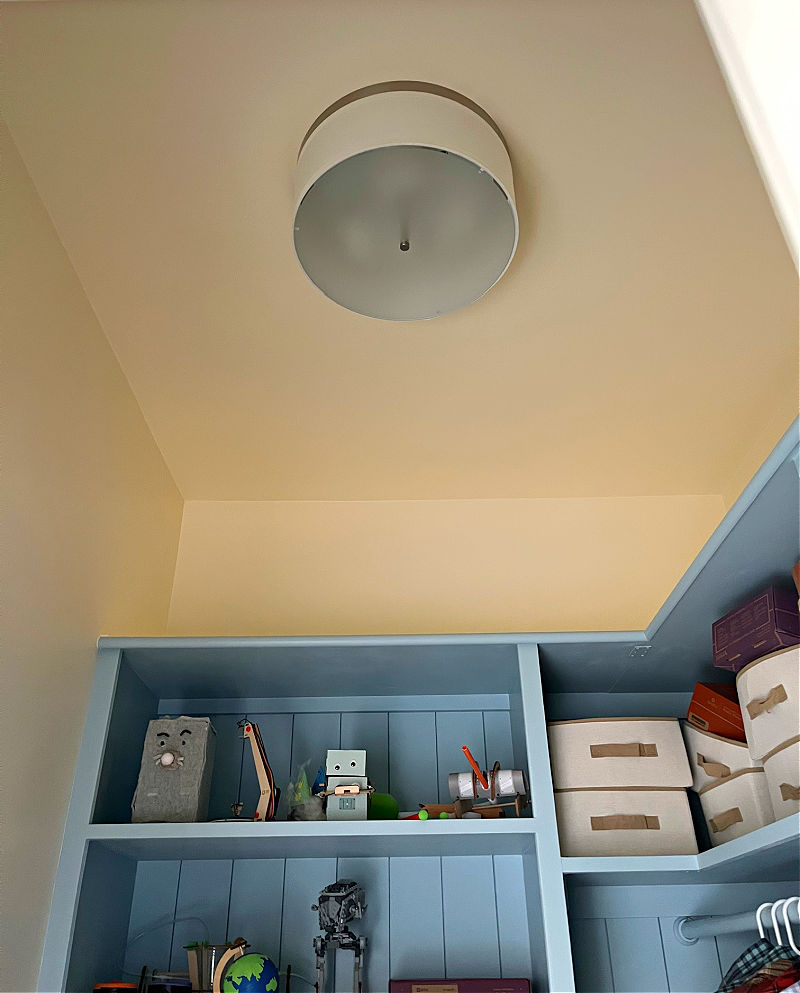
Last, but definitely not least, don’t forget about the closet lighting. I switched my single-bulb overhead light to a 3-bulb light fixture during my latest small walk-in closet remodel.
You can also install WIRELESS LED lights inside different sections of your closet to add more targeted lights. These days, you can get these lights with motion detection and on/off switches.
See Amazon’s Wireless Closet Lights With 4-star’s and Free Prime Delivery Here.
I also always buy DAYLIGHT light bulbs because they give off a bright, white light that really brightens a room. Check out How To Make A Dark Closet Feel Brighter for more options.
Watch This Video For A Better Look At Each Tip
That’s it for my list of tips for DIY small walk in closet built ins. Now, here’s a few more posts that will help you DECORATE your home.
- How To Make Stain Darker Without Sanding (Easy Gel Stain Before And After)
- 16 Great Ways to Repurpose an Unused Formal Living Room
- 15 Best Ways To Make An Old Ceiling Look Better: Easy, Cheap And Pretty Ideas
- How To Put A Rug On Stairs LIKE A PRO: 10 Must-See Tips!
- 21 Cheap And Easy Ways To Make A Home Office Look Better!
Some DIYs You Might Like
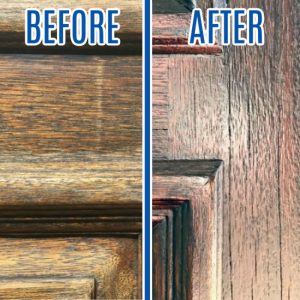
Here’s how to Restain a Door without Removing It: Easy One Day DIY!.
This post about How to Remove Water Stain from Ceiling Without Paint – 1 Easy Step is always popular!
Check out the 11 Best Reasons To Cut The Cord With Cable: 4 Were SO Unexpected!
Feeling inspired? Now you’ve seen this list of tips for building DIY small walk in closet built ins, get to work. And, good luck!
Stephanie Abbott has been remodeling homes, updating & building furniture, and working on DIY home maintenance and cleaning tips for over 20 years. Her remodeling has been featured in Better Homes and Gardens Magazine. And, her DIY YouTube channel has had more than 8 million views.
Most of the DIY tutorials and videos on this site focus on beginner to intermediate level DIY Projects that can be done in an affordable way without high-end, expensive tools. All of the cleaning tips on this website have been tested in her home.

