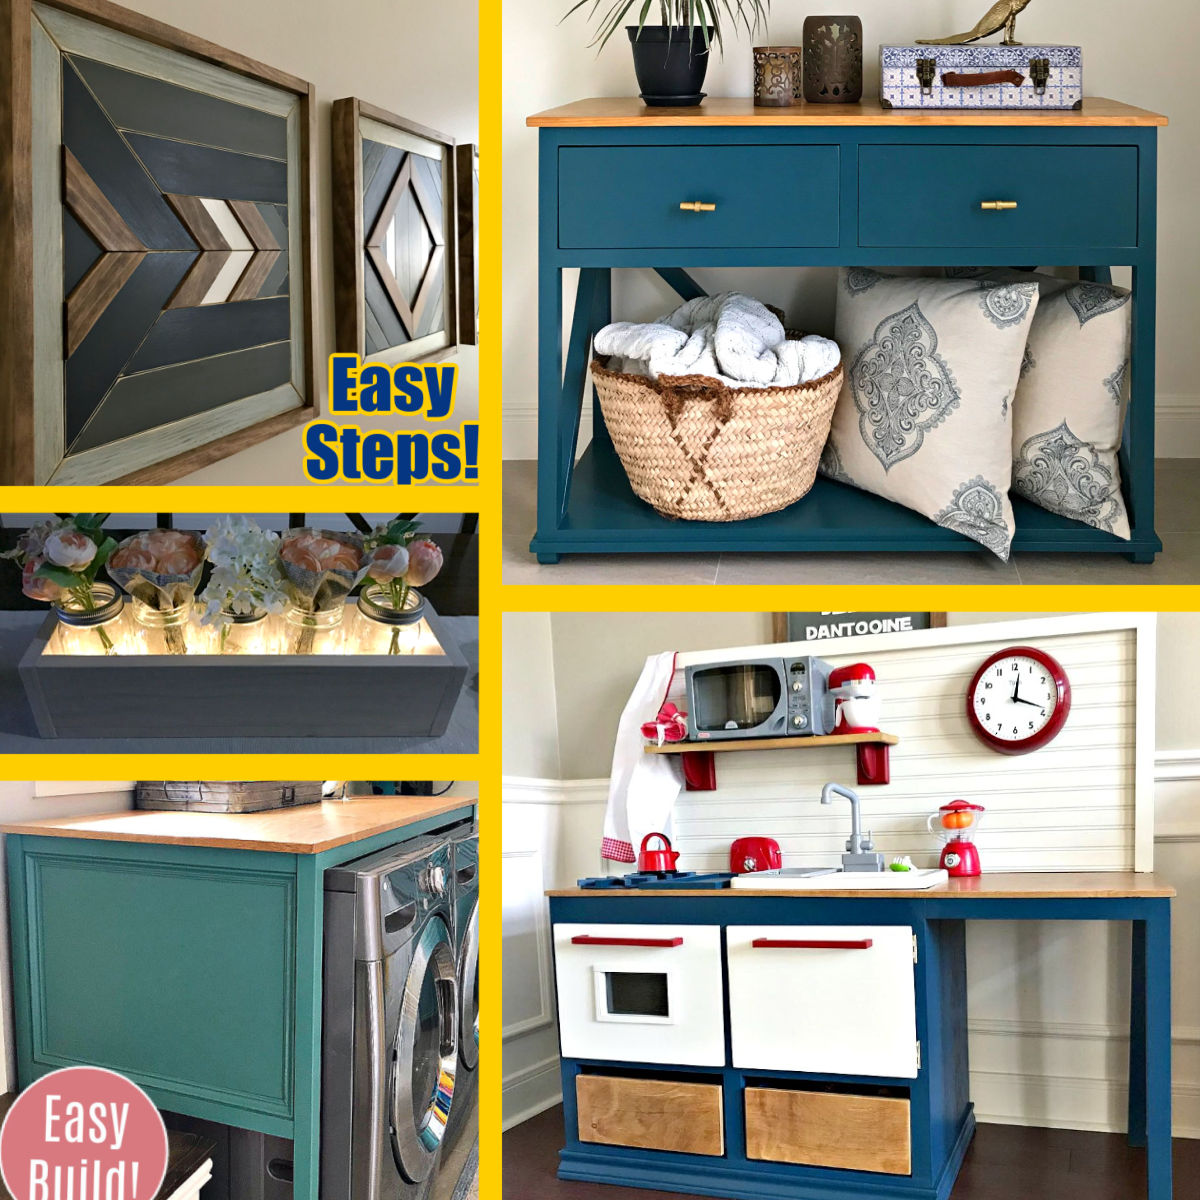
DIY Play Kitchen for Kids: Steps, Printable Build Plan And Video
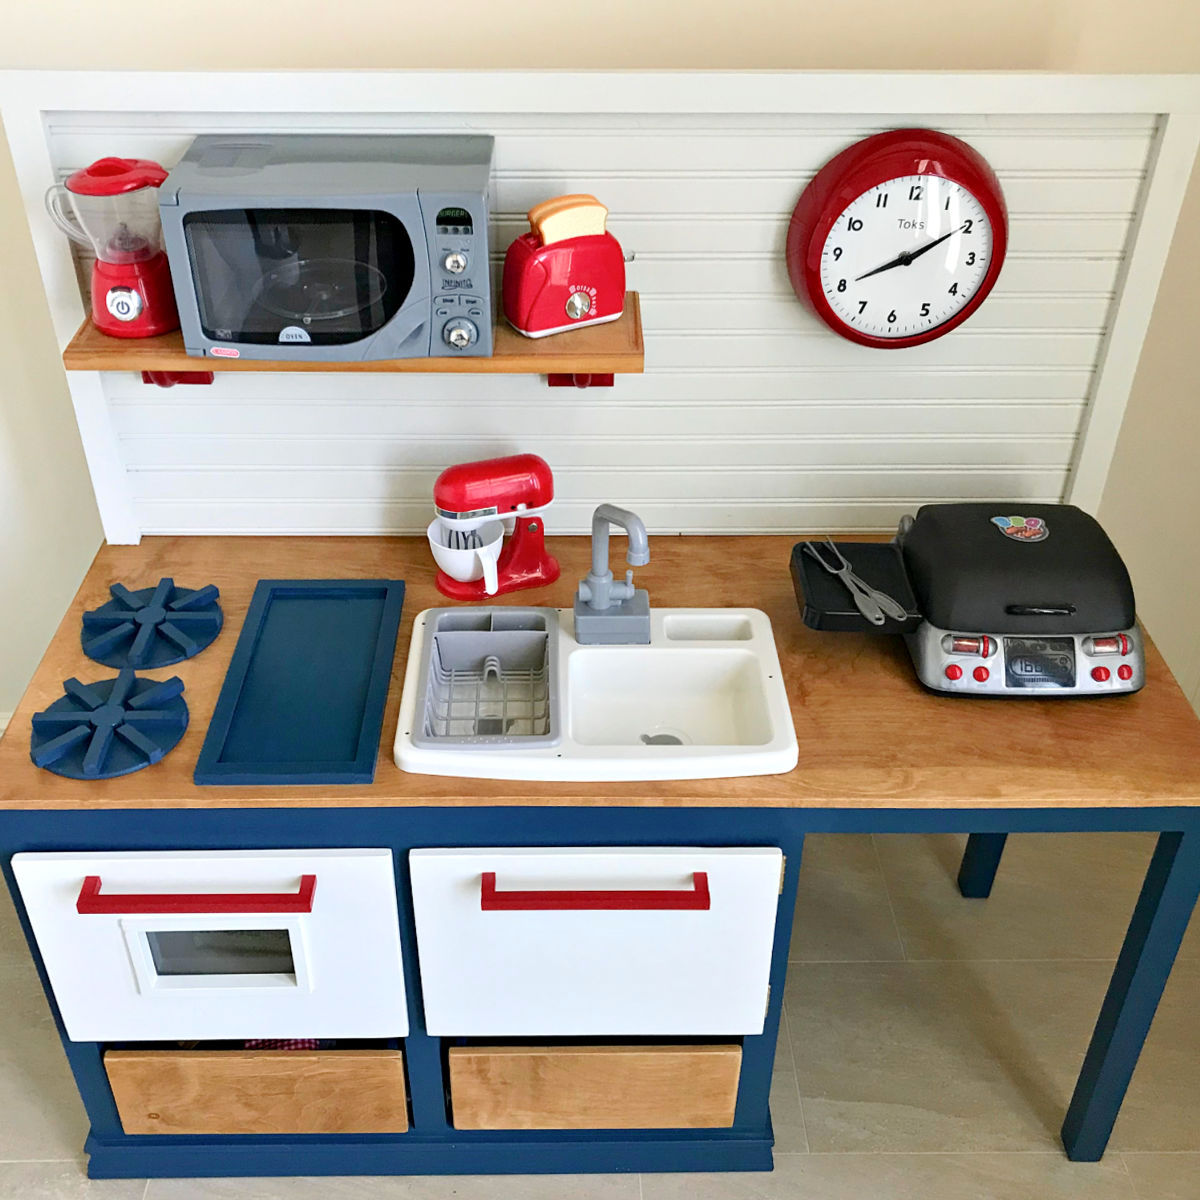
Easy steps, build video, and printable plans for this beautiful wooden DIY Play Kitchen for Kids with lots of fun additions kids love!

Here’s the latest DIY Furniture and other woodworking project ideas on Abbotts At Home.
I try to design DIY Furniture that looks like beautiful furniture from traditional furniture stores but for a lot less money than you’d spend on store-bought furniture.
And, my other woodworking project ideas can be done by most beginner woodworkers.
Keep Scrolling for more DIY Furniture Plans.
Easy steps, build video, and printable plans for this beautiful wooden DIY Play Kitchen for Kids with lots of fun additions kids love!
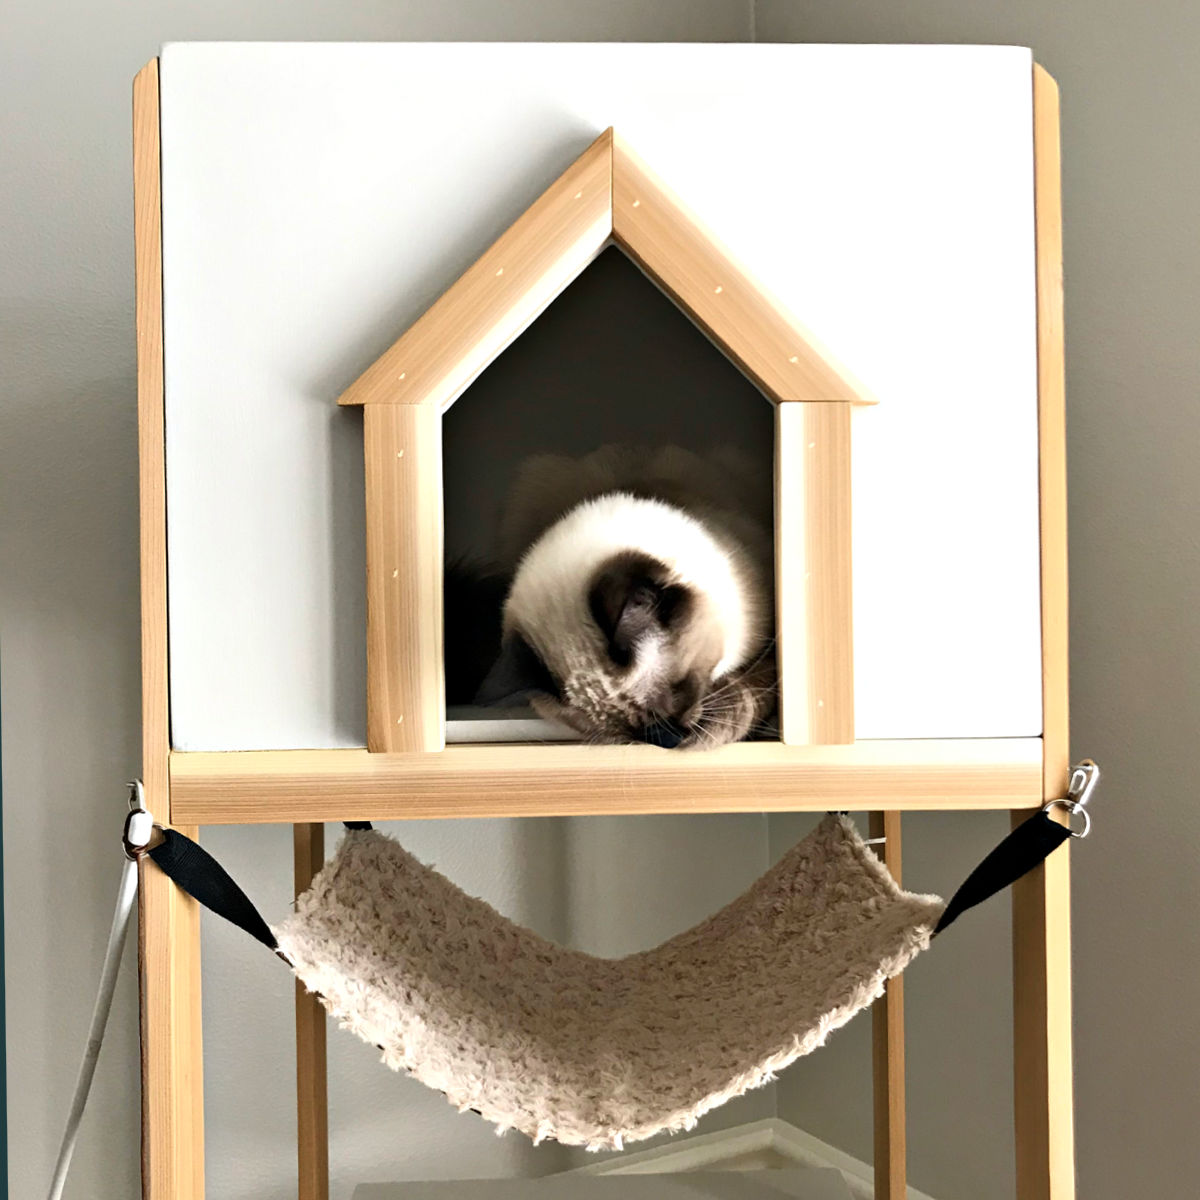
Here’s a quick and easy woodworking project for cat lovers. I love how this DIY Cat Tree Wood House – Cat Tower turned out.

Cheap & Easy $20 DIY Round Side Table that works as DIY Stool Seating too. Great for dorms & apartments. Adjustable height for kids & adults.
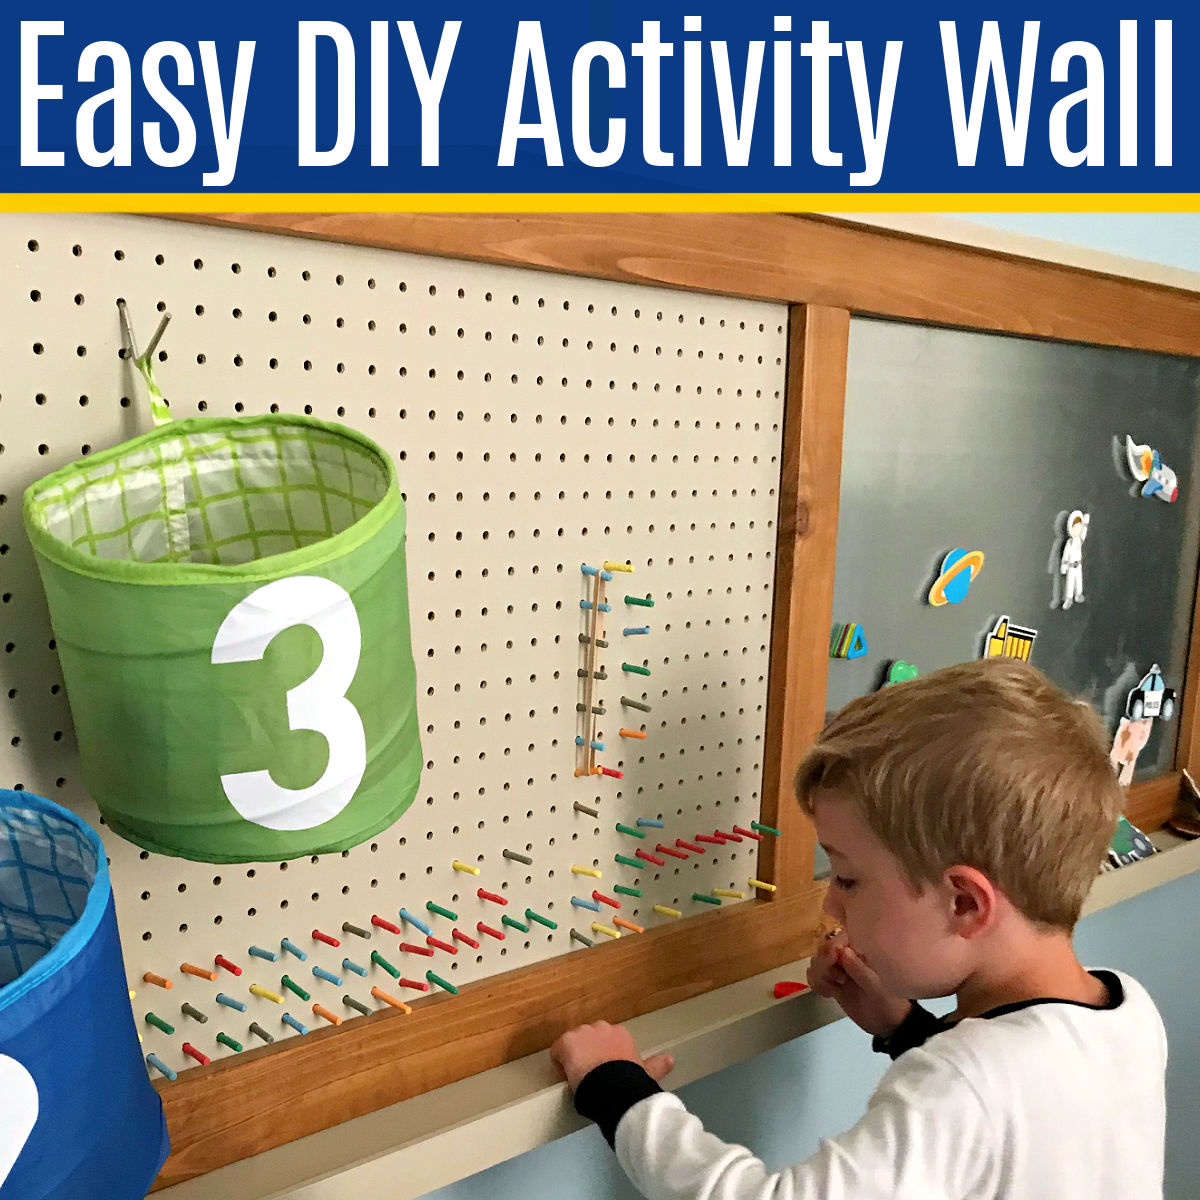
Build an EASY DIY Activity Wall Board for your toddlers, little kids, or teens. And, I have 20 fun board ideas to customize it to your kids!
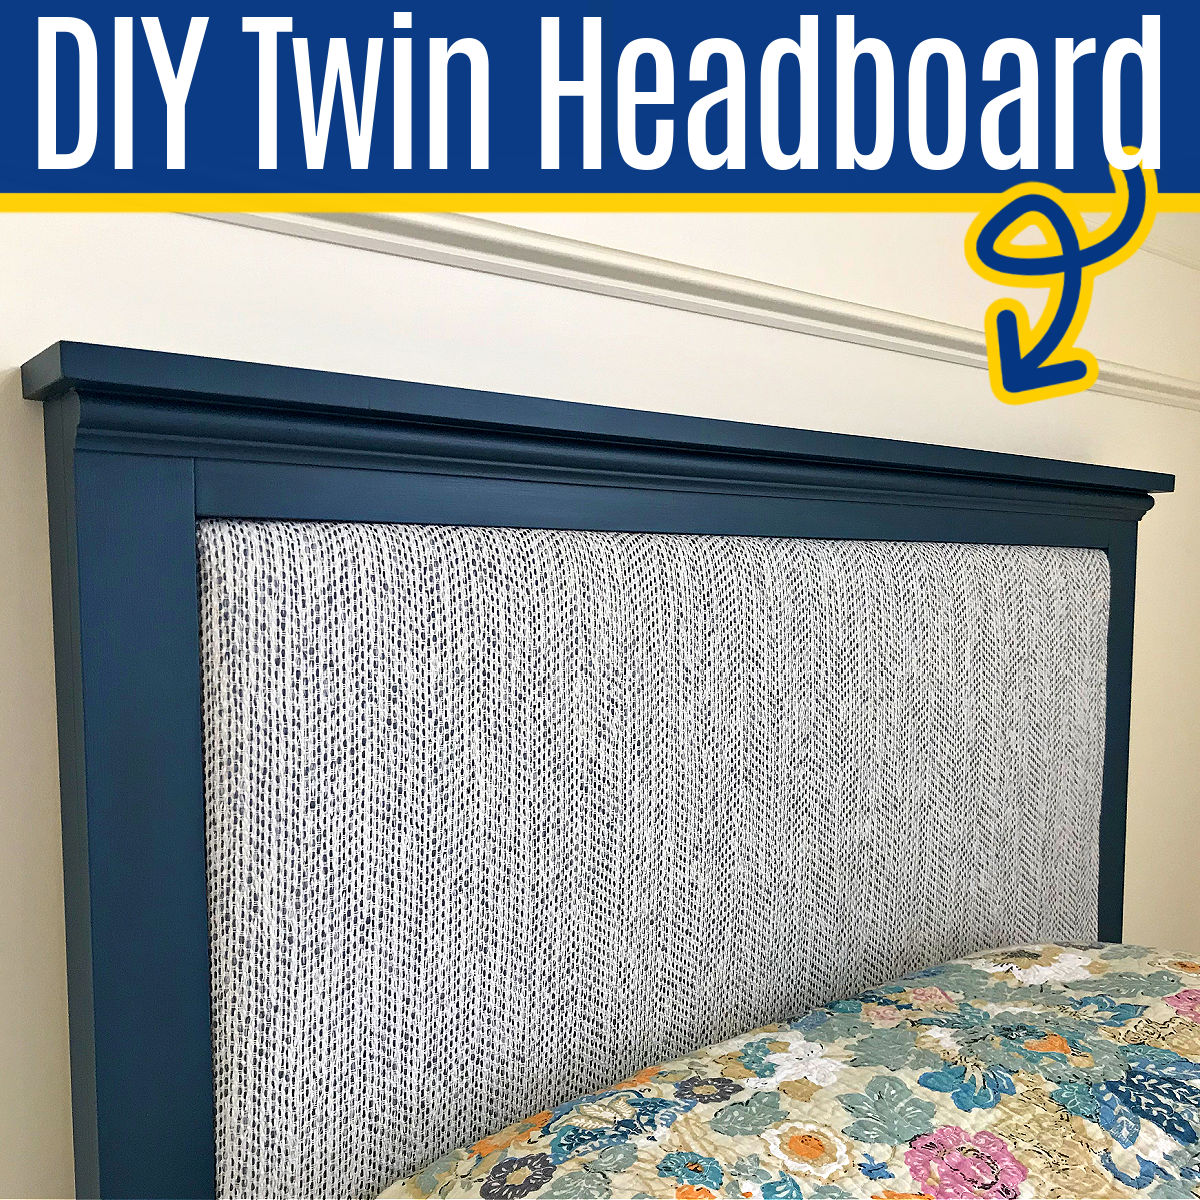
Make this No Sew DIY Twin Upholstered Headboard in just a weekend. This DIY twin headboard has EASY to follow build steps & how-to videos.
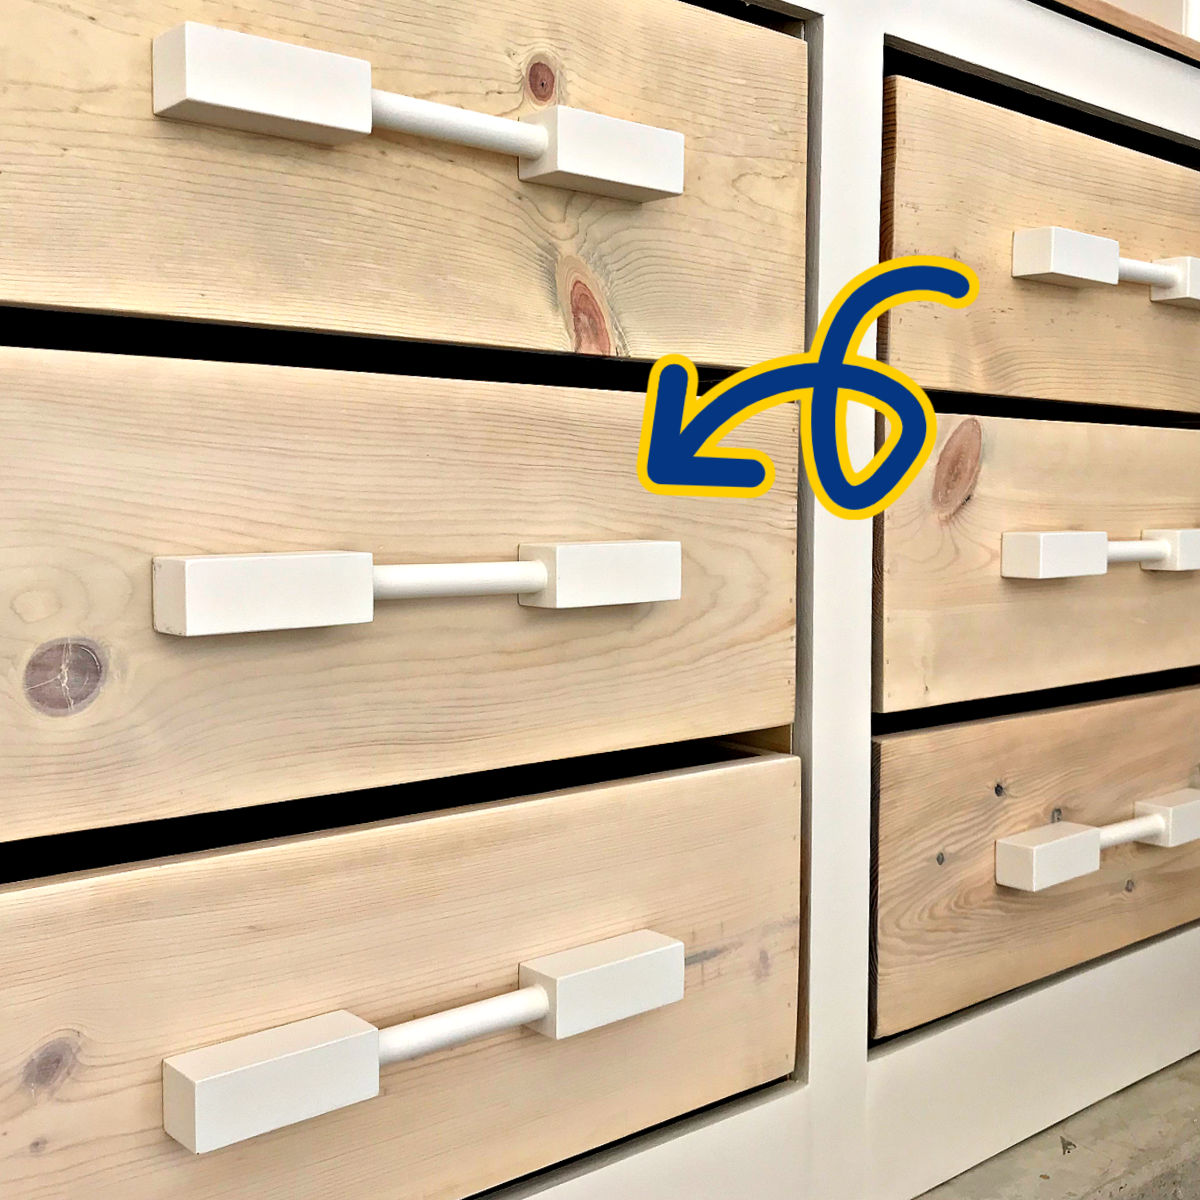
How to Make DIY Wooden Drawer Pulls using dowel rods and 2×2’s. I love this chunky, handmade dowel drawer pull on cabinets & furniture!
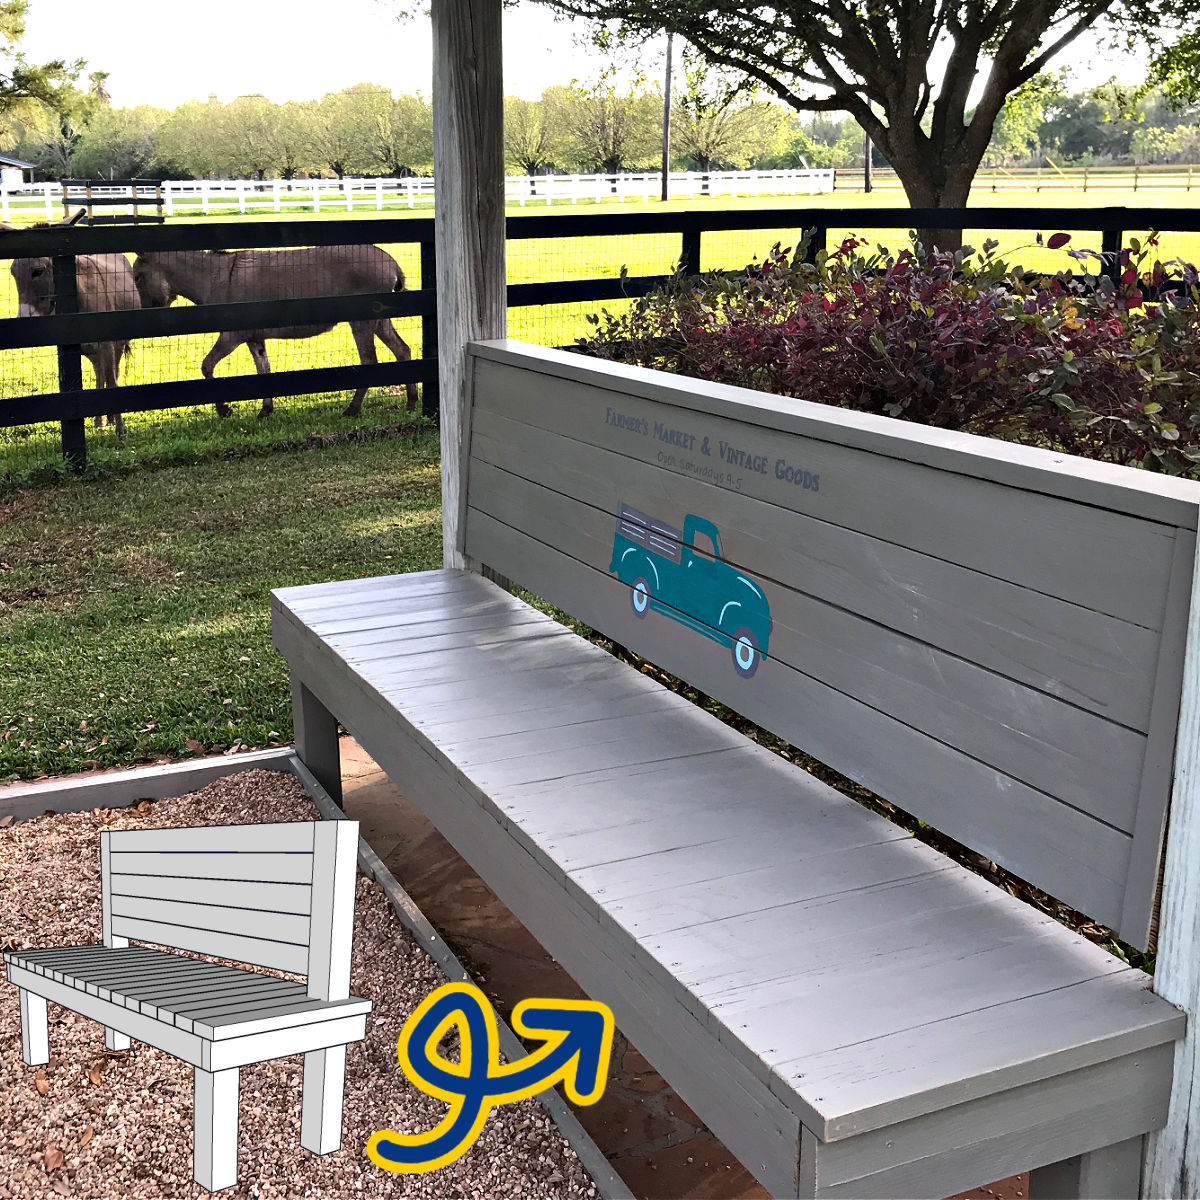
Build this easy DIY 2×4 bench plans with just a saw & drill. No special tools needed! This rustic outdoor bench is easy enough for beginners.
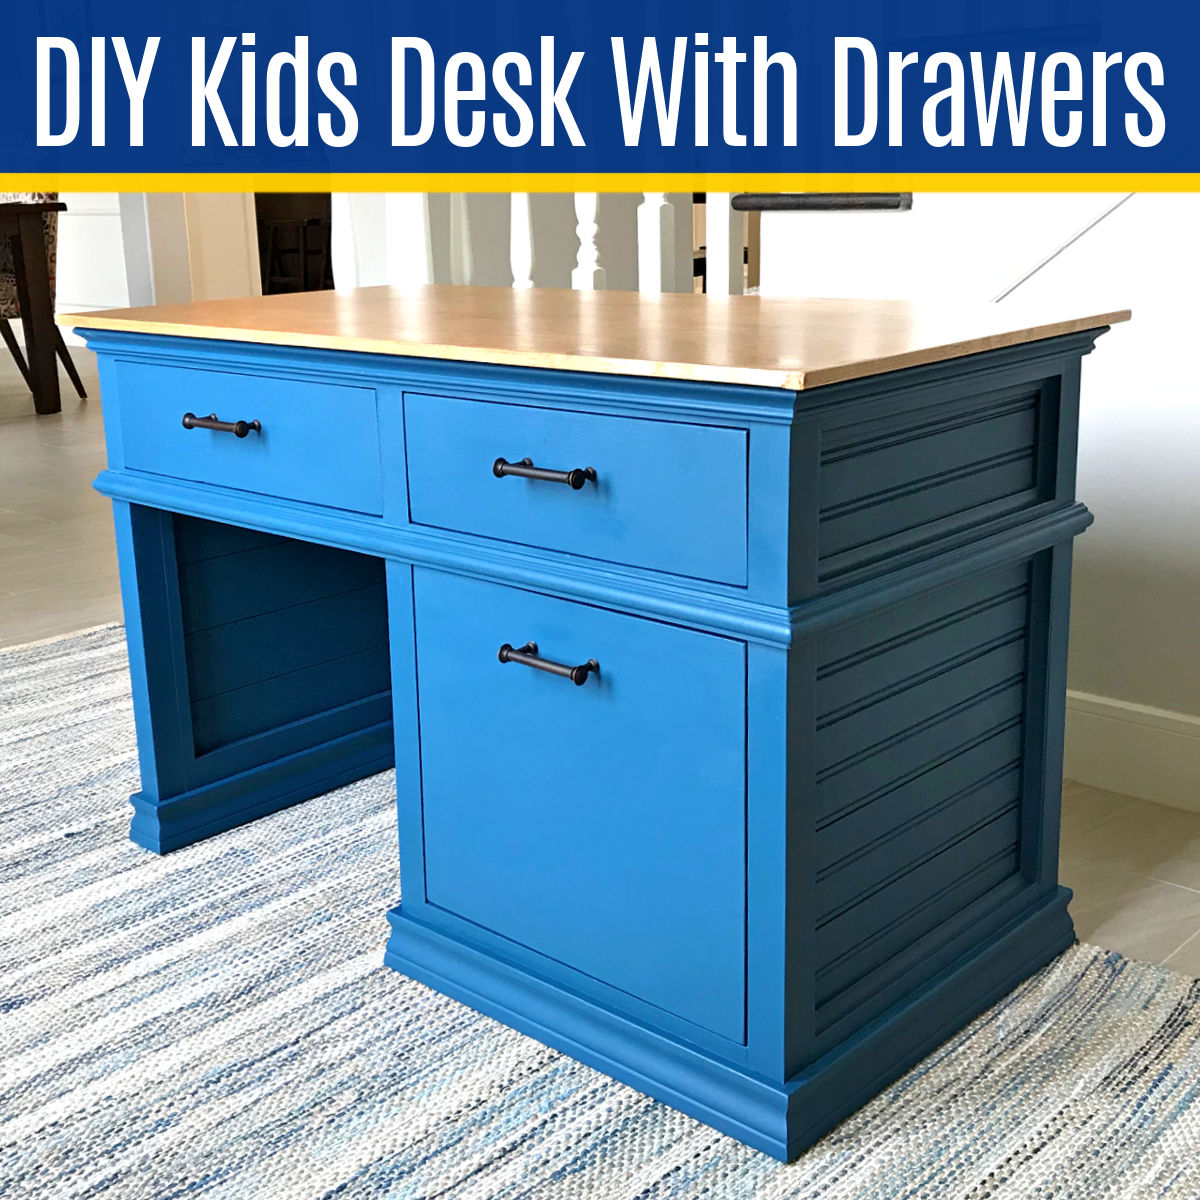
I LOVE this beautiful DIY Childrens Desk with storage drawers. It’s a perfect kids school or art desk. Full steps with video & printable plan.
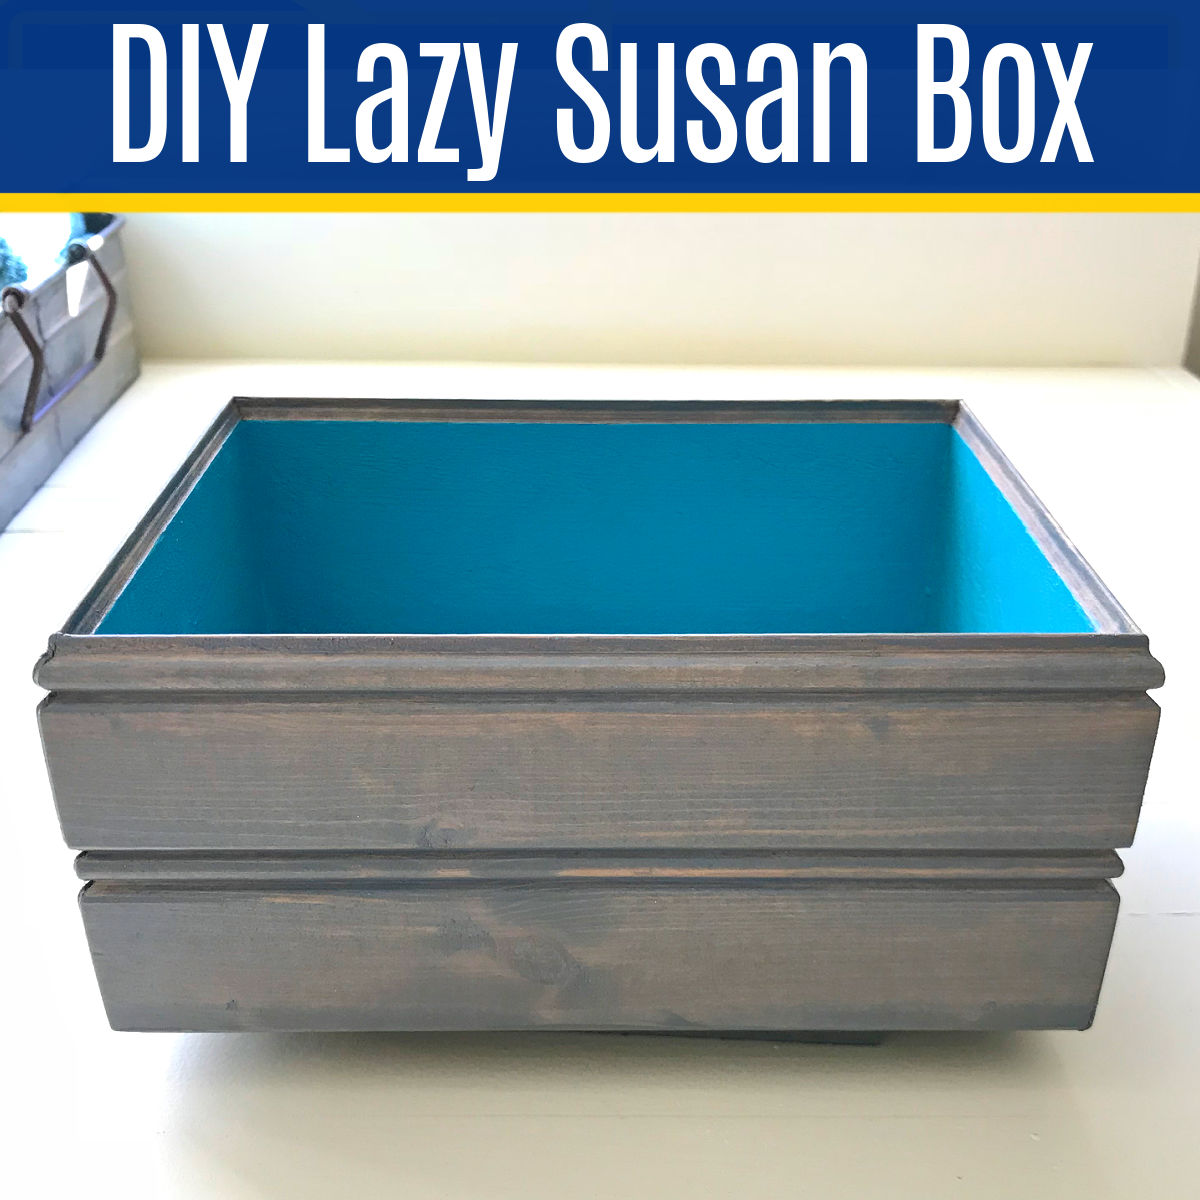
Make a small DIY Lazy Susan Organizer for spices, sprinkles, your most used items & more. Easy steps for a small lazy Susan cabinet organizer.
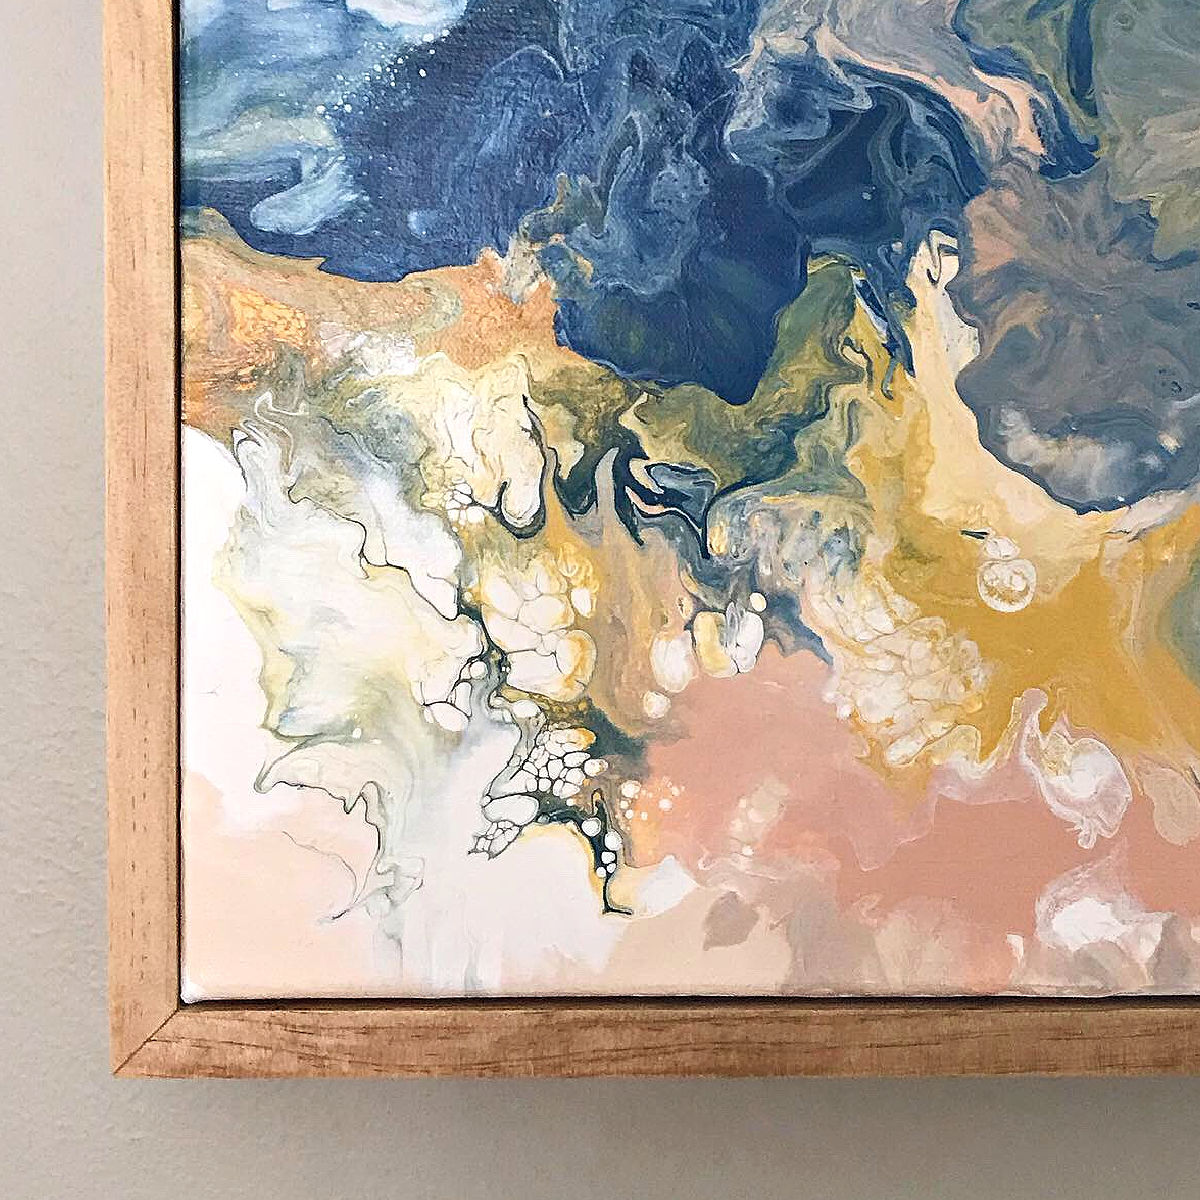
QUICK & EASY steps to build a DIY canvas frame, using 1×2’s. This beautiful wood frame is my favorite way to frame canvases. Finish in 1-day!
Easy To Follow Steps & Video for this beautiful DIY Geometric Wood Table Top Design. Use Poplar, Oak, Reclaimed Wood, Cedar, and more.
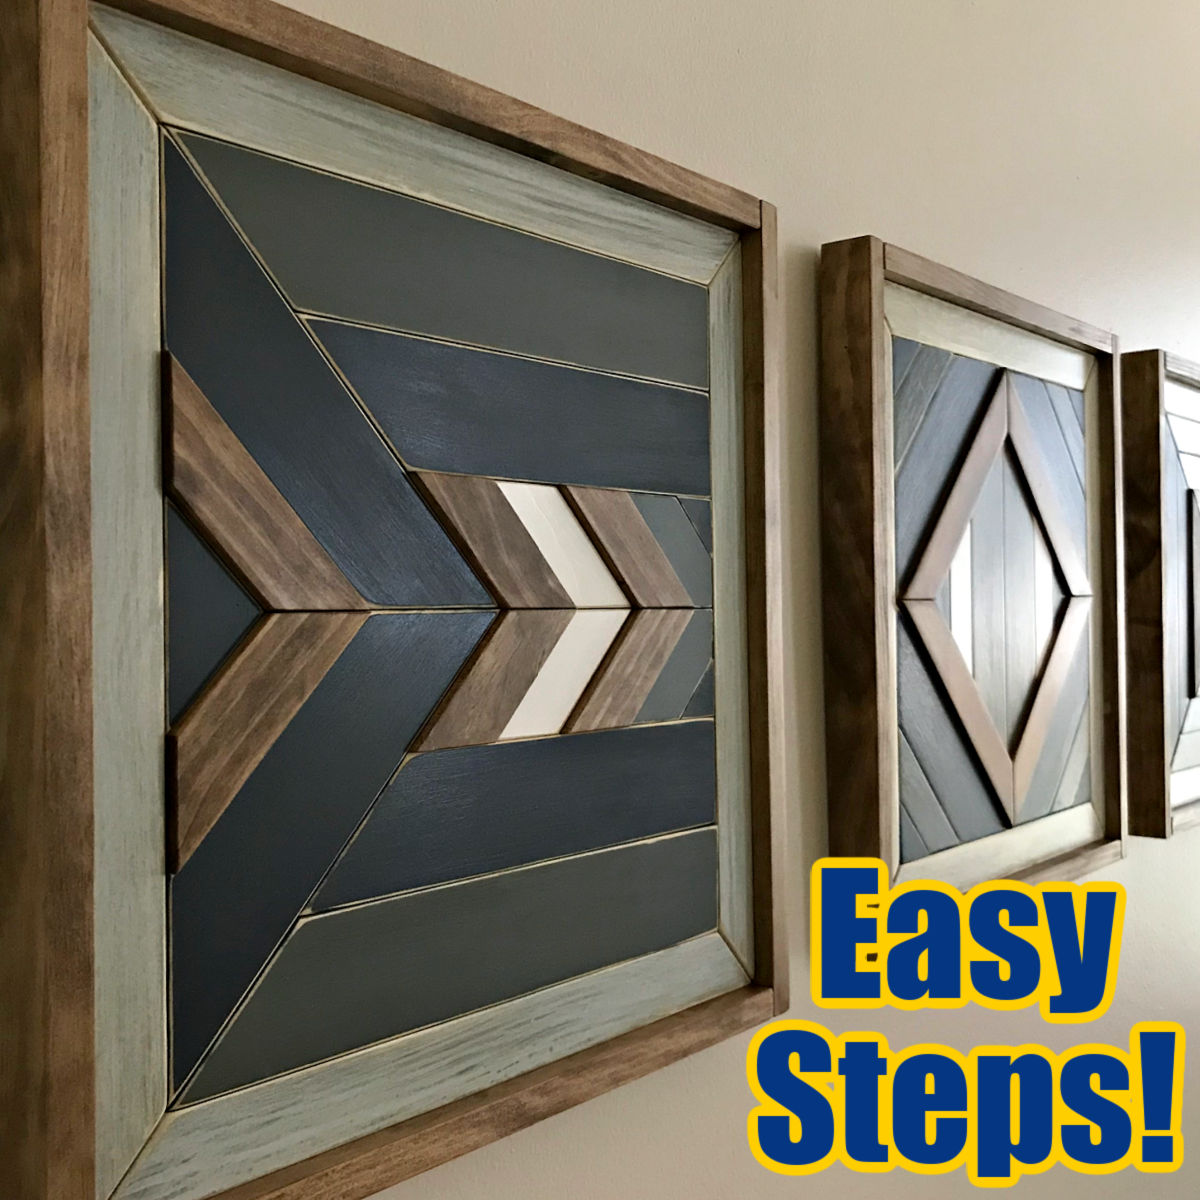
Wondering how to make wood wall art? Here’s a simple DIY scrap wood wall art tutorial for beginners that looks good enough to give as a gift!
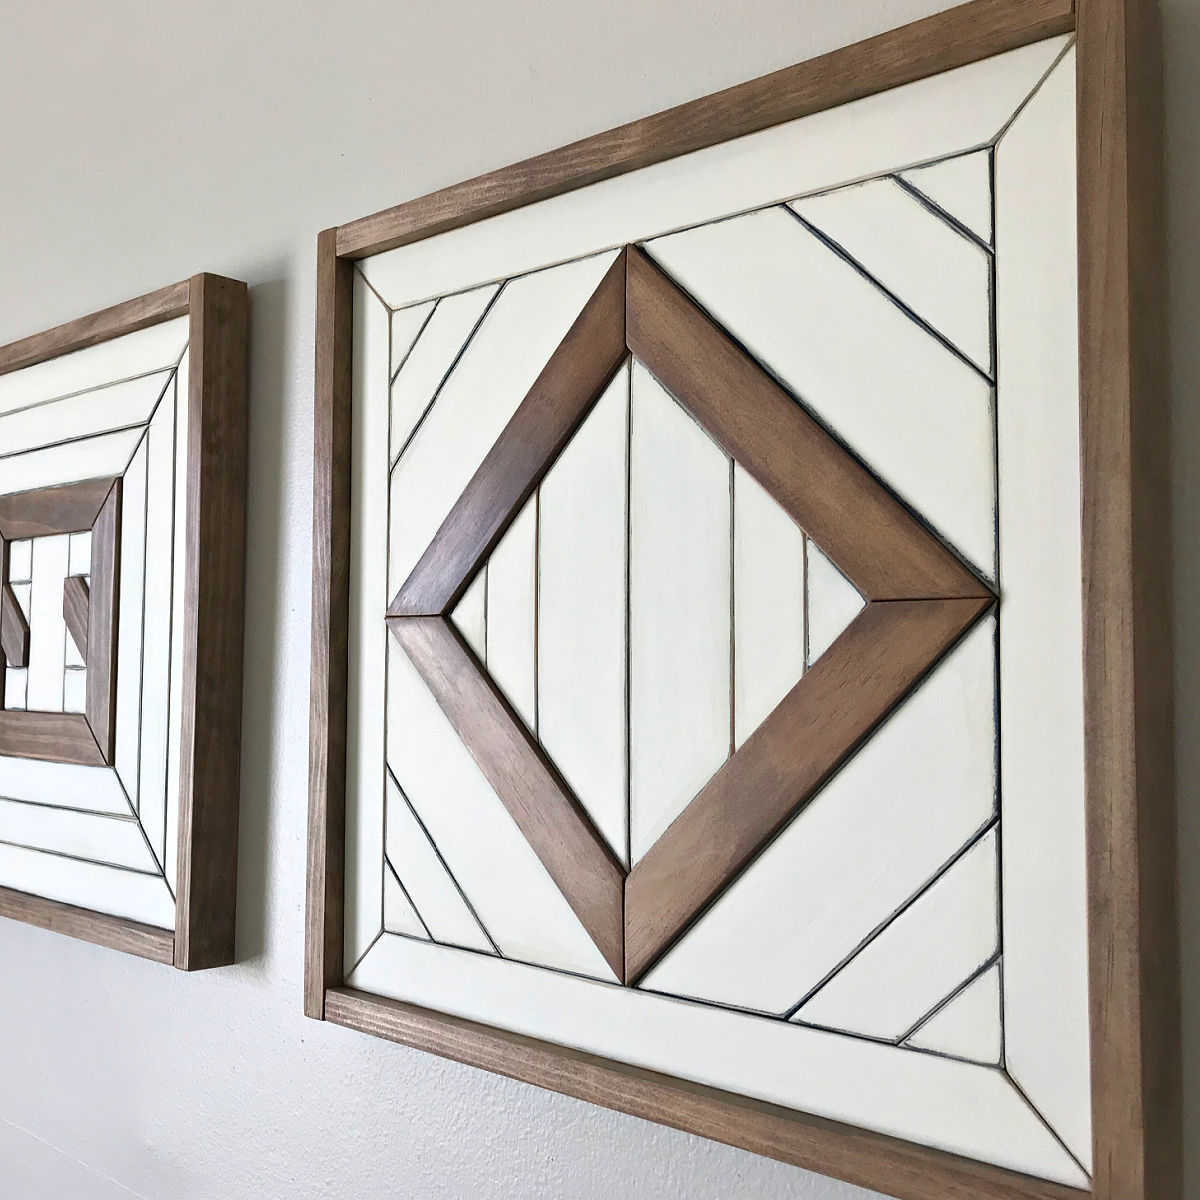
Make this beautiful and simple scrap wood wall art with these easy to follow DIY steps and a short video to help you get started.
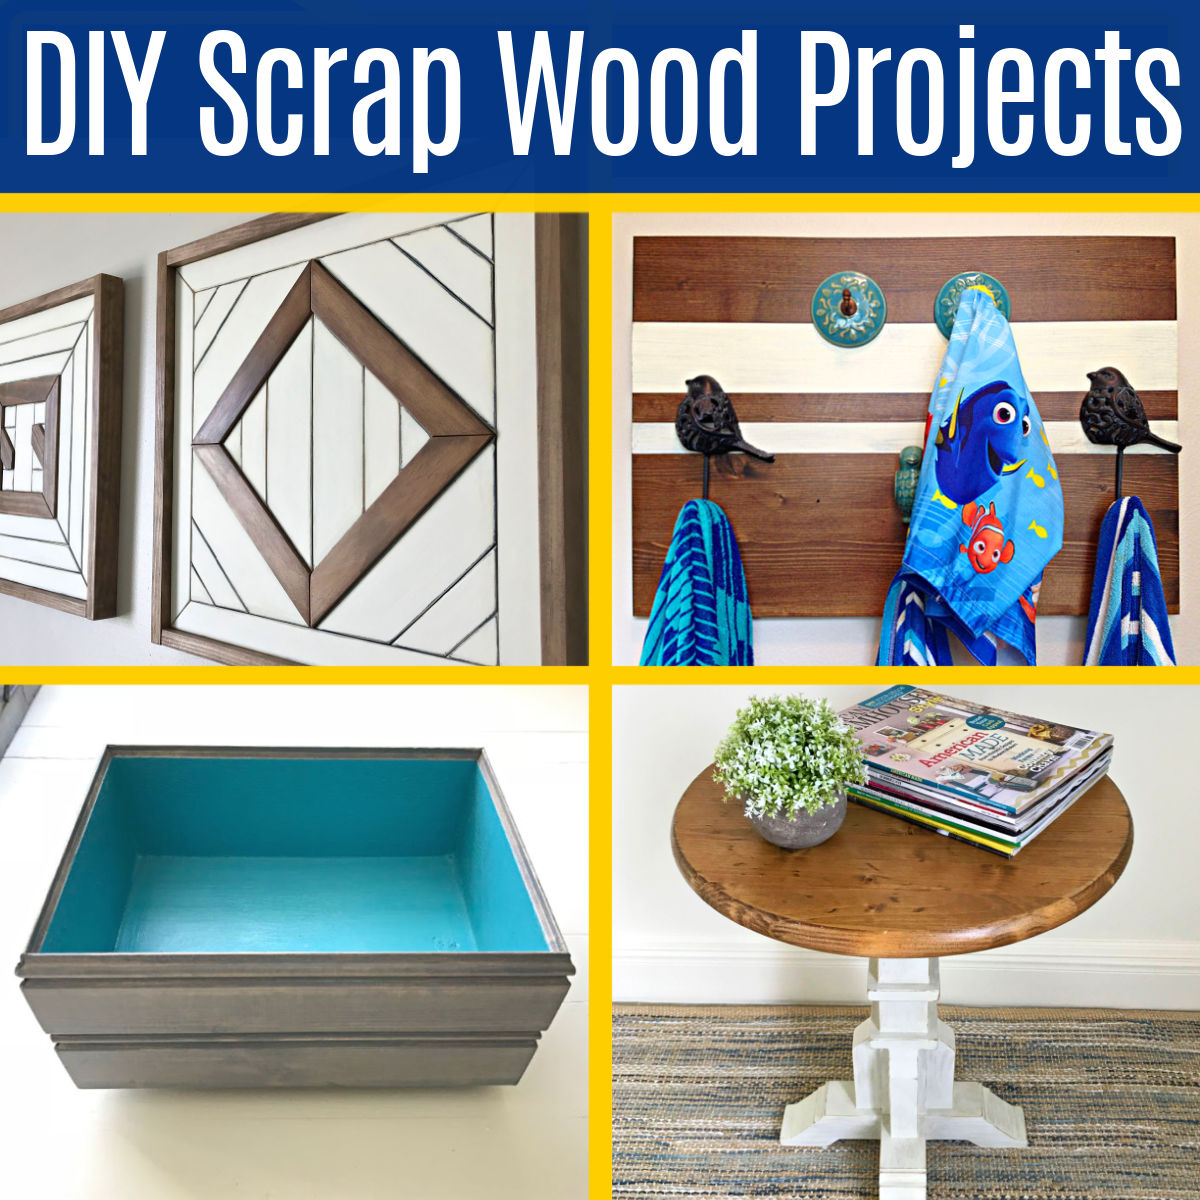
28 of the best DIY small scrap wood projects with photos & easy to follow DIY steps. There’s a scrap wood project idea here for everyone.
I am LOVING this beautiful DIY Chevron Wood Wall Art. I made mine with Cedar for less than $20. Easy enough project for beginner woodworkers!

This DIY Christmas Tree Box Stand is beautiful under any tree. AND, you can store ornaments in it after Christmas! With Free PDF build plans.
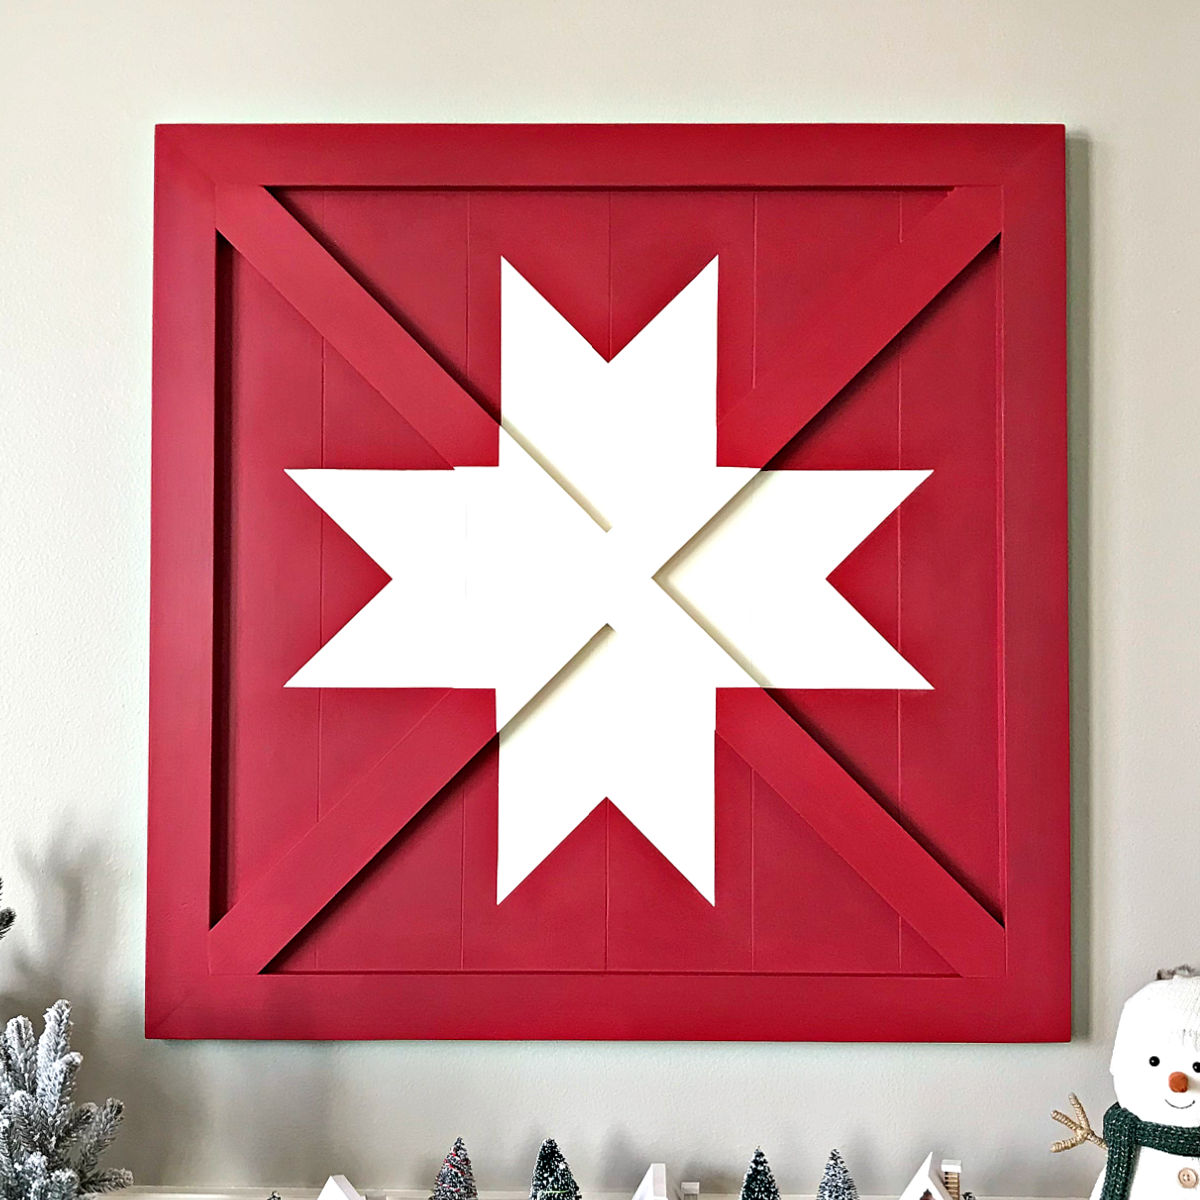
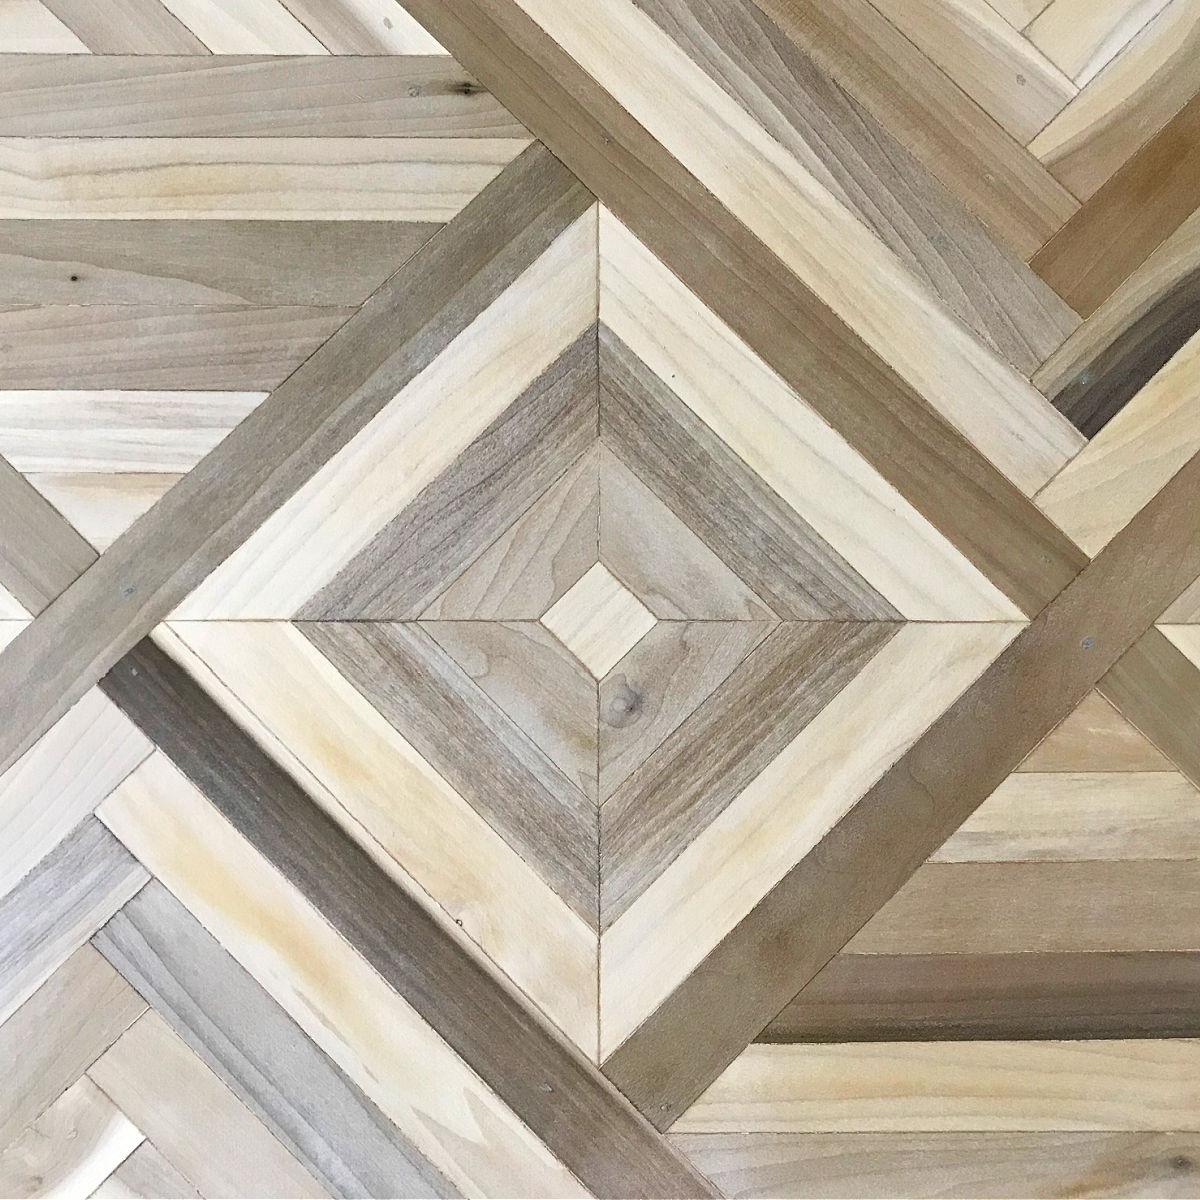
I LOVE this BEAUTIFUL DIY Wooden Barn Star Quilt Art. It’s an easy woodworking project you can build for less than $20 in lumber. Yay!
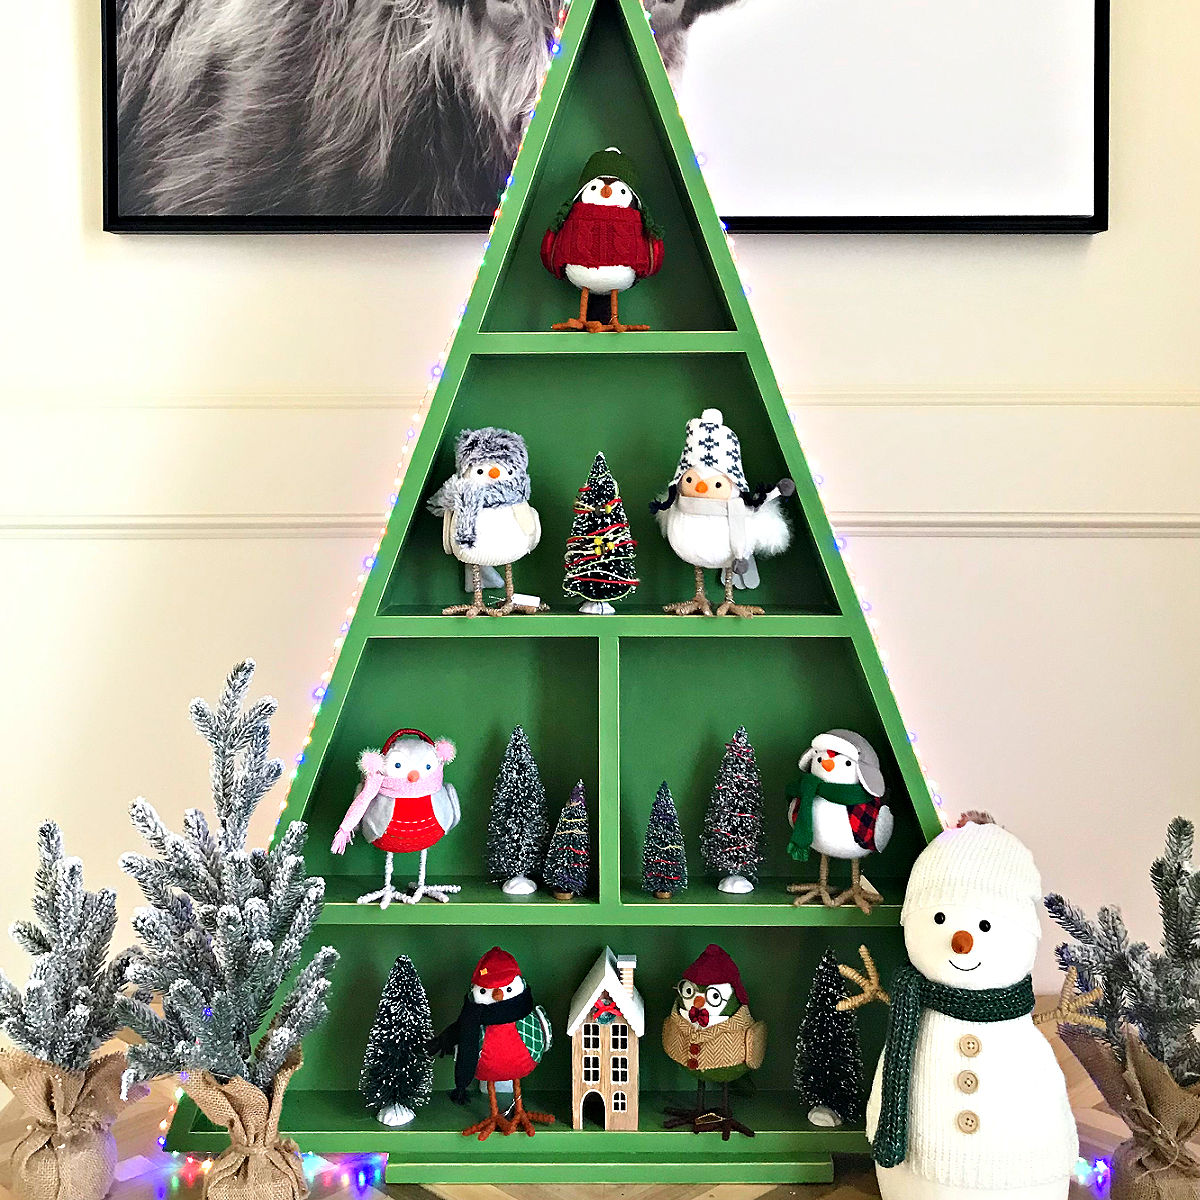
I’m loving this DIY Wooden Christmas Tree Shelf! It’s a great display shelf for Cocoa Bars, Christmas Villages, Christmas Cards & ornaments.
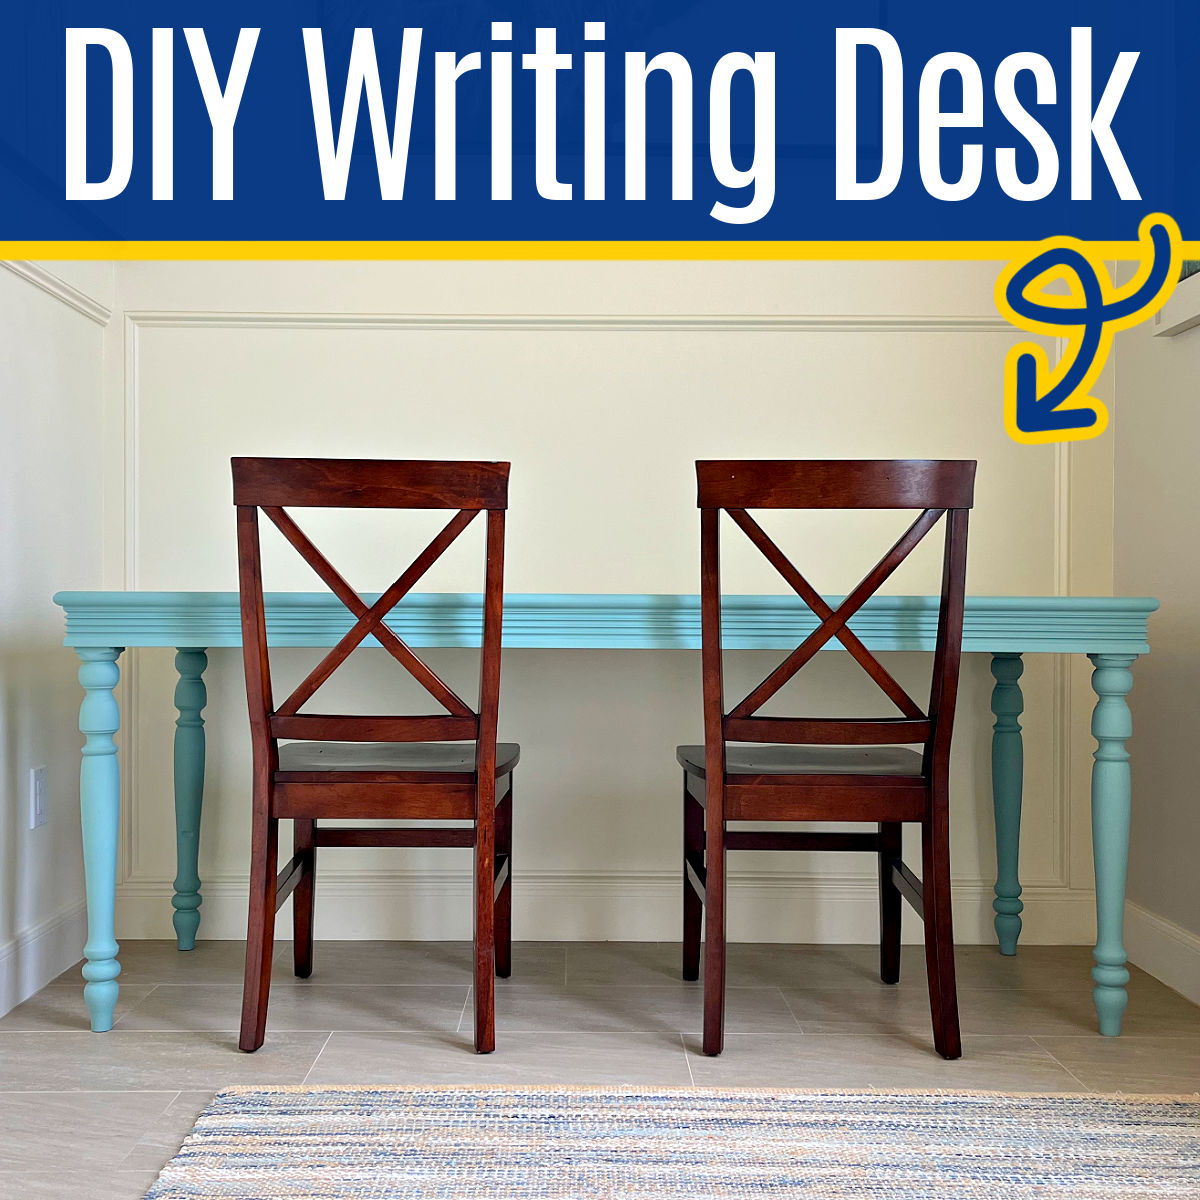
You can build this beautiful & easy DIY Writing Desk with Turned Legs finished in a weekend. It’s great for homework or a home office!
Make this QUICK & EASY DIY Drawer Front with a pretty router detail for slab style, overlay drawers. With Written Steps & Video.
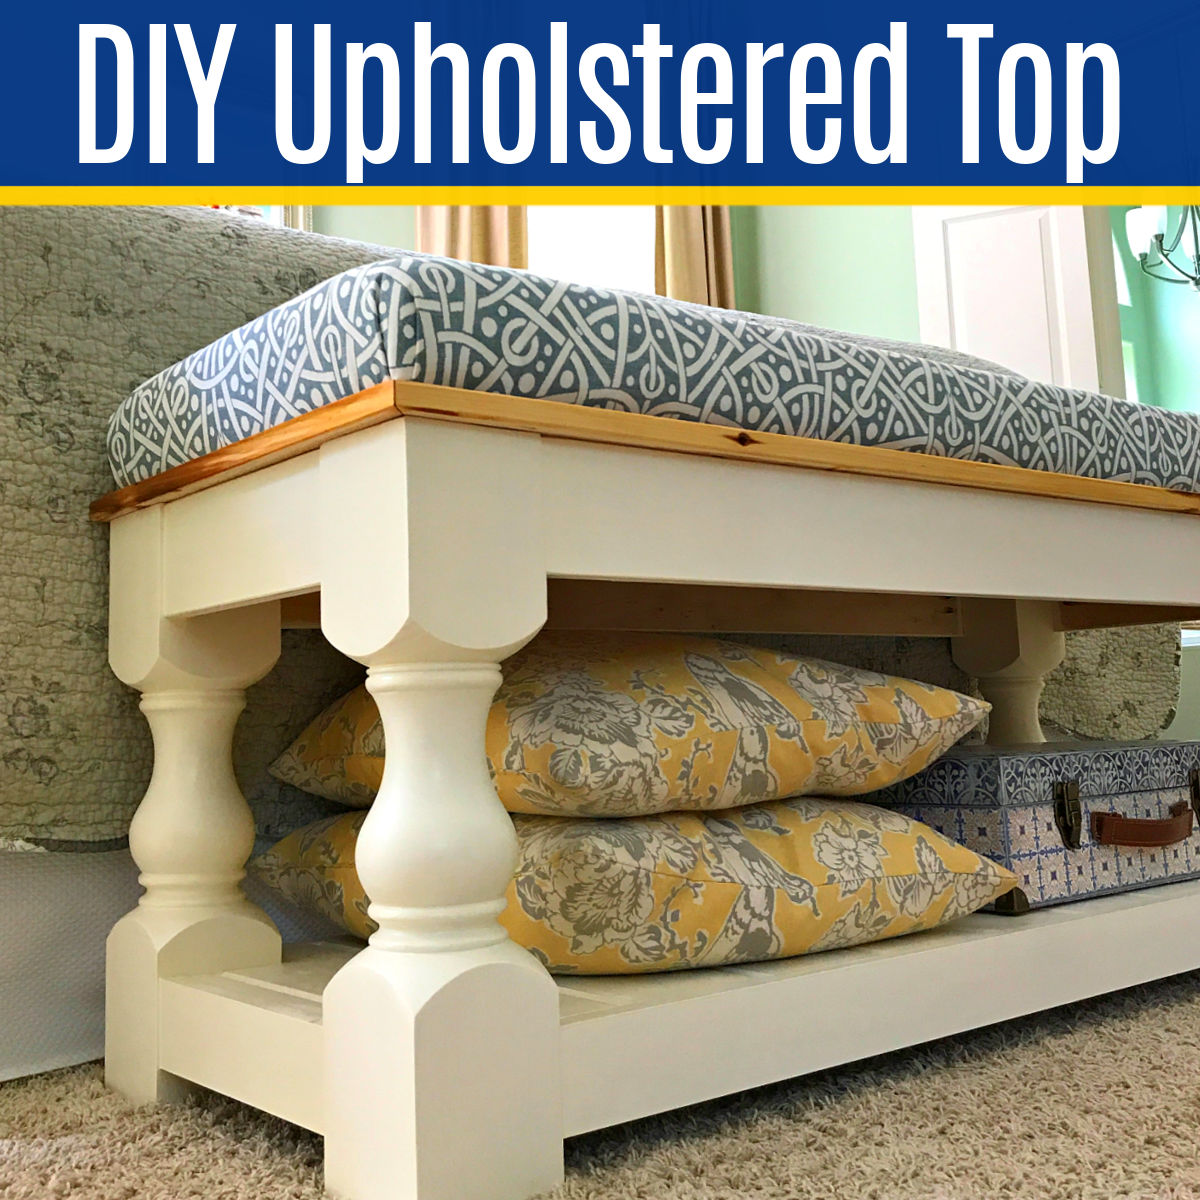
Make this Easy DIY Upholstered Bench Top for my DIY Farmhouse Bench or adjust the size to make this easy seat for any bench or window seat.
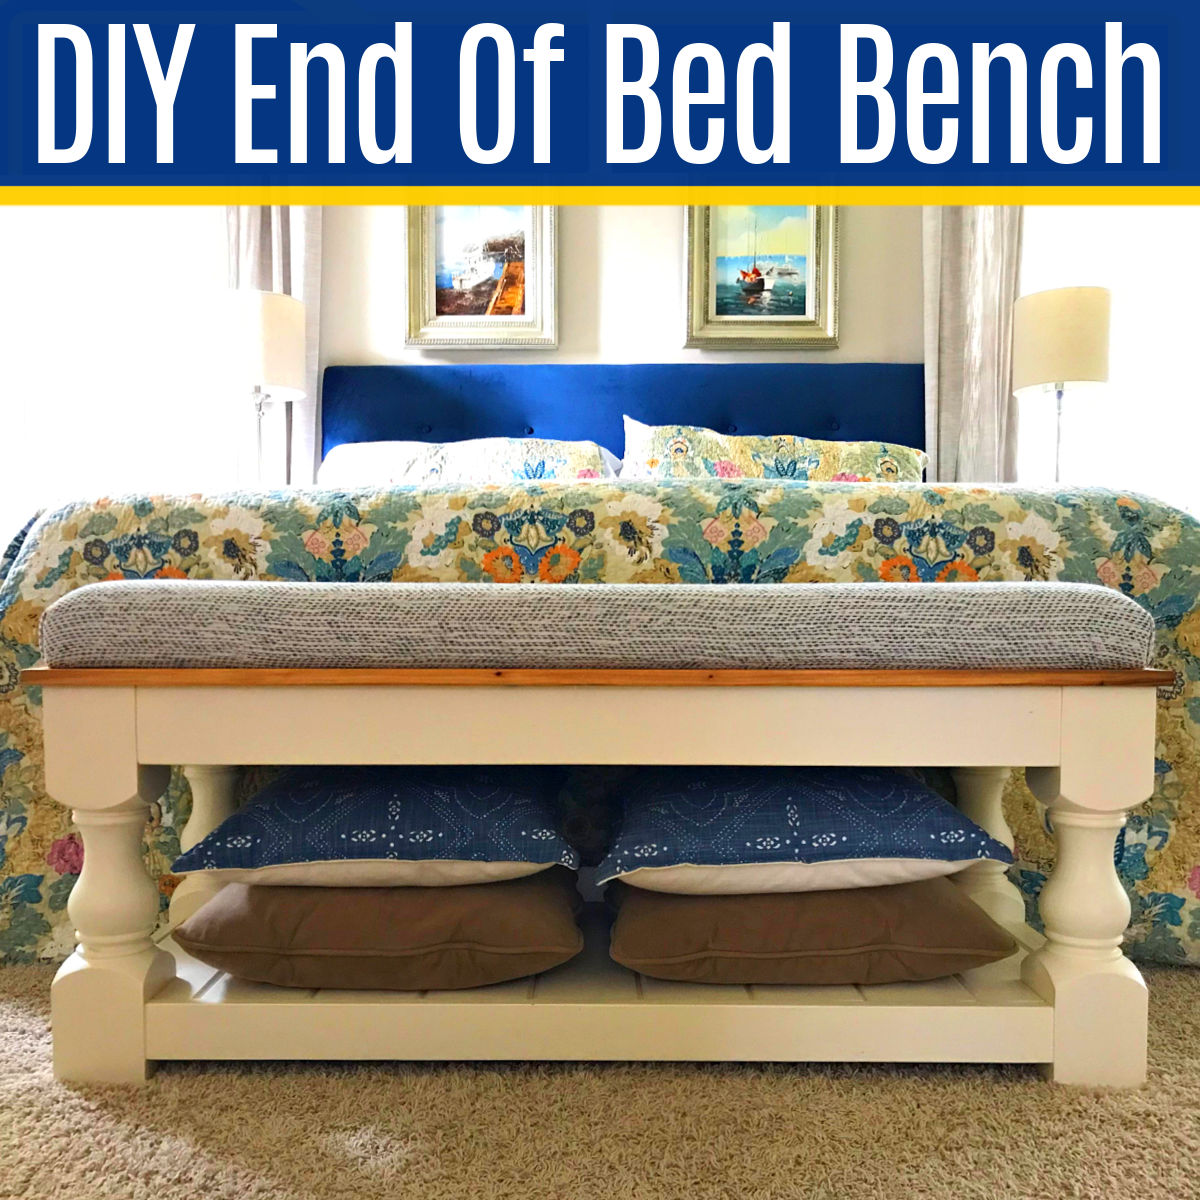
I LOVE this beautiful DIY Farmhouse Bench that also works as a great DIY End Of Bed Bench because of the easy upholstered top!
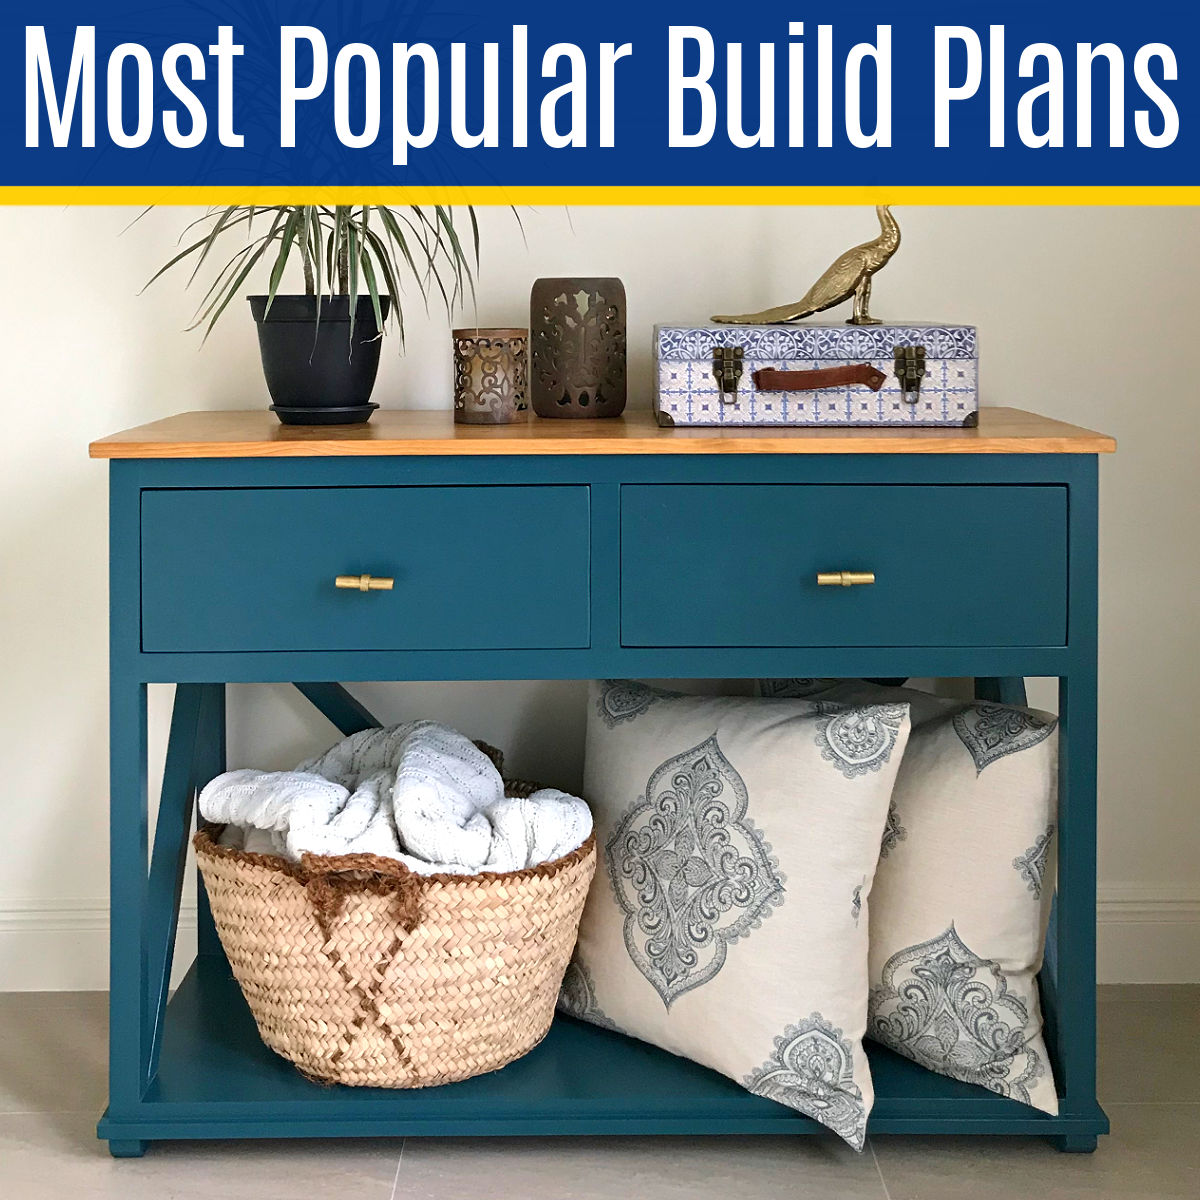
Check out my 13 Most Popular PDF Furniture Build Plans & the 12 Most Viewed DIY Woodworking Projects. All 26 are easy enough for beginners!
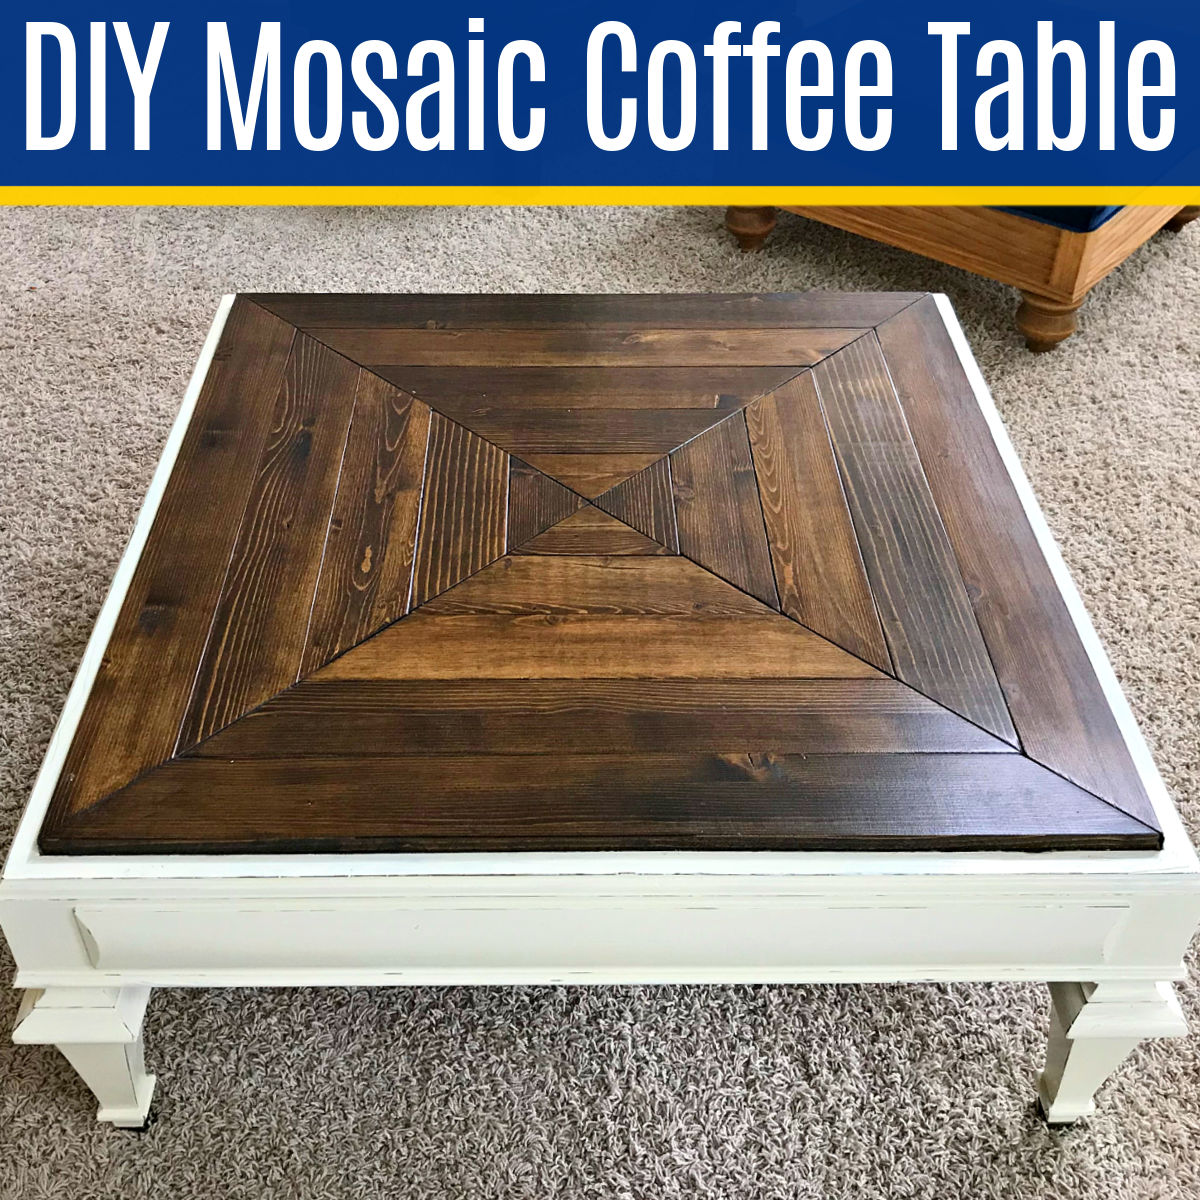
See how I turned an OUTDATED two tier end table into a STYLISH mosaic coffee table in this before & after DIY Coffee Table Makeover tutorial.
Easy to follow steps, free printable build plans, and how-to video for this beautiful DIY Outdoor Sofa made from 2×4 and 2×6 lumber.
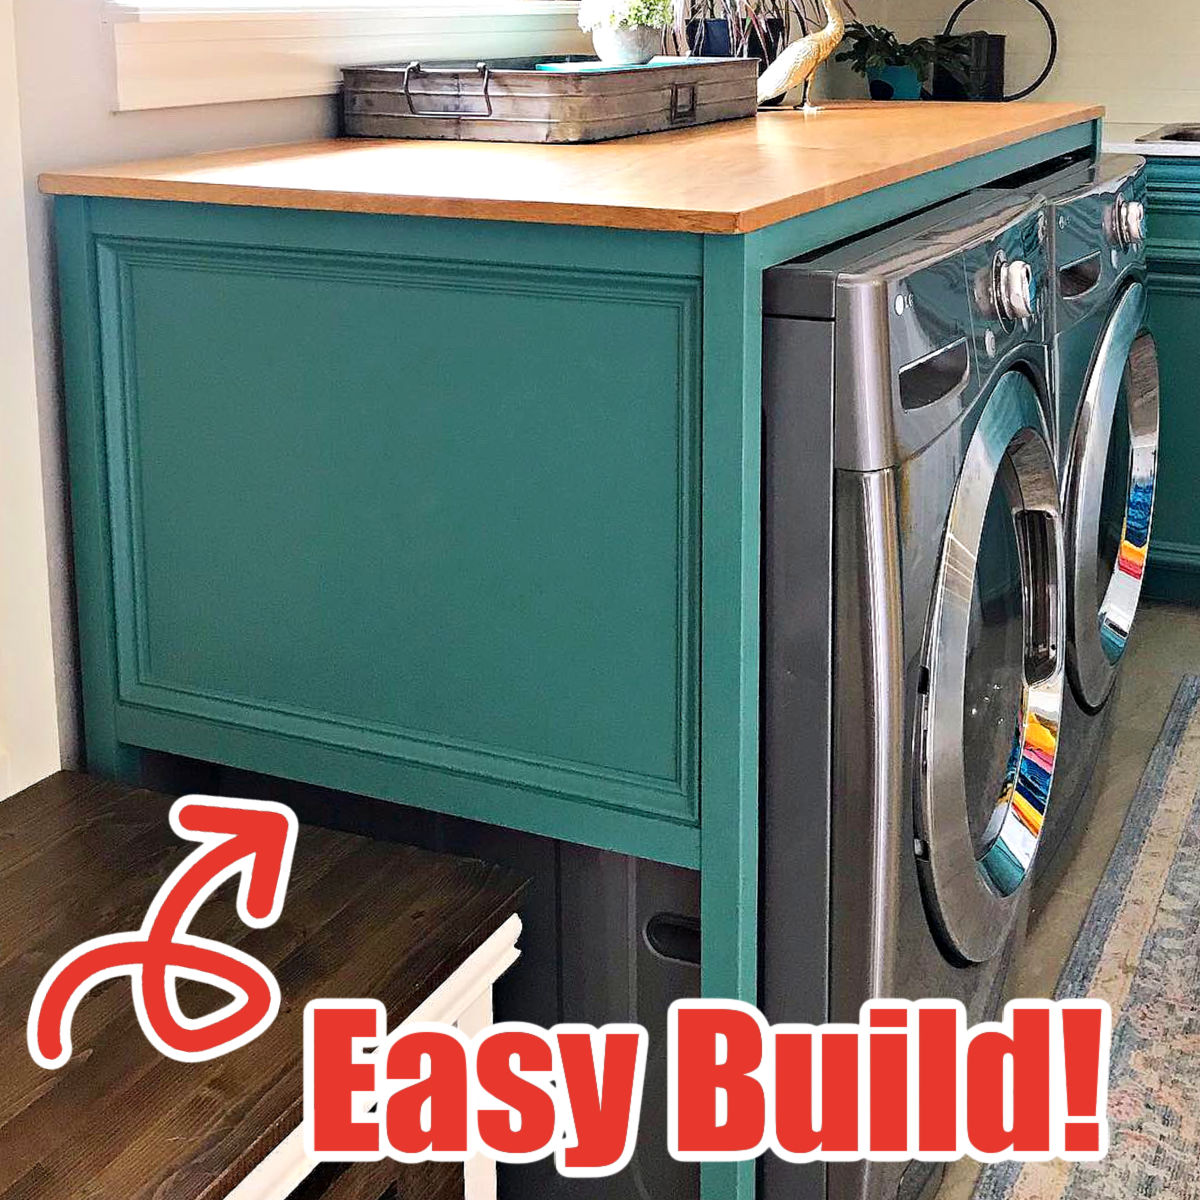
I LOVE this easy DIY Laundry Table Over Washer and Dryer build plan idea. It’s removable, looks GREAT, and is perfect for folding laundry.

Give your house some CURB APPEAL with this big list of 50 great BUY OR DIY Outdoor Planter Ideas for your Front Porch. In Every Style & Size!
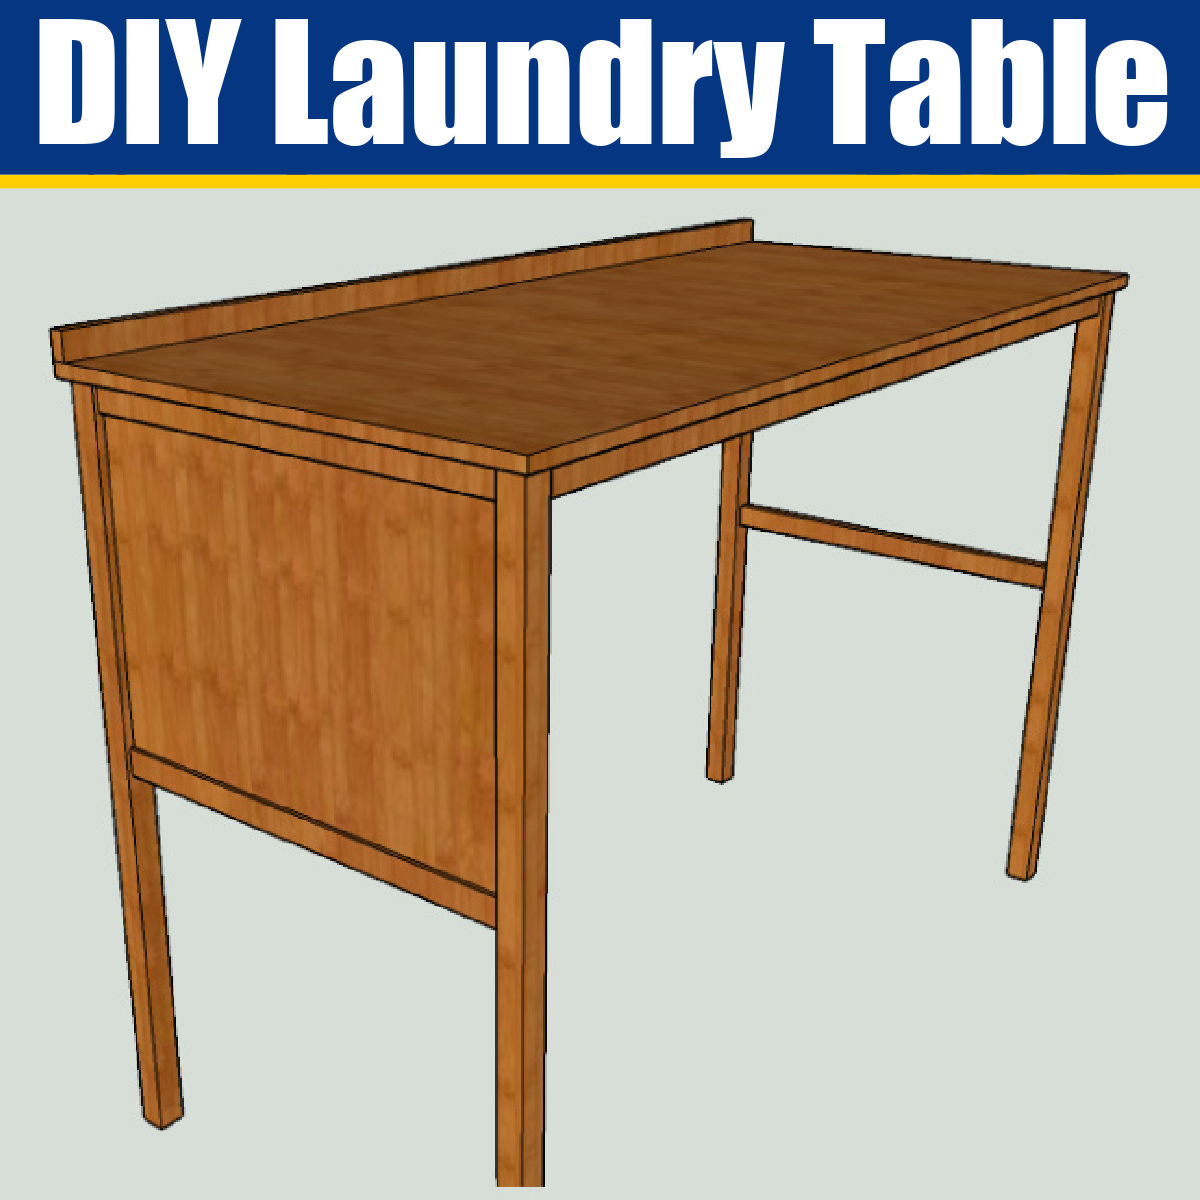
Hide that washer dryer with this $85 DIY Laundry Table. It’s BEAUTIFUL farmhouse-style dresses up any laundry room and makes folding SO EASY.
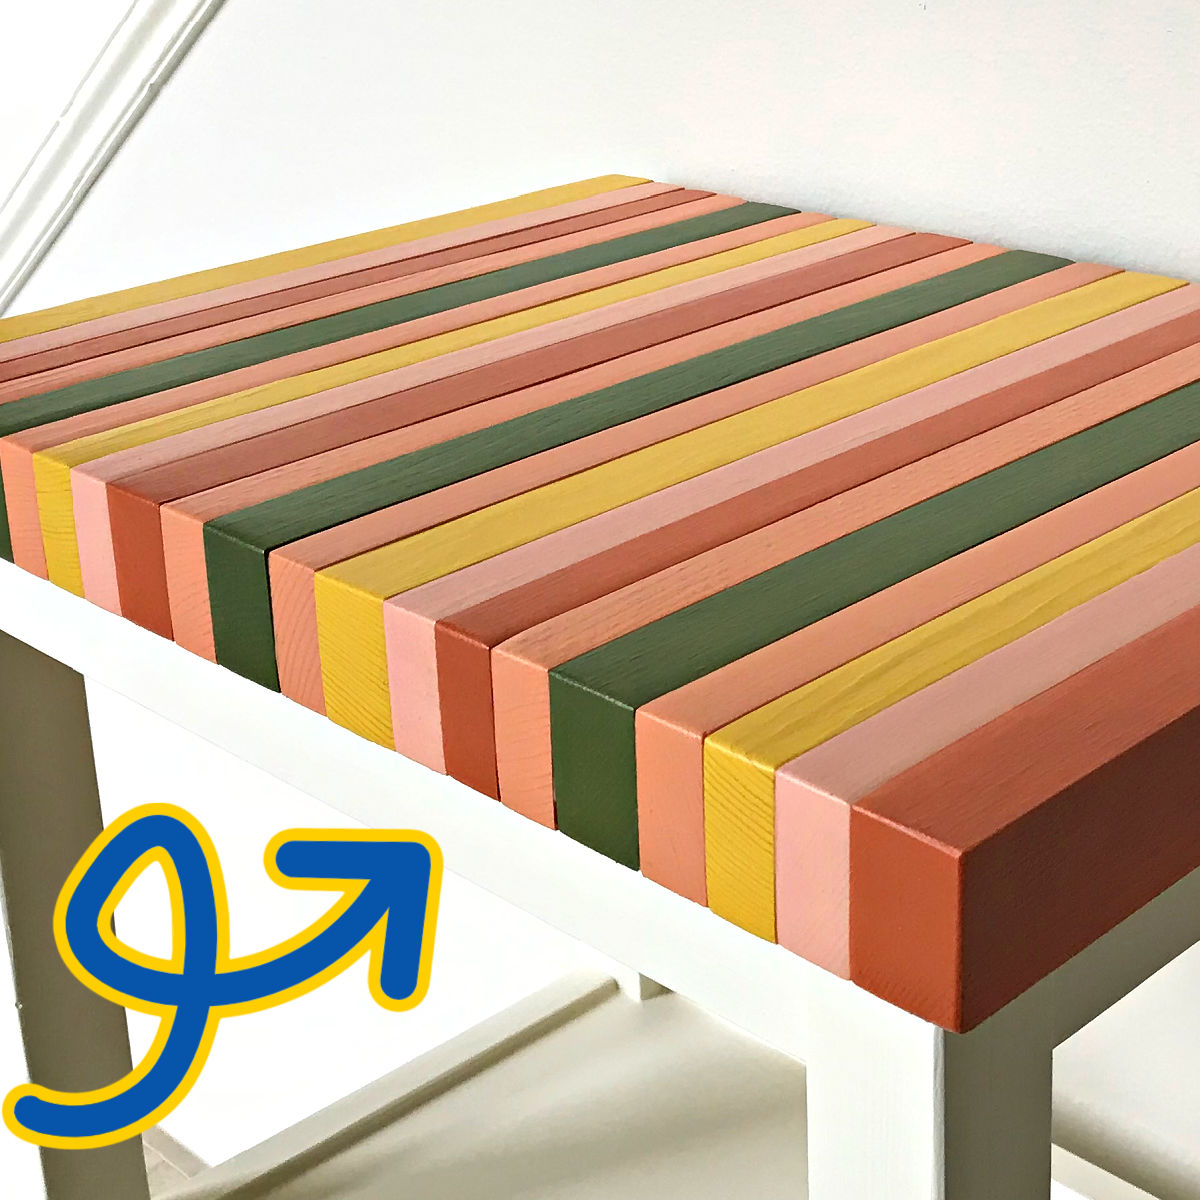
Build a unique, pretty & super cheap table top with this DIY Wood Color Block Table Top tutorial! This DIY would make a great bench top too.
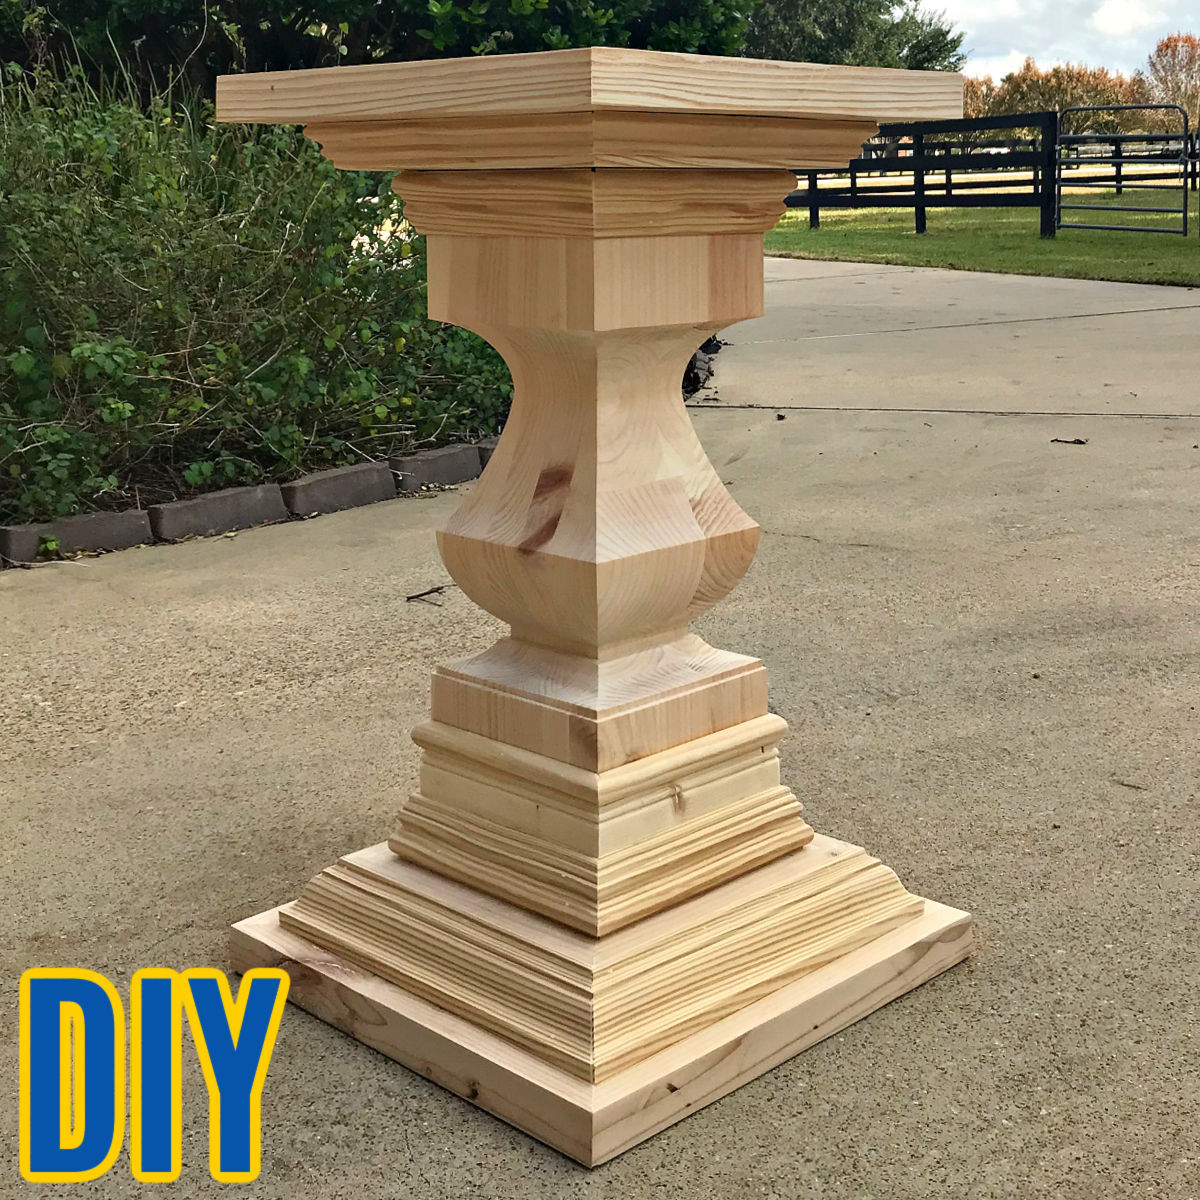
Turn a curvy coffee table leg into a big, beautiful DIY Pedestal Table Base with your Miter Saw. Easy enough build for beginner woodworkers!
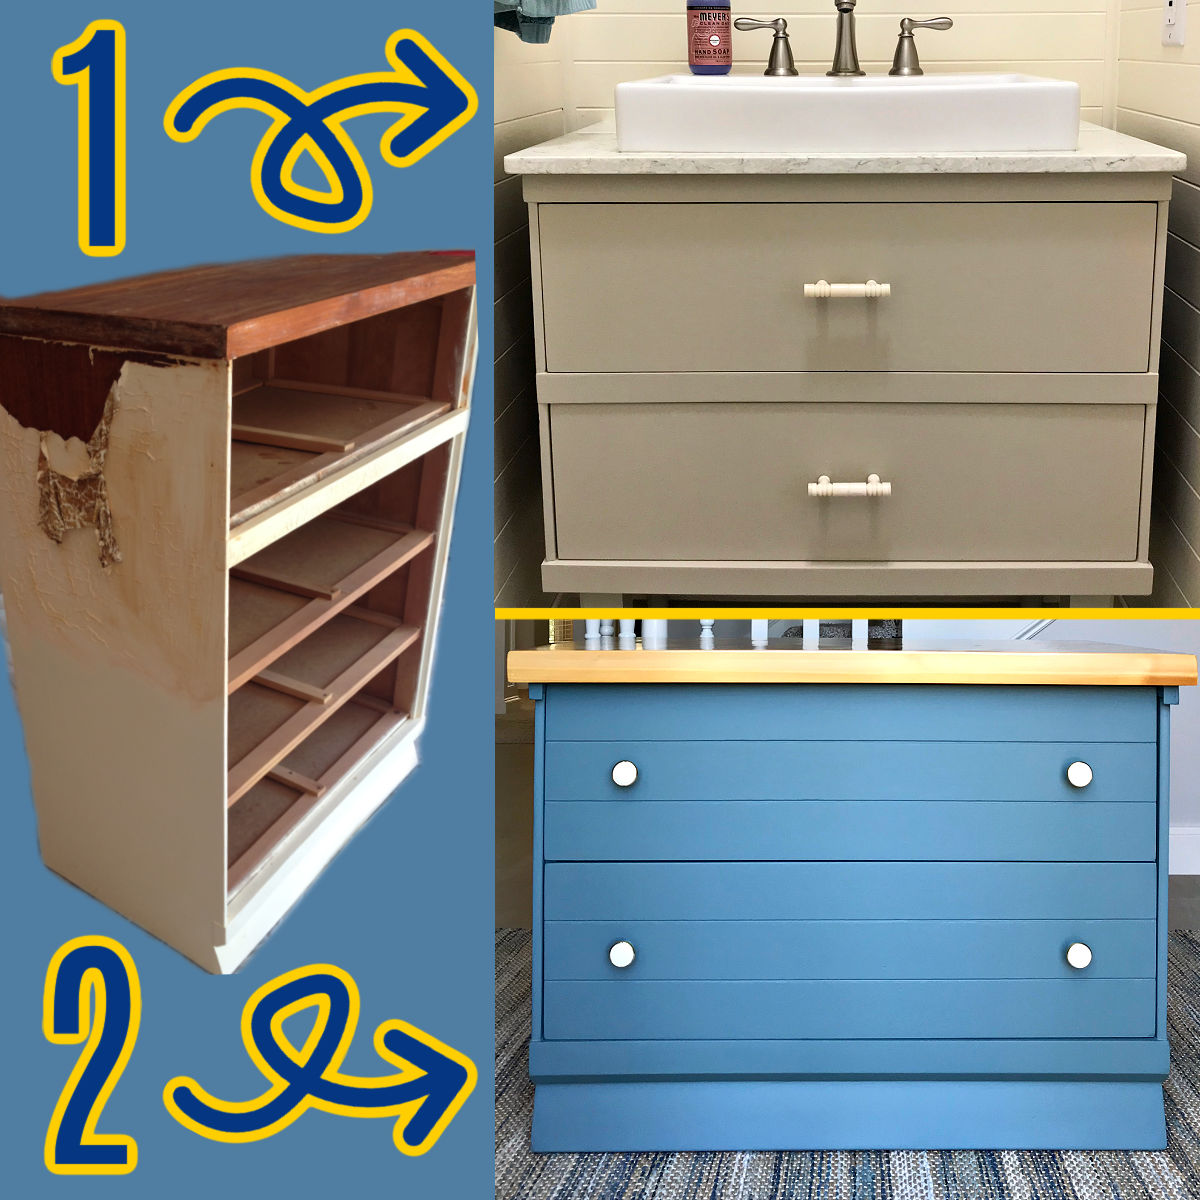
Easy DIY steps for how to cut a dresser in half to make 2 great pieces of furniture. This before and after furniture makeover is JUST WOW!
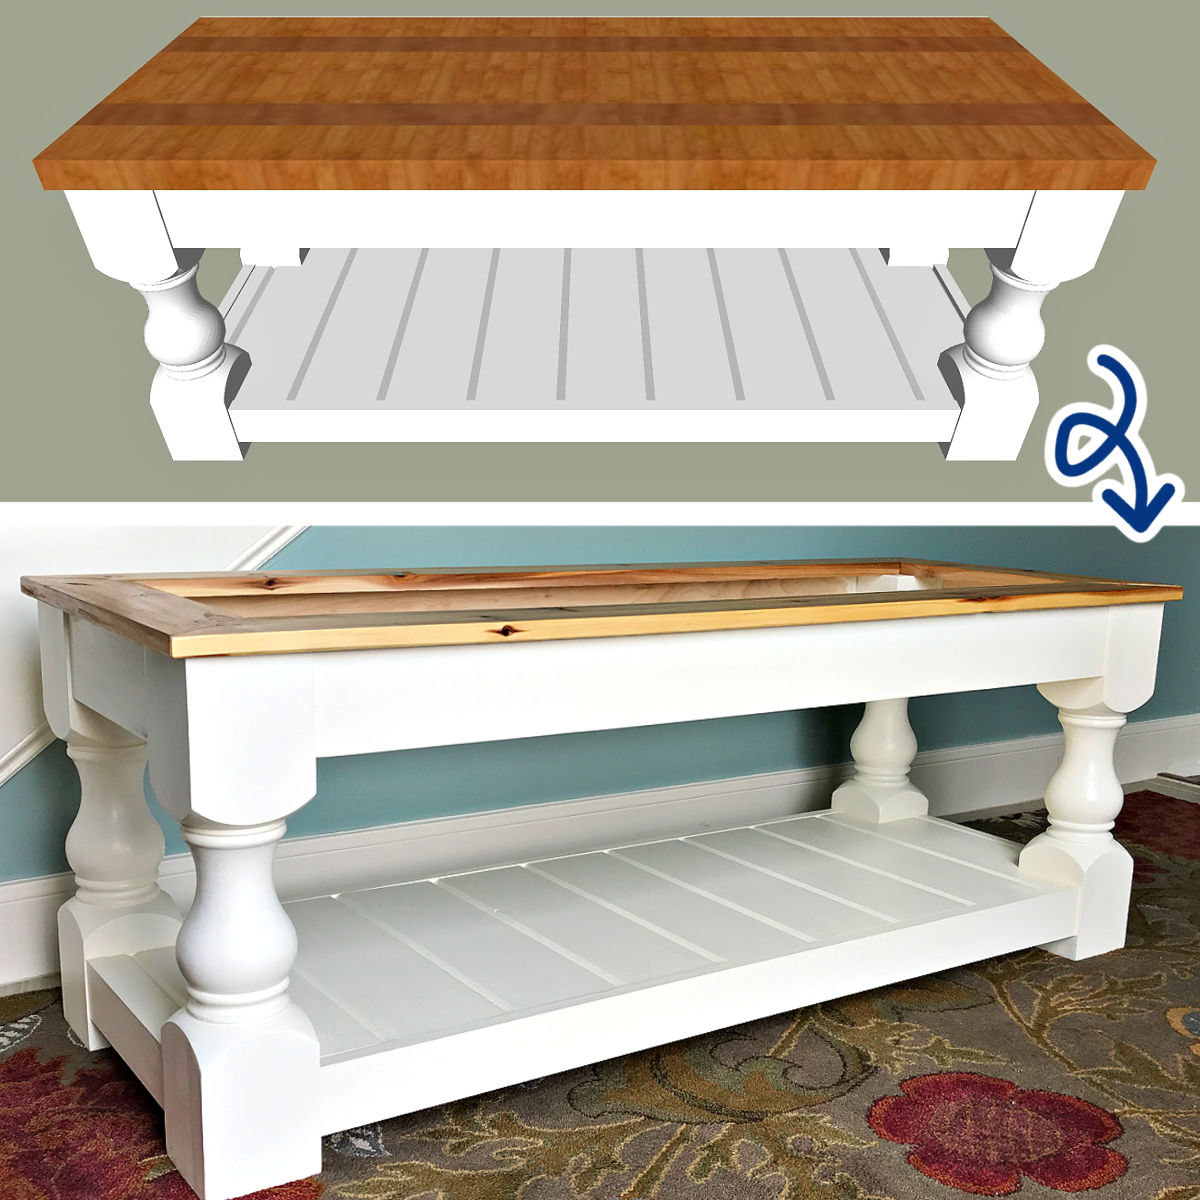
Printable PDF Build Plans for this beautiful DIY Farmhouse Coffee Table made with chunky turned legs. With 6 table top design styles.
50 GREAT DIY woodworking gift ideas for the whole family. From cheap wood gifts to big furniture builds for Christmas, birthdays & more.
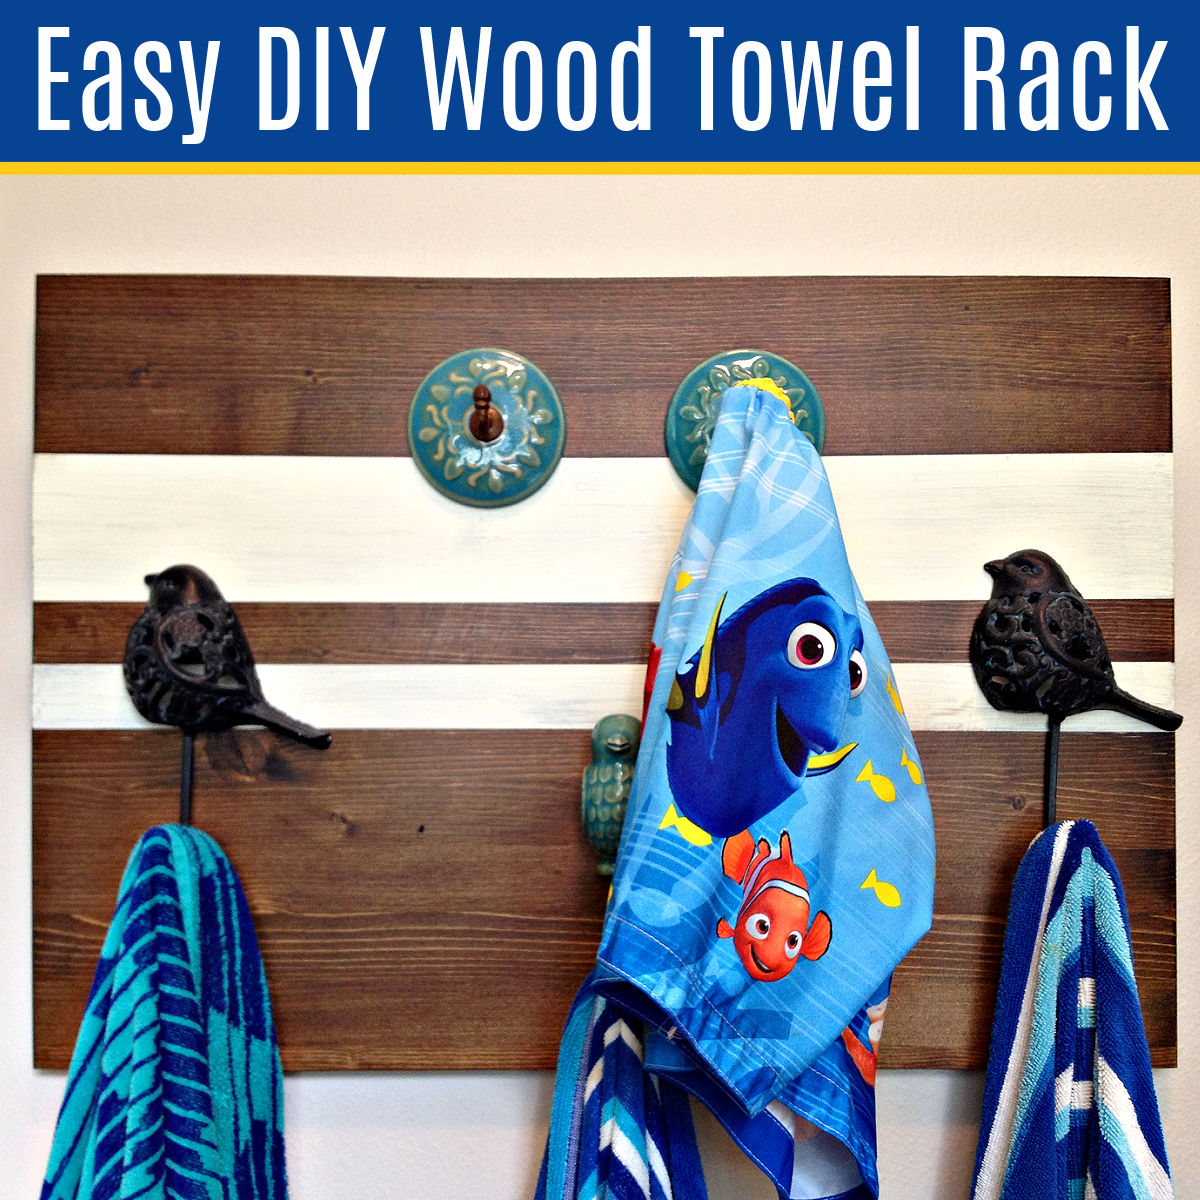
I LOVE this quick and easy home décor project! Here’s How to Make a Pretty and Easy DIY Wood Towel Rack or towel holder to match any room.
I LOVE this super easy way to make a DIY Wood Picture Frame, with 2 pieces of trim molding and a Miter Saw. Easy Steps and Video Guide.
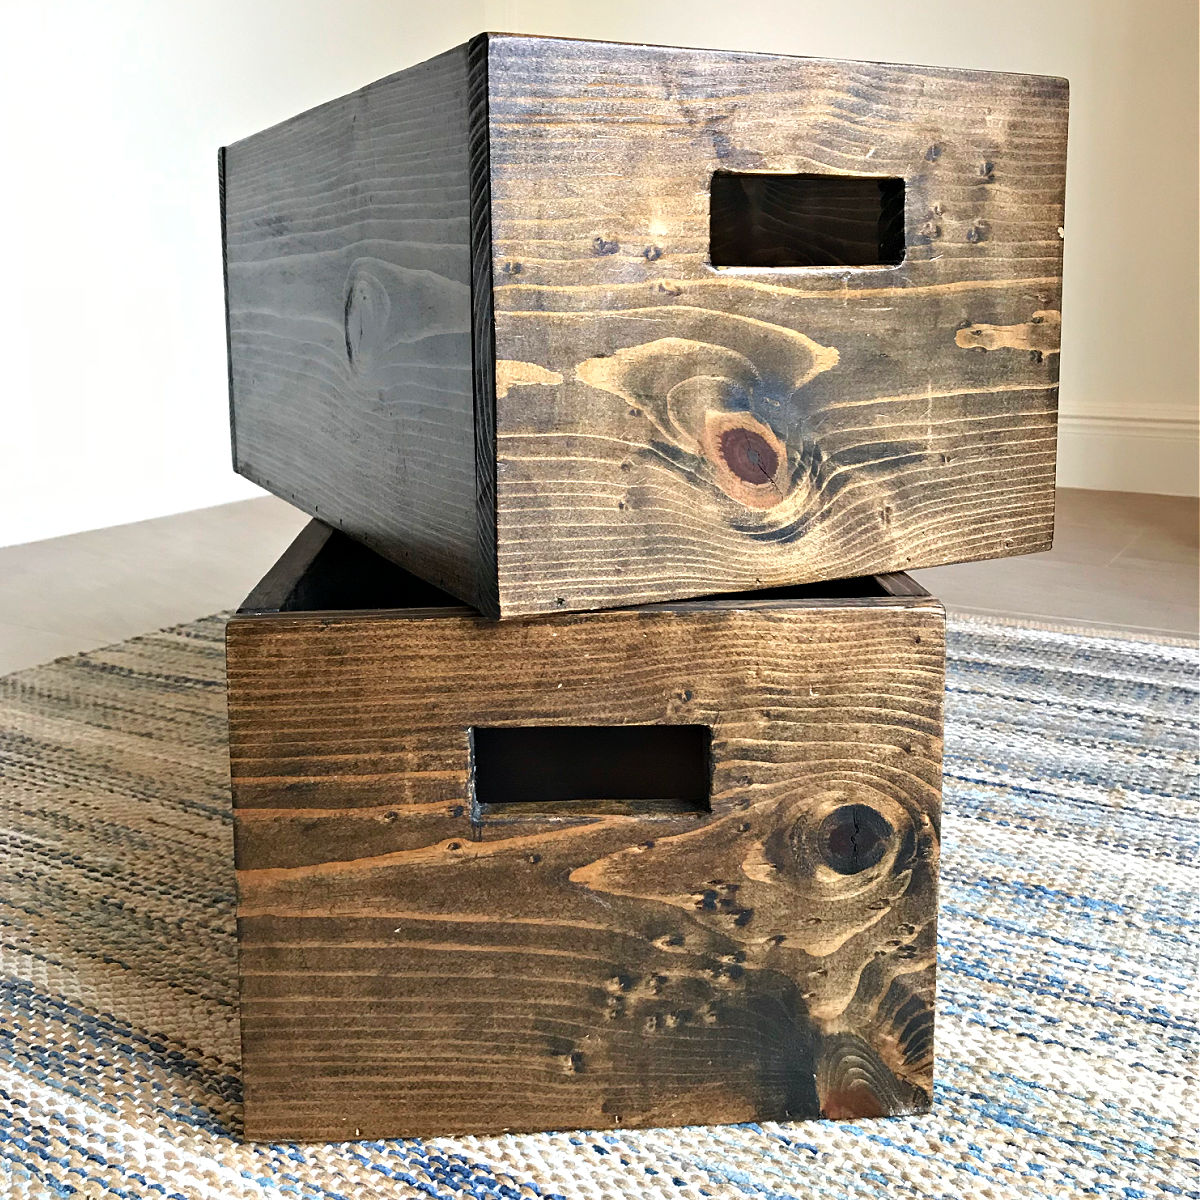
I LOVE this easy DIY Wood Storage Bin for Beginners! You can make this box any size AND it’s a great starting project for new woodworkers.

I LOVE this easy DIY Upholstered Entryway Bench Build Plan made with cheap turned legs. It’s a beautiful bench you can paint or stain. Steps to build with a hard top or upholstered top.
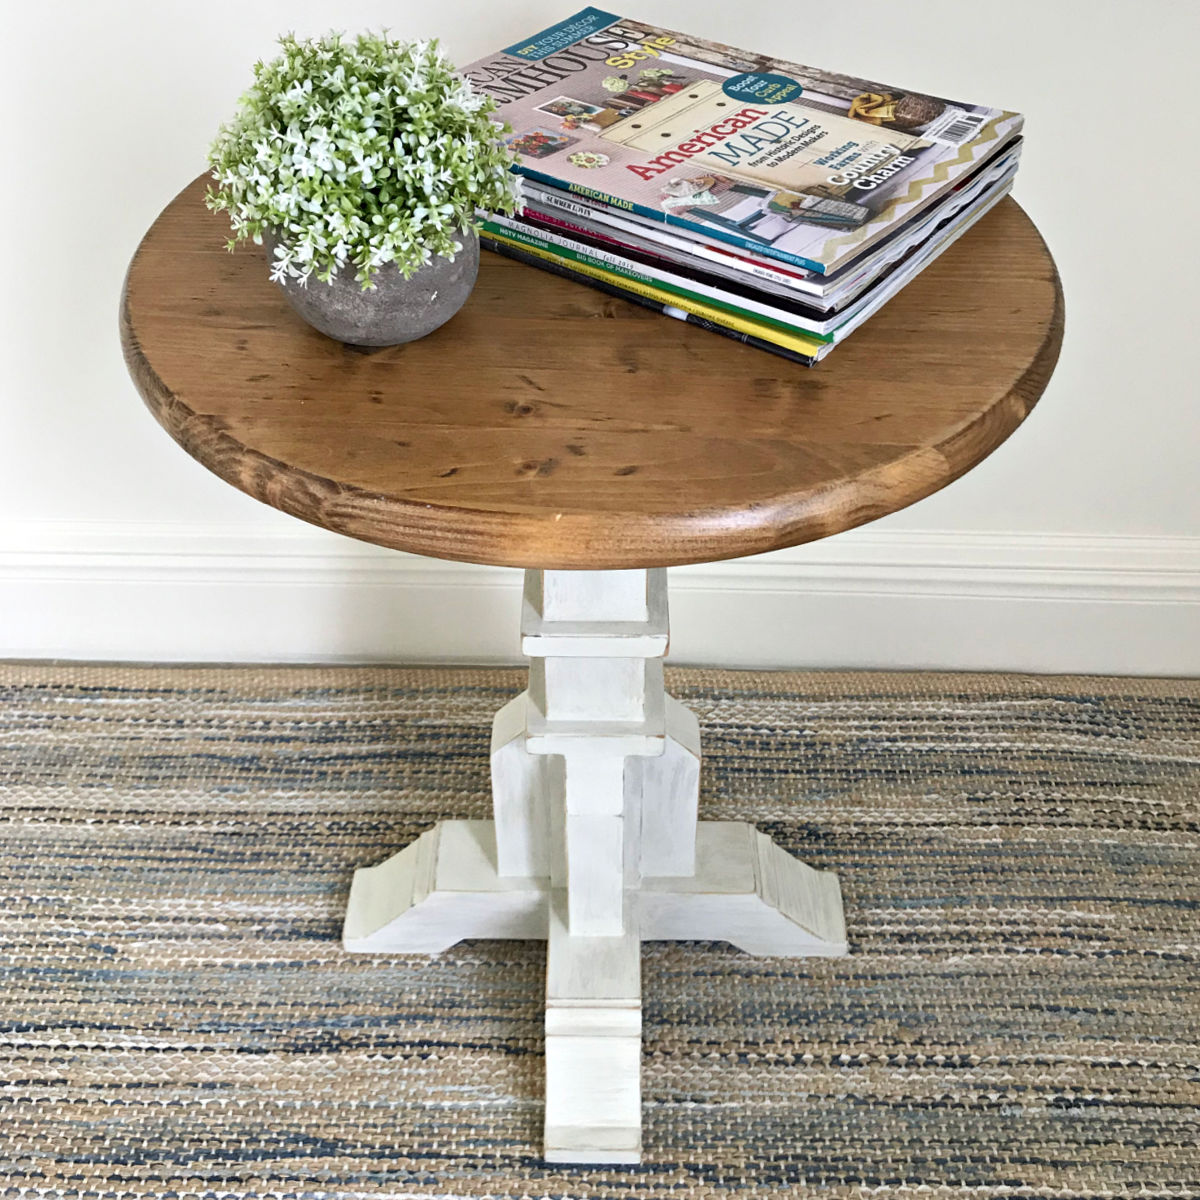
Build this sweet round top, pedestal base DIY Side Table Woodworking Plan for less than $50. Win! Full tutorial & printable build plans.
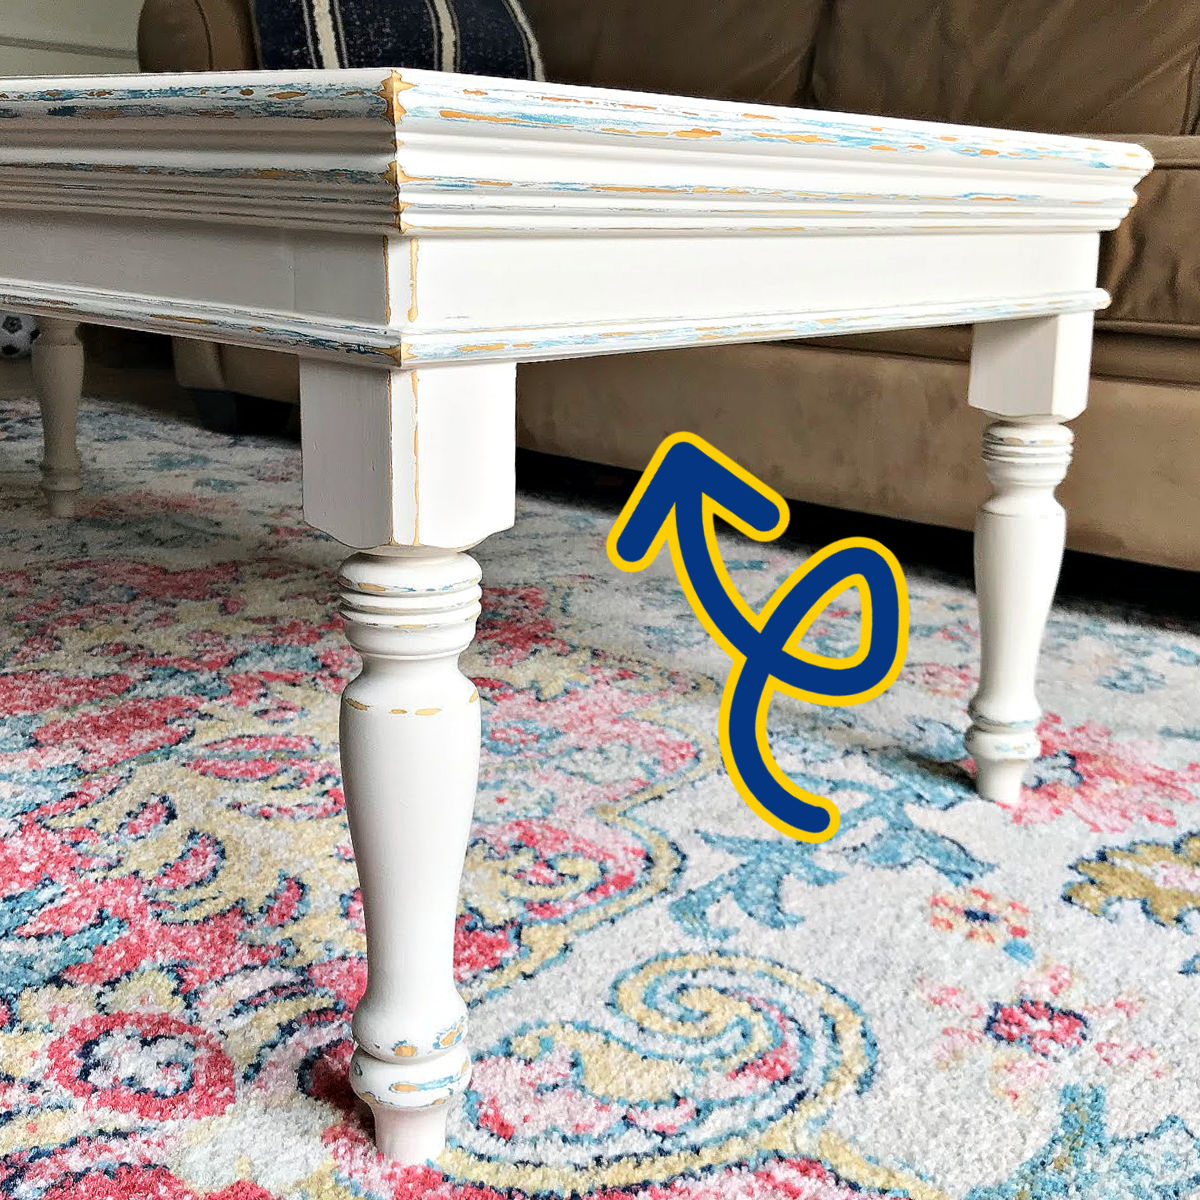
I LOVE the beautiful details on this easy and budget-friendly DIY Coffee Table Build Plan. Built with $10 Turned Legs, Molding & Plywood. DIY Coffee Table Build Plans I’m loving this Coffee Table, guys! The big Chair Rail molding wrapped around the top of this coffee table and the smaller detail molding wrapped around a … Read more
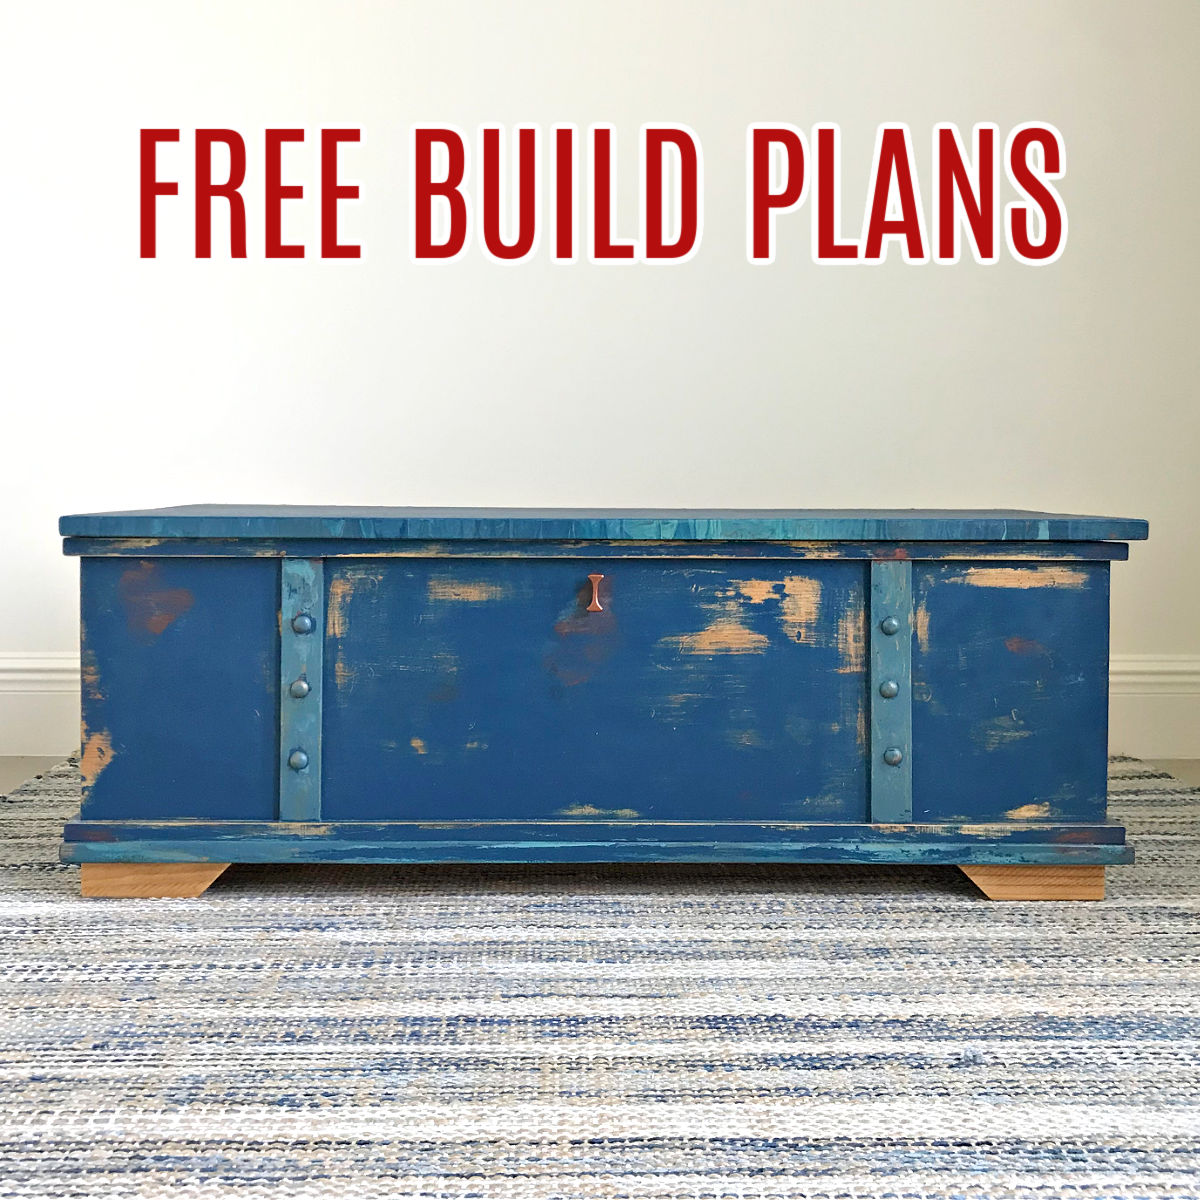
Grab the printable DIY Toy Box Build Plans for this beautiful extra large storage chest. This build is easy enough for beginner woodworkers. DIY Toy Box Build Plans Who always needs more toy storage and never has enough? This girl! That’s why I built this large and beautiful DIY Wooden Toy Box. This toy box … Read more
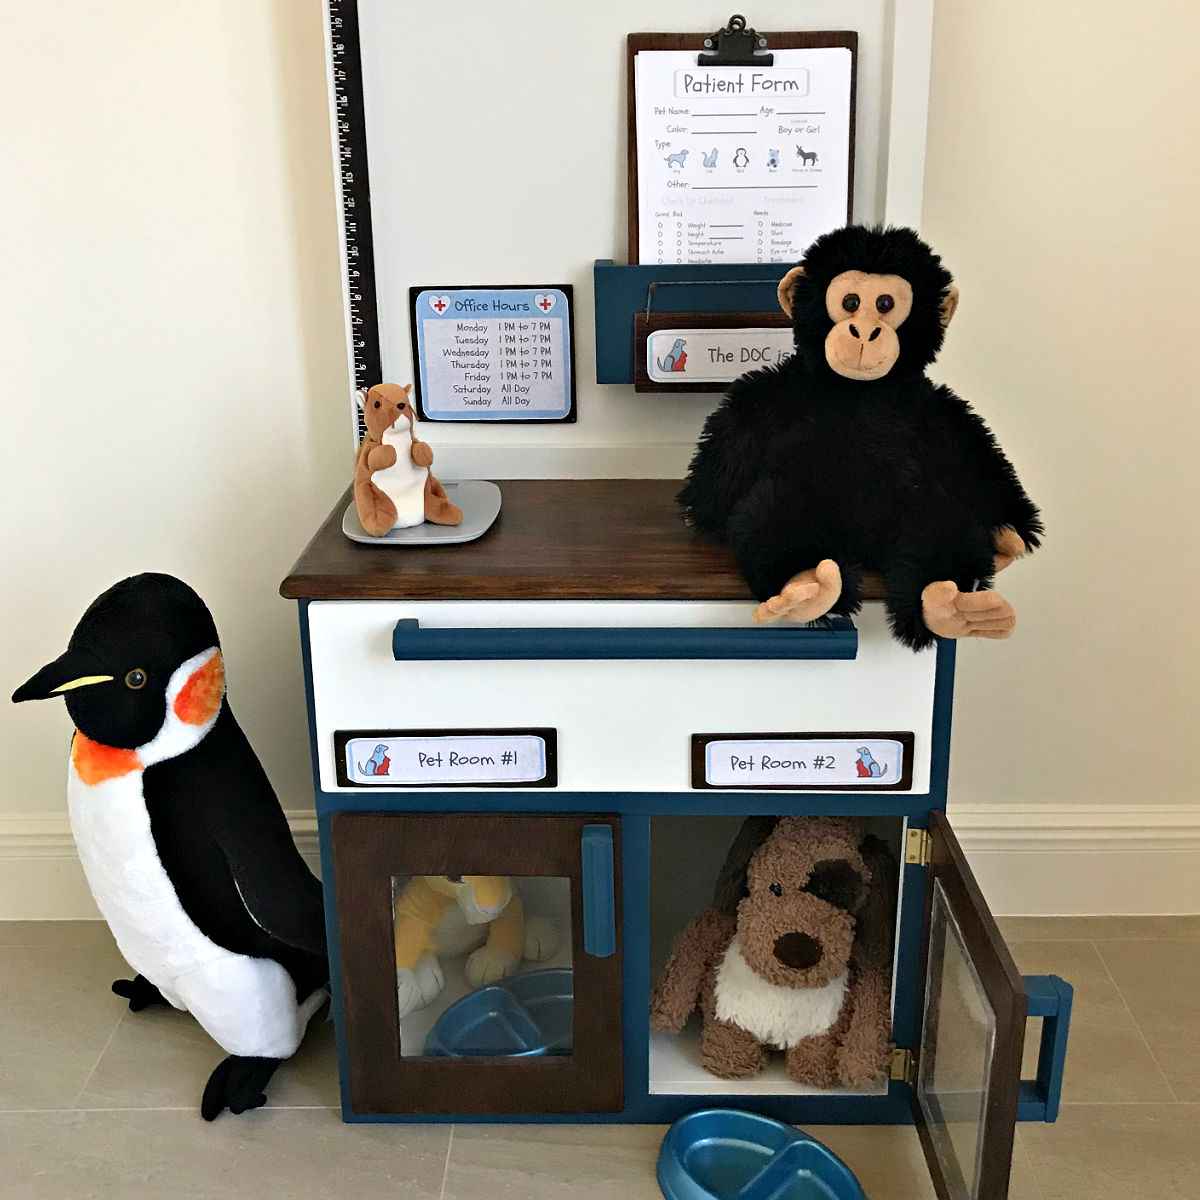
Make your kids this sweet little DIY Kids Vet Clinic. Build steps and printable plans to show you how to make this fun pretend playset.
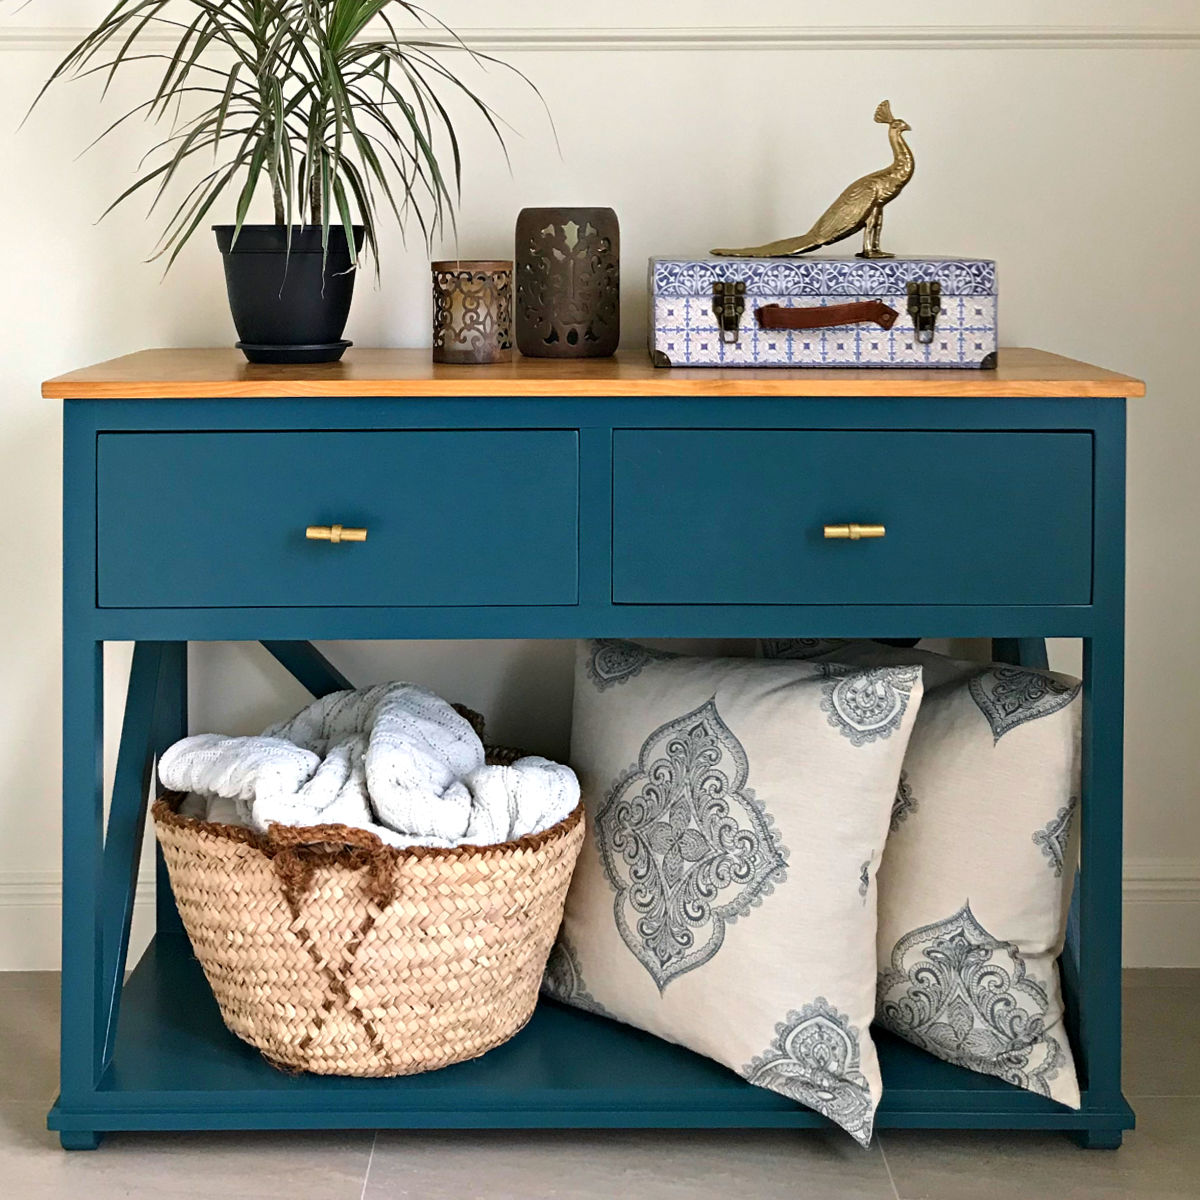
I LOVE this beautiful DIY Console Table Plan with Drawers for an Entry, Dining Room, or Living Room! Printable woodworking plans available.
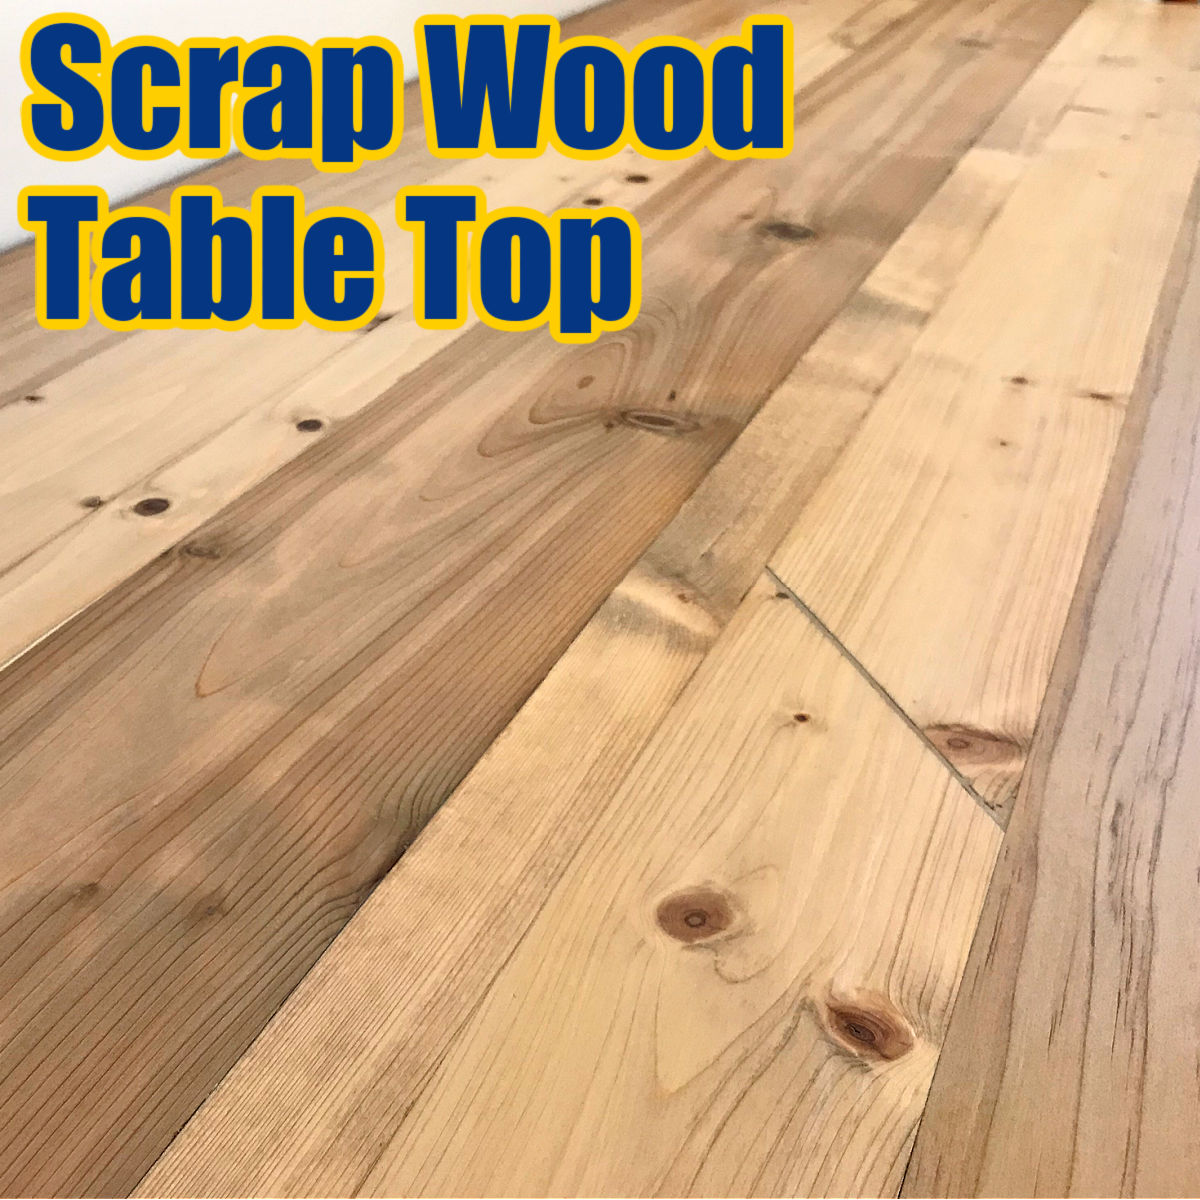
Turn that scrap wood or reclaimed wood into this beautiful rustic DIY Scrap Wood Table Top for your next furniture or woodworking project. DIY Scrap Wood Table Top If you don’t have a massive pile of wood leftover from projects or reclaimed lumber, are you even really a woodworker? Even beginner woodworkers start collecting scrap … Read more
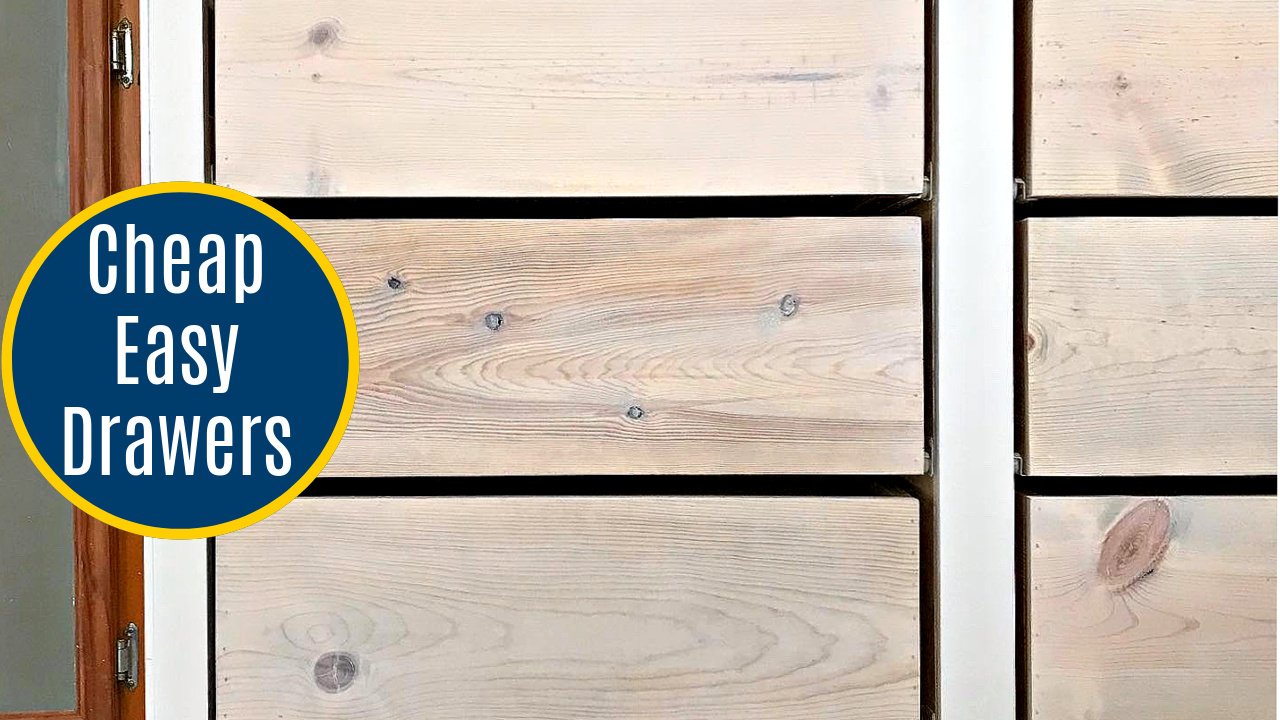
How to build Easy DIY Drawer Boxes with lumber. Simple rustic drawer design for storage and other woodworking projects. Easy DIY Drawer Boxes Most of the tutorials you find for building drawer boxes are for plywood boxes with a face or for high-end lumber with fancy joinery. BUT, sometimes you just want an easy, low-cost, … Read more
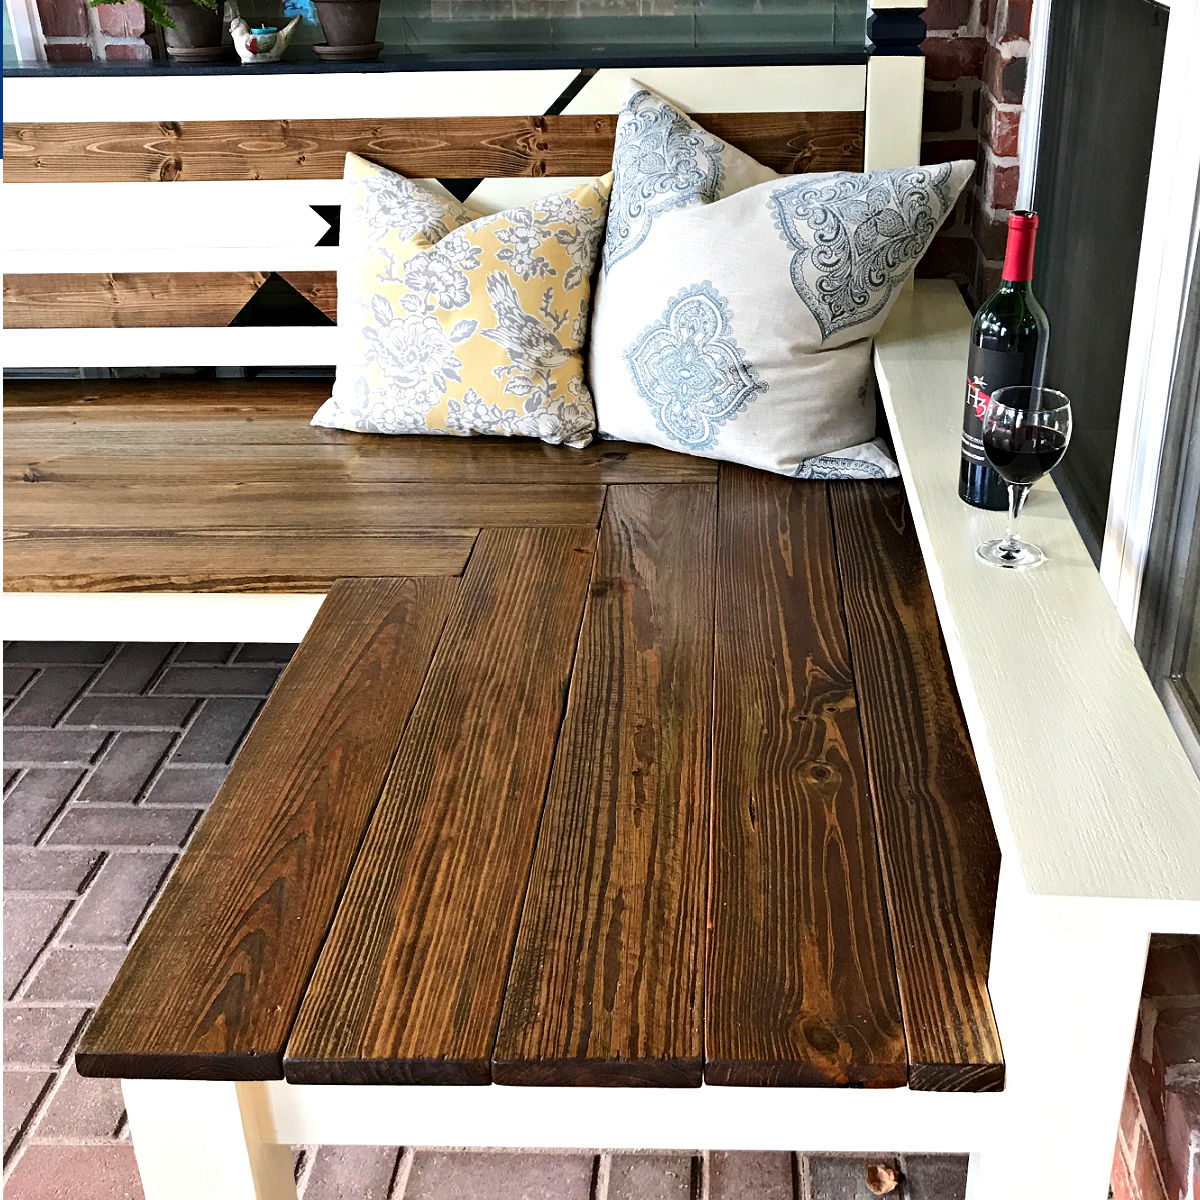
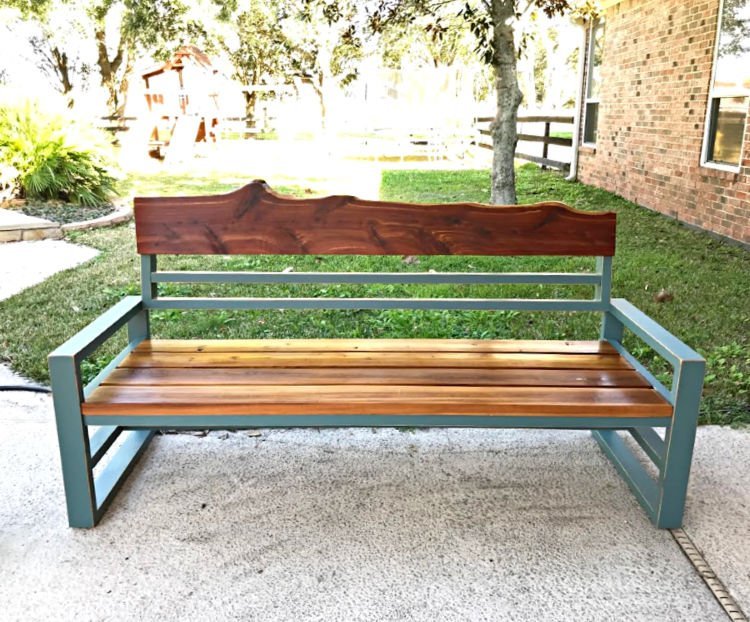
Want to build a beautiful L Shaped Bench for your space? I can help. Today, I’m sharing details about how I built this DIY Outdoor Corner Bench for $130. DIY Outdoor Corner Bench This build might look complicated but it’s actually pretty easy. You can build this bench to any size so that it’s perfect for … Read more
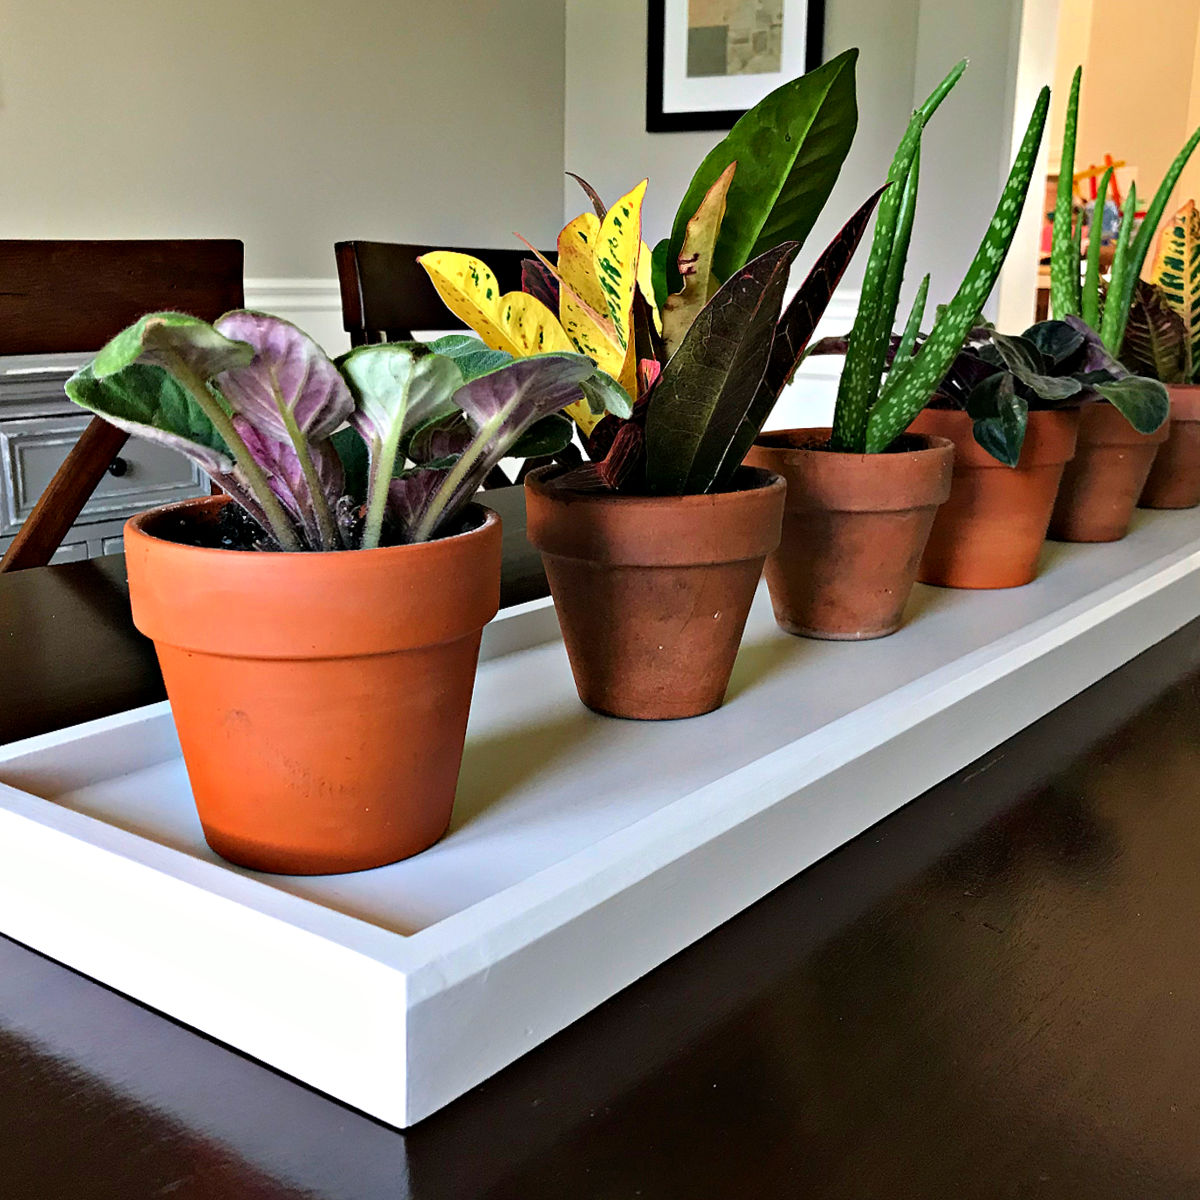
Easy to follow steps and build video for this beautiful DIY Long Wood Tray. Great build for beginner woodworkers.
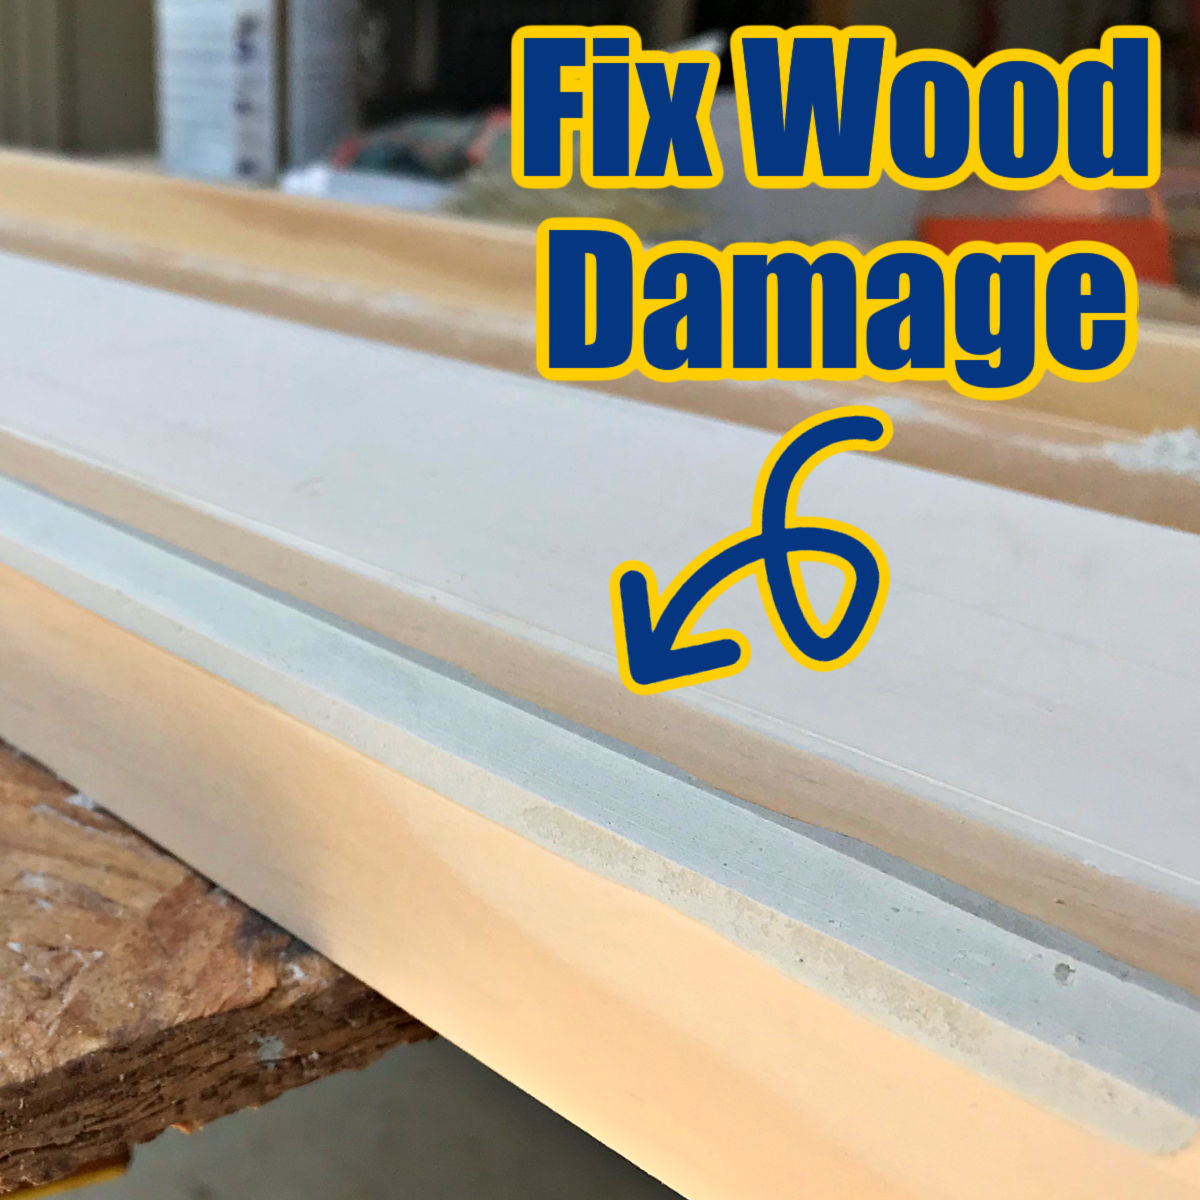
Easy to follow guide for mixing and using Bondo All Purpose Putty to fix damaged wood furniture or mistakes on woodworking projects. How to Fix Damaged Wood Furniture with Bondo Well, I really messed up my latest woodworking project. But, I wasn’t worried, at all. I have used Bondo All Purpose Putty to patch a … Read more
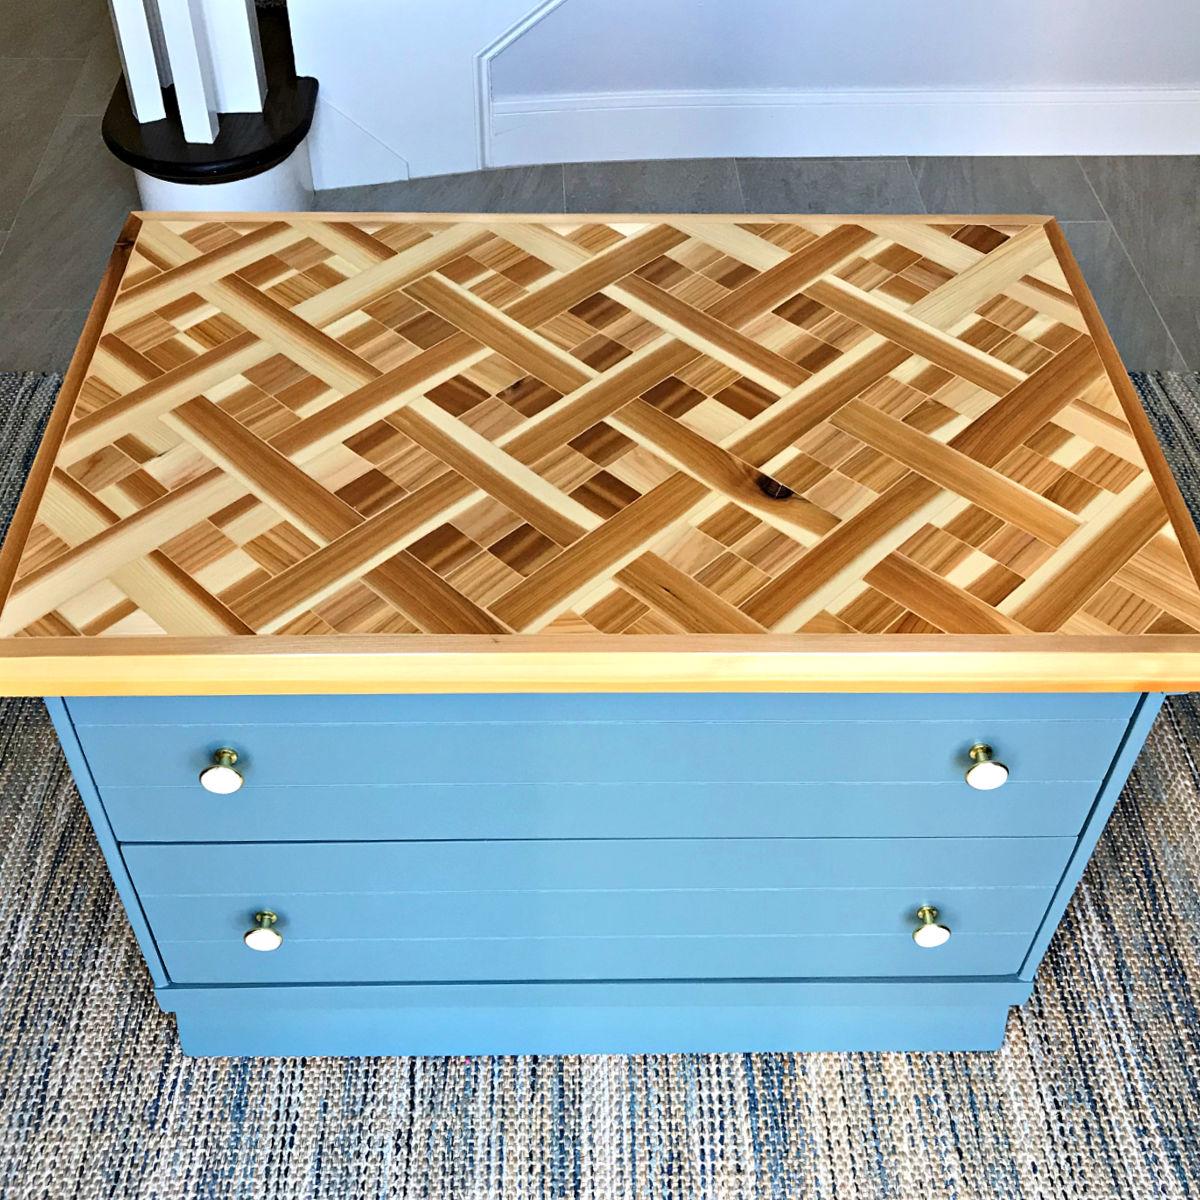
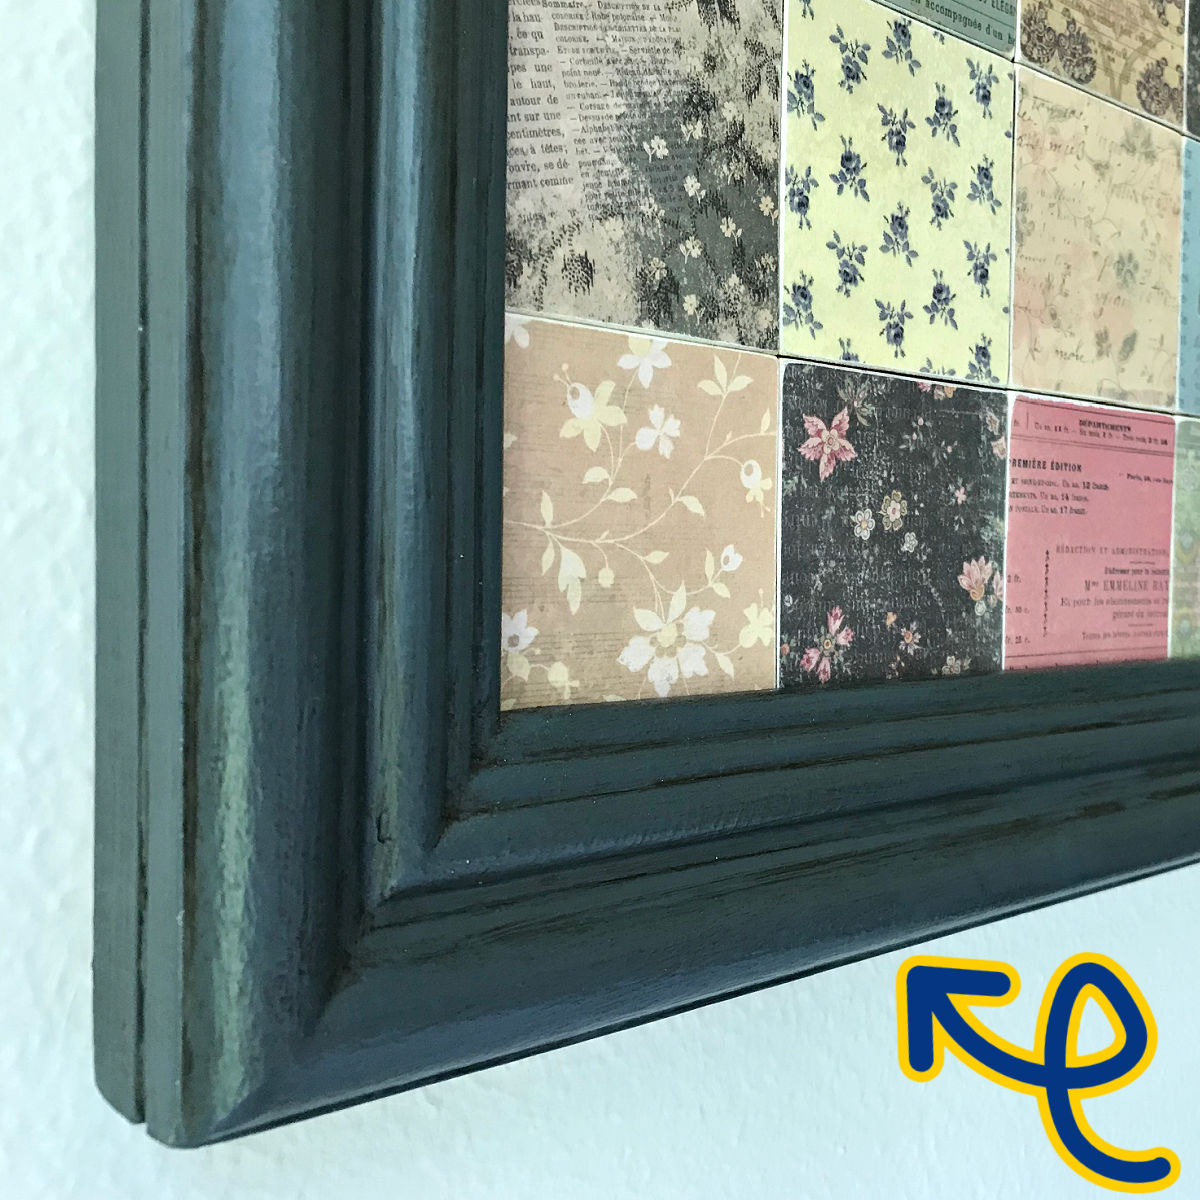
This beautiful DIY Wood Mosaic Table Top design idea is easy enough for beginner woodworkers and such a fun build! With video & build steps.
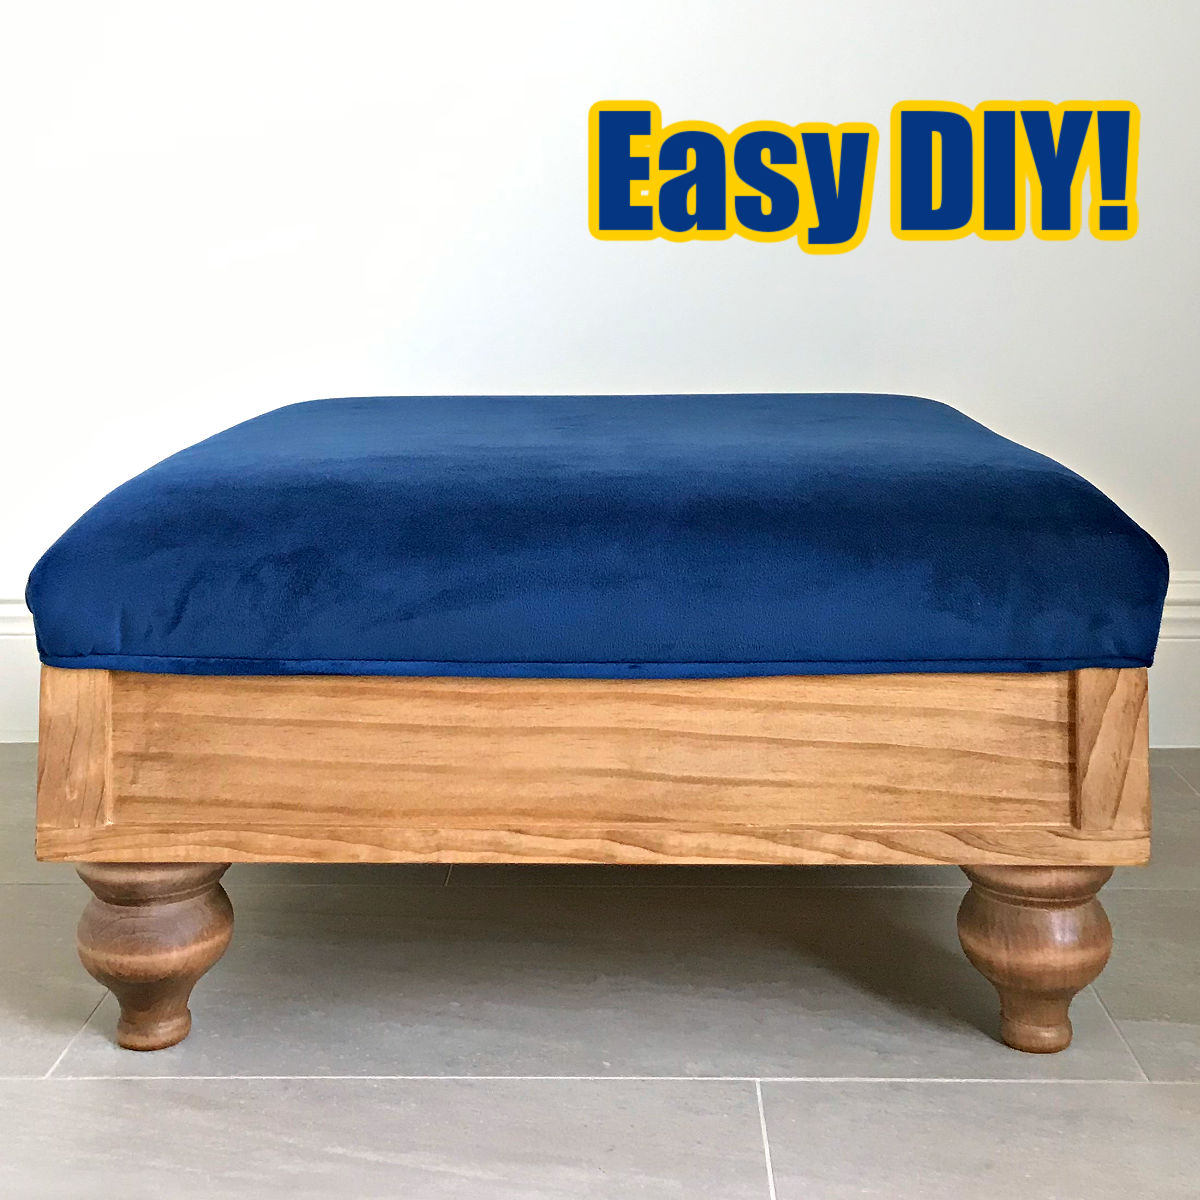
Easy To Follow Steps to Build, Finish, and Upholster a DIY Upholstered Ottoman from Scratch. You can build this low ottoman in a weekend.
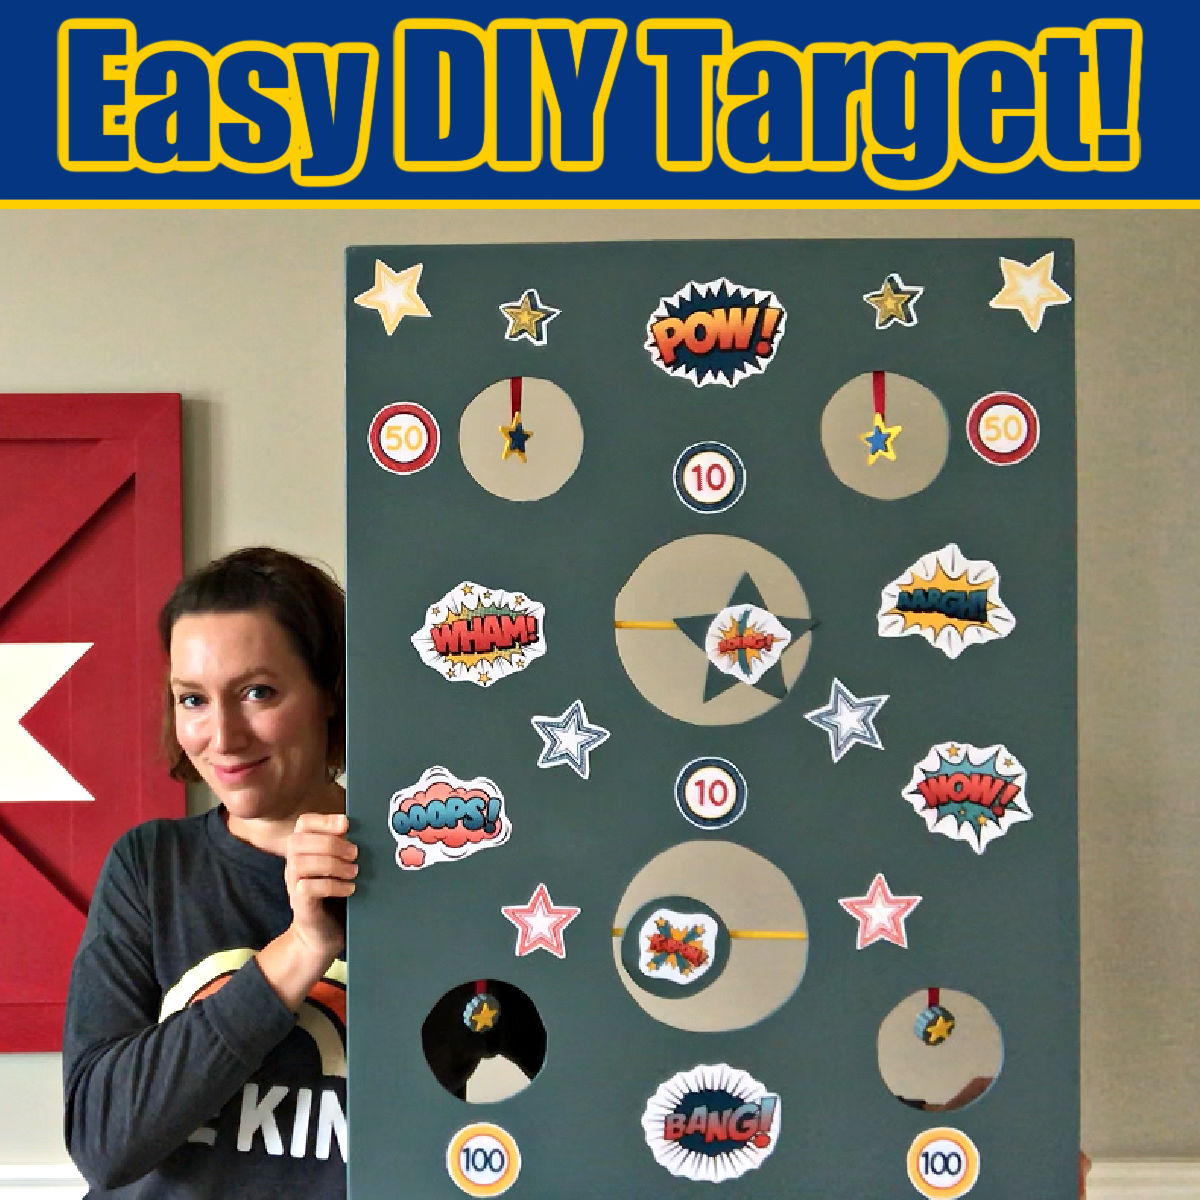
You can make this fun DIY Nerf Gun Target Board for your kids out of plywood or 1/2″ foam board. With tips for fun moving & spinning parts!
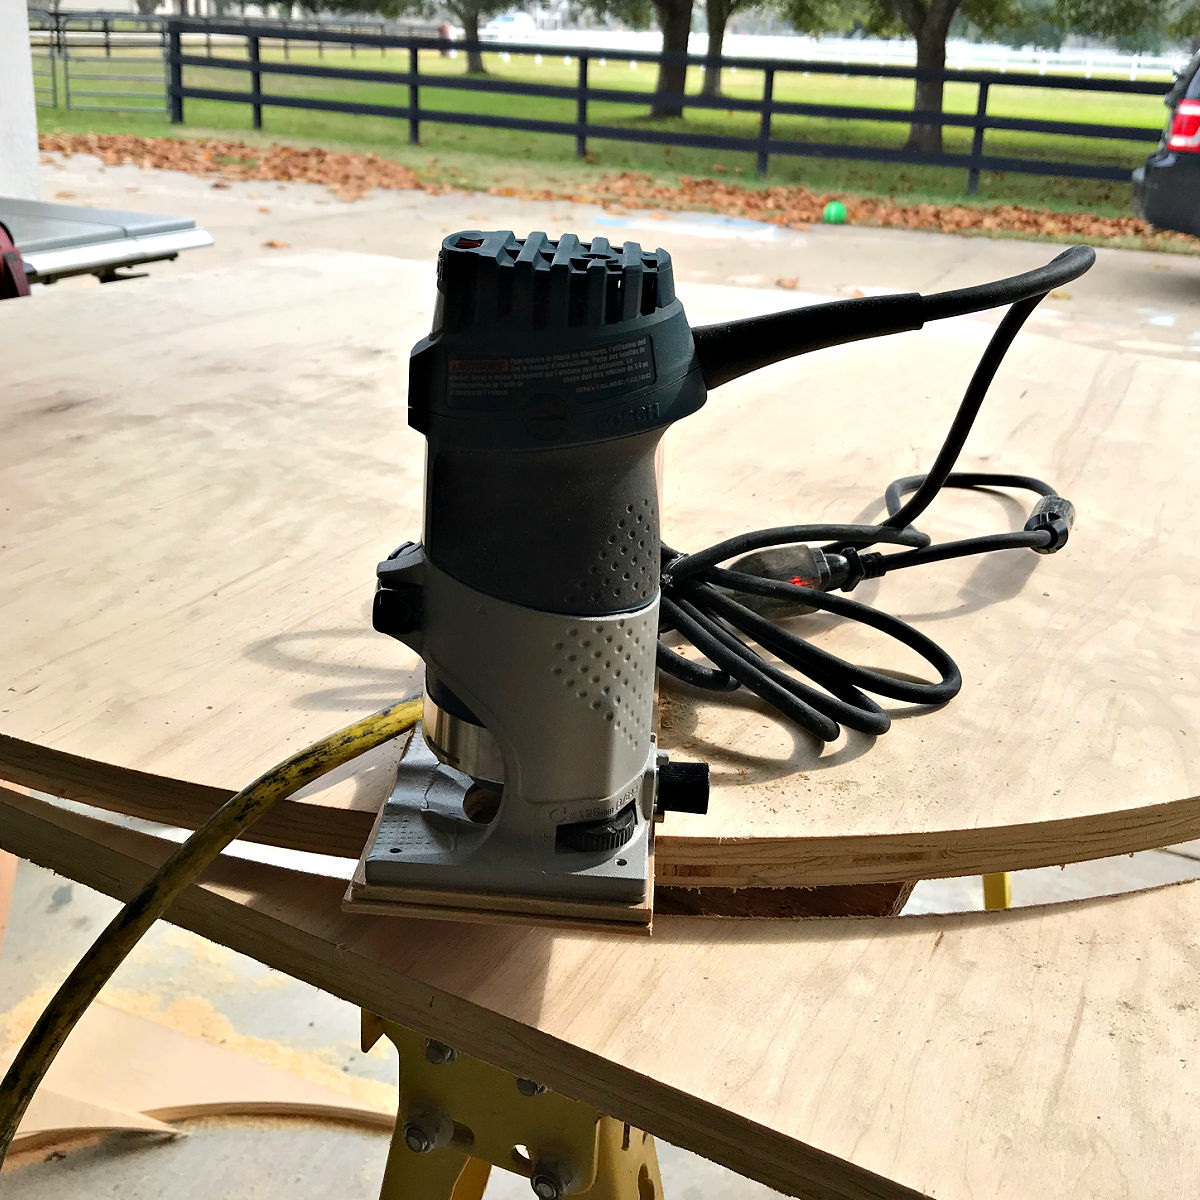
EASY to follow steps and video showing how to build this cheap DIY Round Table Top from Plywood Circles, in any size you need it!
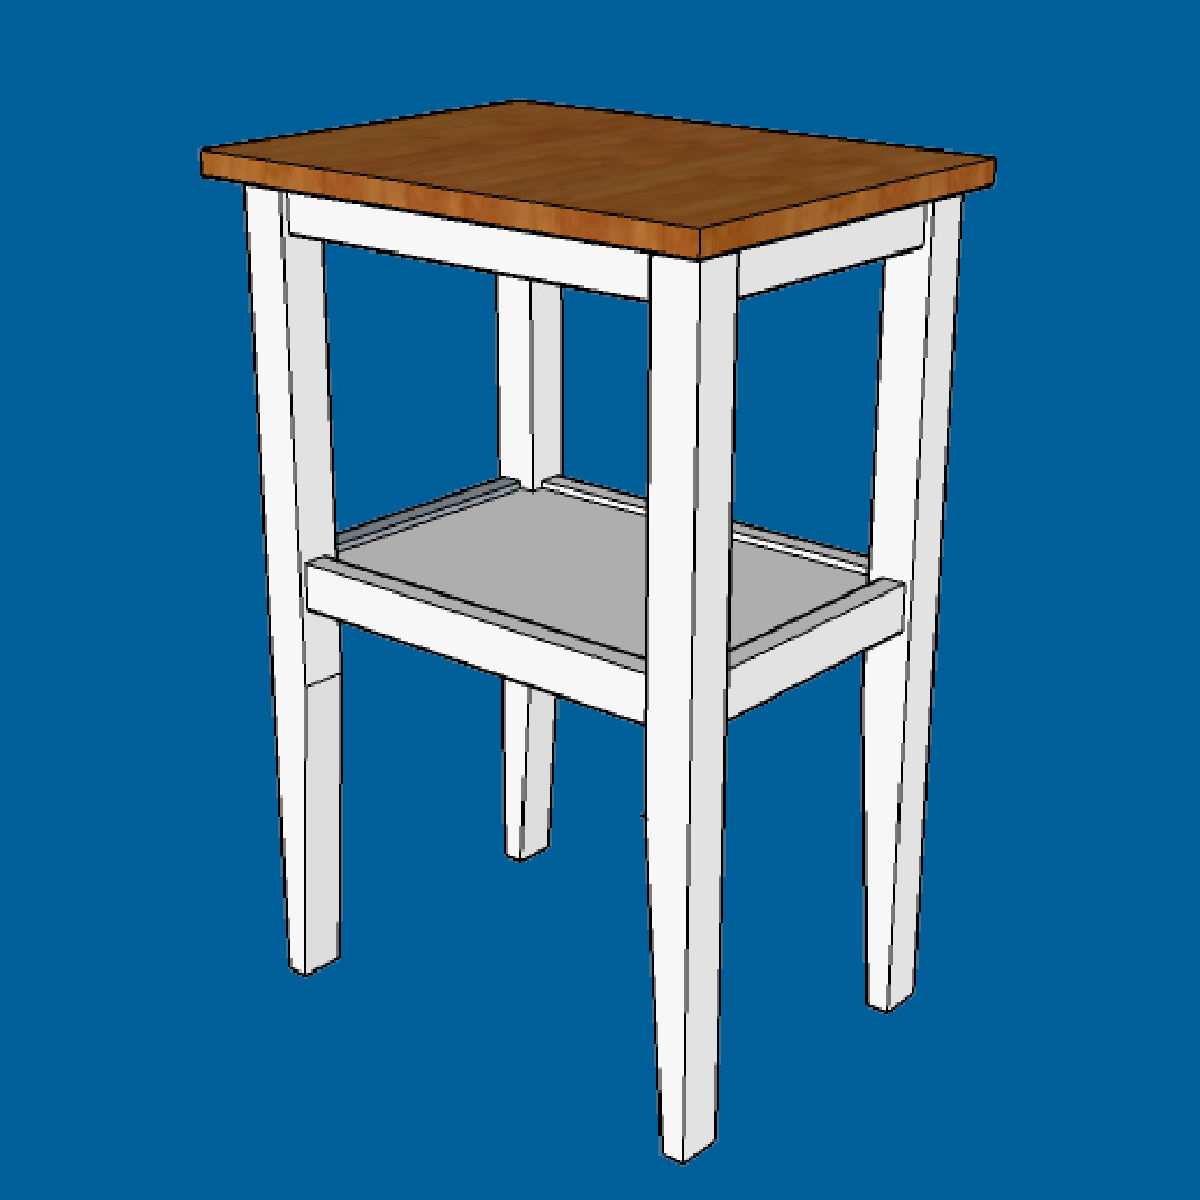
Free printable build plans for this pretty DIY Side Table with a shelf. Build from 2×4’s for just $20. Perfect for any room in your house.
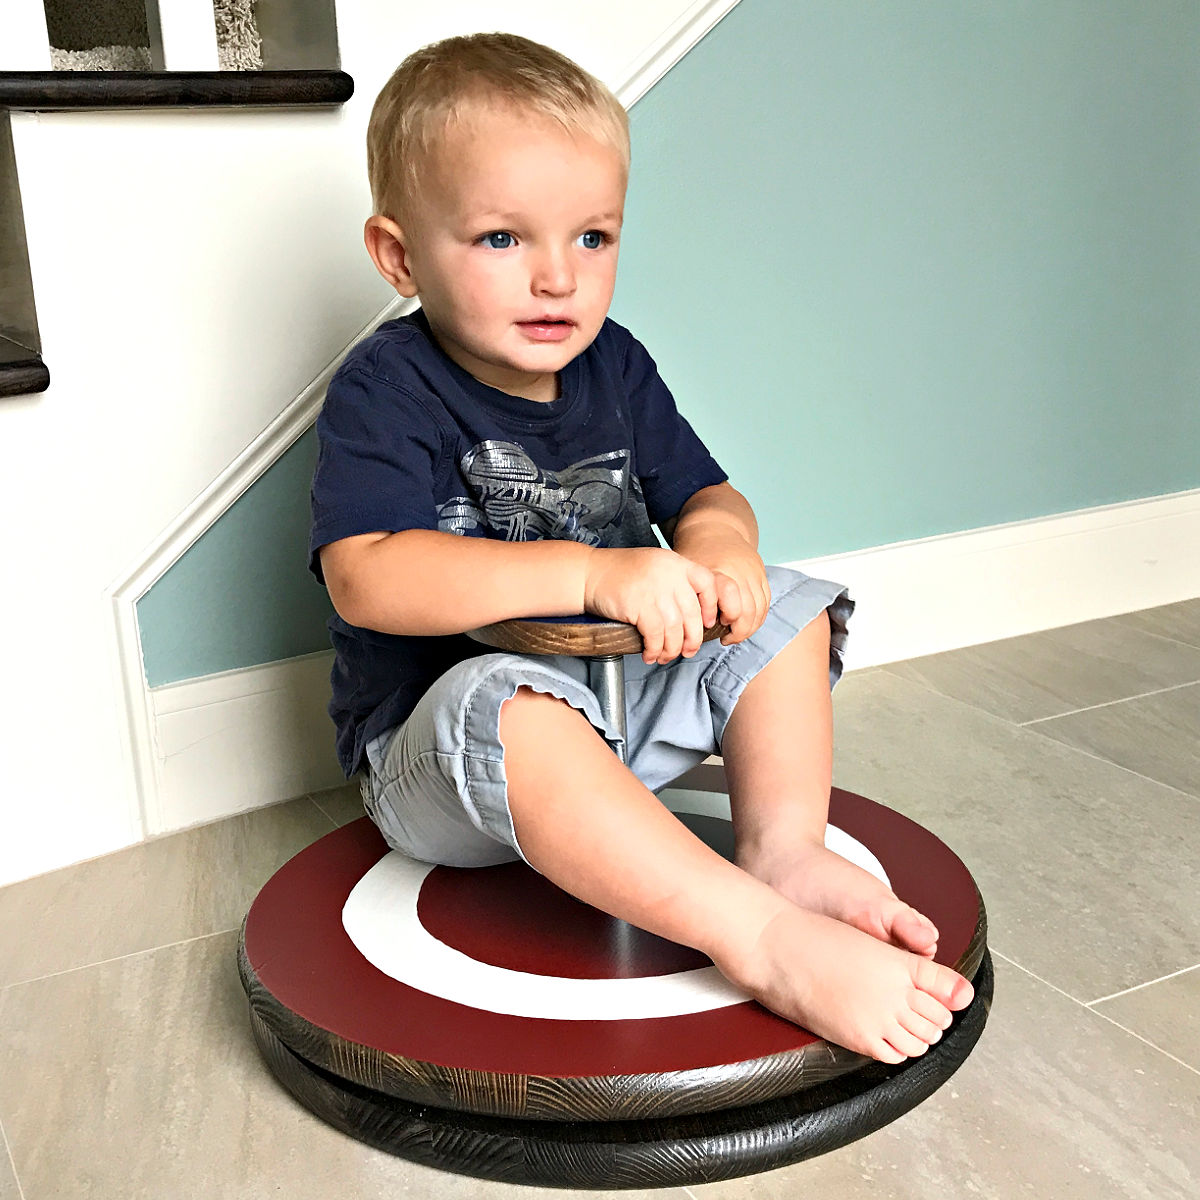
Make your own Super Easy DIY Sit And Spin Toy from store-bought wood rounds and lazy Susan hardware. I LOVE this project!