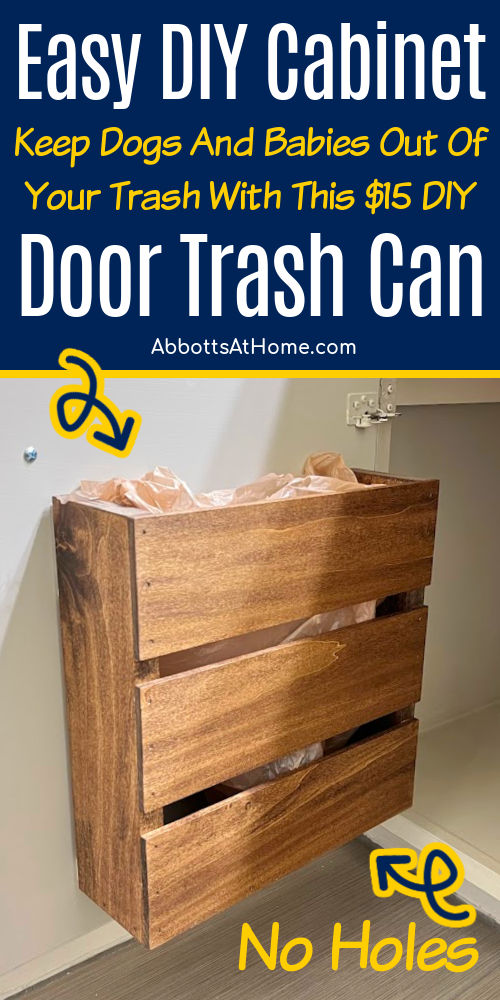
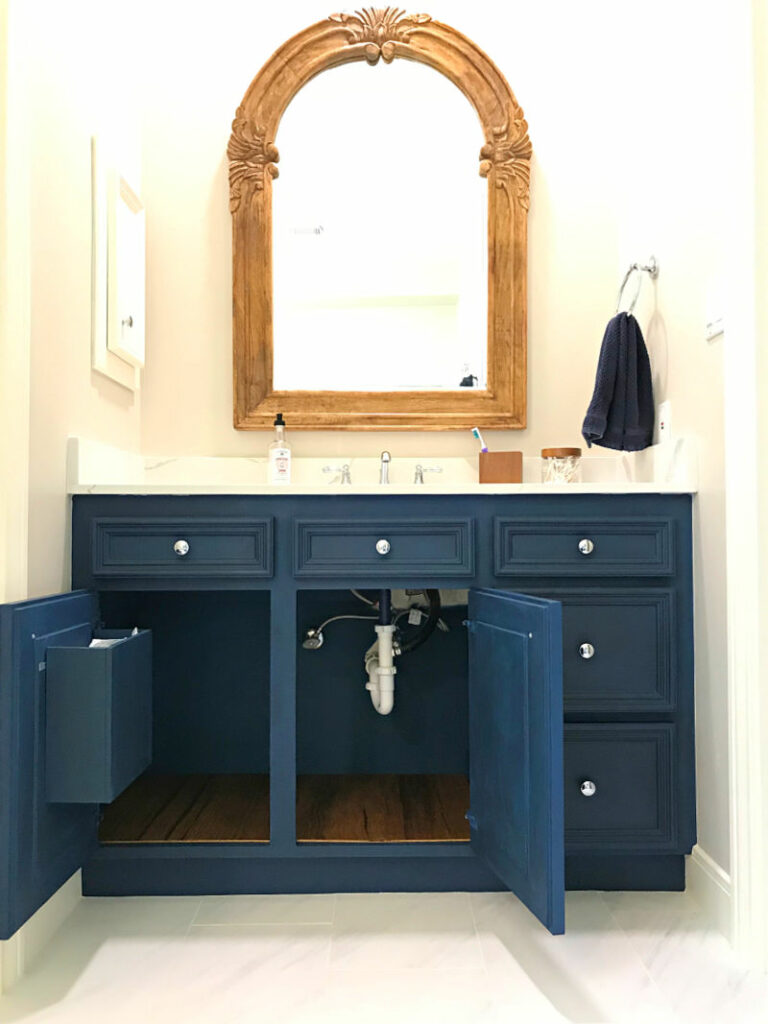
Keep your trash OUT OF SIGHT & AWAY from babies and dogs with an EASY DIY Cabinet Door Trash Can. Simple, built in door mounted garbage can.
Easy DIY Cabinet Door Trash Can
I’m kicking off our huge Master Bathroom Remodel with this quick and easy bathroom organization upgrade. I built this easy door mounted garbage can to keep our toddlers out of the trash.
And, because I was SO TIRED of looking at my trash can all of time. I have to say, I am loving this simple DIY trash can cabinet mounted design. It was a quick build and a big upgrade for our Master Bathroom.
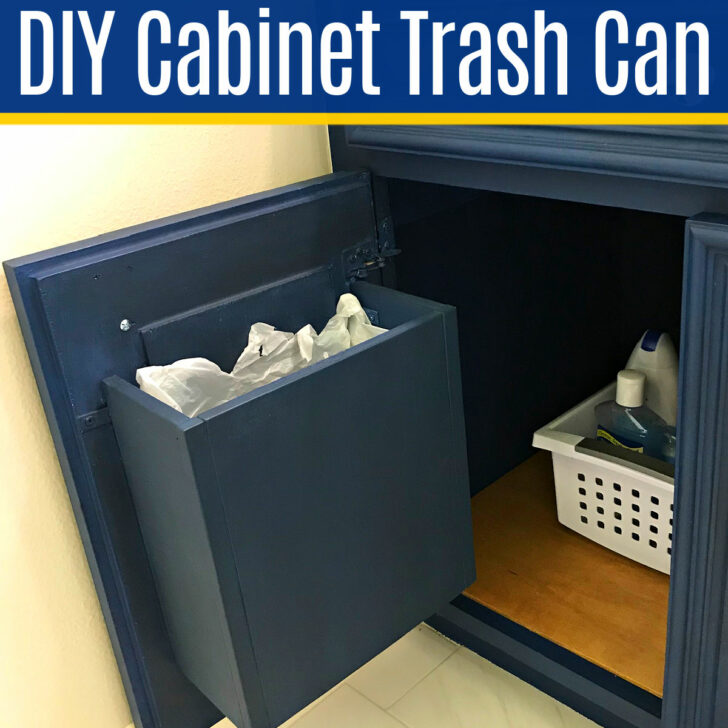
2023 Updated Design: The original version was built with plywood, which takes more cuts and uses different saws. In 2023, I built a quick and easy version using just a Miter Saw and Poplar from Lowes.
You can find the instructions for the new version in the video at the end of this post.
Now, let me show you how to build this easy cabinet door mounted trash can!
How To Build A Cabinet Door Mounted Trash Can
Materials Needed
- Power Drill, Drill Bits and Screws
- Angle Brackets
- Wood Glue
- Brad Nailer and Nails
- Circular Saw
- Miter Saw, optional
- Sander and Sandpaper
- Optional: Straight-Edge Cutting Guide
Before You Start
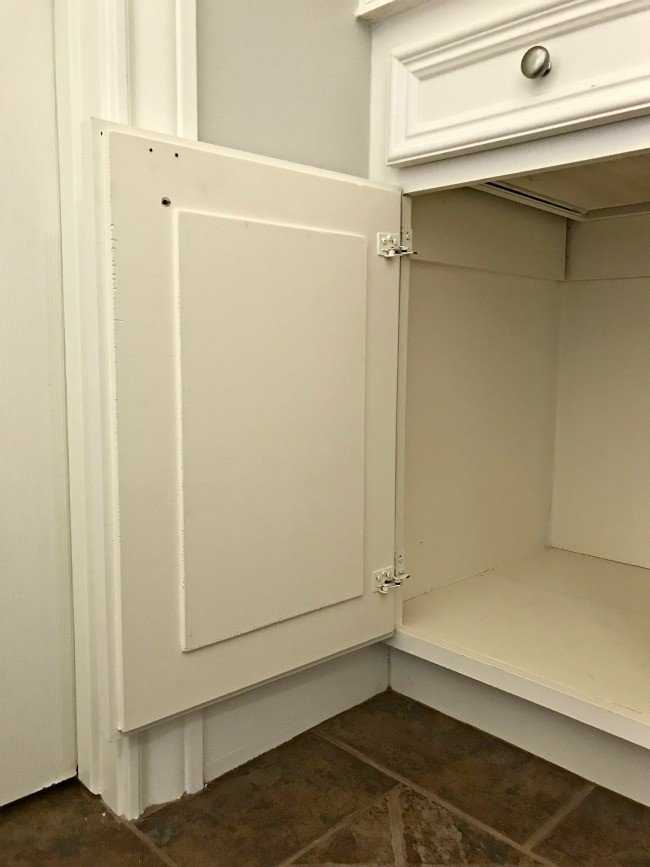
Not all cabinet doors are made the same. Some are made of particle board or MDF, these are pretty easily damaged materials. Those might not be able to handle this project.
Also, some cabinet doors might have 1/4″ panels in the middle. Make sure to screw this garbage can into only thicker parts of the door.
You should also watch out for doors with weak hinges. This garbage can only ways a pound or two, but a loose or wobbly hinge might not be able to handle that.
So, make sure your door and cabinet frame are strong and sturdy before you attach anything to it.
Lastly, make sure that the dimensions for your garbage can will work with your cabinets. If the DIY cabinet door mounted trash can is too wide or too deep, it can stop the cabinet door from closing.
So, grab some scrap wood and test where you’ll have to attach the can to still allow the door to close. You can use that test to decide how deep and wide you’ll want your cabinet door garbage can.
What About 3M Command Strips Instead?
I LOVE 3M Velcro Command Strips, I use them to hang almost all of the art in my house. I last used them in my 6 Best Ways To Hang IKEA Ribba Picture Frame tutorial.
You can use 4 of the large 3M command strips to mount the box to your cabinet door.
Scroll to the end of the instructions to see 2 NEW versions of this trash can inside a cabinet that I hung with 3M Command Strips.
Step One
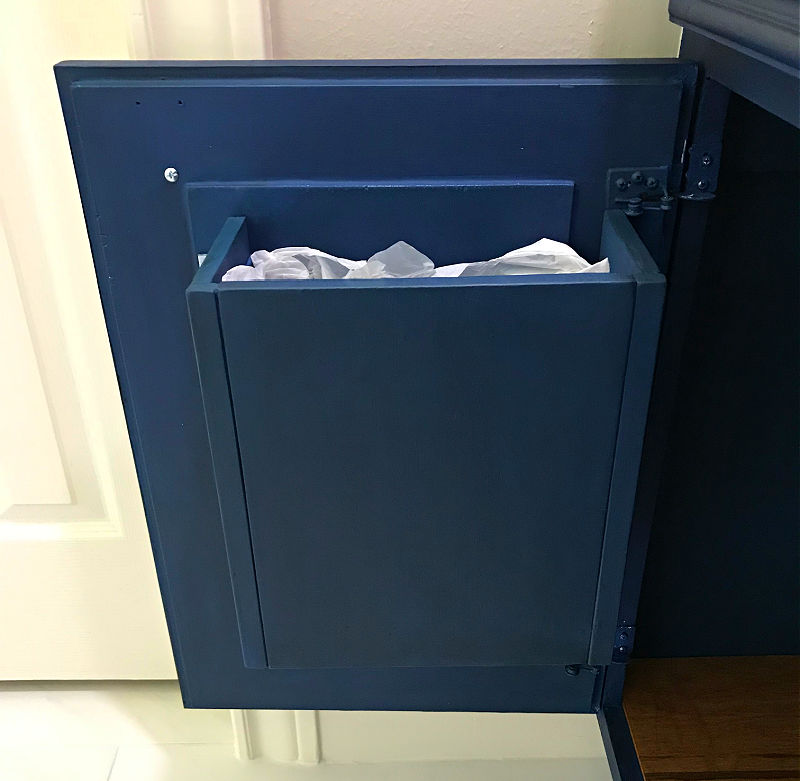
Use the build tips in the last section to decide what size you want your cabinet door garbage can to be. You can go with my 1/2″ plywood and 1/2″ x 3/4″ molding design or go with your own design.
Cut your wood to size. You’ll need 2 sides, 1 bottom, and a face or front piece.
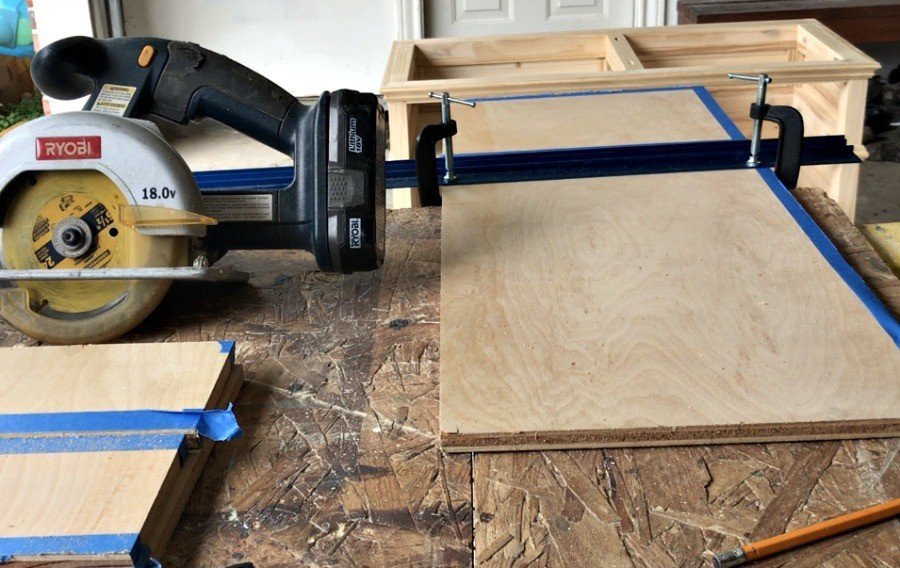
I used a straight edge guide to cut the 1/2″ plywood with a circular saw. You could also make these cuts with a jigsaw or table saw.
Step Two
Sand your pieces smooth, including the edges. Next, dust them off with a tack cloth or scrap rag. Then use wood glue and brad nails to assemble your cabinet door mounted trash can.
I used 1″ x 3/4″ molding on the left and right corners of mine. BUT, that’s optional. I just used those pieces to add detail to the design. You could easily connect the front directly to the 2 sides.
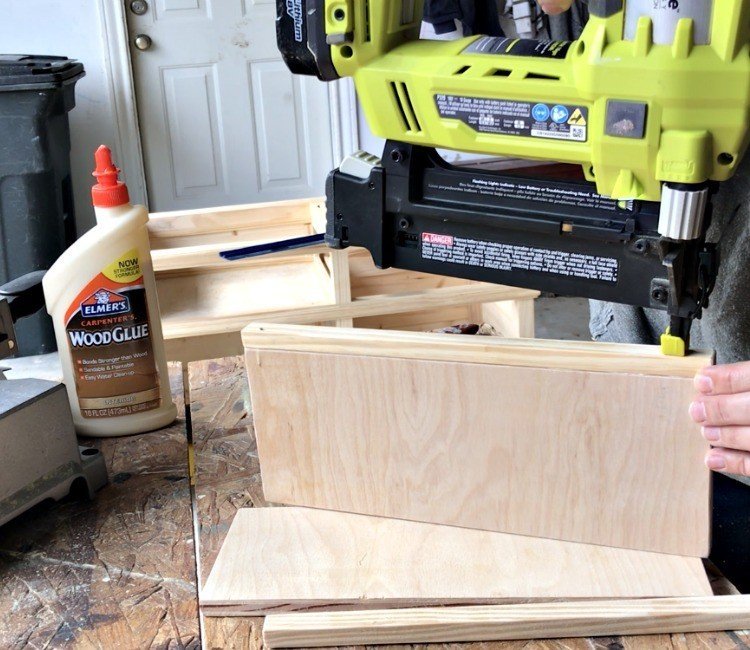
Be sure to wipe away excess wood glue. Once it dries, use wood filler as needed. And, let that dry.
Step Three
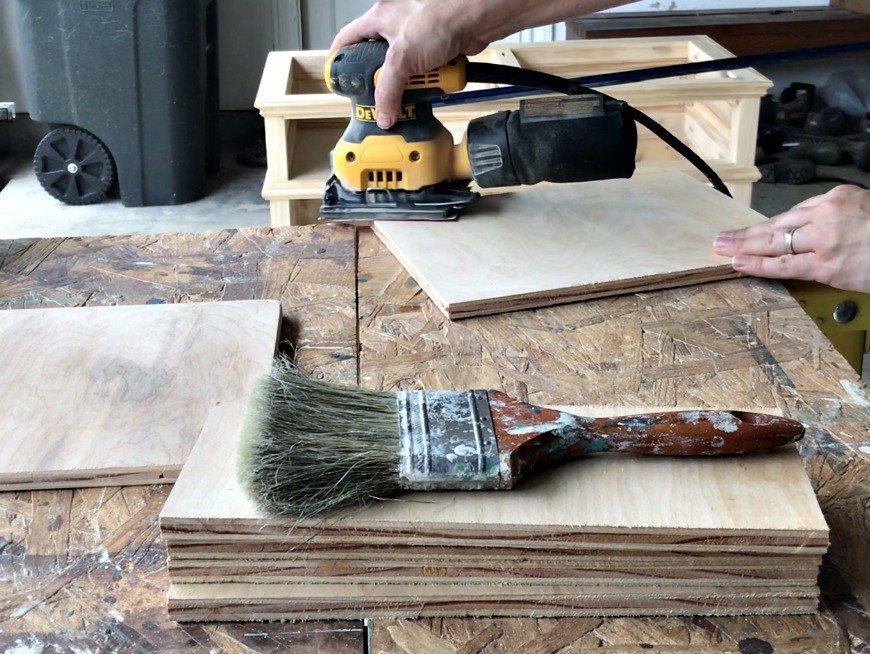
Sand the garbage can again. I sand to 120 or 150, when painting, and 220 when staining. Wipe away all dust again with a tack cloth or a slightly damp cloth. Then you can apply your finish.
Step Four
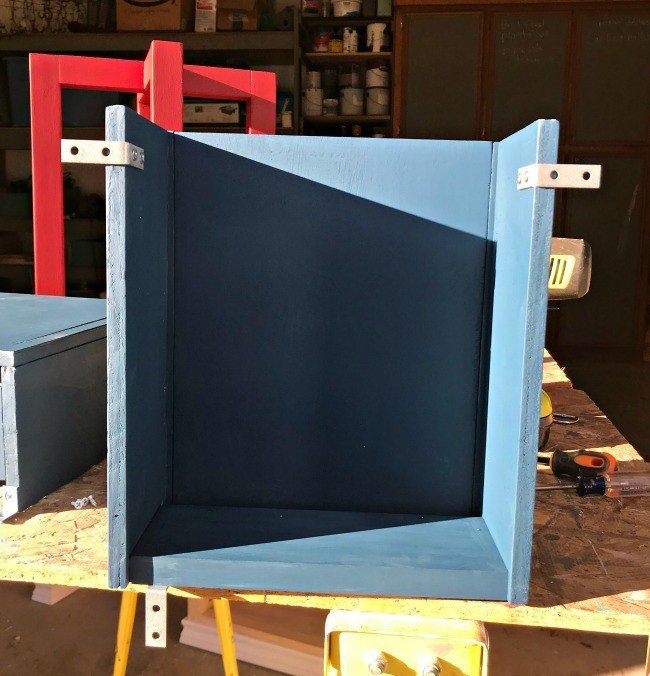
Now, you’re ready to attach your angle brackets. Pick the right size for your door. I used 1 on each side of the top and 1 on the bottom.
Step Five
Attach the DIY cabinet door garbage can to your door by pre-drilling the screw holes.
Make sure you use screws that aren’t too long for your cabinet door. You don’t want them to go all of the way through the door.
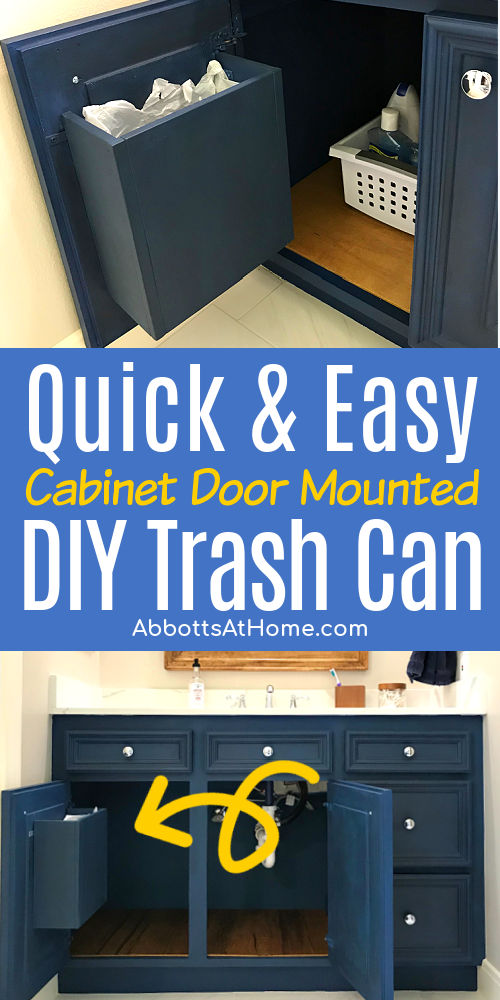
Pop in a little garbage bag and enjoy never having to see that ugly garbage can again. 🙂
New Cabinet Door Trash Can Design
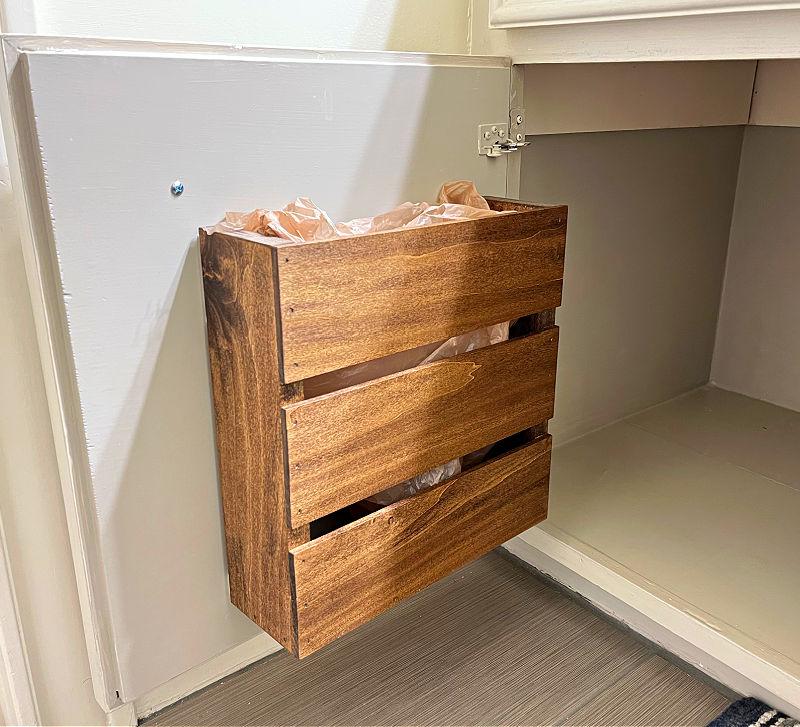
In 2023, I built 2 more of these Cabinet Door Trash Cans for 2 other bathrooms in my house. For the new design, I used 1 x 4 Poplar for the sides and bottom and 1/4″ x 4″ Poplar for the front.
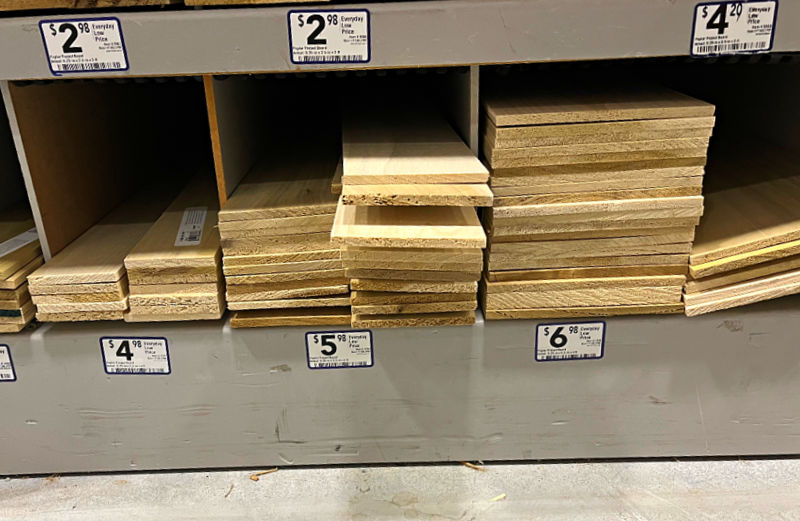
You can see the quick and easy steps for that $15 cabinet door garbage can in the video below.
Easy Built In Door Mounted Trash Can – Video
If any of the written steps are confusing, be sure to watch this video to see me actually build this DIY Cabinet Door Mounted Garbage Can with my helpful tips for making your own.
See More DIY Projects from this Master Bathroom Remodel
- Before and After Master Bathroom Remodel Reveal
- Blue DIY Chalk Paint Bathroom Vanity Makeover
- How to Install Picture Frame Wainscoting with Video!
- Marble Mosaic Tile Bathroom Installation Tips & Photos
- 10 Beginner DIY Tips for Installing Floor Tile
- DIY Plywood Plank Ceiling – Faux Shiplap Install
- DIY Shower Niche – How to Frame & Placement Tips
Looking for more handy DIY projects for your home? Check out Does Grout Renew Work? Full Review with Easy Steps, FAQs and Video.

Or Testing 7 Easy Ways To Get A Heat Stain Out Of Wood (With Video And Tips).

Check out this popular post on the Super Easy Way To Remove Water Stain from Ceiling Without Paint (1 Step).
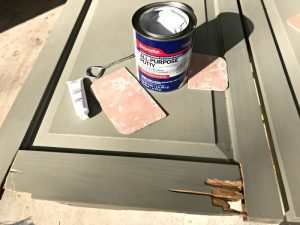
Or, my steps for patching wood rot or damaged wood with Bondo.
Thanks for checking out my DIY Cabinet Door Trash Can. Please let me know if you have questions.
Don’t forget to sign up for the Abbotts At Home email newsletter to get DIY, Remodeling, and Crafty ideas in your inbox.

Stephanie Abbott has been remodeling homes, updating & building furniture, and working on DIY home maintenance and cleaning tips for over 20 years. Her remodeling has been featured in Better Homes and Gardens Magazine. And, her DIY YouTube channel has had more than 8 million views.
Most of the DIY tutorials and videos on this site focus on beginner to intermediate level DIY Projects that can be done in an affordable way without high-end, expensive tools. All of the cleaning tips on this website have been tested in her home.

