Whether you just want to make dirty grout white again or switch to a new grout color, here’s the easy steps to change grout color.
How to Change Grout Color
If you want to know how to change grout color quickly and easily, you’ve come to the right place.
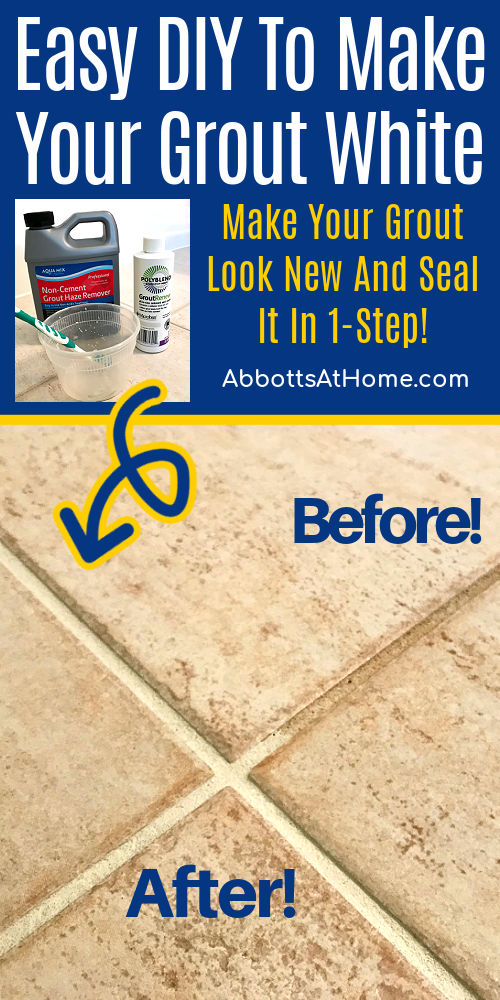
I’ve used the Dark Grey and Snow White versions of Grout Renew on 3 different rooms in my house. Both grout renew colors worked perfectly.
And, Grout Renew leaves an even, like new color on even grungy, old, stained grout.
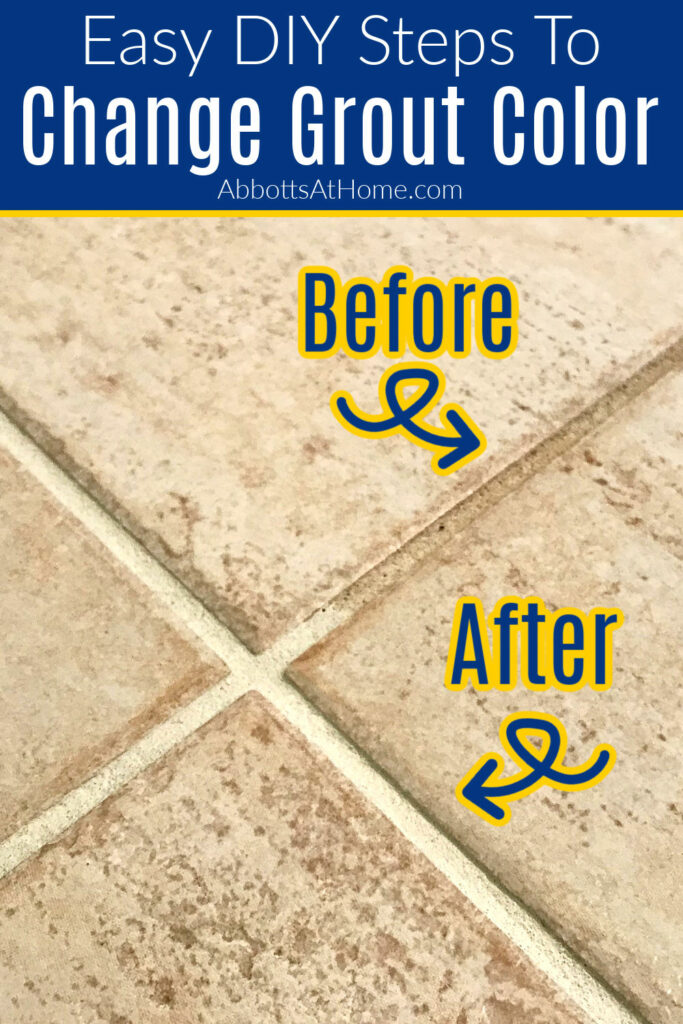
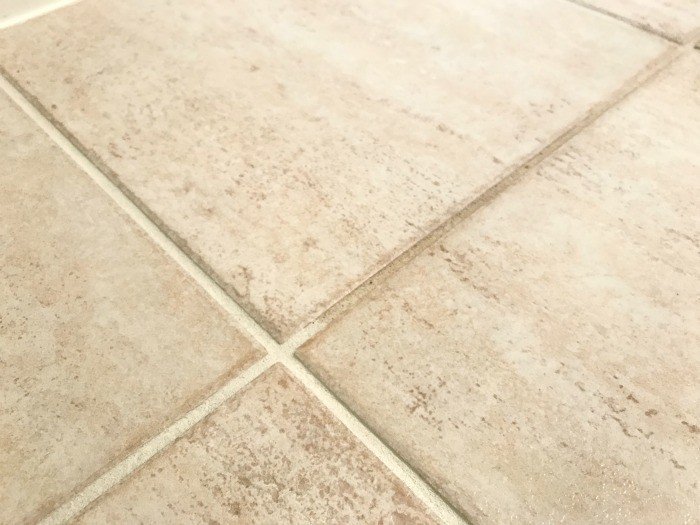
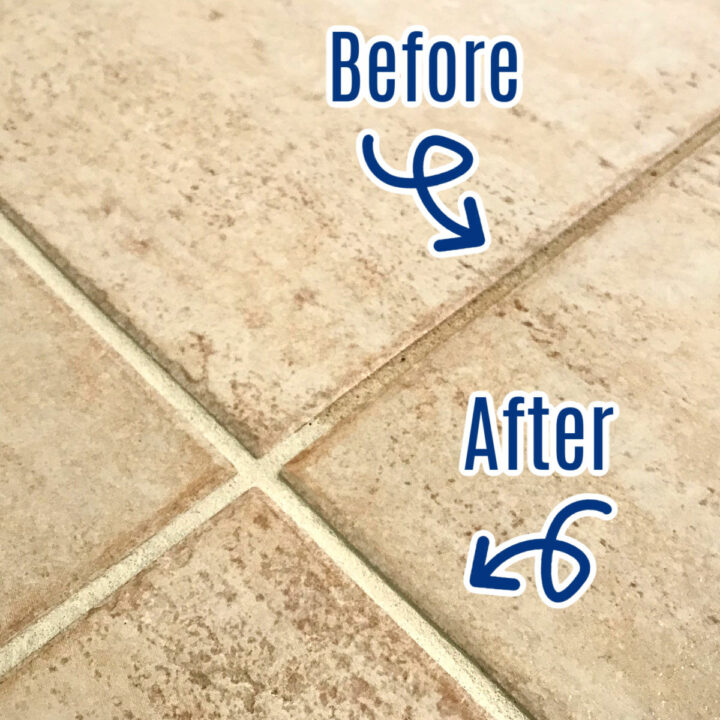
When we moved into this house 5 years ago, I tried everything to clean the dirty, light brown-looking grout in our guest bathroom.
It actually used to be even darker and dirtier than it looks in my before picture.
The Magic Eraser was definitely the winner when it came to cleaning this grout. But even the Magic Eraser couldn’t completely restore this grout to white. If it ever really was white. I’m honestly not sure!
Table of contents
- How to Change Grout Color
- The Best Way to Change Grout Color
- Change Grout Color To White: Before and After Video
- Materials Needed
- Quick Steps Overview
- DIY Steps to Change Grout Color From Dark To Light
- How Much Can You Lighten Grout Color
- How Long Does Grout Renew Last
- Cleaning Grout After Using Grout Renew
The Best Way to Change Grout Color
Before I get into the steps for how to use Grout Renew to change grout color, I want to assure you I am not being paid or supplied product for this post.
I just really like the Polyblend’s Grout Renew and wanted to share it’s awesomeness with you. 🙂
Luckily, I stumbled across Grout Renew a couple years ago when I was remodeling another bathroom. And it is the easy-to-use, miracle product I wanted.
Grout Renew even has a built in grout sealer that helps to prevent future grout stains. Yippee!
Grout Renew vs Grout Refresh
I’ve also tried using a similar grout restorer, Mapei’s Grout Refresh. Grout Refresh works almost as well. BUT, I prefer Grout Renew because it’s easier to apply and wipe off excess.
So, it’s my go to grout restorer. One day, I’ll have to make a video showing a side by side comparison using both of them.
Change Grout Color To White: Before and After Video
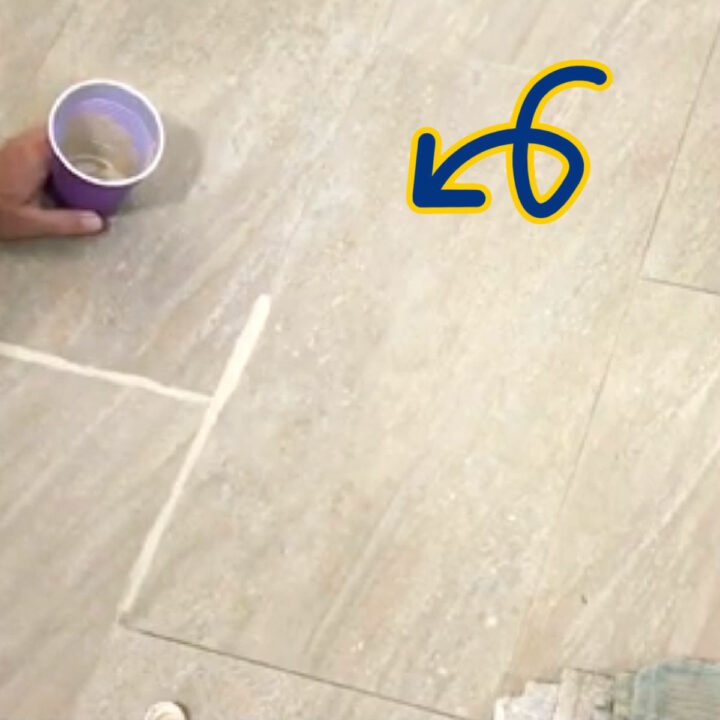
UPDATE Oct 2019: I have a new video showing my exact steps for using Grout Renew and the Before and After grout makeover on my dark and dingy kitchen grout.
Materials Needed
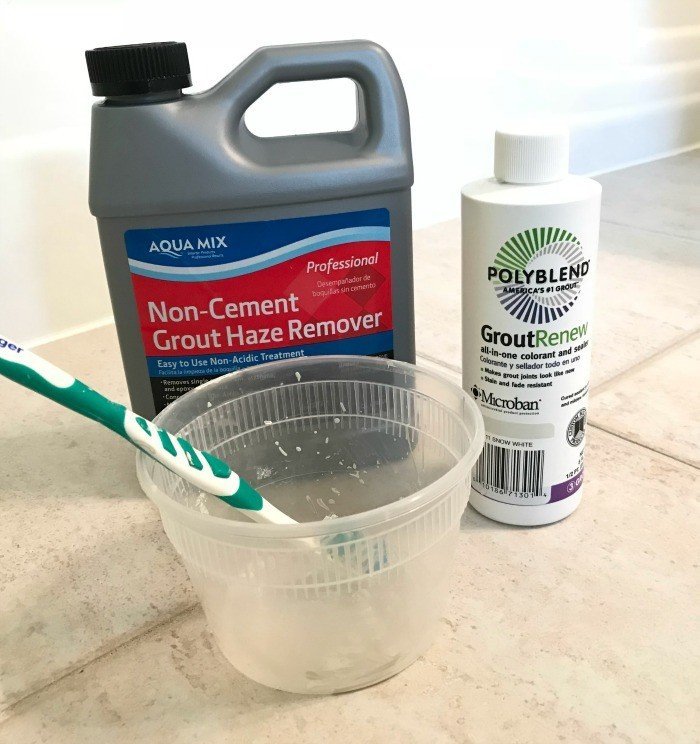
- The recommended grout cleaner for your type of tile (find it on the Grout Renew directions)
- Protective gloves
- A toothbrush
- A disposable plastic container
- Polyblend Grout Renew
- A few clean rags or shop towels to remove the extra Grout Renew. The bigger the job, the more towels you’ll need.
Quick Steps Overview
Here’s a quick overview of the steps you use to change grout color. You can find a detailed explanation of the steps below.
- Use Recommended Grout Cleaner.
- Apply Grout Renew.
- Let It Dry Completely Before Use.
DIY Steps to Change Grout Color From Dark To Light
Step One
Start by using the grout cleaner. This is really the most important step. This will remove any built up, oils, and old sealers from your grout.
Grout Renew will only be able to soak into and grip onto a clean, residue-free grout.
Carefully pick the correct cleaner for your type of tile. The directions on the Grout Renew will tell you which cleaner you need.
Wear protective gloves to apply the cleaner. Let it sit on the grout for the recommended time, then wipe the grout cleaner away.
Step Two
Let the grout dry completely before applying Grout Renew. I let mine dry overnight.
Pour some of the Grout Renew into a disposable plastic container. (This step shown in video above)
Scoop some of the cleaner up with the toothbrush and lightly scrub onto the grout. Work in 12-18″ sections.
Stopping to wipe away the excess Grout Renew off of the tile as you go. Work like this across the entire floor, wall, or tile counter top.
Step Three
You can always do a second coat of the grout renew, if needed to get even coverage.
Let the Grout Renew dry completely before walking on it or placing items on top.
The Grout Renew instructions say that it is ready for light traffic in 2 to 4 hours, normal traffic in 24 hours. And, you should not expose the grout to water for 72 hours.
That’s it for how to change grout color! Time to enjoy that new grout. Sure, call the neighbors too. You’ve earned your right to show off, a little. 😉
How Much Can You Lighten Grout Color
Also, if you have a light grout color, but really think your floor or shower will look better with a darker color, then go for it.
There are over 30 colors to pick from. It will even lighten a dark grout.
I don’t want to say it will turn a dark grout white without testing, but it might. I would just test a small spot, using 2 coats to verify.

How Long Does Grout Renew Last
As long as you don’t use stiff bristle brushes or harsh chemicals to clean your grout, grout renew is a long lasting update.
The makers of Polyblend Grout Renew recommend not using solvent based cleaners on the grout after using Grout Renew.
Those solvents can break down the Grout Renew causing it to be removed in spots across your grout.
Be sure to always use gentle cleaners after applying any grout paint. I’ll go over how to clean your grout next.
Cleaning Grout After Using Grout Renew
As I mentioned earlier, Grout Renew has a built in grout sealer that helps prevent hard to remove stains.
That built in sealer sort of closes up the pores in the grout. Which makes it easier to clean up spills and dirt on the grout.
I clean my floor tile and grout by using a Steam Mop once a week. I spot clean spills with just Dawn dish soap mixed with warm water and a rag.
Those 2 simple steps will get up almost anything that spills and keep your grout looking great!
I even use Dawn dish soap as a step to clean my marble shower tile and to clean a shower glass door. It’s a great mild cleaner that is safe on most surfaces.
Just be sure to not use a citrus scented dish soap on something like marble. Some of those can contain citric acid that can etch marble.
If you prefer to use a cleaner on your grout, the company that makes Polyblend Grout Renew recommends using TileLab Grout & Tile Cleaner or AquaShield Cleaner and Resealer. Other non-solvent cleaners can also be used.
And remember, you should not scrub the grout with a stiff bristle brush.
RECOMMENDED: 8 Popular Cleaners People Use That Damage Your Grout (and Grout Sealer)
Related Grout Posts
Check out my post on How to Clean Grout after Using Grout Paint to see how to keep your grout clean longer and which popular grout cleaning hacks are actually bad for grout!
You can find more info about grout renew in this Does Grout Renew Work post.
And, check out How to Clean Marble Shower Tile & Grout (Easy & Safe) if you have marble tile in your shower.
More DIY’s For Your Home
Here’s How to Restain a Front Door without removing it or stripping.
Learn how to fill that Gap Between the Cabinets and Floor here.
Here’s How to Clean Car Seats At Home, the easy way. This is a-mazing!
It’s time to cut the cord! Here’s How Do I Get Rid of Cable And Still Watch TV: Easy Guide.

How about another bathroom update? This DIY built in cabinet trash can hides garbage out of sight and away from kids and dogs.
Or, checkout this easy way to add nightlights to your hallway. Just screw on these outlet covers with built in guidelights!
Thanks for checking out how to change grout color. Have fun and let me know if you have questions. Or post pictures of your work and tag Abbotts At Home on FB, I’d love to see it!

Stephanie Abbott has been remodeling homes, updating & building furniture, and working on DIY home maintenance and cleaning tips for over 20 years. Her remodeling has been featured in Better Homes and Gardens Magazine. And, her DIY YouTube channel has had more than 8 million views.
Most of the DIY tutorials and videos on this site focus on beginner to intermediate level DIY Projects that can be done in an affordable way without high-end, expensive tools. All of the cleaning tips on this website have been tested in her home.


