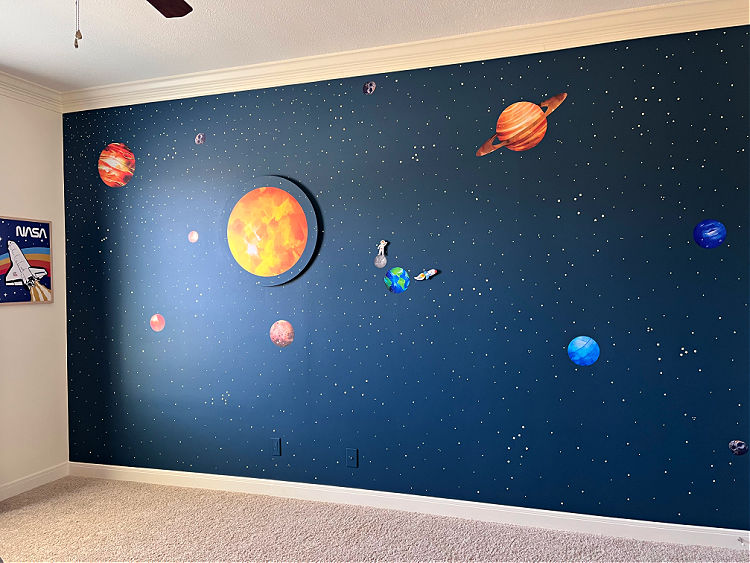
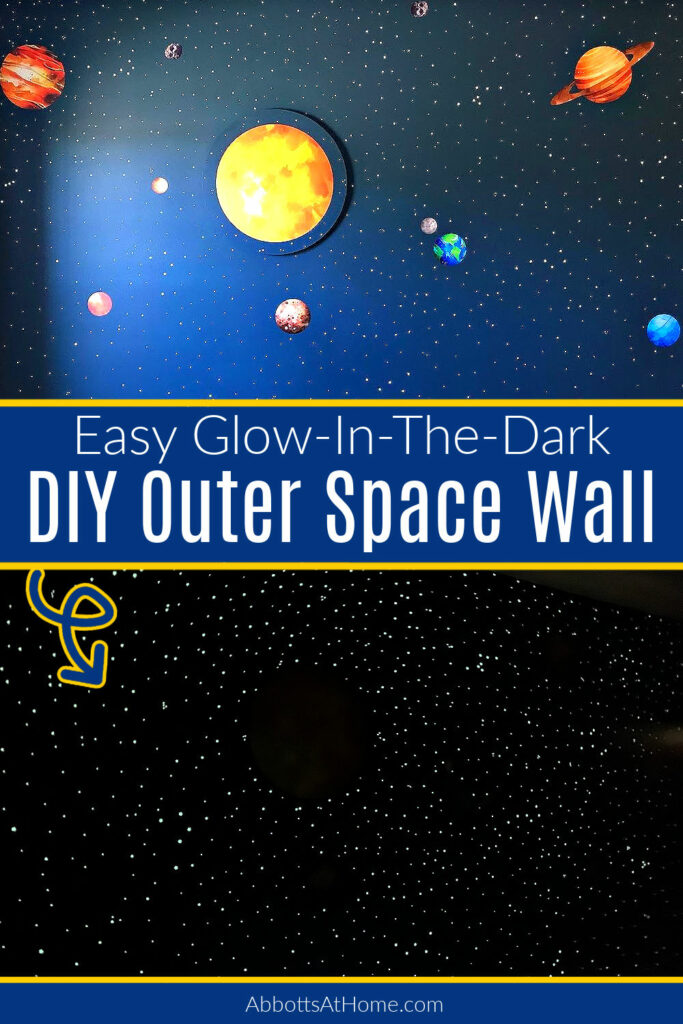
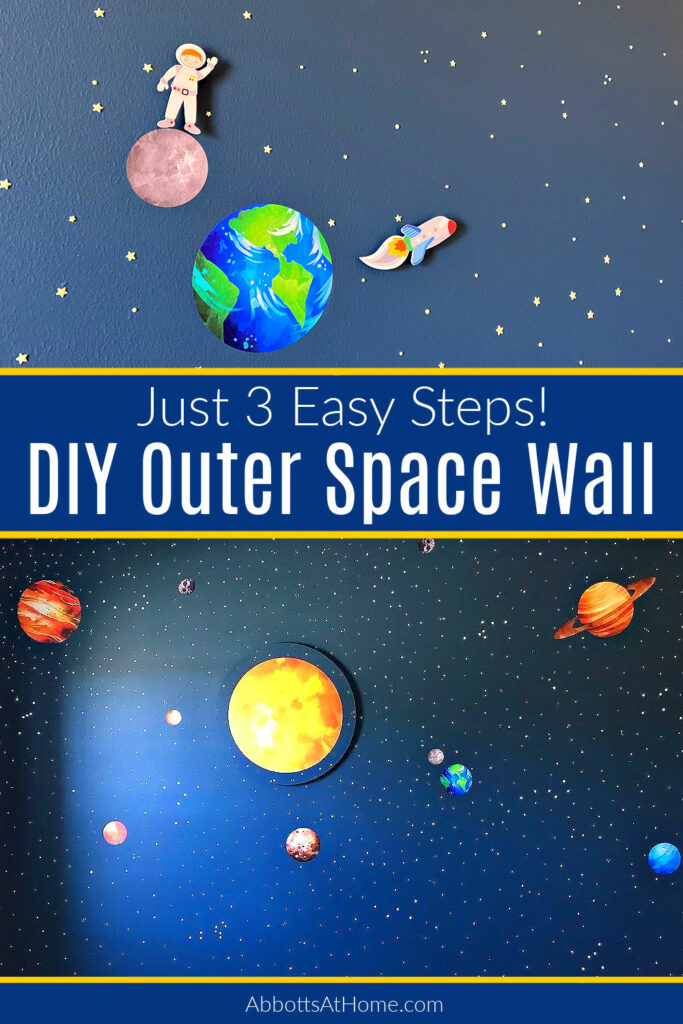
This DIY Outer Space Bedroom Wall Art looks FANTASTIC! And, it was so easy. You can get this space-themed look with just wall paint, vinyl planet stickers, & 3D glow in the dark stars.
Easy DIY Outer Space Bedroom Wall Mural
Hello again, friends! My boys are 6 and 9-years old now. So, I decided it was time to give their bedroom an older, cooler look to fit their age.
We decided to go with an outer space-themed bedroom since we LOVE learning about space and all-things NASA. And, well, who doesn’t love glow-in-the-dark stars, right? 🙂
At first, I thought about hand-painting the planets on this space-themed wall, but luckily I found a great EXTRA LARGE set of planet vinyl stickers that work perfectly for a full wall mural.
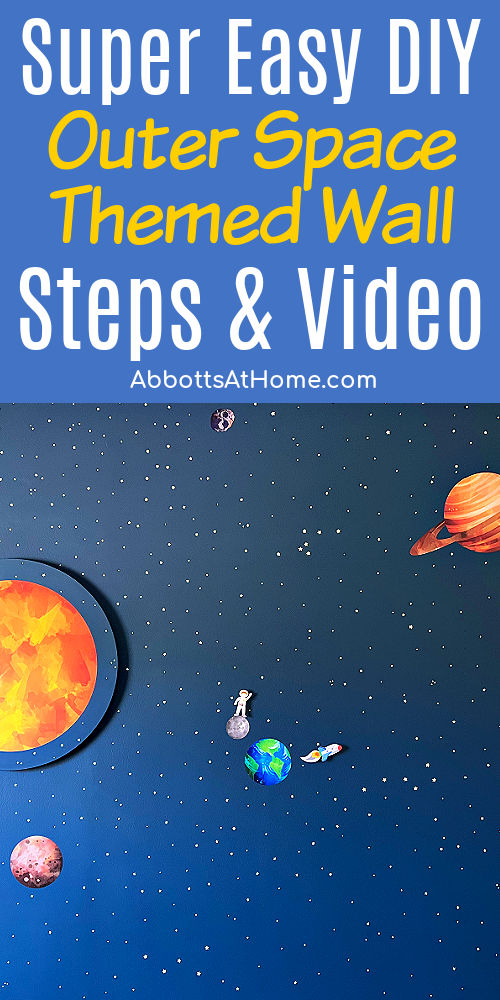
So, I am happy to say, you can easily turn a wall in your kids bedroom into the COOLEST outer space-themed wall in just one weekend. And, you don’t need to have any artistic skills.
I’ve got everything you need to know to recreate this DIY Outer Space Bedroom Wall look below. You can see what my boys bedroom used to look like in this Room Reveal.
DIY Outer Space Bedroom Feature Wall Video
Watch this video for a quick step by step guide to recreate this easy Outer Space Themed Bedroom Wall. Scroll for full DIY steps and photos.
How To Make This Planets & Stars Space Wall Mural
What I Used
This DIY Outer Space Bedroom wall can be finished in just a weekend, for as little as $125.
- Magnolia Homes by Kilz paint color Signature in Eggshell Sheen
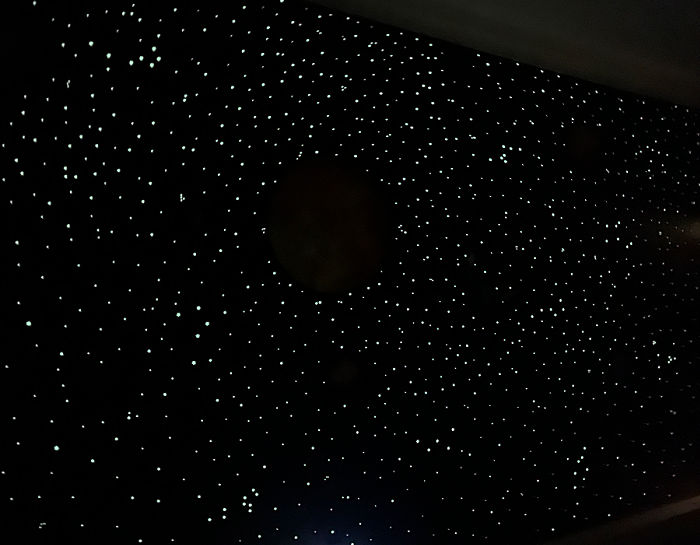
- 3D Glow In The Dark Stars – 2 Packs
- Space Wall Planet Vinyl Stickers (Size L – 52″x33″ sheet)
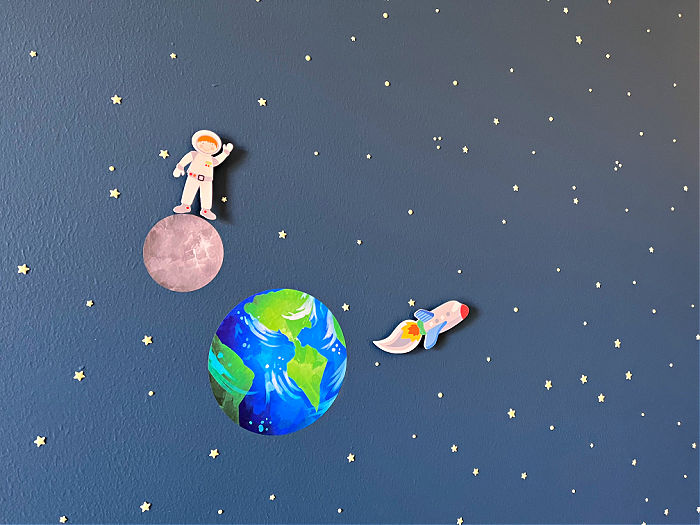
- Astronaut & Rocket Craft Wood
Tape & Prep The Wall
I started this DIY Outer Space Wall by taping off all 4 sides of the wall with painters tape. Using painters tape makes it easier to get clean crisp lines.
After taping off the wall, I filled all old nail holes with quick-drying DAP spackling. Let that spackling dry, then sand it flush with the wall.
I like to use these sanding blocks for quick and easy sanding on walls. Use 120-grit or higher grit sanding block or sandpaper.
If you need to patch cracks or holes in baseboards or crown molding, check out my tips in Use Caulk or Wood Filler on Trim: Easy Guide & Video
Wipe off and vacuum up any dust. You want a nice clean wall before you paint.

Paint Your Outer Space Bedroom Wall
Next, I sealed the painters tape with a coat of the white paint I used on the walls next to this space-themed bedroom wall. If you don’t have that other paint color, you can apply a clear, water-based polyurethane (like this one) instead.
To seal the tape with paint, just paint a light layer of paint across the edge of the tape along the feature wall. That will block any of the blue paint from leaking under the tape onto your trim, other walls, or ceiling.
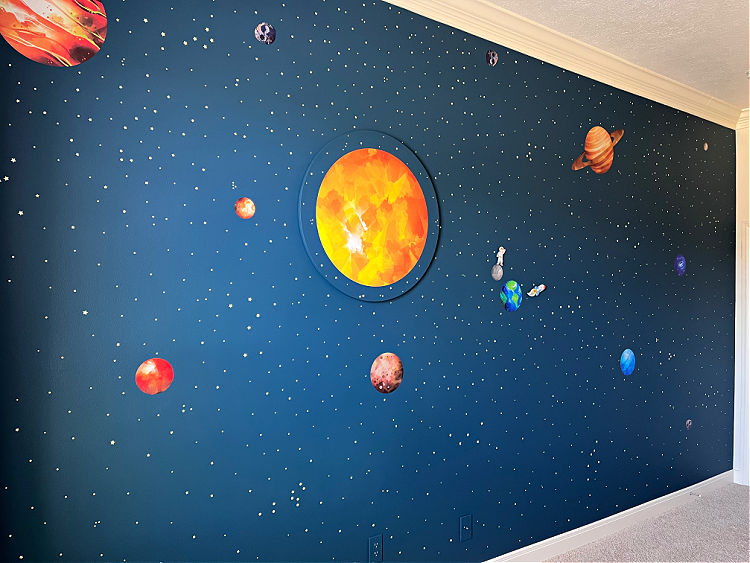
Once the paint that’s used to seal the tape dries completely, you can apply your dark blue paint color.
I used 2 coats of Magnolia Homes by Kilz paint color Signature in an Eggshell Finish. Don’t forget to use a drop cloth to protect your flooring!
Let each coat of paint dry according to the recommendations on the paint can.
Place the Sun & Planets Vinyl Stickers
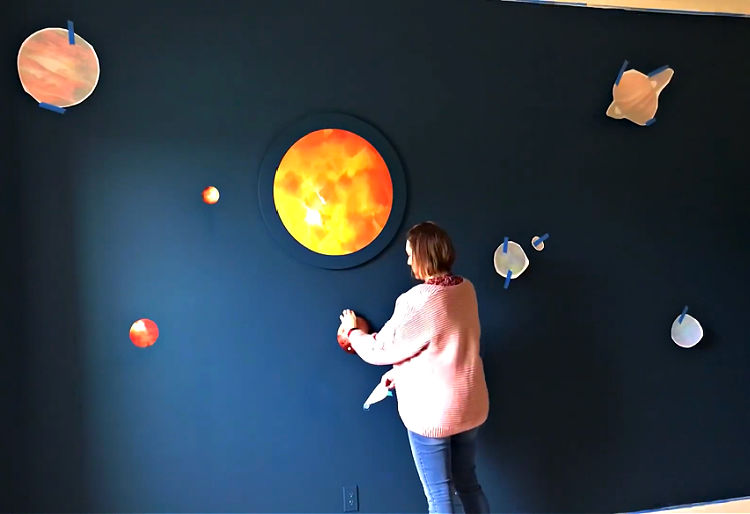
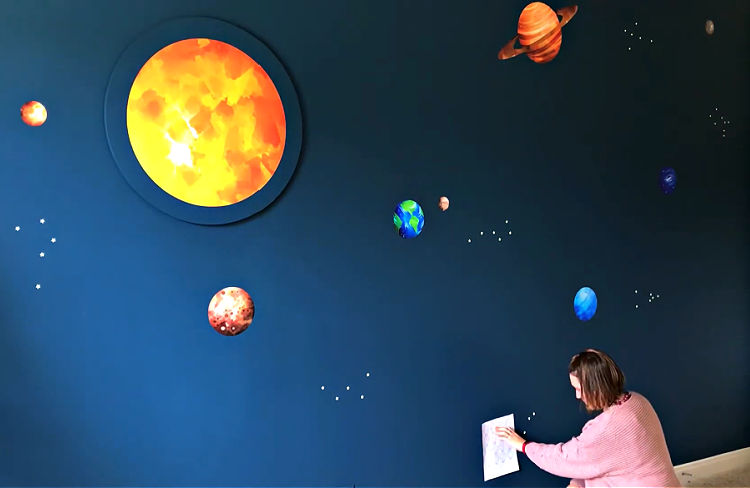
Once the paint was fully dry, I used painters tape to temporarily place the planets and sun vinyl stickers on the wall. Using painters tape let me easily adjust the placement before sticking the planet on the wall.
I decided to place the sun off-center on the wall. Then I placed the planets around the sun. With the closest planet near the vinyl sun. Then working out to the furthest planet.
Once I had the planets spaced evenly across the wall, I peeled the backing off the vinyl stickers and stuck them in place.
Follow the directions on the vinyl stickers to get the best results.
Adding Constellations With Glow-In-The-Dark Star Stickers
After adding the vinyl planets and sun, I moved on to adding constellations to the DIY Outer Space Bedroom Wall.
The stickers I used come in 3 sizes on a sheet. So, I used the large stickers to make the constellations. I Googled “constellation coloring page” to find a guide to use to place my stars properly.
I spaced the constellations out across the wall. Finding the different constellations is a bit of extra fun for the kids at bedtime.
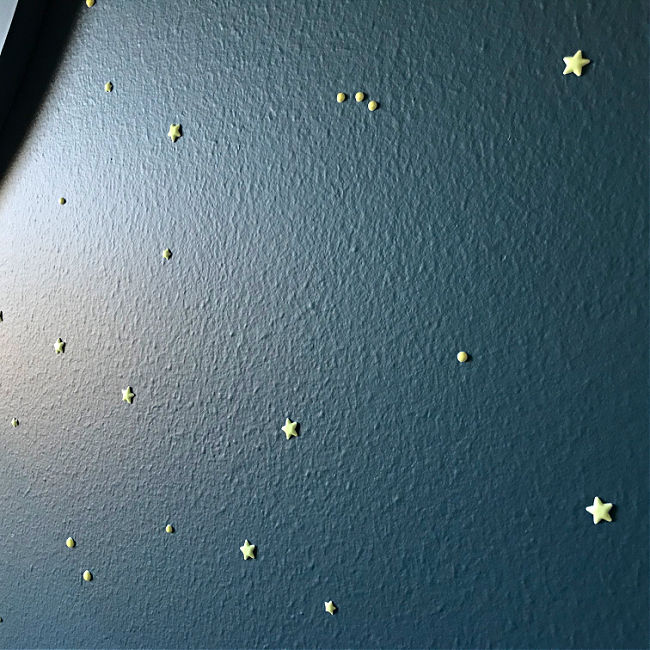
After that, I started filling the whole wall with the small and medium star stickers. I worked on placing them over the entire wall.
Some areas got more stars or stars in small clusters of 2 or 3 to look more like the real night sky. It took me about 3 hours to stick over 1,600 star stickers on this wall. It was totally worth it!
Large Planets Make this DIY Outer Space Bedroom Wall Better
I want to point out again that the Sun & Planets vinyl stickers I used are about twice as big as the normal vinyl planets you find in stores and online.
I found a few shops on Etsy that sell these larger versions of the planets. So, I decided to buy from the one with the bright colors and design I liked best.
Using these larger stickers is KEY to making this DIY Outer Space-themed wall look this good. Smaller planets would have looked too little for a full outer space mural.
Related Boys Bedroom Posts
- Kids PVC Pipe Tent Frame – Easy DIY Steps!
- Make a DIY Upholstered Twin Headboard, with videos!
- $20 Easy DIY Stool Seating OR DIY Round Side Table
- Room Reveal! Fun Boys Bedroom Ideas and DIY’s
- DIY Board and Batten Wainscoting with Lattice
- Easy DIY Mini Clip Light Display Board
More DIY Projects for Homeowners
This DIY Play Kitchen for Kids is one of my most popular build plans.
You might also like this DIY Painted Tongue & Groove Porch Ceiling Makeover.
Or these tips for How Do I Get Rid of Cable And Still Watch TV: Easy Guide.

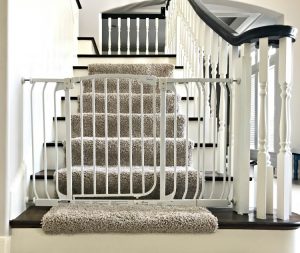
Maybe you need to see this DIY Baby Gate Hack for Stairs – No Drill!
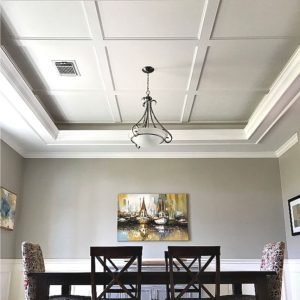
And, I LOVE this Easy DIY Coffered Ceiling with it’s easier to install low profile design.
Feeling inspired? Now that you know how to recreate this DIY Outer Space Bedroom wall, you’re ready to make your own.
Let me know if you have questions. Don’t forget to sign up for the Abbotts At Home email newsletter to get DIY, Remodeling, and Crafty ideas in your inbox.

Stephanie Abbott has been remodeling homes, updating & building furniture, and working on DIY home maintenance and cleaning tips for over 20 years. Her remodeling has been featured in Better Homes and Gardens Magazine. And, her DIY YouTube channel has had more than 8 million views.
Most of the DIY tutorials and videos on this site focus on beginner to intermediate level DIY Projects that can be done in an affordable way without high-end, expensive tools. All of the cleaning tips on this website have been tested in her home.
