
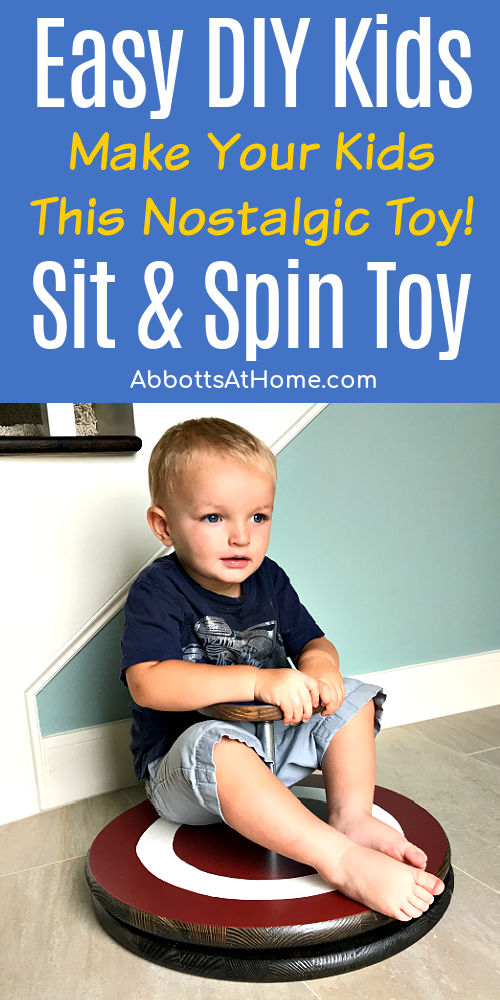
Make your own Super Easy DIY Sit And Spin Toy from store-bought wood rounds and lazy Susan hardware. I LOVE this project!
Easy DIY Sit And Spin Toy
I recently saw a grown-up version of a Easy DIY Sit & Spin Toy on Pinterest. It got me thinking about how easy it would be to make one for my boys.
And since I already had Lazy Susan hardware waiting for a purpose, I was half way there. After playing around with the design for a few weeks, I’m ready to share it with you guys.
And it’s a super easy DIY kids toy that you can make in a day. Yea!
I love the idea of making a couple heirloom kids toys that will last for generations. My grandfather made a cool board game that I loved as a kid.
And I just thought that he must be nearly magical for being able to make something I loved so much. I still get nostalgic when I see it.
So, I hope the kids in your life will look at you the same way when you make this. And, the best part is the custom paint job.

I made this Easy DIY Sit & Spin toy 2 ways. Once with a sweet medallion pattern and once with a cool Captain America paint job for my boys.
Pick your kids favorite cartoon, toy, movie, game, candy, etc. and have fun with the design. As always, I’d love to see what you come up with.
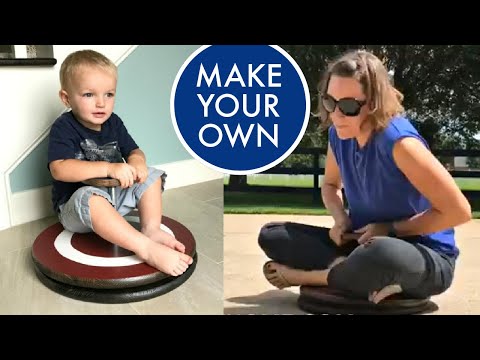
Watch the DIY Sit And Spin Tutorial Video
The steps are below. But if any of them are confusing, try watching this video.
Cost to Make It
You’ll spend about $45 on the wood rounds, flanges, pipe, and Lazy Susan. Not bad to get your own custom Sit and Spin.
Time to Make a Homemade Sit and Spin
The time here will mainly be in dry times for stain, paint, and polyurethane. Otherwise, you can easily assemble this in 1 hour, due to the simple flange and pipe design.
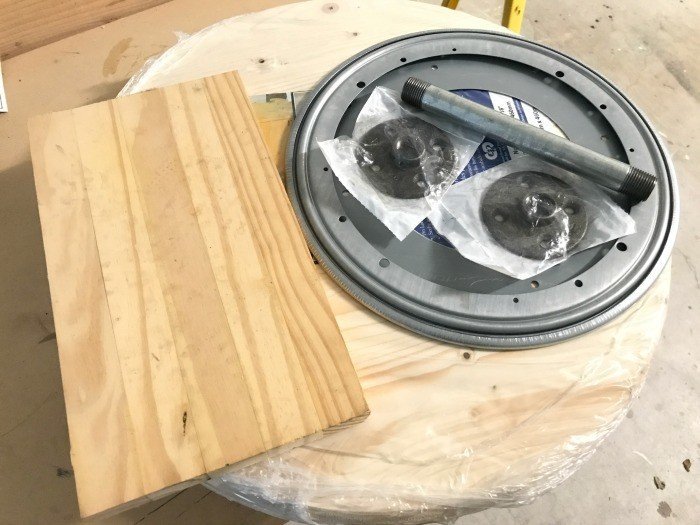
Materials Needed
- Tools: Power Drill, JigSaw Sander, Screwdriver
- Super Glue
- 2 – 18″ Craft Wood Rounds from Lowes (or similar size from Home Depot)
- A piece of 3/4″ thick wood to make 7″ round wheel
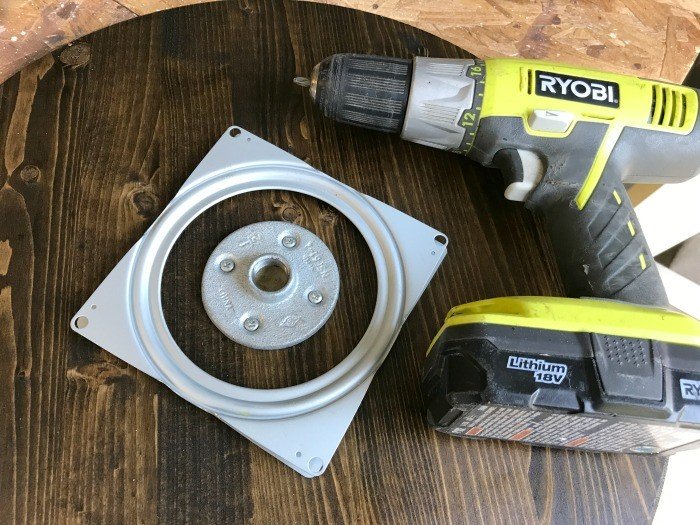
- 2 – 1/2″ galvanized or iron flanges
- 1 – 8″ long 1/2″ galvanized or iron pipe
- 1 – 3″ round thick cardboard with a 1/2″ hole in the middle
- 6″ square Lazy Susan hardware
- 1/2″ Forstner Drill bit
- 1 1/4″ Forstner Drill Bit
- 16 – #6 or #8 3/4″ screws
- Motor oil, Bike oil or other lightweight oil to apply to bearings
- Stains or paints of choice and polyurethane
Steps to Make a Sit And Spin Toy
Step One
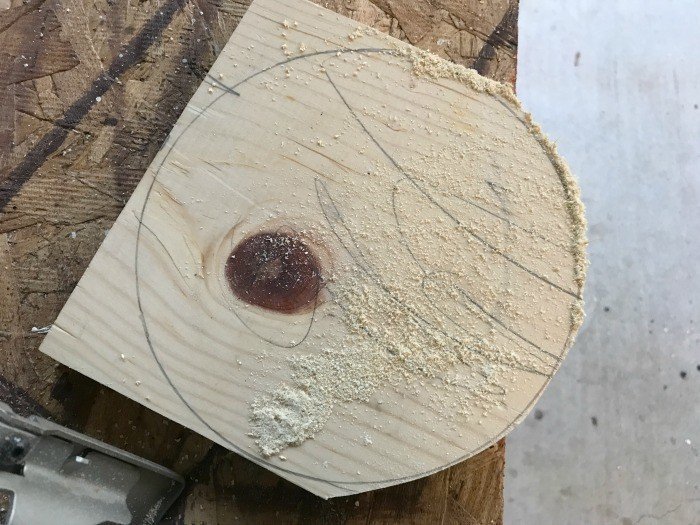
Find the center of the round you picked as the top of your Easy DIY Sit & Spin. I just used a long ruler to find the widest point from one edge to the next. Then mark the center of the widest point with a pencil.
Now do this 2 or 3 more times across different sections. This will give you a pretty good center point.
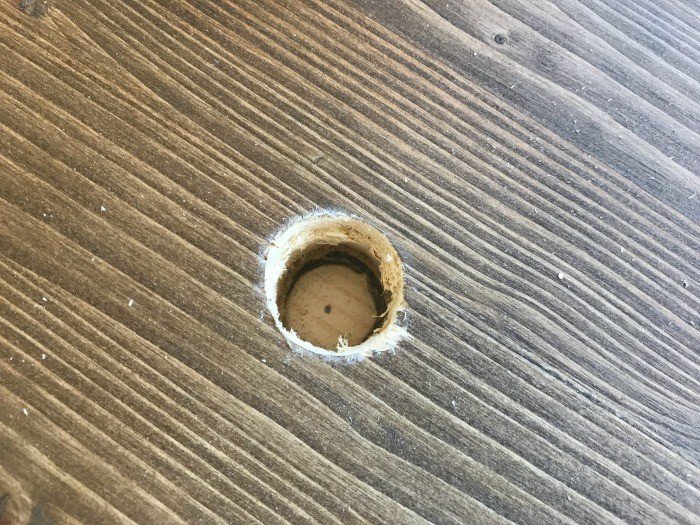
Step Two
Use your 1 1/4″ forstner drill bit to create 1 1/4″ hole through the center of the top round. This will give enough space for the ring around the threads for the bottom flange.
Otherwise, the flange would drag against that top wood round and slow it down.
Step Three
Now place that top round over the bottom. Line them up as close to perfect, as possible. These rounds are never perfect circles, but they’re close enough. So, don’t worry.
Use that pencil to mark the center of the bottom round through the hole in the top round.
Step Four
Move the top round aside, and grab a flange. Line that flange up with the mark you just made on the bottom round. Use a sharp screw or drill bit to create starter hole marks for the 4 flange screws and that center mark.
You just want them to be deep enough that you can’t sand them away. After marking the 4 screw spots, move the flange aside.
Step Five
Cut a 7″ round wheel from 3/4″ wood with your jigsaw to make the wheel.
Step Six
Use a 120 or 150-grit sandpaper, or similar, to sand both rounds. This will get the rounds smooth and ready for paint or stain. Be sure to keep the screw marks and flange center marks. You’ll need them for assembly.
Step Seven
I used a Wood Conditioner on all 3-pieces and let that soak in per directions. Then I applied 1 coat of Minwax’s Jacobean Stain on each side of the 3 rounds.
Once that dried, I applied 1 coat of this polyurethane.
I applied the medallion and Captain America designs with acrylic paint. That paint sticks pretty well to polyurethane.
But if you are using a paint that doesn’t, make sure the design is done before applying polyurethane. Acrylic still needs to be covered in polyurethane after the design is complete and dry, or it will eventually rub off of the polyurethane.

Please Note: Based on your design, you’ll want to stain or prime your rounds and wheel.
Make sure that the rounds and wheel are completely stained or painted then coated with polyurethane before attaching the Lazy Susan hardware.
You won’t be able to access those areas after assembly and you don’t want bits of unfinished wood visible between the rounds.
Assembling your Handmade Sit And Spin
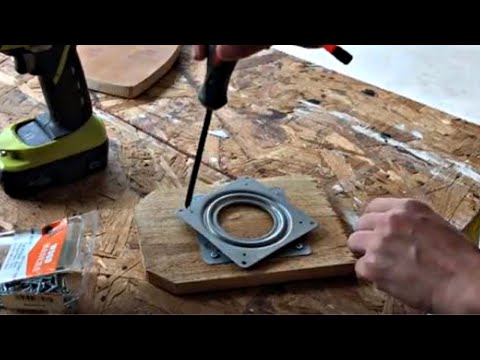
Here’s a quick video showing how I use this Lazy Susan Hardware. I’m just using scrap wood in this example, but I think it’ll help you understand the steps and pictures below. 🙂
Step One
Attach one of the flanges to the bottom round with screws. Center it on the spot you marked earlier.
Step Two
Line the Lazy Susan hardware up with those screw marks we made earlier on the bottom round. Attach the Lazy Susan at all 4 points.
Apply a little oil to the bearings of the Lazy Susan to make it spin faster. Don’t use WD-40. That will gum up and eventually slow it down.
Use skateboarders oil, bike oil, or motor oil that is light and designed to increase speed.
Step Three
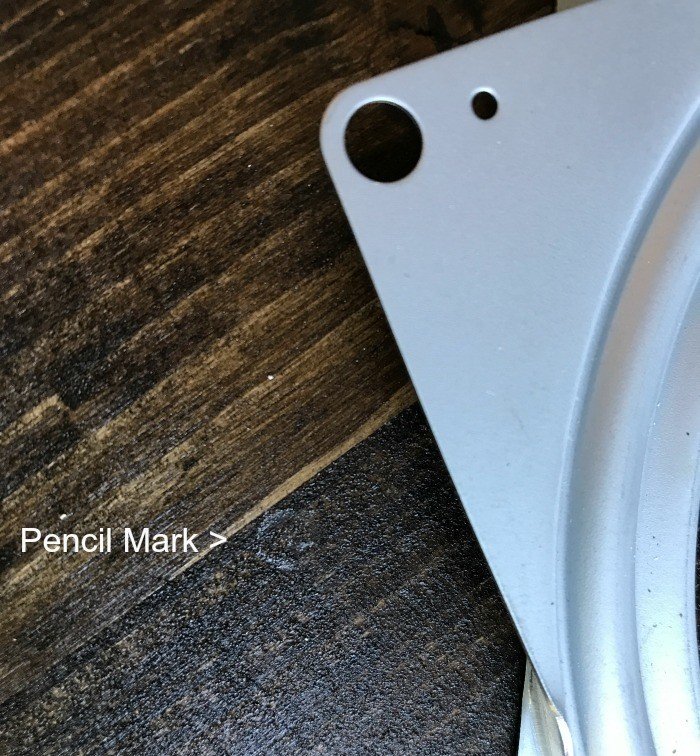
Twist the top half of the Lazy Susan so that one of the corners of the top is between 2 of the bottom corners. Put a pencil in the screw hole on the top corner to mark that spot on the bottom round.
Step Four
Slide that hardware out of the way and use your 1/2″ forstner drill bit to drill a hole through the bottom round at that spot.
Place the top round over the bottom. Line that hole in the top round up with the flange hole. Get it as perfect as possible.
When the top round spins, if the alignment is off, it will get closer to the pipe at certain points. You want to make sure that it won’t hit the pipe and stop the spinning.
Step Five
Carefully hold the 2 rounds of the Easy DIY Sit & Spin together and flip over. Slowly spin the round around until you can see one of those top of the Lazy Susan screw holes in the access hole you drilled.
You may need to gently press on that bottom round while spinning to keep it from shifting on the top round. Screw the top half of the Lazy Susan into the top round at all 4 corners with your drill or screwdriver.
Step Six
Flip the rounds back over. Center the other flange on the bottom of the wheel and attach with screws. Screw the pipe into the bottom flange. Test that the rounds spins freely on top.
Push down a bit while spinning to make sure that the top round isn’t dragging on the top of the flange. If everything is fine, move on.
Otherwise, you will need to remove the top round through the access hole. Expand the pipe hole, then re-assemble again. You can use the same screw holes by lining them up carefully.
Step Seven
Apply super glue to threads then screw the pipe into the bottom flange. Slide the thick cardboard, cut to 3″ diameter with a 1/2″ hole in the middle, over the pipe.
This will keep little fingers or legs out of the tight space between the wood and the pipe. It could be a pinch hazard.
Apply super glue to the top threads and wheel flange. The super glue prevents the kiddos from unscrewing the pipe while spinning.
Now you’re ready to let the kids spin the afternoon away. Yea!

More DIY Kids Gifts For You
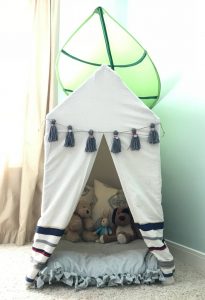
How about another DIY gift for those awesome kiddos? Try this Easy DIY PVC Pipe Tent build.
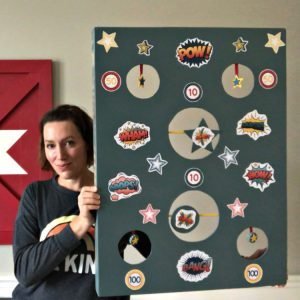
Check out this DIY Nerf Gun Target Tutorial. The moving targets make it more challenging and fun!
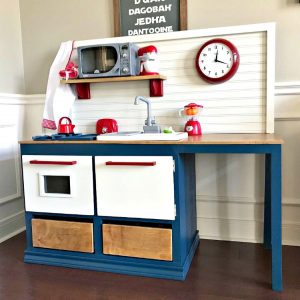
They might also love this beautiful DIY Wooden Kids Kitchen with lots of storage and interactive fun.
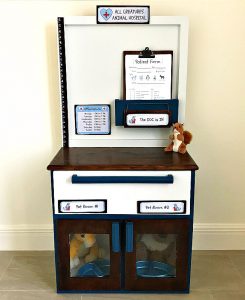
And this fun DIY Play Animal Doctor Office – Build Plan.
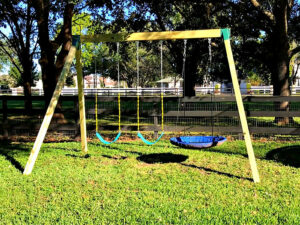
You can actually build this Easy DIY Swing Set Build in just an HOUR!
Also, this DIY Childrens Desk Plans with Storage is always popular.
Feeling inspired? Want to make your own Super Easy DIY Sit And Spin Toy? Follow the links above to get the things you’ll need.
Have fun and let me know if you have questions. Or post pictures of your work and tag Abbotts At Home on FB, I’d love to see it!

Stephanie Abbott has been remodeling homes, updating & building furniture, and working on DIY home maintenance and cleaning tips for over 20 years. Her remodeling has been featured in Better Homes and Gardens Magazine. And, her DIY YouTube channel has had more than 8 million views.
Most of the DIY tutorials and videos on this site focus on beginner to intermediate level DIY Projects that can be done in an affordable way without high-end, expensive tools. All of the cleaning tips on this website have been tested in her home.