
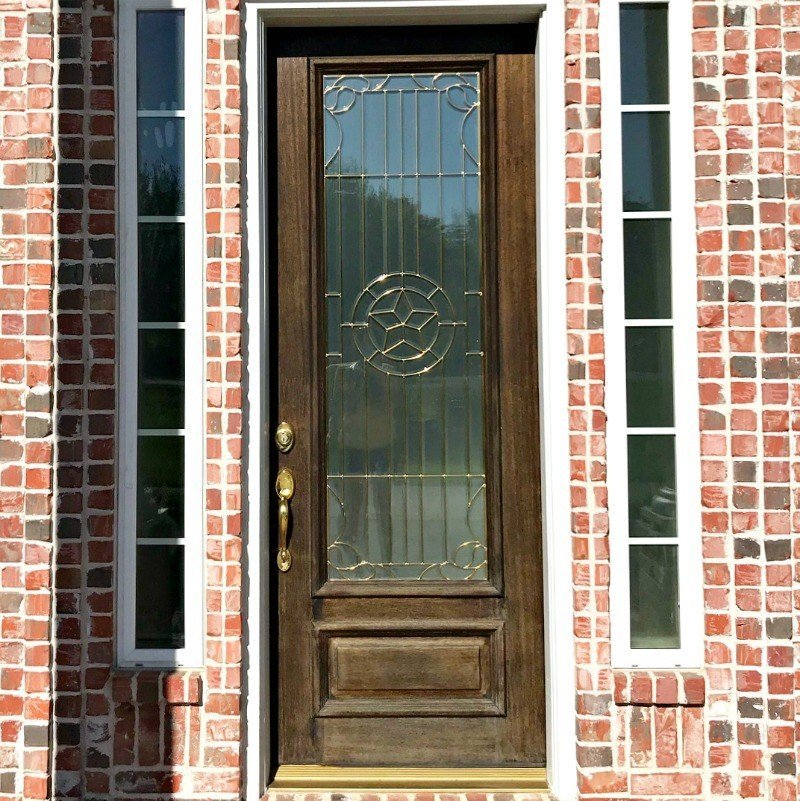
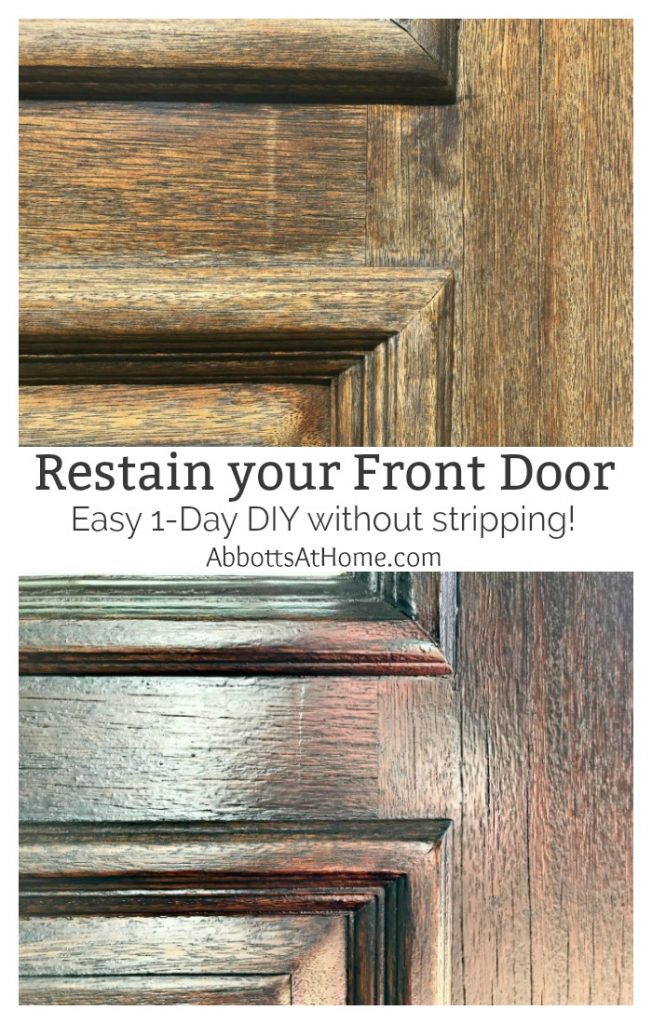
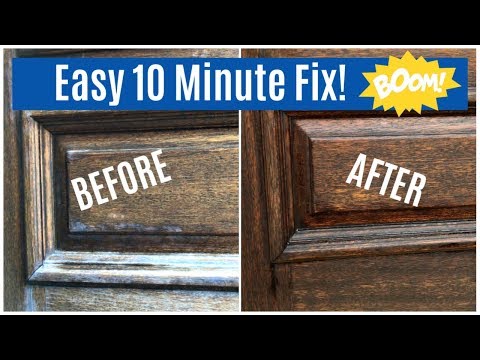
This easy DIY for How to Restain a Door without stripping it or even removing it gives your home huge curb appeal in less than a day!
How to Restain A Door Without Removing It
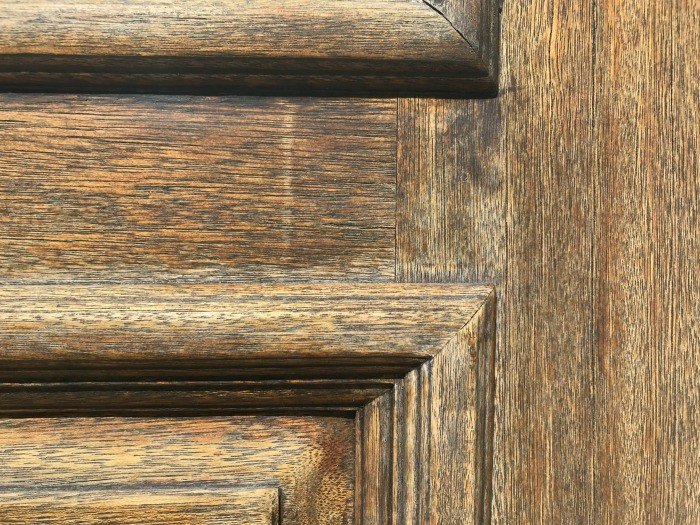
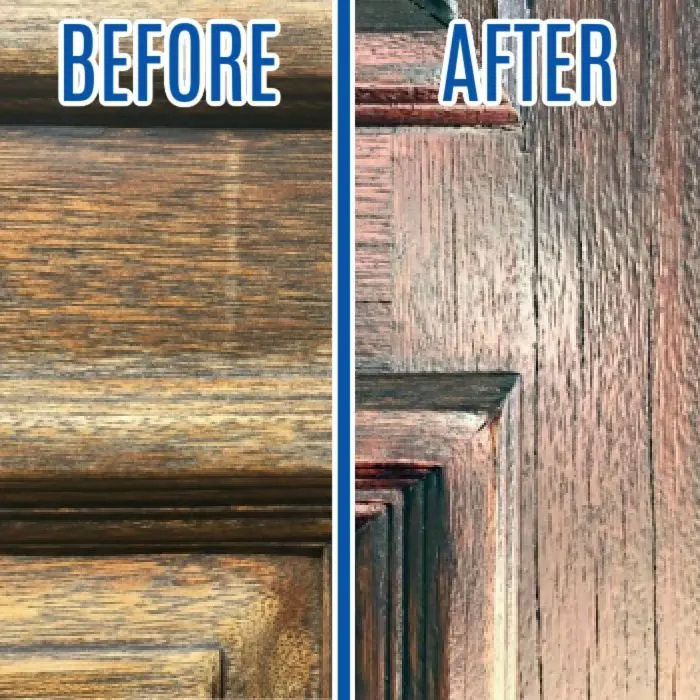
If you want to know how to refinish a weathered front door, I have a quick solution that’ll work for most stained wood front doors.
You can give your dry and sun-bleached wood door a quick & easy makeover in less than a day. AND you don’t have to strip any of the old stain off or even remove the door.
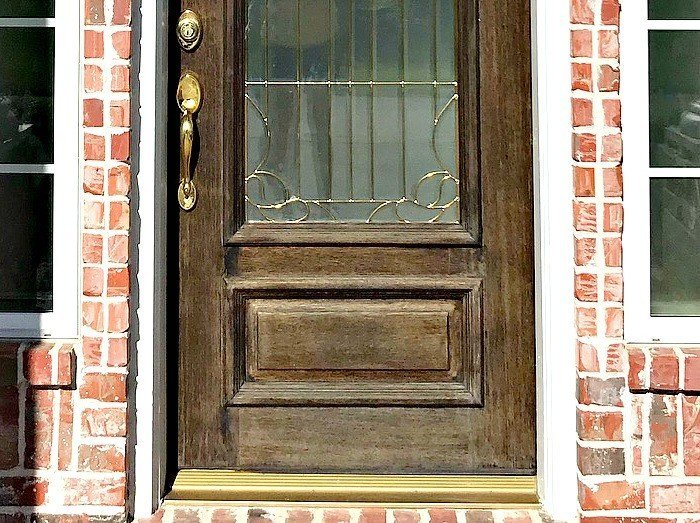
Even if the old finish is starting to crack and peel, this’ll work! Just a quick cleaning & sanding and your ready to start applying the new finish.
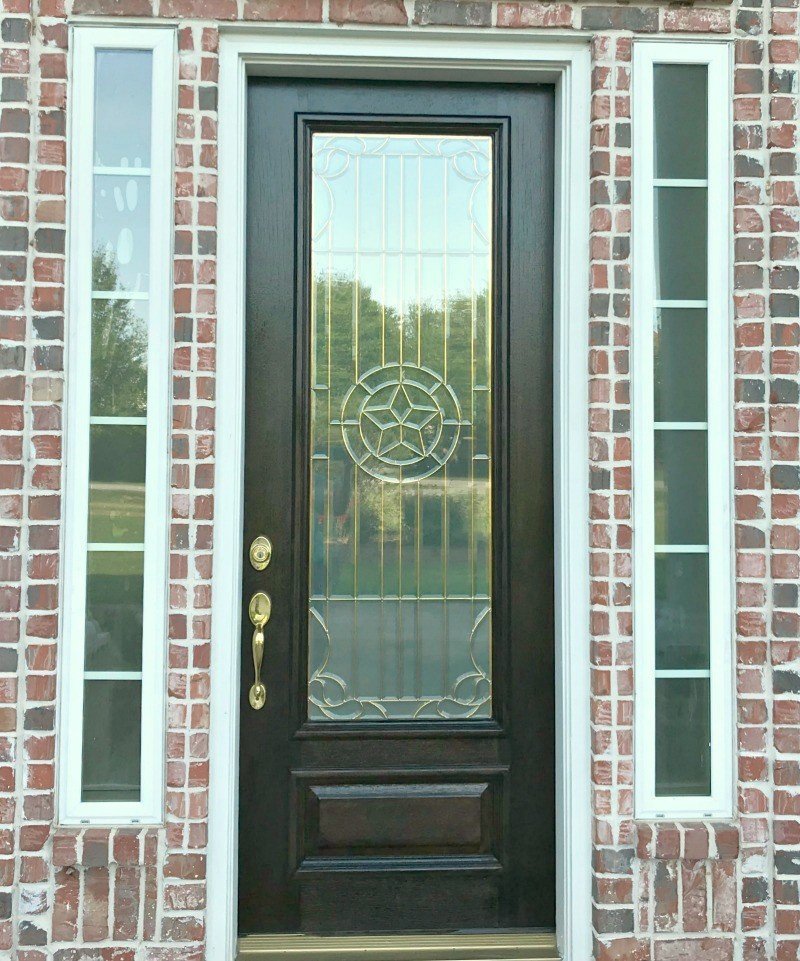
I had this door cleaned, sanded, stained twice, and dry in less than 8 hours. Yippee!
I only needed to do the outside of the door, so I picked a cool spring day and just did all of the work with the door open and still on the hinges.
Table of contents
Quick Note: I have not been paid for this post or given any product. I just love testing and trying new stains.
I picked this one up for a recent project and knew it would work perfectly on my door. In fact, I’m pretty sure the professional painters I hired to do this door 3 years ago used this product.
The finish is much thicker and less transparent than a stain alone. I wanted to refinish my door with a product that was thick enough to give the door a uniform color and thick protective finish.
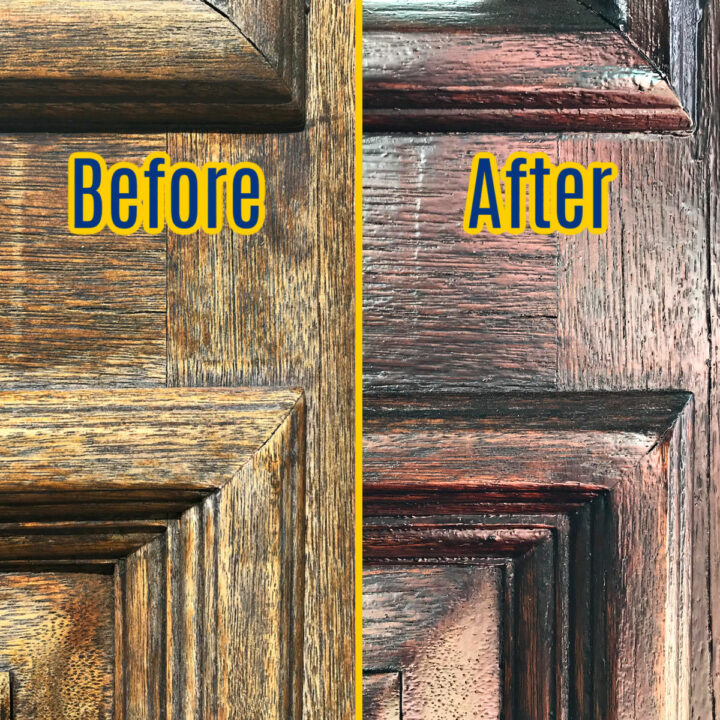
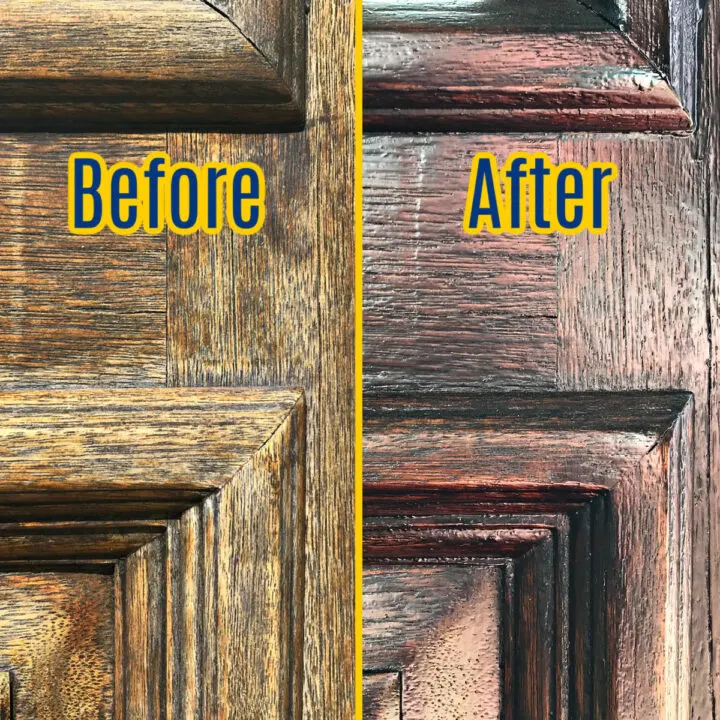
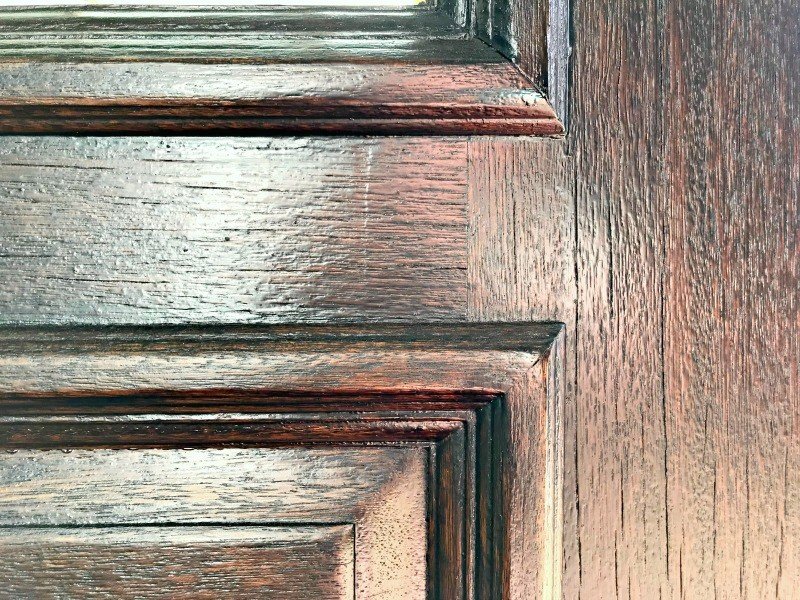
The sun had bleached parts of the door more than others. This product covered up those light spots perfectly! AND it filled in some hairline cracks in the 30 year old molding. Yea!
Can You Stain Over Old Stain On A Door
Yes, you can stain over old stain on a door. Gel Stains are a good product to use when you want to stain over wood that already has stain on it. Gel Stains don’t soak into wood, they sit on top of it. So, it can be applied over old stains.
But, with gel stains you’ll need to pick a stain color that is as dark as or darker than the existing finish. A gel stain can’t really make your door look lighter than the old stain finish.
You’ll have to strip the old finish if you want to use a lighter wood stain.
Gel stains cover over old stain because they are less opaque than a wood stain that soaks into the wood. Since they are less opaque, you won’t be able to see as much of the wood grain. But, it will still have a beautiful wood look.
As with most things, there are quite a few ways to stain over old stain. I have steps below for how I did it with a product called PolyShades.
But, there are a lot of products that will work. Just be sure to research the product, read the reviews, and to always follow the safety guidelines and product instructions.
Can You Stain A Door While It’s Hanging
Yes, you can stain a door while it’s hanging. But you have to be sure to use the right products. You also have to keep checking for drips that can happen when you use thick finishes on a door that is still hanging.
If you want to stain a door while it’s hanging, I have the exact steps to do that below.
But it does take extra planning, extra time spent checking for drips, and you’ll have to leave the door open long enough for the finish to dry. So, you need to pick a good weather day to stain your wood door.
How to Stain a Door While It’s Hanging
Before You Start
First, let’s talk about what you need to know for how to restain a door without removing it. If you leave the door on the hinges, make sure it’s not going to rain on your wet door.
Avoid doing this on a humid day too. You don’t want to accidentally trap moisture in the wood.
AND know that if the sun is shining directly on the door, or if it is hot outside, the stain will dry faster. So, you’ll have to be careful and work quickly.
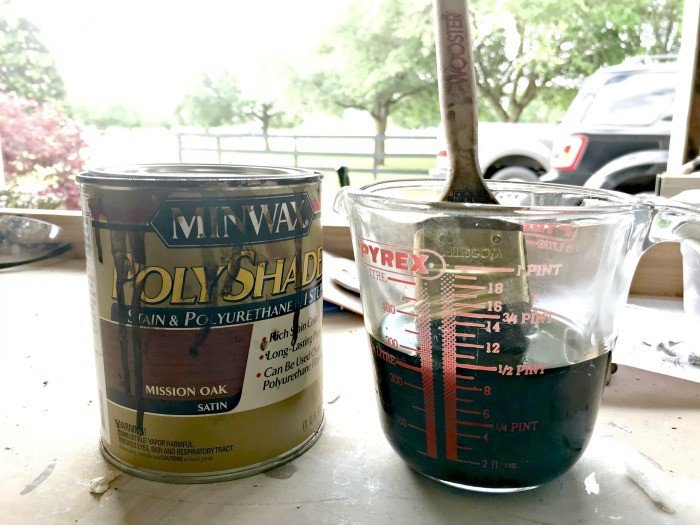
Please note, this product is a stain & polyurethane in one. It is a thick oil based product. Normal stains or water-based poly’s are much thinner and easier to work with.
I picked this product for 4 major reasons: 1. It provides a thick protective finish, 2. The color is uniform over bleached wood, 3. You don’t need to apply poly afterwords, and 4. You don’t have to strip your wood door first!
If applied with a brush, per instructions, it leaves a finish somewhere between a Satin and a Semi-Gloss. Because it is thick and only semi-transparent it will not show wood grain as much as a stain.
If you want your grain to show, you might want to use something else.
So, let me show you how to restain a door with this quick and easy DIY! Let’s start with what you need.
Materials to Stain a Front Door Again
- Stain & Polyurethane One Step Product, I used Mission Oak in Satin
- A good Nylon Brush
- A clean, lint-free rag and wood cleaner like TSP or my DIY Wood Cleaner
- Nitrile Gloves
- Drop Cloth
- 120-grit sandpaper
- Mineral Spirits to clean the brush
DIY Steps to Restain a Wood Door
Step One
Open your door wide enough to be able to apply the finish to every spot. I put a chair behind my door to keep it from moving while I worked.
If the sun is shining on your door, you want to wait until it passes or open the door wide enough to get it out of the sun. The sun will dry the product much faster and may cause a blotchy look.
Step Two
Put a drop cloth down to protect your floors.
Step Three
Use wood cleaner to clean all dirt, grime, oils, and bird poo off the door. 😉
Step Four
Once it has completely dried, sand the entire door lightly with 120-grit sandpaper. Any old finish that is cracked or peeling should be removed and smoothed before applying the new finish.
Step Five
Wipe the dust from the door with a slightly damp rag.
Step Six
Once the door is clean and dry again, apply Polyshades per instructions on the container. I used a brush and applied the first coat to just the molding first. Working on small sections makes it easier to get an even finish.
Step Seven
Now, keep checking for drips. Don’t skip this step for how to restain a door!
This product is thick and can slowly make drips in areas that got too much product. I just checked the door every ten minutes or so while it was drying.
I used a damp paper towel to smooth out any drips that I found. Just lightly drag the wet towel across the drip to smooth it out.
Step Eight
Once the molding wasn’t tacky anymore, I worked from the top of the door down to apply the first coat on the rest of the door. I was careful while working around my door handle. You could use painter’s tape to protect yours.
Step Nine
Apply a second coat using steps 7 and 8, after the first coat dries. Remember to always check for drips.
Step Ten
As mentioned above, I skipped this, but an exterior grade top coat like Spar Urethane would be the best choice to protect the Polyshades finish. Follow the directions on the container for the best result.
Step Eleven
Preserve the finish every 4 to 6 months with Howard Outdoor Furniture SunShield Wax.
That’s it, that’s how to restain a door without removing it!
Just leave that door open for 5 to 6 hours after the second coat to be completely sure it is cured enough to close.
Another Option for Staining a Door
I ALSO LOVE OLD MASTERS FINISH on Exterior Doors. Check out this post on how to Stain A Door Without Taking It Down for a very similar tutorial using Old Masters and a different top coat.
Keep reading to see how I am keeping that door looking shiny and protected from the sun with 1 easy wipe on product.
How to Protect Your Front Door from Sun Damage
After following the steps to restain your door, you could apply an exterior grade finish over your door to give it some UV protection against the sun. I decided not to.
I wanted to see how the PolyShades would hold up in the hot Texas sun without extra protection.
After tons of research on professional painting sites, I’m pretty sure that any stain with or without UV protection would need to have maintenance coats applied every year or two.
My door gets so much sun, I need to apply 1 refresh coat every two years whether it’s an exterior or interior grade finish.
Acrylic exterior paints offer much better UV protection than stains. My HOA doesn’t allow us to paint our doors. But if they did, I’d definitely go with a paint that I could apply and forget about for 5 to 10 years. Oh well.
UPDATE 18 MONTHS LATER
I found a UV Protective Wax that I love, love, love over this gel stain. So, 18 months after using the PolyShades stain I started seeing some drying and a hazy look on the door.
I applied Howard Outdoor Furniture Sunshield with a rag on to the door (took about 15 minutes) and it looks a-mazing again.
Just like the first day I applied the stain. So, I’ll be using SunShield about every 6 months to protect and preserve the stain.
You can see the before and after pics for this fix for a Sun-Damaged, Dry Wood Front Door here. Or watch this quick video to see how Sunshield is Saving the Finish on My Front Door!
AND, If you decide you’d rather strip your front door and start fresh, you can find my easy DIY steps to stripping wood here. 🙂
Well, that’s it for how to restain a door without removing it. You might like this printable version of the steps to make your DIY a little easier.
How to Restain A Door Without Removing It

Here's How to Restain a Door without removing it, stripping, or sanding. Fix that dry, bleached, and cracked front door in less than a day.
Materials
- Minwax Polyshades
- Good Nylon Brush
- Clean Rag & Wood Cleaner
- Nitrile Gloves
- Dropcloth
- 120-Grit Sandpaper
- Mineral Spirits to Clean Brush
Instructions
- Open your door wide enough to be able to apply the finish to every spot. I put a chair behind my door to keep it from moving while I worked. If the sun is shining on your door, you may want to wait until it passes or open the door wide enough to get it out of the sun. The sun will dry the product much faster.
- Put a dropcloth down to protect your floors.
- Use wood cleaner to clean all dirt, grime, oils, and bird poo off the door.
- Once it has completely dried, sand the entire door lightly with 120-grit sandpaper. Any old finish that is cracked or peeling should be removed and smoothed before applying the new finish.
- Wipe the dust from the door with a slightly damp rag.
- Once the door is clean and dry again, apply Polyshades per instructions on the container. I used a brush and applied the first coat to just the molding first. Working on small sections makes it easier to get an even finish.
- Now, keep checking for drips. Don’t skip this step for how to restain a door! This product is thick and can slowly make drips in areas that got too much product. I just checked the door every ten minutes or so while it was drying. I used a damp paper towel to smooth out any drips that I found. Just lightly drag the wet towel across the drip to smooth it out.
- Once the molding wasn’t tacky anymore, I worked from the top of the door down to apply the first coat on the rest of the door. I was careful while working around my door handle. You could use painter’s tape to protect yours.
- Apply a second coat using steps 7 and 8, after the first coat dries. Remember to always check for drips.
- As mentioned above, I skipped this, but an exterior grade top coat like Spar Urethane would be the best choice to protect the Polyshades finish. Follow the directions on the container for the best result.
- Preserve the finish every 4 to 6 months with Howard Outdoor Furniture SunShield Wax.
Notes
First, let’s talk about what you need to know for how to restain a door without removing it.
If you leave the door on the hinges, make sure it’s not going to rain on your wet door. Avoid doing this on a humid day too. You don’t want to accidentally trap moisture in the wood. AND know that if the sun is shining directly on the door, or if it is hot outside, the stain will dry faster. So, you’ll have to be careful and work quickly.
Please note, this product is a stain & polyurethane in one. It is a thick oil based product. Normal stains or water-based poly’s are much thinner and easier to work with.
I picked this product for 4 major reasons: 1. It provides a thick protective finish, 2. The color is uniform over bleached wood, 3. You don’t need to apply poly afterwords, and 4. You don’t have to strip your wood door first!
One final note before I tell you how to restain a door, you could apply an exterior grade finish over this to give it some UV protection against the sun. I decided not to. I want to see how this holds up in the hot Texas sun.
After tons of research on professional painting sites, I’m pretty sure that any stain with or without UV protection would need to have maintenance coats applied every year or two.
UPDATE 18 MONTHS LATER: I found a UV Protective Wax that I love, love, love over this gel stain. So, 18 months after using the polyshades stain I started seeing some drying and a hazy look on the door.
I applied Howard Outdoor Furniture Sunshield with a rag on to the door (took about 15 minutes) and it looks a-mazing again. Watch the video below to see how quickly this stuff restores shine and gets rid of heat haze.
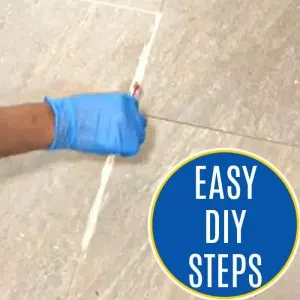
Looking for another Easy Home Maintenance Project? You can Restore your Grout to Like New and this product seals grout too. Yay! Watch the quick video to see how easy it is, then click here to see the Grout Restoring Tutorial.

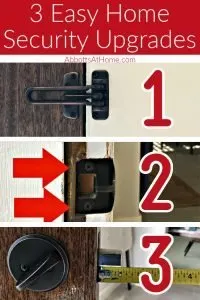
And, here are 3 easy DIY Steps to increase that front door security.

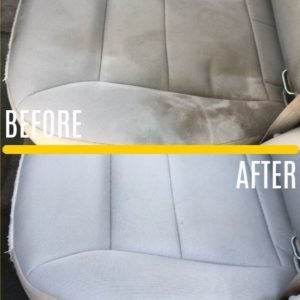
Here’s How to Clean Car Seats At Home, the easy way. This is a-mazing!
See how easy it is to Clean Marble Tile in a Shower here.

Or check out this easy DIY guidelight upgrade that works on any outlets No wiring or electricians needed!!

Feeling inspired? Now that you know how to restain a door, get to it! Have fun and let me know if you have questions. Don’t forget to sign up for the Abbotts At Home email newsletter to get DIY, Remodeling, and Crafty ideas in your inbox.


Stephanie Abbott has been remodeling homes, updating & building furniture, and working on DIY home maintenance and cleaning tips for over 20 years. Her remodeling has been featured in Better Homes and Gardens Magazine. And, her DIY YouTube channel has had more than 8 million views.
Most of the DIY tutorials and videos on this site focus on beginner to intermediate level DIY Projects that can be done in an affordable way without high-end, expensive tools. All of the cleaning tips on this website have been tested in her home.
Carrie
Sunday 1st of July 2018
Beautiful! I am converting an old mantle into a bar, would this stain work for bar or tables?
Stephanie
Monday 2nd of July 2018
Yes, it's really designed for furniture. So it'd work perfectly. Just be sure to follow the directions on the container. Make sure to not brush over stain that is already drying. It'll look gummy and need another coat. If your old mantle only has light scratches and fading, this product (https://amzn.to/2KscnoI) would be easier and work just as well. It just can't repair the deep cracks and dryness my door had. Good luck. :)
Meredith @ The Palette Muse
Wednesday 9th of May 2018
This gives me hope for my door! It’s badly dried out but the wood is so pretty that I want to try to save it. Can’t wait to try this!
Stephanie
Thursday 10th of May 2018
Good luck, Meredith! I hope it saves your door. :)
Sandra Garth
Friday 4th of May 2018
Great transformation! Thanks for joining us again at Celebrate Your Story, have a great weekend.
Stephanie
Saturday 5th of May 2018
Thanks so much, Sandra!
Mary
Thursday 3rd of May 2018
It looks so much better Stephanie. I also really hate those drips but I think today's products are much better about that.
Stephanie
Thursday 3rd of May 2018
Thank you, Mary! They really make great products lately. :)
acraftymix
Tuesday 1st of May 2018
Our front door is in desperate need of a little TLC, but I've been putting it off because I really didn't want to spend all day trying to sand it down first. It's got all these little details which are a pain in the butt to try get done. So glad I saw your post Stephanie. Guess who'll be touching up their front door this weekend :-) Weather permitting
Stephanie
Tuesday 1st of May 2018
Yea!!! So glad I could help. You'll love the result!